


Table of Contents
- What You'll Need: Essential Gear for a Budget Coffee Setup
- The Must-Haves
- The Nice-to-Haves (For Later)
- Step 1: Choose Your Brewing Method Wisely
- Best Budget-Friendly Brewing Options
- Step 2: Invest in a Grinder (Yes, Really)
- Budget Grinder Options
- Step 3: Don't Overlook the Kettle
- When to Upgrade
- Step 4: Get a Basic Scale (It's Cheaper Than You Think)
- The Golden Ratio to Start
- Step 5: Source Quality Beans Without Overpaying
- Budget-Smart Bean Buying Tips
- Step 6: Put It All Together (Sample Budget Breakdown)
- The $75 Starter Setup
- The $50 Ultra-Budget Setup
- Frequently Asked Questions
- Can I really make good coffee without an espresso machine?
- Is a hand grinder really worth the effort?
- How much money will I actually save brewing at home?
- What's the biggest mistake beginners make with budget setups?
- Should I buy used equipment to save money?
- Conclusion and Your Next Steps
You’ve caught the specialty coffee bug, but your wallet is giving you the side-eye. Sound familiar? The good news is that brewing exceptional coffee at home doesn’t require a second mortgage or a barista certification. With a smart approach and the right priorities, you can build a home coffee setup on a tight budget that produces cups rivaling your favorite café. In this guide, I’ll walk you through exactly how to do it—step by step—so you can stop overspending on takeaway coffee and start enjoying better brews for a fraction of the cost.
Whether you’re a complete beginner or someone looking to upgrade without breaking the bank, you’ll find practical advice here. We’ll cover what gear actually matters, where to save, where to spend, and how to get the most flavor out of every dollar. Life is too short for bad coffee—and it’s definitely too short to go broke chasing good coffee.
What You’ll Need: Essential Gear for a Budget Coffee Setup
Before we dive into the step-by-step plan, let’s get clear on the essentials. A solid home coffee setup on a tight budget requires only a handful of items. Everything else is optional (or can wait until later).
The Must-Haves
- A brewing device – This is non-negotiable. You need something to actually make the coffee.
- A grinder – Freshly ground coffee is the single biggest upgrade you can make.
- A kettle – Any kettle works, though a gooseneck offers more control.
- Fresh coffee beans – Stale coffee equals sad coffee, no matter your equipment.
- A scale – Consistency is king, and a basic kitchen scale does the job.
The Nice-to-Haves (For Later)
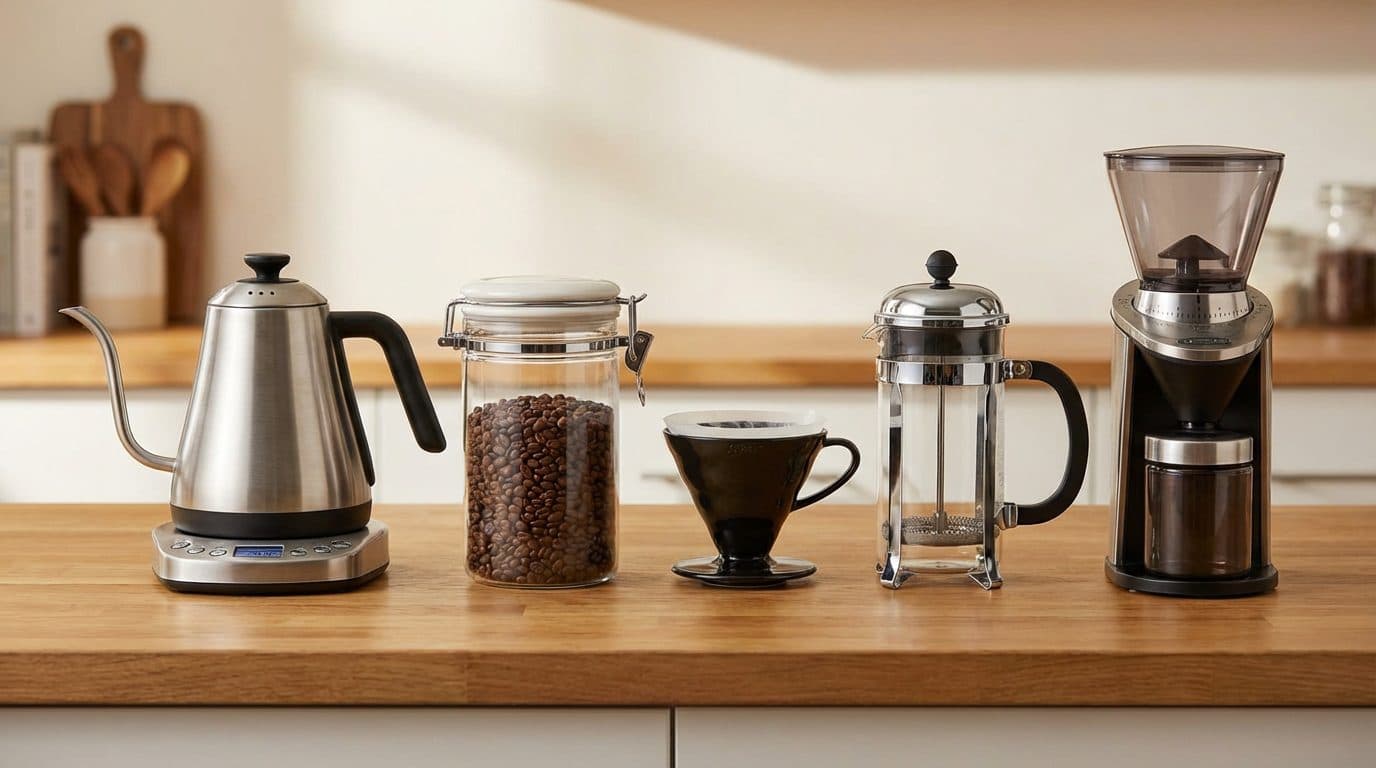
- A gooseneck kettle with temperature control
- A dedicated coffee storage canister
- Multiple brewing devices for variety
- A burr grinder upgrade
In short: start with the basics, master them, and upgrade over time. Trying to buy everything at once is how budgets get destroyed.
Step 1: Choose Your Brewing Method Wisely
Your brewing device is the foundation of your home coffee setup. The beautiful thing about budget brewing? Some of the cheapest methods produce some of the best coffee. Seriously.
Best Budget-Friendly Brewing Options
| Brewing Method | Approximate Cost | Best For | Learning Curve |
|---|---|---|---|
| French Press | $15–$30 | Full-bodied, rich coffee | Easy |
| AeroPress | $30–$40 | Versatile, clean cups | Easy-Medium |
| Pour-Over (Plastic V60) | $10–$15 | Bright, nuanced flavors | Medium |
| Moka Pot | $20–$35 | Strong, espresso-style coffee | Medium |
In my experience, the AeroPress offers the best bang for your buck. It’s nearly indestructible, incredibly forgiving, and produces consistently great coffee. But honestly? You can’t go wrong with any of these options.
Barista Tip: Skip the expensive ceramic pour-over drippers. The plastic Hario V60 actually retains heat better and costs a fraction of the price. Function over fashion when you’re on a budget.
Imagine this scenario: You’re a college student with $50 to spend on your entire setup. A French Press and a cheap hand grinder will have you brewing coffee that embarrasses the campus café. That’s the power of prioritizing the right gear.
Step 2: Invest in a Grinder (Yes, Really)
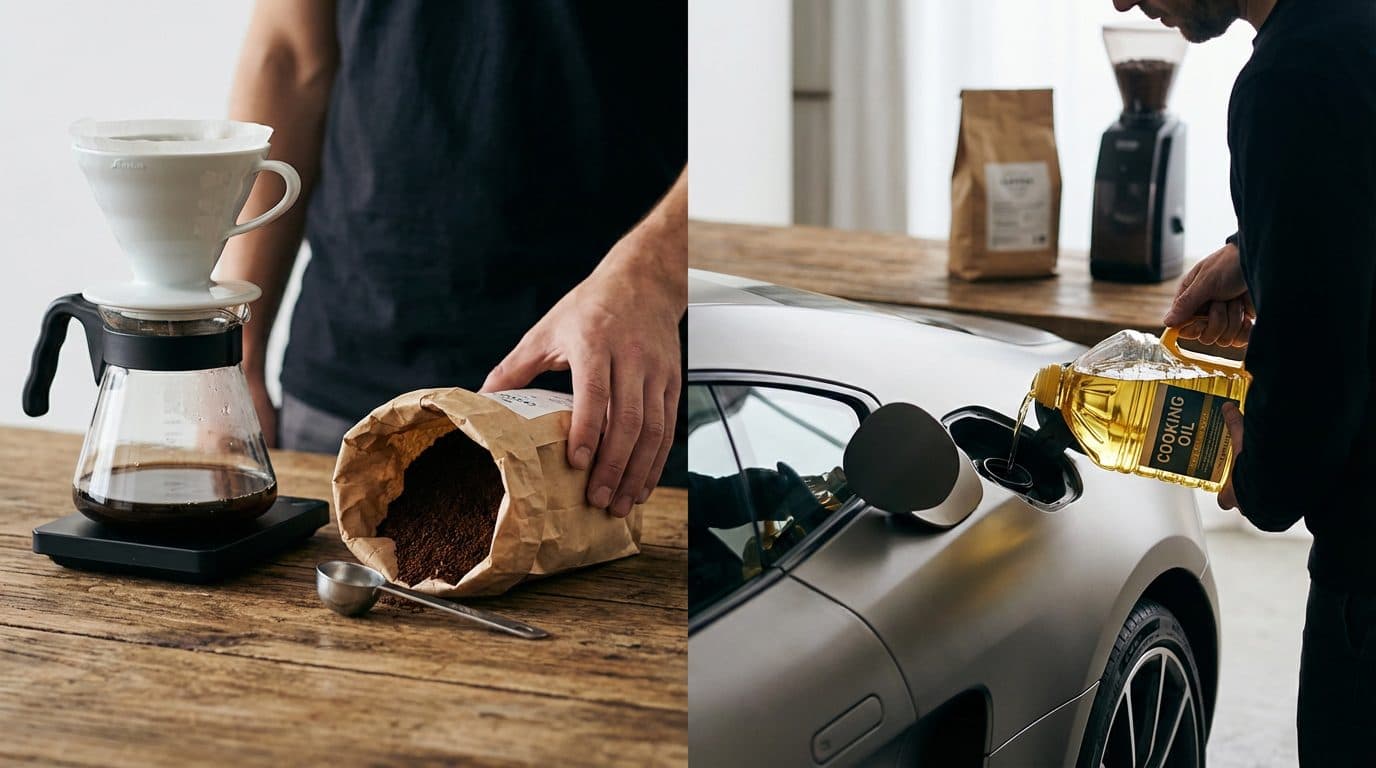
Here’s where I might sound like a broken record, but I’ve found that this is where most budget setups fail. People spend $100 on a fancy brewer and then use pre-ground coffee from the supermarket. That’s like buying a sports car and filling it with cooking oil.
Freshly ground coffee makes a dramatic difference. Coffee starts losing its aromatic compounds within 15–30 minutes of grinding. Those pre-ground bags? They lost the battle weeks ago.
Budget Grinder Options
- Hand grinders ($25–$50): The JavaPresse, Hario Skerton, or 1Zpresso Q2 are solid choices. Yes, you’ll need some arm work, but the grind quality punches way above the price point.
- Entry-level electric burr grinders ($50–$80): The Baratza Encore (used) or Bodum Bistro can sometimes be found in this range. They save time but cost more.
For a truly tight budget, go with a hand grinder. I know, I know—it sounds tedious. But grinding 20–30 grams of coffee takes less than two minutes. Consider it your morning arm workout.
Key Takeaway: A cheap brewer with a good grinder will outperform an expensive brewer with pre-ground coffee every single time.
Step 3: Don’t Overlook the Kettle
You need hot water. That’s obvious. But how you heat and pour that water matters more than you might think—especially for pour-over methods.
If you already own a kettle, use it. Any kettle that boils water will work for French Press, AeroPress, or Moka Pot. You don’t need to buy anything new right away.
When to Upgrade
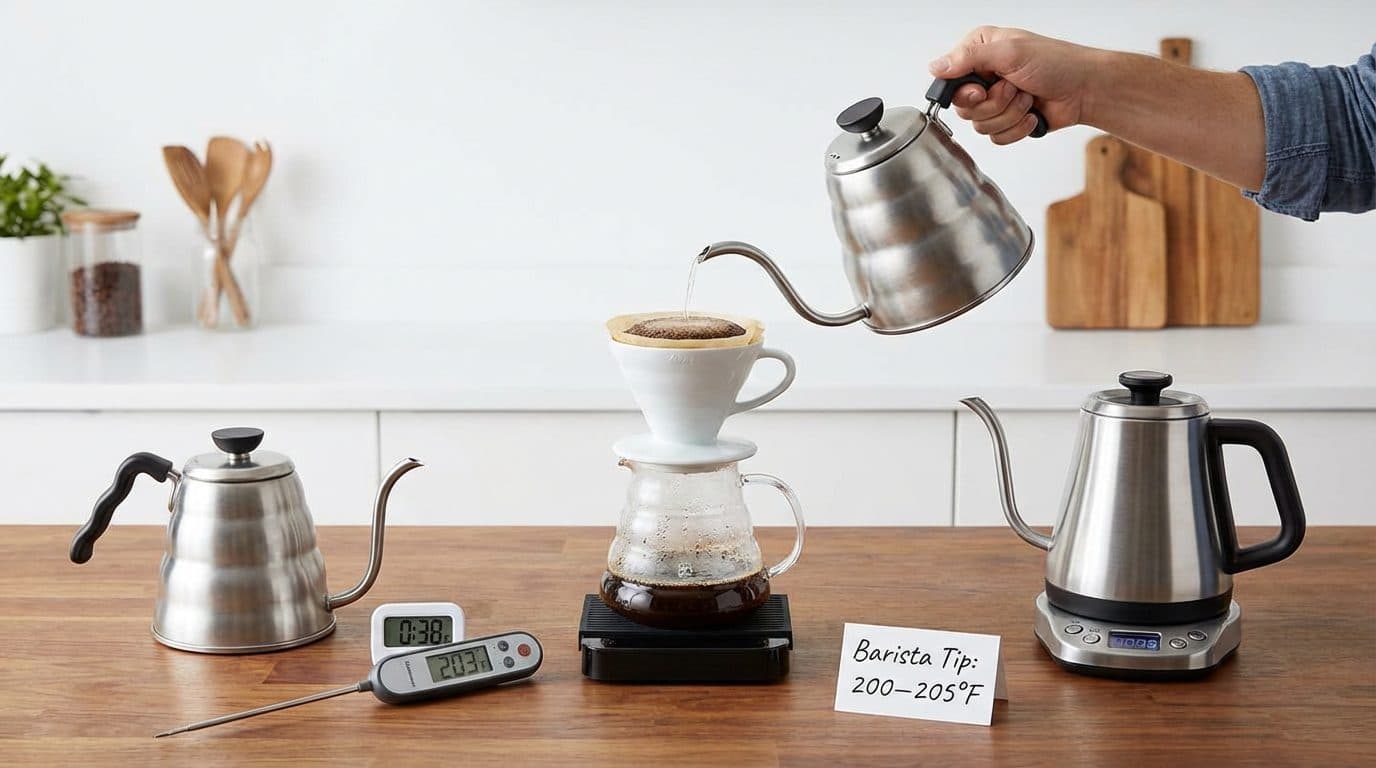
If you’re pursuing pour-over brewing, a gooseneck kettle gives you the control needed for an even extraction. Budget-friendly options like the Bodum Melior or basic stainless steel goosenecks run $20–$35. Electric gooseneck kettles with temperature control are nice, but they’re a luxury—not a necessity.
Barista Tip: No thermometer? No problem. Boil your water, then let it sit for 30–45 seconds. You’ll land somewhere around 200–205°F (93–96°C), which is ideal for most brewing methods.
Step 4: Get a Basic Scale (It’s Cheaper Than You Think)
Consistency is what separates good home coffee from great home coffee. And consistency requires measuring. Eyeballing your coffee and water is a recipe for frustration—some cups will be weak, others bitter, and you won’t know why.
A basic kitchen scale costs $10–$15 and solves this problem entirely. You don’t need a fancy coffee-specific scale with a built-in timer. Your phone has a timer. Use it.
The Golden Ratio to Start
For most brewing methods, aim for a 1:15 to 1:17 coffee-to-water ratio. In practical terms:
- For one cup: 15–18 grams of coffee to 250–270 grams of water
- For two cups: 30–36 grams of coffee to 500–540 grams of water
Start there, taste your results, and adjust. Too bitter? Use less coffee or coarsen your grind. Too sour or weak? Use more coffee or go finer. The scale lets you make repeatable adjustments instead of just guessing.
Step 5: Source Quality Beans Without Overpaying
All your careful setup work means nothing if you’re using stale, low-quality beans. But “quality” doesn’t have to mean expensive. Here’s how to find good coffee on a budget.
Budget-Smart Bean Buying Tips
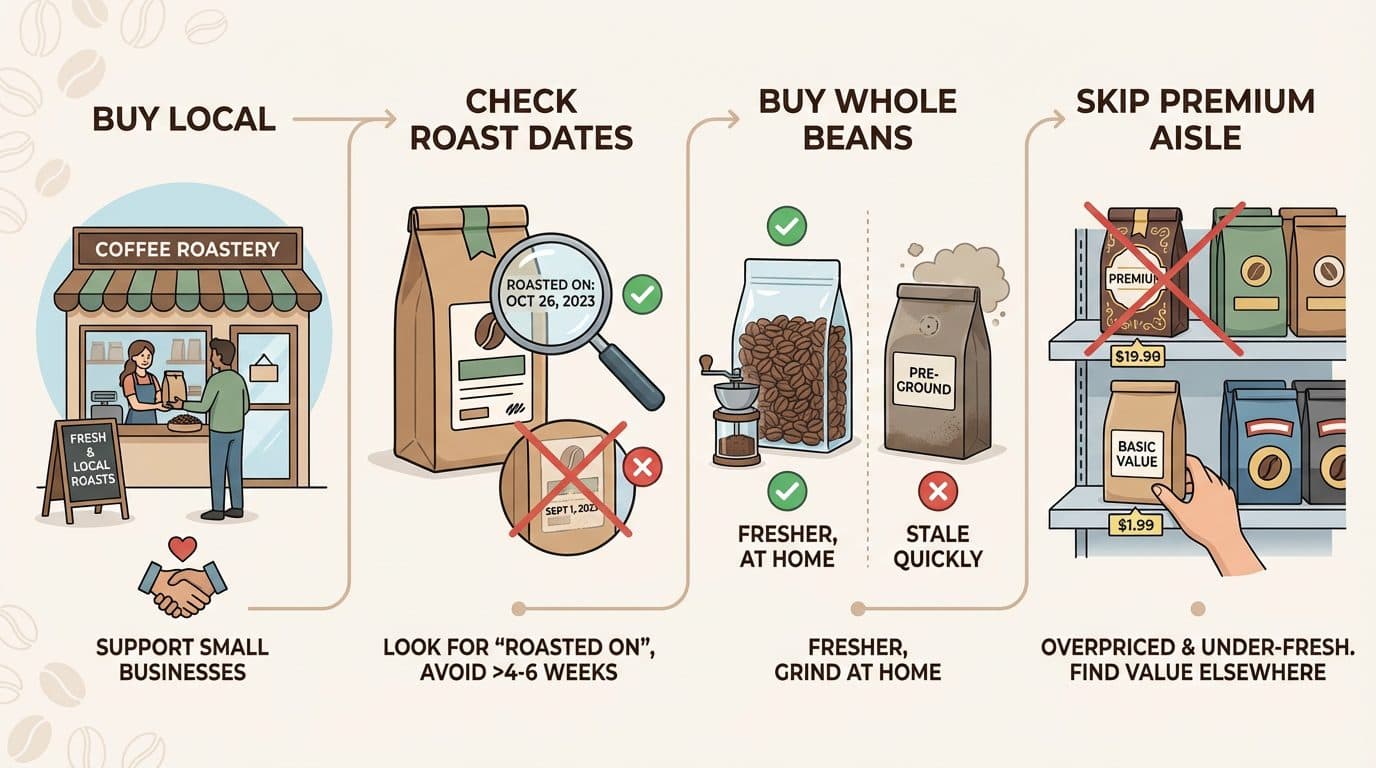
- Buy local when possible: Local roasters often have fresher beans at competitive prices. Plus, you’re supporting small businesses.
- Check roast dates: Always look for a “roasted on” date. Avoid anything older than 4–6 weeks.
- Buy whole beans: Pre-ground coffee is stale before you even open it.
- Skip the grocery store premium aisle: Those beans are often overpriced and under-fresh. Basic grocery store beans (like Lavazza or Illy) are a better value than fancy-looking bags with no roast date.
- Consider subscriptions: Many roasters offer discounts for recurring orders, and you’ll never run out.
Here’s a real-world example: I once compared a $22/lb specialty roaster bag against a $9 Costco bag of Kirkland Signature beans. The specialty beans were better, sure—but the Costco beans, freshly ground, still made a perfectly enjoyable cup. Don’t let coffee snobbery keep you from good, affordable options.
Step 6: Put It All Together (Sample Budget Breakdown)
Let’s build a complete home coffee setup on a tight budget with actual numbers. This assumes you’re starting from zero.
The $75 Starter Setup
| Item | Estimated Cost |
|---|---|
| AeroPress (or French Press) | $30 |
| Hand grinder (JavaPresse or similar) | $25 |
| Basic kitchen scale | $12 |
| Bag of fresh beans (12 oz) | $8–$15 |
| Total | ~$75–$82 |
That’s it. You now have everything needed to make coffee that tastes better than most cafés. Use your existing kettle, and you’re set.
The $50 Ultra-Budget Setup
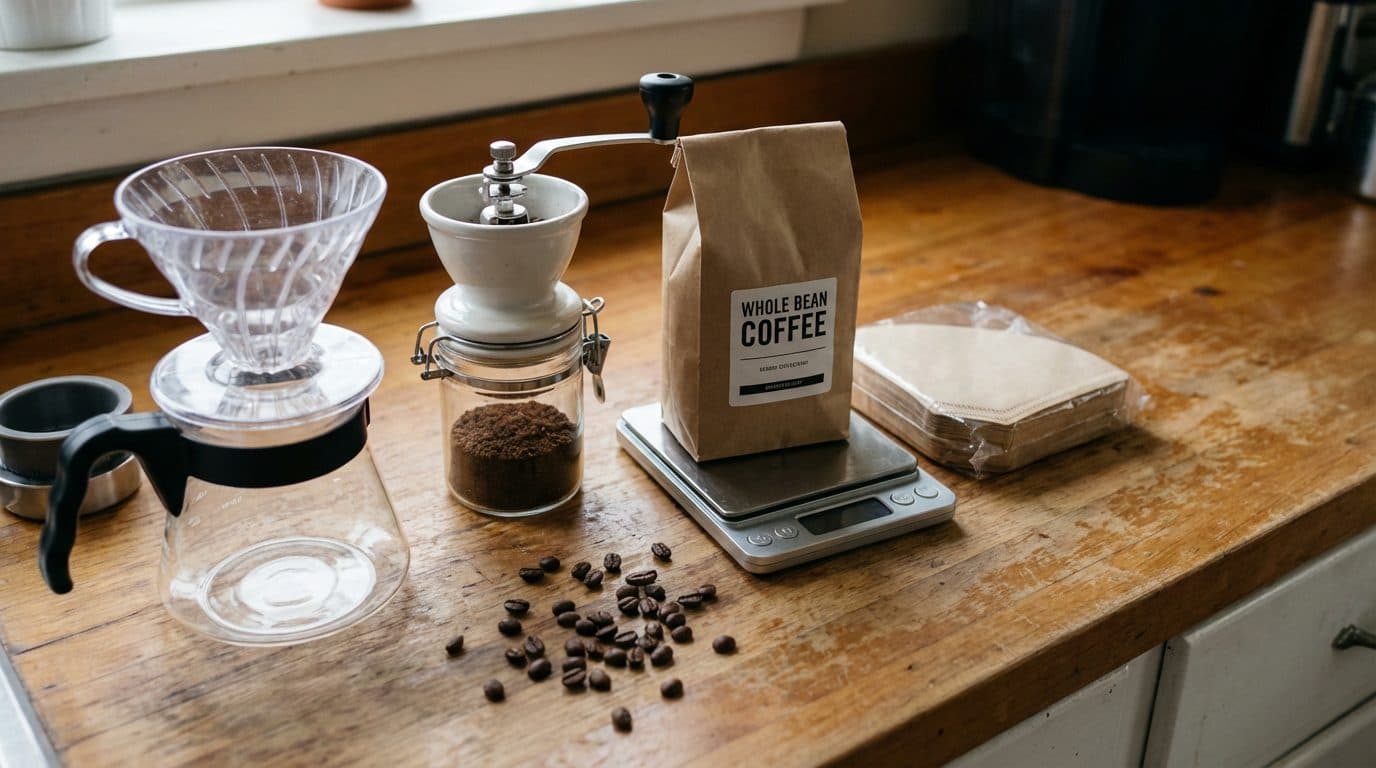
Really strapped for cash? Go with a plastic V60 dripper ($8), a Hario Skerton clone grinder ($20), a kitchen scale ($12), and a bag of beans ($10). You’ll need filters too—around $7 for 100. Total: roughly $50–$57.
It’s bare bones, but it works beautifully.
Frequently Asked Questions
Can I really make good coffee without an espresso machine?
Absolutely. Espresso machines are expensive and require a steep learning curve. Methods like AeroPress, Moka Pot, or even a strong French Press can produce concentrated, rich coffee that scratches a similar itch—without the $500+ price tag.
Is a hand grinder really worth the effort?
For budget setups, yes. Hand grinders deliver burr-quality grinding at a fraction of the electric cost. The two minutes of manual grinding is a small trade-off for significantly better coffee.
How much money will I actually save brewing at home?
If you buy one $5 latte per day, you’re spending about $150/month. A home setup pays for itself within the first month, and ongoing costs drop to around $15–$30/month for beans. The savings add up fast.
What’s the biggest mistake beginners make with budget setups?
Using pre-ground coffee. It’s the single most common way people sabotage an otherwise good setup. Fresh grinding is the foundation—don’t skip it.
Should I buy used equipment to save money?
Used equipment can be a great value, especially for items like kettles, scales, or even grinders. Check local marketplaces, thrift stores, and coffee forums. Just inspect for damage and cleanliness before buying.
Conclusion and Your Next Steps
Building a home coffee setup on a tight budget isn’t about sacrifice—it’s about smart priorities. Focus on fresh beans, a decent grinder, and a simple brewing method. Skip the flashy gadgets, at least for now. The coffee world wants you to believe you need expensive equipment. You don’t.
Start with the basics outlined here, practice your technique, and upgrade gradually as your budget allows. Within a week of brewing at home, you’ll wonder why you ever paid $6 for a mediocre latte. Your wallet—and your taste buds—will thank you.
Ready to take the first step? Pick one brewing method that appeals to you, order a hand grinder, and grab a bag of fresh beans from a local roaster. You’re closer to great coffee than you think.

Comments