


Table of Contents
- Mistake #1: Using Stale or Low-Quality Coffee Beans
- Why This Happens
- How to Fix It
- Mistake #2: Getting the Espresso Extraction Wrong
- Signs of Poor Extraction
- The Fix: Dial In Your Shot
- Mistake #3: Steaming Milk Incorrectly
- Common Milk Steaming Errors
- How to Steam Like a Pro
- Mistake #4: Using the Wrong Milk (Or Using It Wrong)
- Dairy Milk Considerations
- Plant-Based Milk Challenges
- Mistake #5: Neglecting Temperature and Timing
- Temperature Mistakes to Avoid
- Simple Fixes
- Mistake #6: Poor Espresso-to-Milk Ratio
- Getting the Balance Right
- Frequently Asked Questions
- Why does my homemade latte taste bitter?
- Why does my milk keep getting bubbly instead of creamy?
- Can I make a good latte without an espresso machine?
- How do I know when my milk is at the right temperature?
- Why does my latte art never work?
- Conclusion: Small Changes, Big Improvements
You’ve invested in a decent espresso machine, bought some quality beans, and watched about a dozen YouTube videos on latte art. Yet somehow, your homemade lattes still taste like a disappointing impersonation of the real thing. Sound familiar? You’re not alone—I’ve been there, staring at a cup of bitter, poorly textured disappointment, wondering where it all went wrong.
The good news is that most homemade latte mistakes are incredibly common and surprisingly easy to fix. In my experience, the difference between a mediocre latte and a café-quality one often comes down to a handful of small adjustments. In this guide, I’ll walk you through the most frequent errors that ruin homemade lattes and give you practical solutions you can implement today. Life is too short for bad coffee, so let’s fix yours.
Mistake #1: Using Stale or Low-Quality Coffee Beans
This might seem obvious, but it’s the foundation everything else builds upon. Many home baristas underestimate just how much bean freshness affects their latte’s final taste. Those pre-ground beans that have been sitting in your pantry for three months? They’re doing you no favors.
Why This Happens
Coffee beans begin losing their aromatic compounds and essential oils almost immediately after roasting. Within two to three weeks, the flavor profile starts deteriorating noticeably. Pre-ground coffee accelerates this process dramatically—you’re looking at significant flavor loss within just 15 to 20 minutes of grinding.
How to Fix It
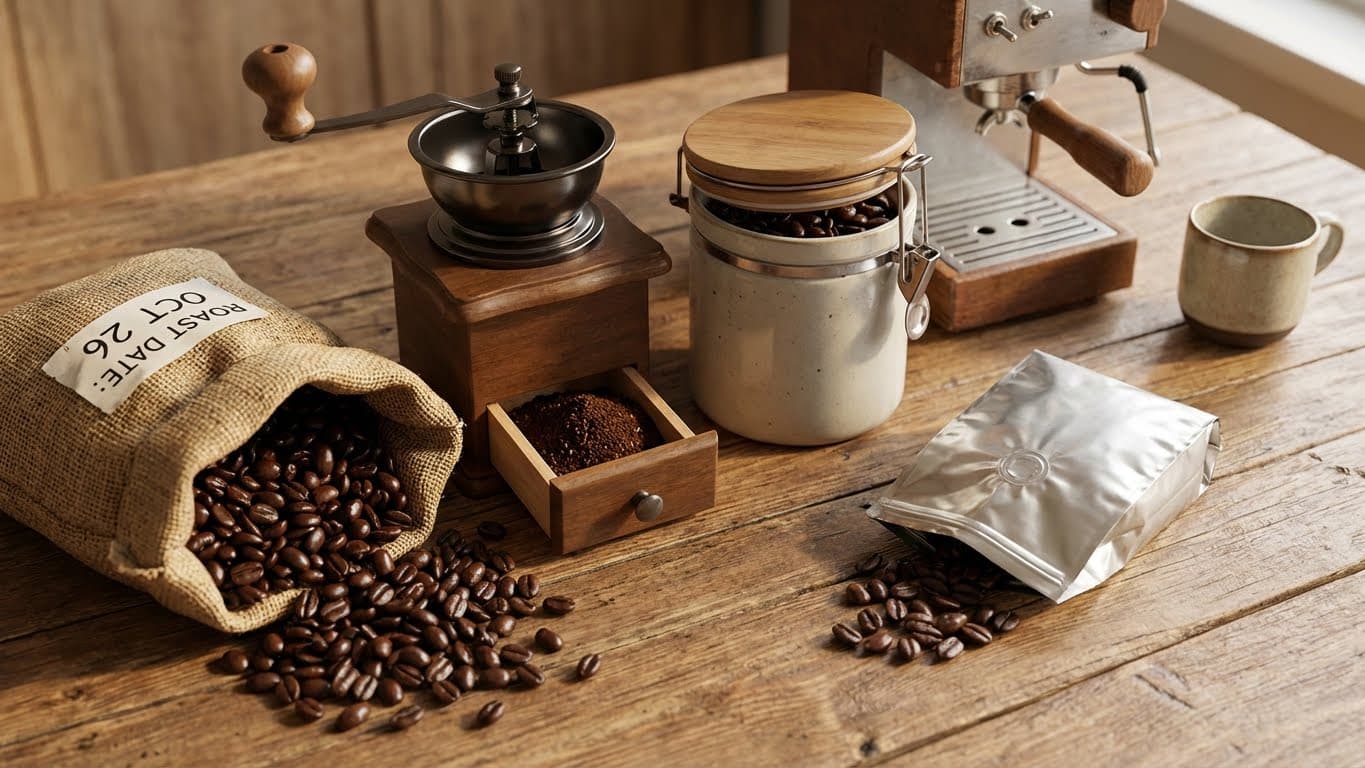
- Buy whole beans and grind them fresh for each shot. This single change can transform your lattes.
- Check the roast date—aim to use beans within 2 to 4 weeks of roasting for optimal flavor.
- Store beans properly in an airtight container away from light, heat, and moisture.
- Buy smaller quantities more frequently rather than stocking up for months.
Key Takeaway: Fresh beans are non-negotiable. If you remember only one thing from this article, make it this: invest in freshly roasted, whole beans and grind them right before brewing.
Mistake #2: Getting the Espresso Extraction Wrong
Your latte is only as good as the espresso at its core. I’ve found that most underwhelming homemade lattes trace back to extraction problems—either pulling too fast, too slow, or using incorrect ratios.
Signs of Poor Extraction
Under-extracted espresso tastes sour, thin, and lacks body. The shot typically runs too fast (under 20 seconds) and appears watery and pale. Over-extracted espresso, on the other hand, tastes bitter, harsh, and ashy. These shots run too slowly (over 35 seconds) and look dark and syrupy.
The Fix: Dial In Your Shot
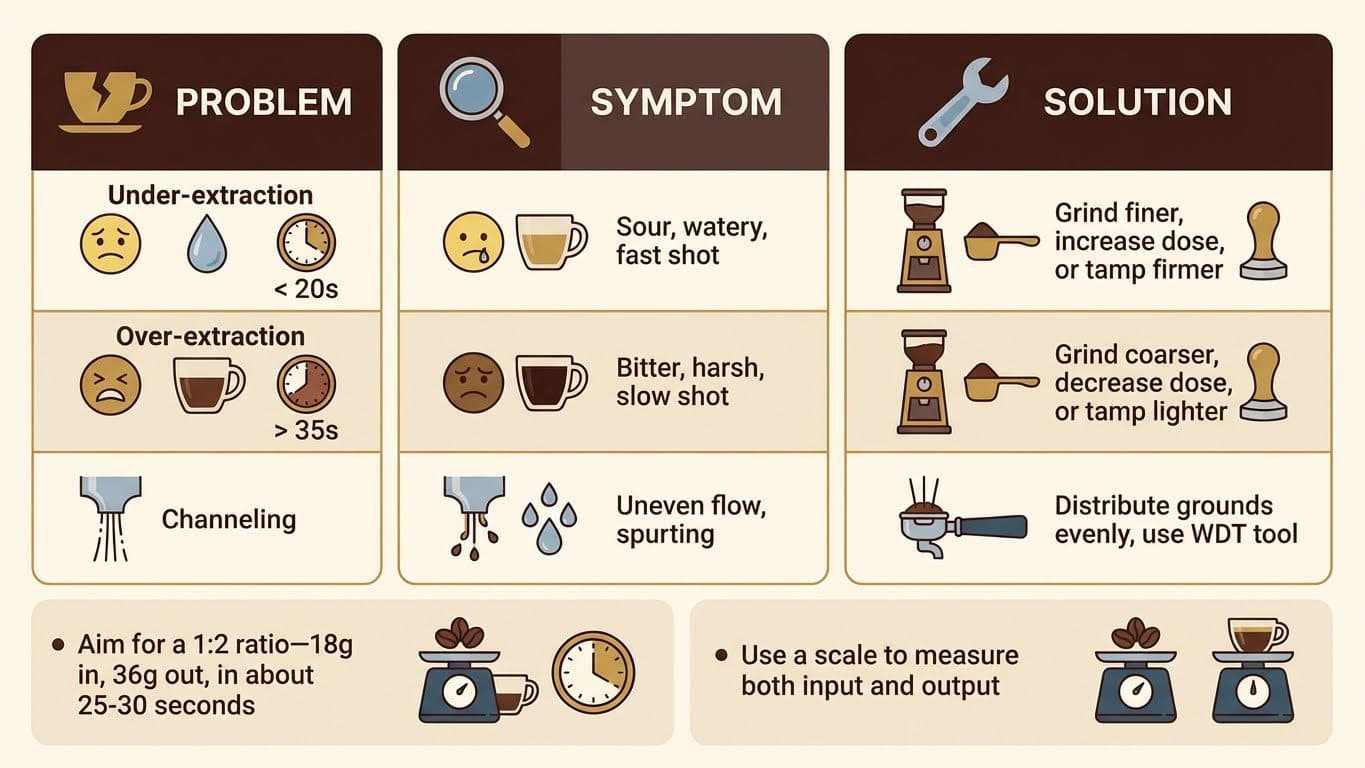
Here’s a simple table to help you troubleshoot:
| Problem | Symptom | Solution |
|---|---|---|
| Under-extraction | Sour, watery, fast shot (under 20 sec) | Grind finer, increase dose, or tamp firmer |
| Over-extraction | Bitter, harsh, slow shot (over 35 sec) | Grind coarser, decrease dose, or tamp lighter |
| Channeling | Uneven flow, spurting | Distribute grounds evenly, use WDT tool |
- Aim for a 1:2 ratio—18 grams of coffee in, 36 grams of espresso out, in about 25 to 30 seconds.
- Use a scale to measure both input and output. Eyeballing leads to inconsistency.
- Adjust one variable at a time so you can identify what’s actually making a difference.
Barista Tip: If your espresso tastes okay on its own but gets lost in milk, try a slightly longer ratio (1:2.5) or use a more robusta-heavy blend designed for milk drinks.
Mistake #3: Steaming Milk Incorrectly
Here’s where many home lattes truly fall apart. Even with perfect espresso, poorly steamed milk will sabotage your drink. I’ve seen people produce foam that resembles dish soap bubbles—dry, stiff, and completely wrong for a latte.
Common Milk Steaming Errors
- Starting with warm milk: Always use cold, fresh milk straight from the refrigerator.
- Aerating too long: This creates dry, bubbly foam instead of silky microfoam.
- Overheating: Milk scorched above 70°C (158°F) tastes burnt and loses sweetness.
- Wrong pitcher size: Too large a pitcher makes controlling the swirl difficult.
How to Steam Like a Pro
The goal is microfoam—milk with tiny, invisible bubbles that creates a glossy, paint-like texture. Here’s the process:
- Fill your pitcher about one-third full with cold milk.
- Position the steam wand just below the surface, slightly off-center.
- Aerate first (introduce air) for about 3 to 5 seconds until you hear a gentle “tss-tss” sound.
- Submerge the wand and create a vortex to incorporate the foam and heat evenly.
- Stop when the pitcher is too hot to hold comfortably (around 60-65°C).
- Tap and swirl the pitcher on the counter to pop large bubbles and integrate the foam.
In short: you want milk that looks like wet white paint, not a bubble bath.
Mistake #4: Using the Wrong Milk (Or Using It Wrong)
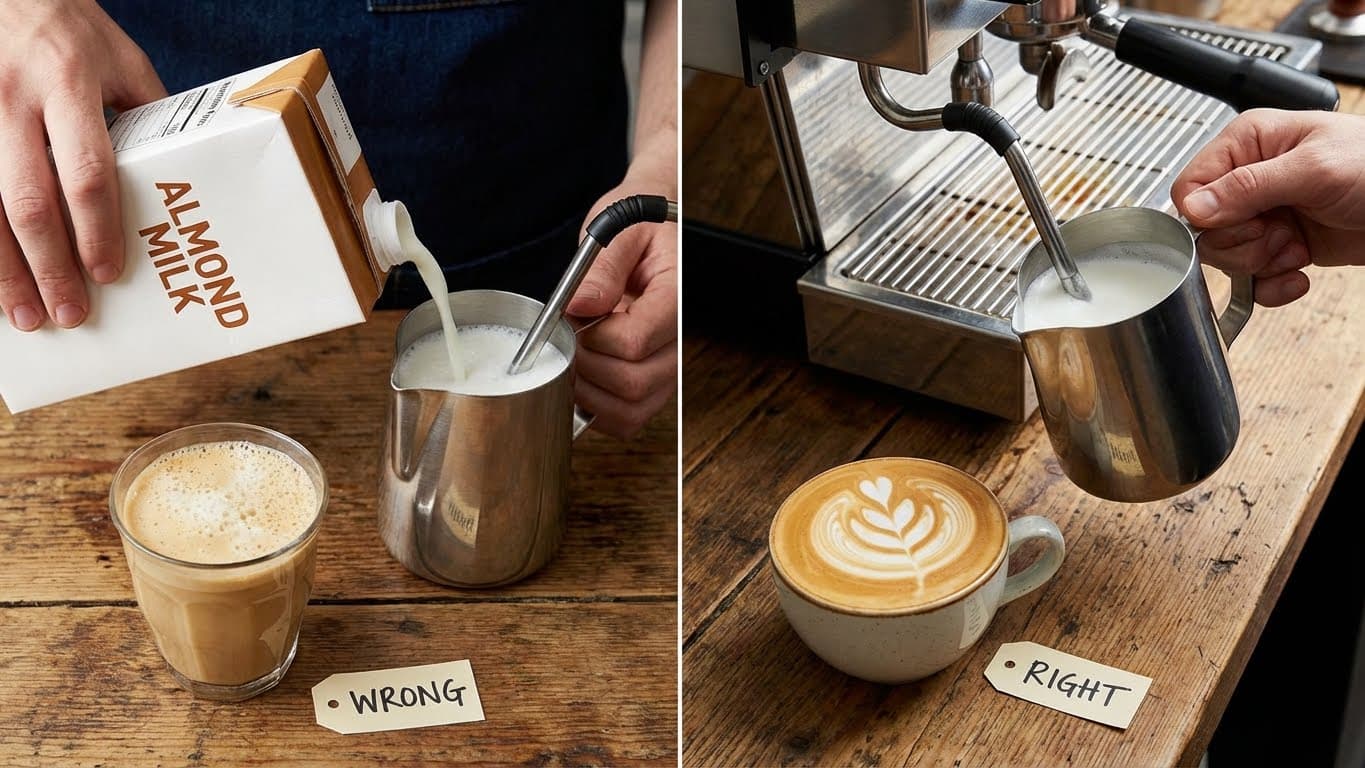
Not all milks are created equal when it comes to lattes. The type of milk you choose—and how you handle it—significantly impacts both texture and taste.
Dairy Milk Considerations
Whole milk (around 3.5% fat) is generally the most forgiving and produces the creamiest, most balanced lattes. The fat content contributes to body and mouthfeel, while the proteins help create stable microfoam. Skim milk can create impressive foam volume but often produces a thinner, less satisfying drink.
Plant-Based Milk Challenges
If you’re using oat, almond, soy, or coconut milk, you’ve probably noticed they behave differently. Many plant milks:
- Have lower protein content, making stable foam harder to achieve
- Curdle when combined with acidic espresso
- Produce larger, less stable bubbles
The Fix: Look for “barista edition” plant milks specifically formulated for coffee. These typically contain added oils or stabilizers that improve steaming performance. Oat milk barista blends, in particular, have become quite good at mimicking dairy’s texture.
Barista Tip: When using plant milk, try adding it to the espresso rather than the other way around. This gradual mixing can help prevent curdling with more acidic roasts.
Mistake #5: Neglecting Temperature and Timing
A surprisingly common error involves temperature mismanagement at various stages. Your espresso machine might not be fully heated, your cup might be cold, or you’re letting things sit too long between steps.
Temperature Mistakes to Avoid
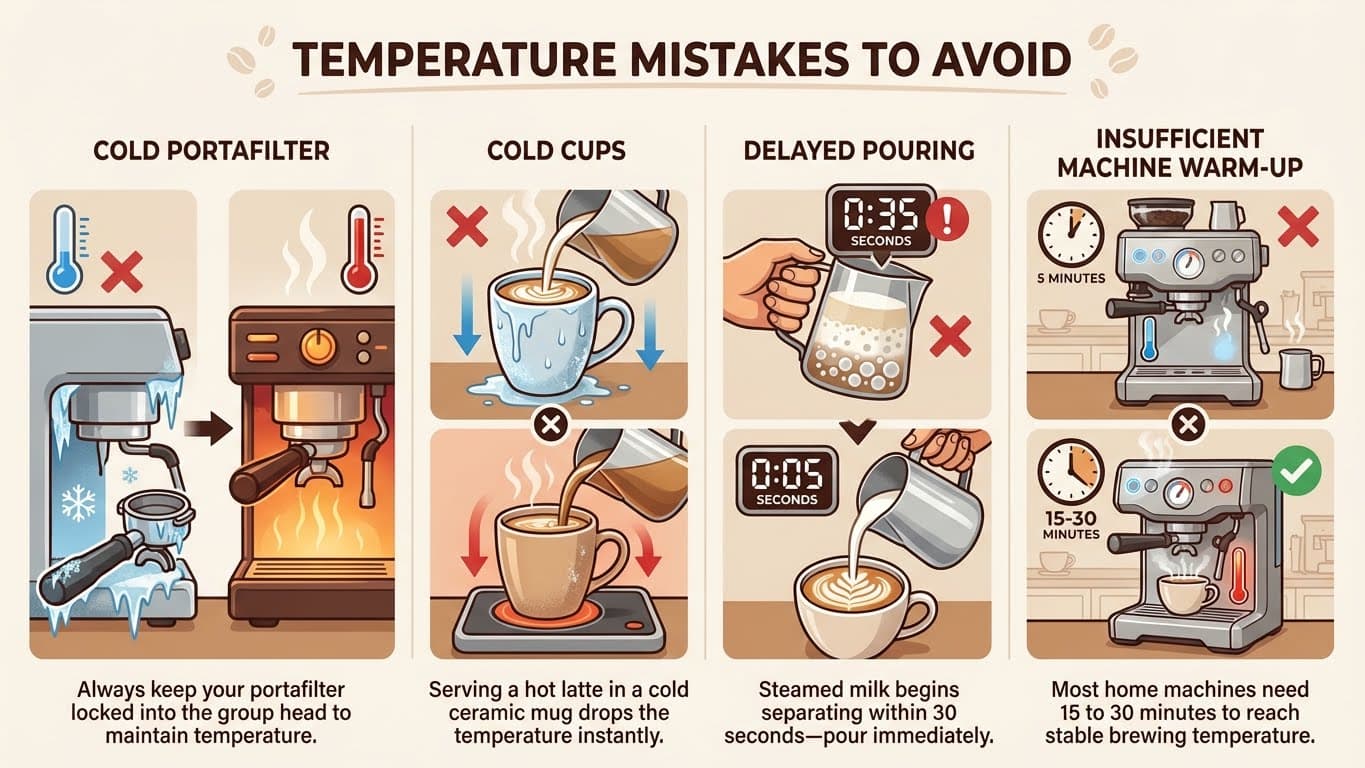
- Cold portafilter: Always keep your portafilter locked into the group head to maintain temperature.
- Cold cups: Serving a hot latte in a cold ceramic mug drops the temperature instantly.
- Delayed pouring: Steamed milk begins separating within 30 seconds—pour immediately.
- Insufficient machine warm-up: Most home machines need 15 to 30 minutes to reach stable brewing temperature.
Simple Fixes
Preheat your cups by filling them with hot water while you prep, or use your machine’s cup warmer if it has one. Pull your shot while steaming milk so both finish around the same time. And don’t rush your machine—turn it on while you’re getting ready in the morning and give it proper time to heat.
In my experience, serving temperature is one of those details that separates good lattes from great ones. A well-made latte served at the right temperature tastes noticeably better than the same drink gone lukewarm.
Mistake #6: Poor Espresso-to-Milk Ratio
A latte should taste like coffee enhanced by milk, not like hot milk with a faint coffee memory. Many home baristas use too much milk, drowning the espresso entirely.
Getting the Balance Right
A traditional latte uses roughly a 1:3 or 1:4 ratio of espresso to milk. For a standard 8-ounce latte, that means:
- 1-2 shots of espresso (30-60ml)
- 6-7 ounces of steamed milk
- About 1cm of microfoam on top
If you’re using a 12-ounce or larger mug, consider adding an extra shot. Otherwise, you’re essentially making an expensive glass of warm milk.
Scenario: Imagine you’re using a large 16-ounce travel mug with a single espresso shot. That espresso is lost—overwhelmed by the sheer volume of milk. Either use a smaller vessel or double (or triple) your shot to maintain the coffee flavor.
Frequently Asked Questions
Why does my homemade latte taste bitter?
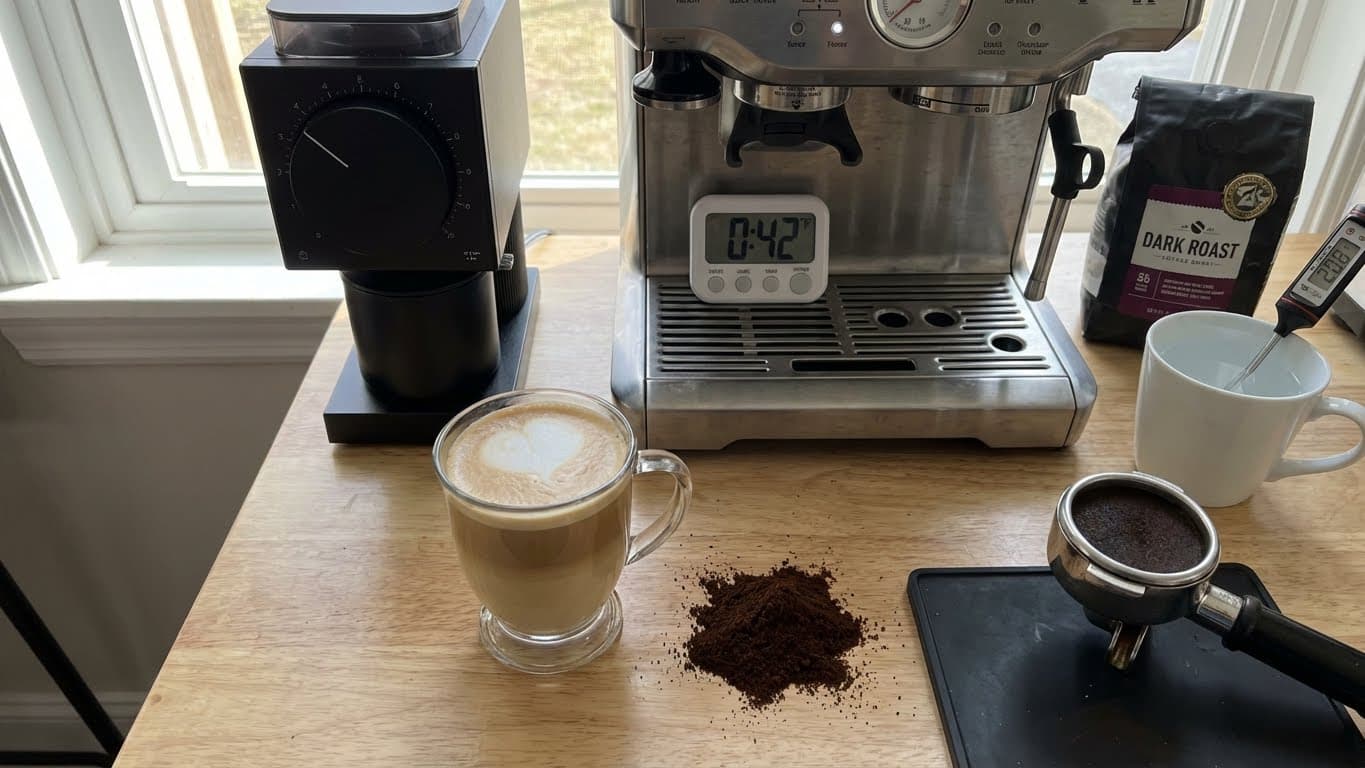
Bitterness usually indicates over-extraction. Your grind may be too fine, your shot pulling too long (over 30-35 seconds), or your water temperature too high. Try grinding slightly coarser and timing your shots. Also check your beans—dark roasts naturally taste more bitter, especially when over-extracted.
Why does my milk keep getting bubbly instead of creamy?
You’re likely aerating for too long or keeping the steam wand tip too high in the milk. Aerate only for the first few seconds (until the pitcher feels slightly warm), then submerge the wand deeper to create a spinning vortex that incorporates those bubbles into silky microfoam.
Can I make a good latte without an espresso machine?
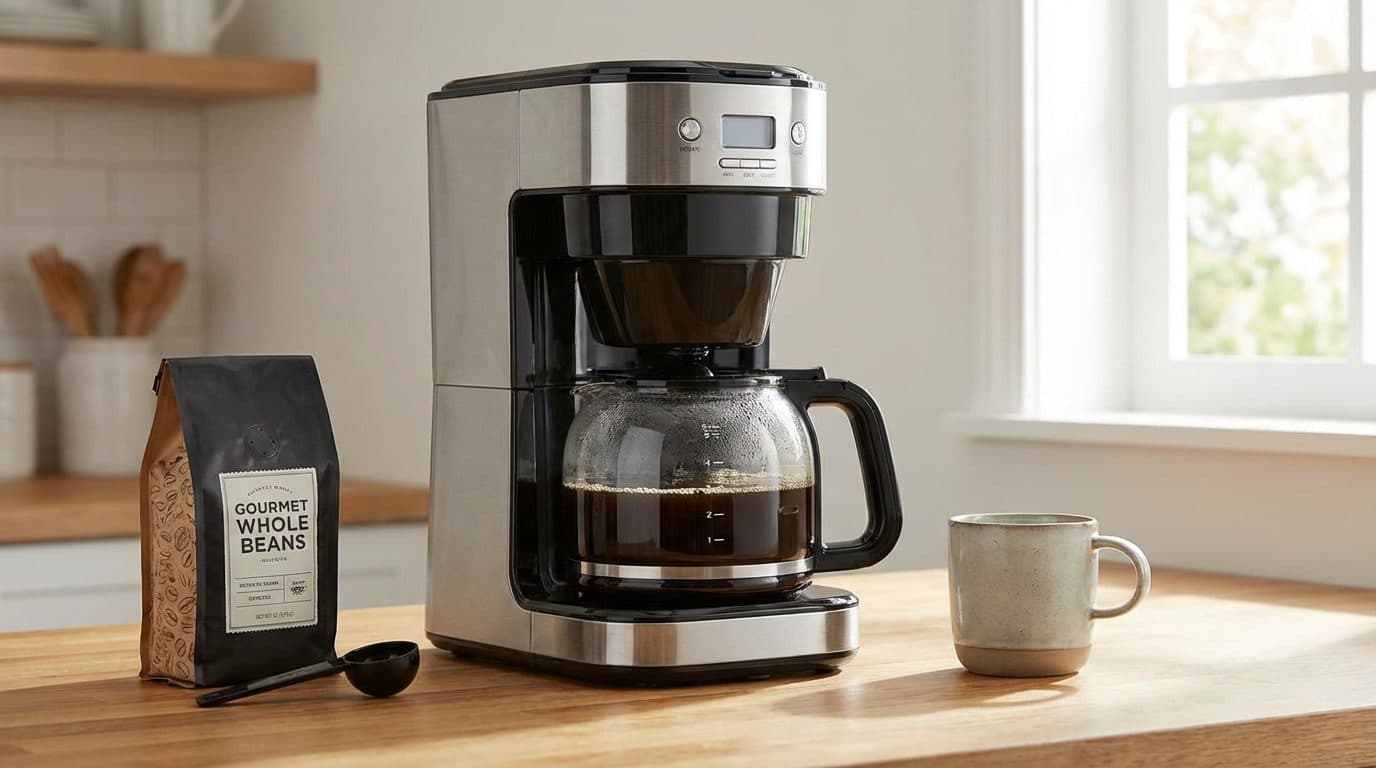
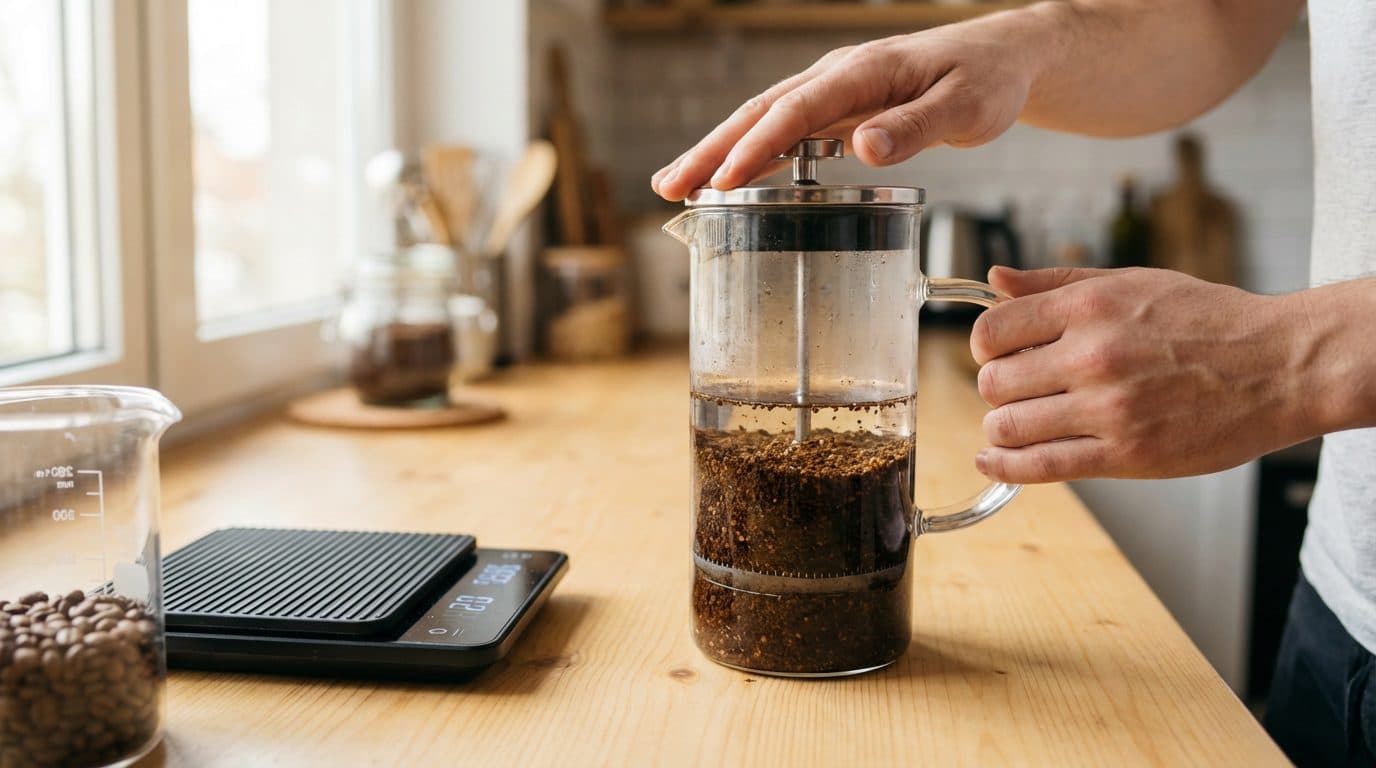
You can make a latte-style drink using a Moka pot, AeroPress, or strong French press coffee. The result won’t technically be a latte (which requires espresso), but you can get reasonably close. Use a French press or handheld frother to texture your milk if you don’t have a steam wand.
How do I know when my milk is at the right temperature?
When the pitcher becomes uncomfortable to hold for more than a second or two, you’re in the right range (60-65°C). Using a thermometer is helpful when learning. Once you’ve calibrated your sense of touch, you can eventually go by feel alone.
Why does my latte art never work?
Latte art requires properly textured microfoam—if your milk has visible bubbles or has separated into foam and liquid, no technique will save it. Focus on nailing your milk steaming first. The milk should pour like wet paint. Art comes after you’ve mastered texture.
Conclusion: Small Changes, Big Improvements
Most homemade latte failures stem from a handful of fixable mistakes: stale beans, poor extraction, improper milk steaming, wrong temperatures, or bad ratios. The encouraging news is that you don’t need expensive upgrades to dramatically improve your results. Often, it’s about technique and attention to detail rather than equipment.
Start with fresh beans and work on dialing in your espresso shot. Once that tastes good on its own, focus on your milk steaming technique. Pay attention to temperatures throughout the process, and respect the espresso-to-milk ratio. By addressing these common mistakes one by one, you’ll find your homemade lattes improving steadily—and before long, you might even prefer them to what you get at your local café. Now go pull a shot and put these fixes into practice.

Comments