


Table of Contents
- What Is a Knock Box and Why Do You Need One?
- Benefits of Having a Dedicated Knock Box
- What You'll Need for Your DIY Knock Box
- Essential Materials
- Optional Extras
- Three DIY Knock Box Designs That Actually Work
- Design 1: The Plastic Container Knock Box
- Design 2: The Coffee Canister Conversion
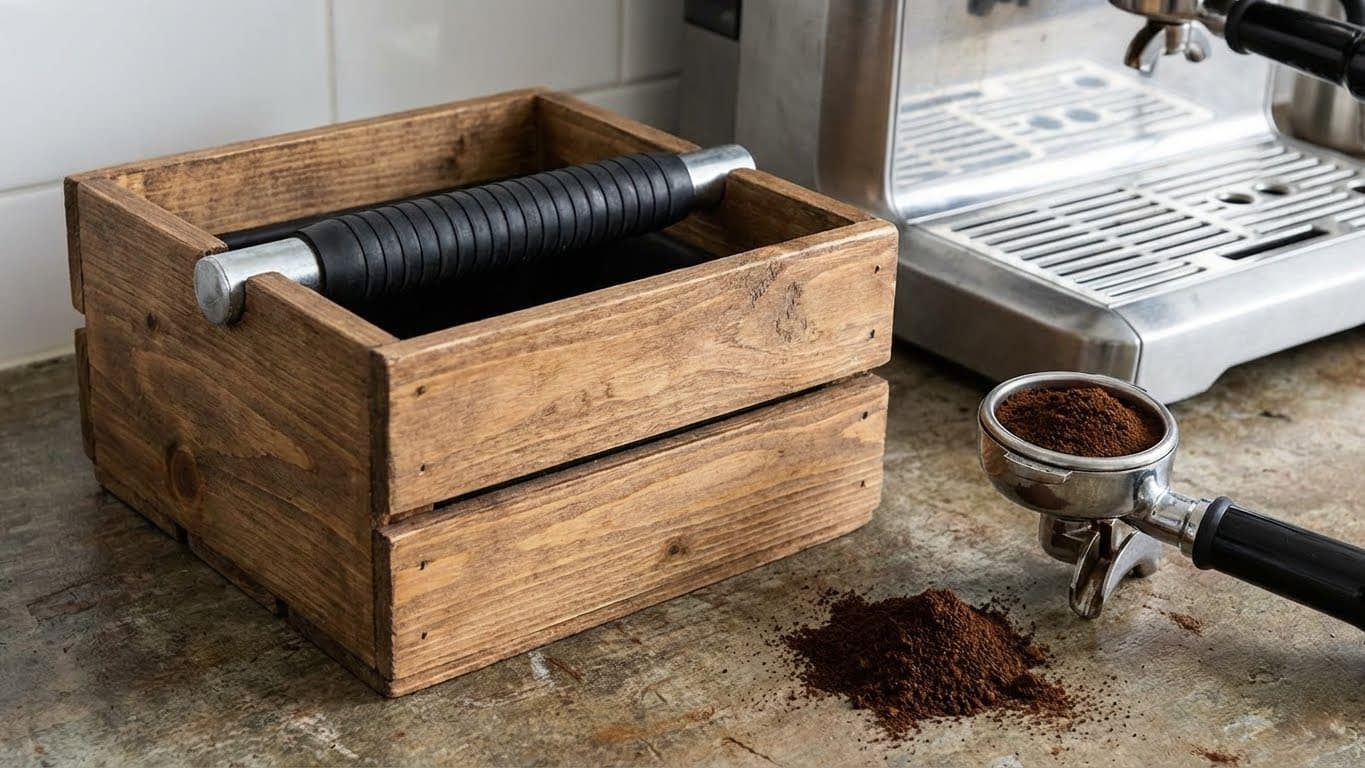
- Design 3: The Wooden Box Build
- Common DIY Knock Box Mistakes to Avoid
- Bar Position Too High or Too Low
- Insufficient Padding
- Container Too Light
- Forgetting About Drainage
- DIY Knock Box vs. Commercial Options: Is It Worth It?
- Frequently Asked Questions
- How often should I clean my DIY knock box?
- Can I use a metal container for my knock box?
- What's the best material for the knock bar?
- My pucks are sticking to the portafilter. Is that a knock box problem?
- Can I compost the used coffee grounds from my knock box?
- Conclusion and Your Next Steps
Ever found yourself awkwardly tapping your portafilter against the side of your trash can, sending coffee grounds flying everywhere? You’re not alone. A knock box is one of those espresso accessories that seems like a luxury until you actually use one—then it becomes essential. But here’s the thing: you don’t need to spend $30-$50 on a commercial knock box when you probably have everything you need to make one sitting in your kitchen right now.
In this guide, I’ll walk you through several DIY knock box designs that cost absolutely nothing to build. Whether you’re a budget-conscious home barista or just enjoy a good weekend project, you’ll learn how to create a functional, durable knock box that rivals the store-bought versions. Let’s turn some household items into your new favorite espresso tool.
What Is a Knock Box and Why Do You Need One?
A knock box is simply a container with a padded bar across the top where you “knock” your portafilter to release the spent coffee puck. It sounds basic because it is—but that simplicity is exactly why making your own DIY knock box is so achievable.
Without a proper knock box, you’re left with messy alternatives. Banging your portafilter against hard surfaces can damage the basket and scratch your countertops. Using the garbage bin means walking back and forth, and let’s be honest, it’s just not a great look when you’re trying to dial in your morning espresso routine.
Benefits of Having a Dedicated Knock Box
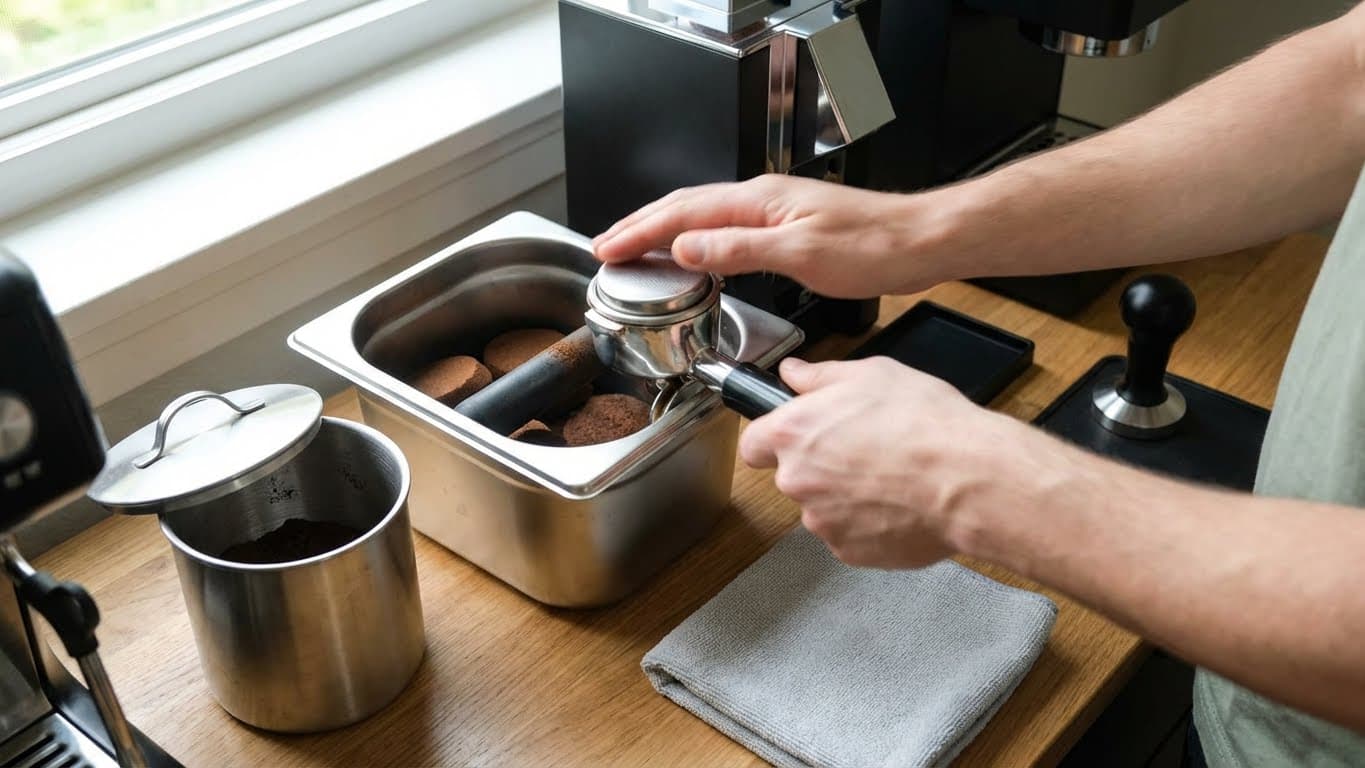
- Cleaner workflow: Spent grounds stay contained instead of scattering across your espresso station
- Protects your equipment: The padded bar absorbs impact, preventing damage to your portafilter
- Faster shot prep: Knock, wipe, dose—no interruptions to your rhythm
- Composting made easy: Collect grounds in one place for your garden or disposal
In my experience, adding a knock box to my setup cut my shot-to-shot time by about 15 seconds. That might not sound like much, but when you’re pulling multiple drinks for family or guests, it adds up quickly.
What You’ll Need for Your DIY Knock Box
The beauty of this project is that you likely already own everything required. Here’s what to gather before you start building.
Essential Materials
- A container: Plastic food storage container, small bucket, large coffee canister, or wooden box
- Knock bar material: Wooden dowel, thick rubber hose, pool noodle section, or rubber-wrapped PVC pipe
- Padding: Rubber tubing, foam pipe insulation, silicone sleeve, or thick rubber bands
- Cutting tools: Box cutter, scissors, or small saw (depending on materials)
- Mounting supplies: Hot glue gun, strong adhesive, or screws (optional)
Optional Extras
- Non-slip mat or rubber feet for stability
- Spray paint for a polished look
- Rubber gasket material for sound dampening
Barista Tip: Look for containers that are roughly 4-6 inches deep. Too shallow and grounds will bounce out; too deep and you’ll struggle to clean it properly.
Three DIY Knock Box Designs That Actually Work
I’ve tested numerous homemade designs over the years, and these three consistently perform well. Choose based on what materials you have available.
Design 1: The Plastic Container Knock Box
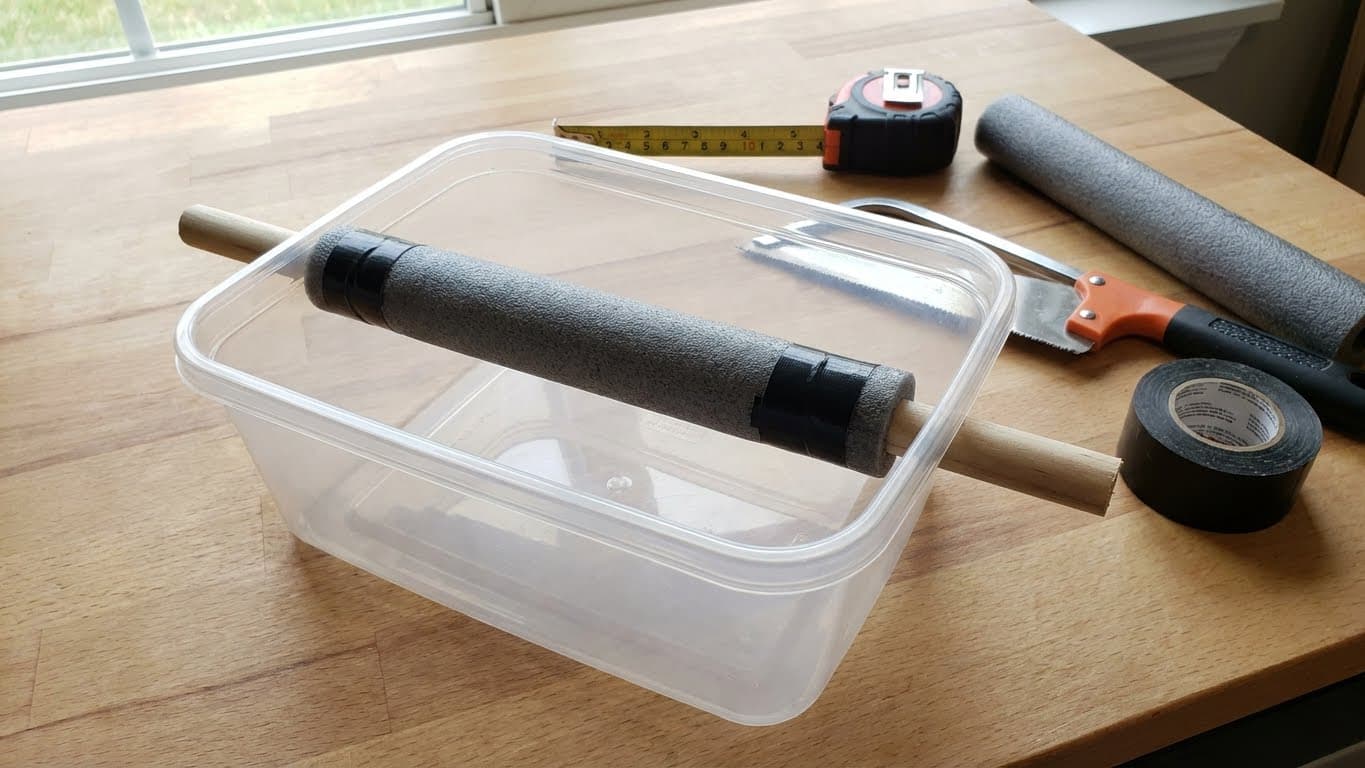
This is the quickest and most common approach. It takes about 10 minutes and works surprisingly well.
What you’ll need specifically: A rectangular plastic container (like a large takeout container or food storage box), a wooden dowel or thick wooden spoon handle, and foam pipe insulation from an old project or hardware store scraps.
- Measure the width of your container and cut your dowel to fit snugly inside, about 1 inch below the rim
- Wrap the dowel with foam pipe insulation, securing it with tape or glue at the ends
- Cut two small notches on opposite sides of the container rim where the dowel will rest
- Place the wrapped dowel into the notches—it should sit firmly without wobbling
- Test by knocking your empty portafilter against it; adjust bar height if needed
I made my first knock box this way using an old protein powder container. Three years later, I still use it at my secondary coffee station. The key is ensuring your bar has enough padding to absorb the impact without being so soft that it bends under pressure.
Design 2: The Coffee Canister Conversion
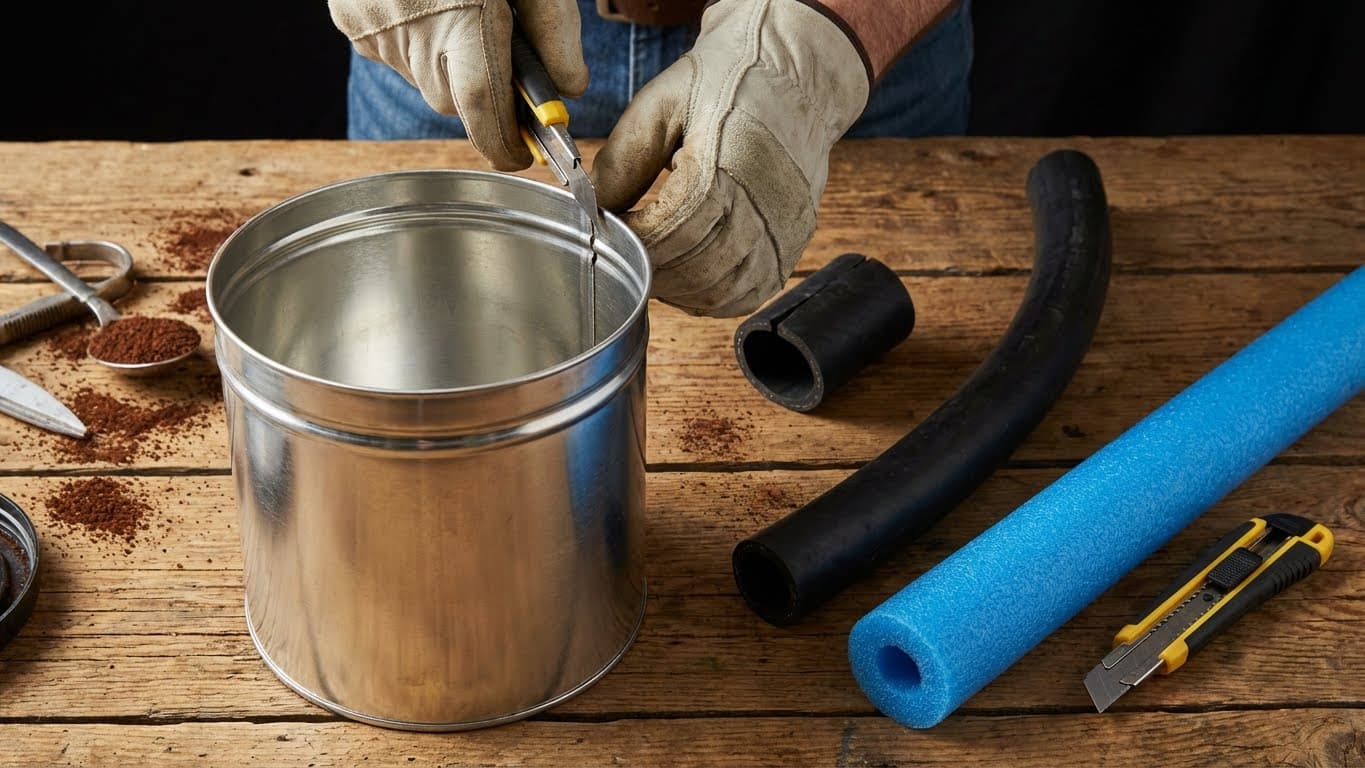
Got an empty large coffee canister lying around? These make excellent knock boxes because they’re already designed to handle coffee-related tasks.
- Remove the lid and clean the canister thoroughly
- Find a piece of thick rubber hose or a section of pool noodle that spans the canister opening
- Cut the rubber or foam to extend about 1 inch past each side of the opening
- Using a box cutter, slice small vertical notches into opposite sides of the canister rim (about 1 inch deep)
- Press your padded bar into the notches firmly
- Optional: Apply hot glue around the bar ends for permanent mounting
The round shape of coffee canisters actually works in your favor—grounds tend to collect at the bottom center, making emptying easier. Just knock, swirl, dump into your compost.
Design 3: The Wooden Box Build
If you want something more permanent and aesthetically pleasing, a small wooden box or drawer creates a beautiful rustic knock box. Check thrift stores, garage sales, or your own junk drawer for suitable candidates.
- Select a wooden box at least 5 inches wide and 4 inches deep
- Drill two small holes on opposite interior walls, about 1.5 inches from the top
- Cut a wooden dowel to fit between the holes with slight pressure
- Wrap the center section of the dowel (where impact occurs) with rubber tubing or silicone
- Insert the dowel through both holes—it should stay in place through friction
- Sand any rough edges and consider applying food-safe finish if desired
Wooden knock boxes have one major advantage: they look fantastic on your coffee bar. I’ve seen home baristas use old cigar boxes, small vintage drawers, and even repurposed wooden tissue box holders. Get creative with what you find.
Common DIY Knock Box Mistakes to Avoid
After helping numerous friends build their own knock boxes, I’ve noticed the same errors pop up repeatedly. Here’s how to sidestep them.
Bar Position Too High or Too Low
If your knock bar sits too high, you’ll struggle to get proper leverage when knocking. Too low, and grounds will fly over the bar instead of falling into the container. The sweet spot is typically 1-2 inches below the rim, allowing the portafilter spouts to clear the sides comfortably.
Insufficient Padding
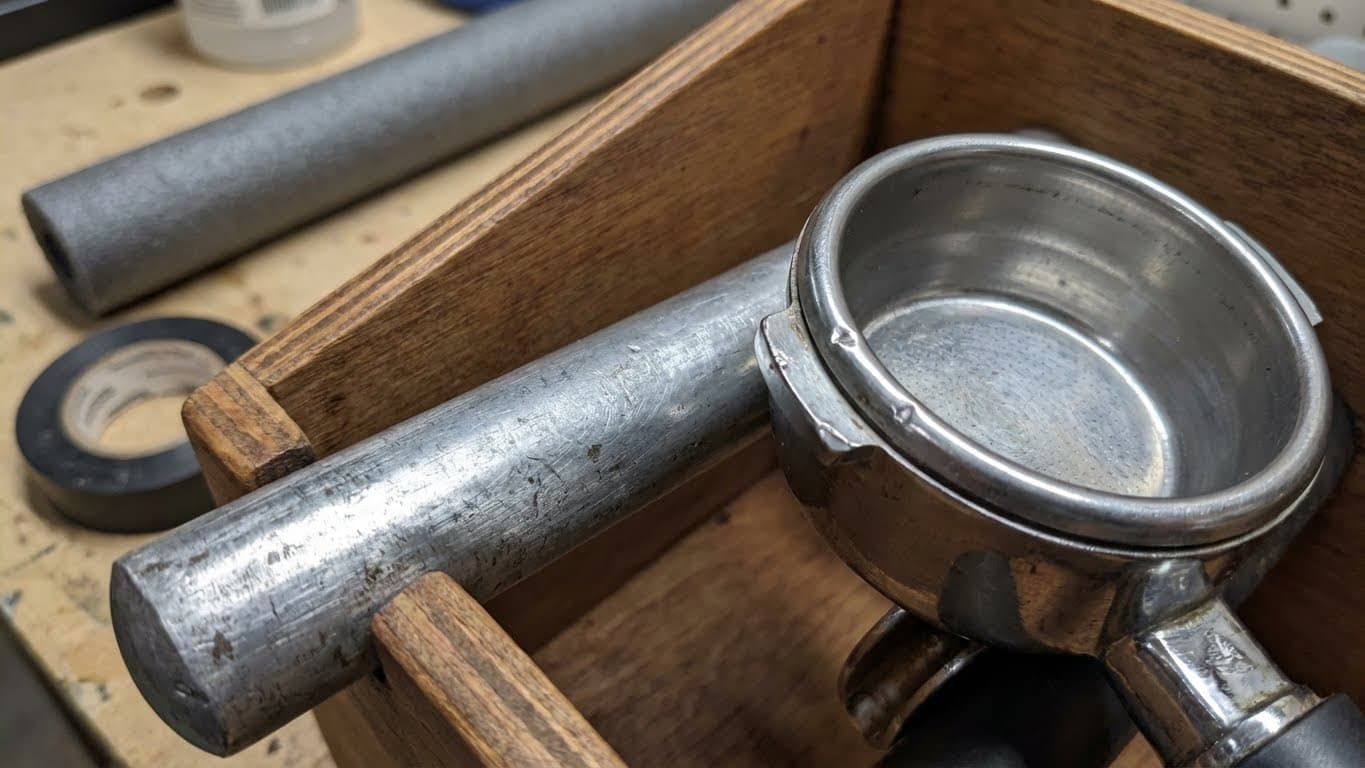
A bare wooden or metal bar will damage your portafilter basket over time. Those little dings might seem cosmetic, but they can actually affect how your coffee puck forms and extracts. Always add proper padding—foam pipe insulation, rubber tubing, or even multiple layers of electrical tape work in a pinch.
Container Too Light
Lightweight containers will slide around your counter or tip over during aggressive knocking. Solve this by adding non-slip rubber feet to the bottom, placing a heavy object inside temporarily, or choosing a heavier container from the start. Some home baristas glue a small weight to the inside bottom.
Forgetting About Drainage
Wet coffee pucks contain moisture that can pool at the bottom of your knock box. If you don’t clean it regularly, things get moldy fast. Consider drilling a few small drainage holes if you’re using a permanent container, or simply commit to emptying and wiping it daily.
DIY Knock Box vs. Commercial Options: Is It Worth It?
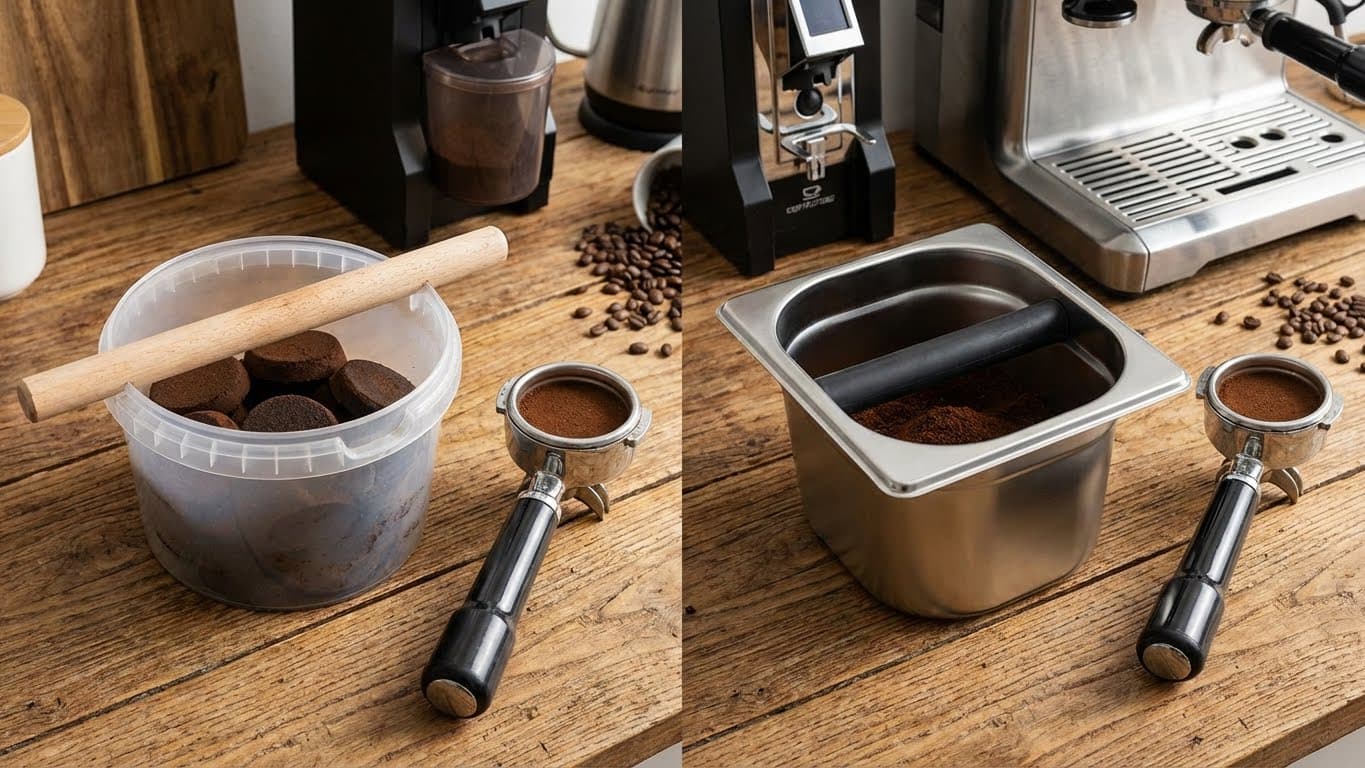
Let’s be real about expectations. A homemade knock box will never look as sleek as a machined stainless steel model from a premium brand. But does it need to?
| Feature | DIY Knock Box | Commercial Knock Box ($25-50) |
|---|---|---|
| Cost | $0 (using household items) | $25-50+ |
| Build Time | 10-30 minutes | None (ready to use) |
| Durability | Good (with proper materials) | Excellent |
| Aesthetics | Variable (depends on effort) | Polished and professional |
| Functionality | Excellent | Excellent |
| Customization | Unlimited | Limited |
Here’s my honest take: if you’re just starting your espresso journey or operating on a tight budget, a DIY knock box is absolutely worth making. The money saved can go toward better beans or that grinder upgrade you’ve been eyeing. Once you’ve invested in your core equipment and have discretionary coffee budget, upgrading to a commercial model makes sense for convenience and aesthetics.
Frequently Asked Questions
How often should I clean my DIY knock box?
Empty your knock box daily and give it a quick rinse every few days. Coffee oils build up over time and can start smelling stale if neglected. A weekly deep clean with warm soapy water keeps things fresh and hygienic.
Can I use a metal container for my knock box?
Yes, but metal containers tend to be louder when knocking. If noise is a concern, line the inside with rubber matting or choose a plastic or wooden alternative. Metal also conducts cold, which isn’t ideal if your espresso station is in a chilly spot.
What’s the best material for the knock bar?
Rubber-covered bars work best because they absorb impact without being too soft. Pool noodles work for light use but compress over time. Wooden dowels wrapped in foam pipe insulation offer a good balance of durability and cushioning.
My pucks are sticking to the portafilter. Is that a knock box problem?
Sticky pucks usually indicate extraction issues rather than knock box problems. Check that you’re using appropriate pressure when tamping and that your coffee is fresh. A proper knock should release even stubborn pucks with two or three firm taps.
Can I compost the used coffee grounds from my knock box?
Absolutely. Coffee grounds are excellent for composting and add nitrogen to your pile. You can also use them directly in garden soil, as a natural deodorizer, or even for DIY body scrubs. Just don’t let them sit in the knock box too long before transferring.
Conclusion and Your Next Steps
Building a DIY knock box is one of the easiest ways to upgrade your home espresso experience without spending a cent. Whether you go with the simple plastic container method, convert an old coffee canister, or craft something more permanent from wood, you’ll wonder how you ever lived without one.
The best part? If your first attempt isn’t perfect, you’ve lost nothing but a few minutes. Experiment with different containers and bar heights until you find what works for your specific portafilter and workflow. Life is too short for bad coffee—and for chasing stray grounds across your kitchen counter.
Grab that spare container from your cupboard this weekend and give it a try. Your future self (and your countertops) will thank you.


Comments