


Table of Contents
- What Is Water Hardness and Why Should Home Baristas Care?
- The Real Cost of Ignoring Water Hardness
- How to Perform a Water Hardness Test at Home
- Method 1: Test Strips (Fastest and Cheapest)
- Method 2: Liquid Drop Test Kits
- Method 3: Digital TDS Meters
- Understanding Your Water Hardness Test Results
- Key Takeaway
- Budget-Friendly Solutions for Hard Water Problems
- Option 1: Water Filter Pitchers with Scale Reduction
- Option 2: In-Tank Softening Pouches
- Option 3: Inline Water Filters
- Option 4: Using Bottled or Pre-Treated Water
- Creating a Descaling Schedule Based on Your Water
- Frequently Asked Questions
- How often should I test my water hardness?
- Can hard water affect coffee taste as well as equipment?
- Is bottled spring water safe for espresso machines?
- Do water softening pitchers remove all the minerals?
- What are signs my machine has scale buildup?
- Final Thoughts: Protect Your Investment With a Simple Test
Have you ever wondered why your espresso machine’s boiler seems to die years before it should? In my experience, the silent killer in nearly every home coffee setup isn’t the pump or the group head—it’s the water. Specifically, it’s water hardness that you never tested. A simple water hardness test could be the difference between a boiler that lasts a decade and one that becomes an expensive paperweight in just two years.
In this guide, you’ll learn exactly what water hardness means for your coffee equipment, how to test your water at home without spending a fortune, and practical steps to protect your boiler from limescale buildup. Whether you’re running a budget-friendly setup or protecting a more serious investment, understanding your water is the smartest move you can make.
What Is Water Hardness and Why Should Home Baristas Care?
Water hardness refers to the concentration of dissolved minerals in your water—primarily calcium and magnesium. These minerals occur naturally as water passes through limestone and chalk deposits underground. While they’re perfectly safe to drink, they become problematic when water is heated repeatedly in your coffee machine’s boiler.
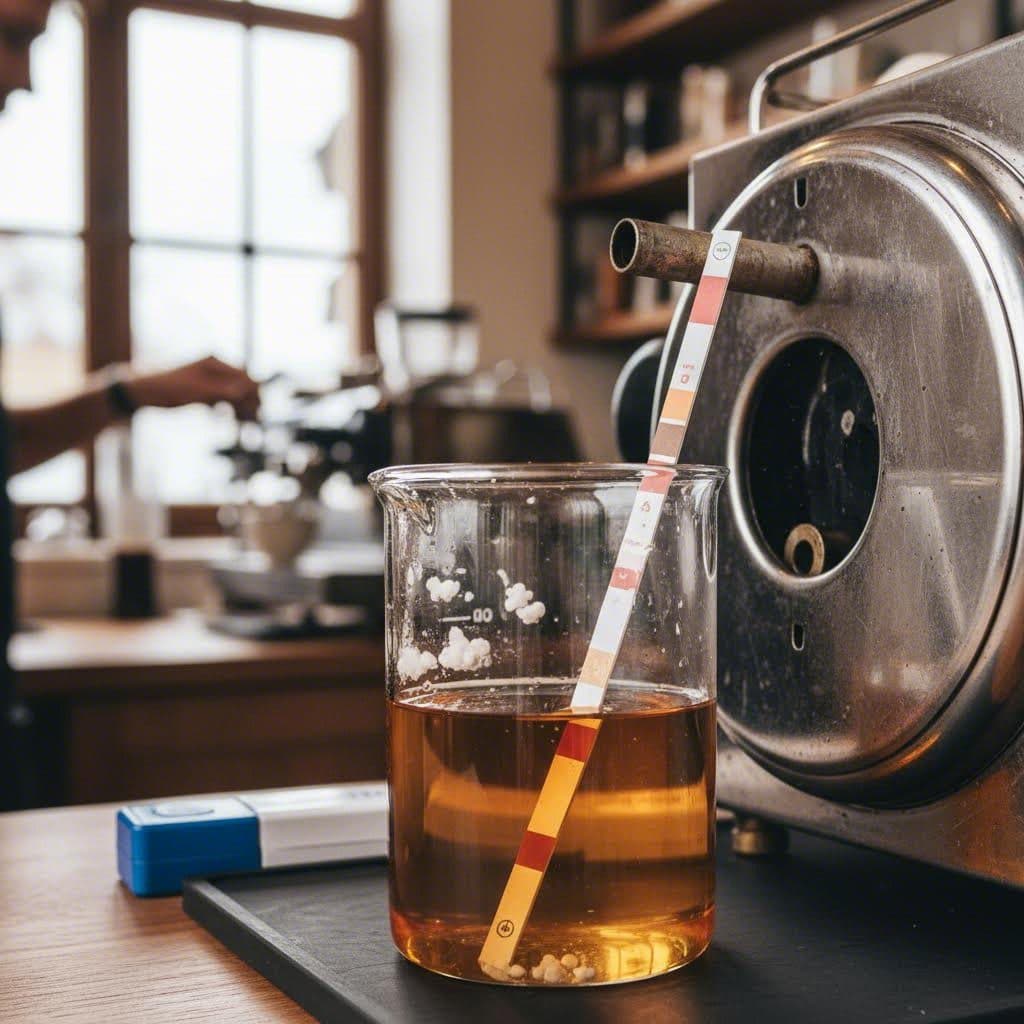
Here’s what happens: when hard water heats up, those dissolved minerals precipitate out and form a chalky, white substance called limescale. Over time, this scale coats the inside of your boiler, heating elements, and internal tubing. I’ve opened up neglected espresso machines and found scale deposits over a centimeter thick—no exaggeration.
The Real Cost of Ignoring Water Hardness
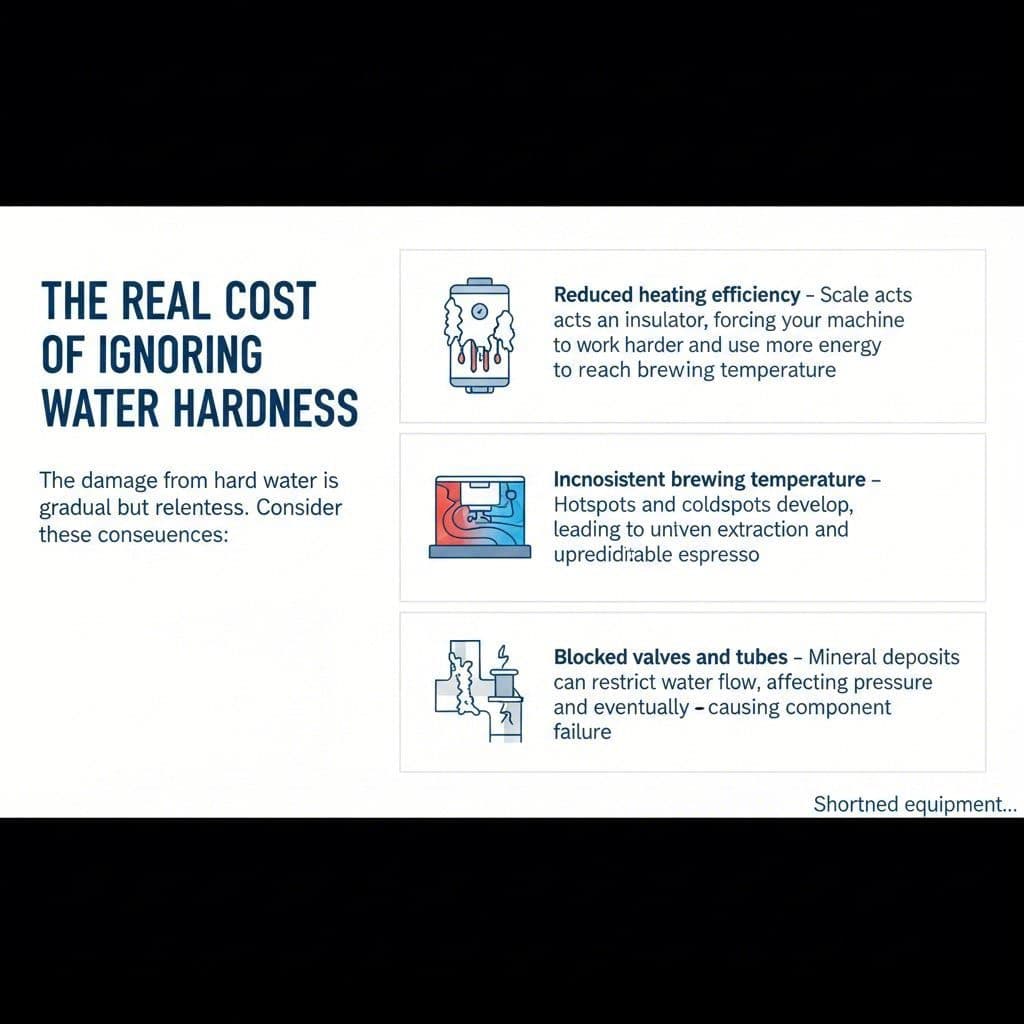
The damage from hard water is gradual but relentless. Consider these consequences:
- Reduced heating efficiency – Scale acts as an insulator, forcing your machine to work harder and use more energy to reach brewing temperature
- Inconsistent brewing temperature – Hot spots and cold spots develop, leading to uneven extraction and unpredictable espresso
- Blocked valves and tubes – Mineral deposits can restrict water flow, affecting pressure and eventually causing component failure
- Shortened equipment lifespan – Boilers, heating elements, and solenoid valves fail prematurely when coated in scale
- Expensive repairs or replacement – A new boiler can cost anywhere from $100 to $400+ depending on your machine
In short: a $10 water hardness test today can save you hundreds in repairs down the line. Life is too short for bad coffee—and definitely too short for preventable equipment failures.
How to Perform a Water Hardness Test at Home
Testing your water hardness doesn’t require expensive lab equipment or a chemistry degree. There are several budget-friendly methods that work perfectly well for home baristas. I’ve tried them all, and here’s what I recommend.
Method 1: Test Strips (Fastest and Cheapest)
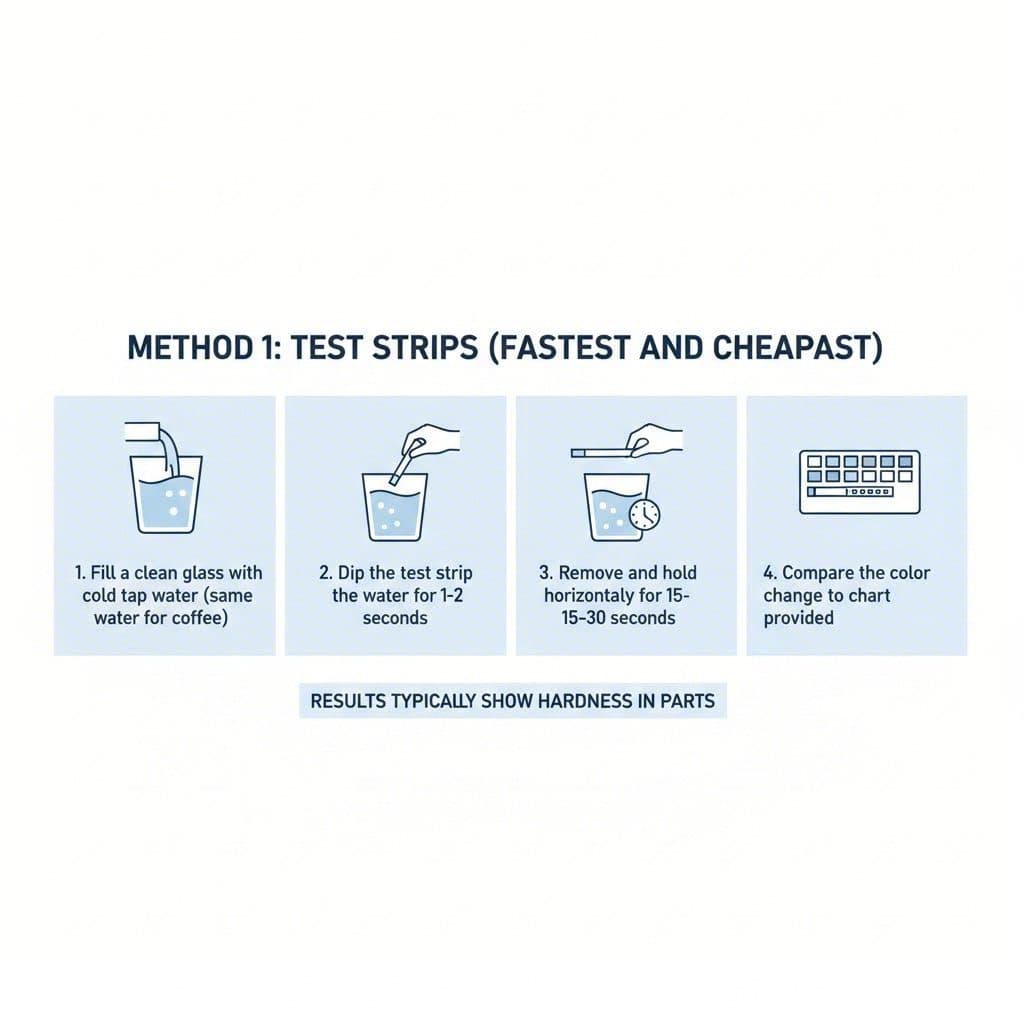
Water hardness test strips are my go-to recommendation for most home baristas. They cost around $8-15 for a pack of 50-100 strips and give you results in seconds.
Here’s how to use them:
- Fill a clean glass with cold tap water (the same water you’d use for coffee)
- Dip the test strip into the water for the time specified on the package (usually 1-2 seconds)
- Remove and hold horizontally for 15-30 seconds
- Compare the color change to the chart provided
The results typically show hardness in parts per million (ppm) or grains per gallon (gpg). For coffee equipment, you generally want water between 50-150 ppm of total hardness. Above 150 ppm, you’ll want to consider treatment options.
Method 2: Liquid Drop Test Kits
For slightly more precision, liquid drop test kits measure hardness by counting how many drops of a reagent it takes to change the water’s color. These run about $10-20 and last for dozens of tests. They’re more accurate than strips but take a bit more time and effort.
Method 3: Digital TDS Meters
A TDS (Total Dissolved Solids) meter measures all dissolved substances in water, not just hardness minerals. While not a direct hardness measurement, it gives you useful baseline information about your water quality. Decent TDS meters cost $15-25 and are handy for monitoring filtered water over time.
Barista Tip: Test your water from multiple sources if applicable—your kitchen tap, refrigerator dispenser, and any filtered water you use. You might be surprised by the differences.
Understanding Your Water Hardness Test Results
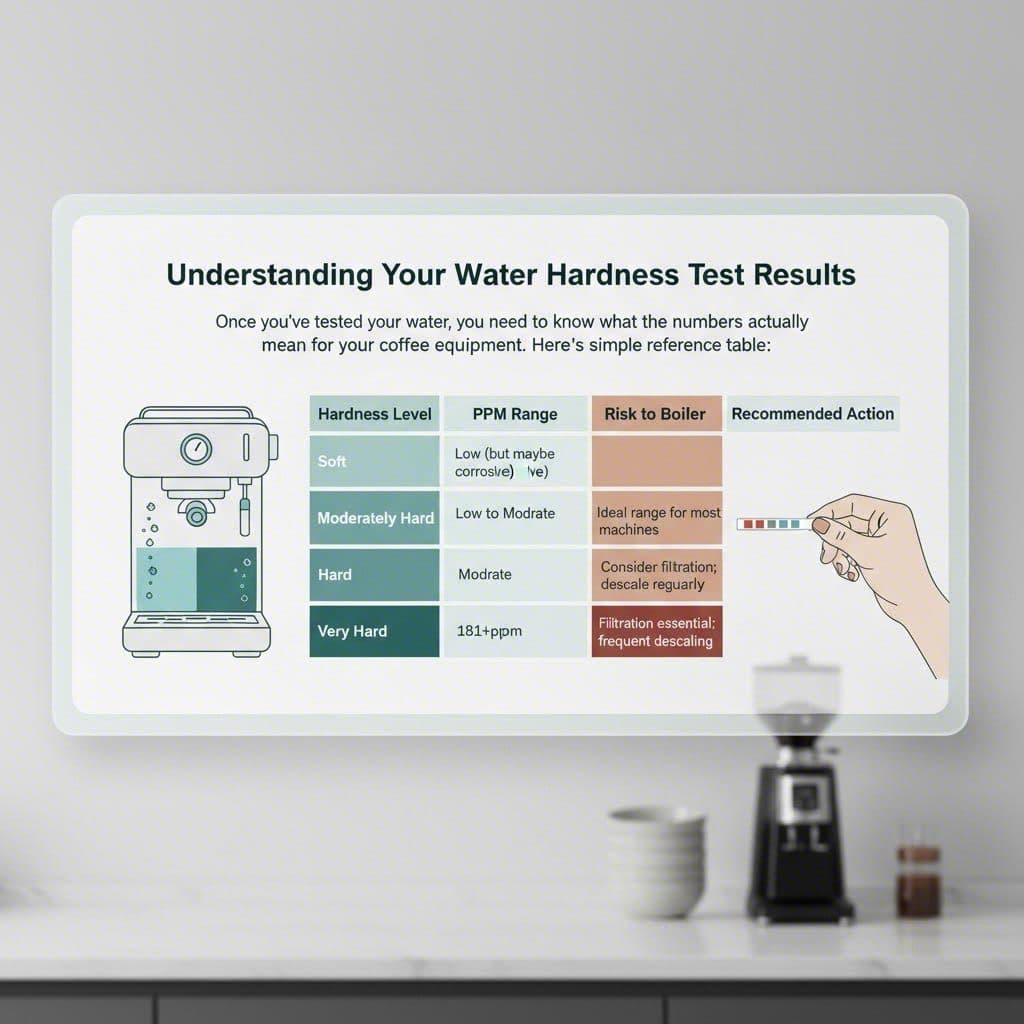
Once you’ve tested your water, you need to know what the numbers actually mean for your coffee equipment. Here’s a simple reference table:
| Hardness Level | PPM Range | Risk to Boiler | Recommended Action |
|---|---|---|---|
| Soft | 0-60 ppm | Low (but may be corrosive) | Monitor; may need mineral addition |
| Moderately Hard | 61-120 ppm | Low to Moderate | Ideal range for most machines |
| Hard | 121-180 ppm | Moderate | Consider filtration; descale regularly |
| Very Hard | 181+ ppm | High | Filtration essential; frequent descaling |
There’s an important nuance here that many guides miss: very soft water isn’t necessarily ideal either. Water that’s too soft (below 50 ppm) can actually be slightly corrosive to metal components over time. It also tends to produce flat, dull-tasting espresso because those minerals contribute to extraction and flavor.
Key Takeaway
The sweet spot for both equipment protection and great-tasting coffee is generally 50-150 ppm of total hardness, with a calcium hardness around 50-75 ppm. This gives you enough mineral content for good extraction without the aggressive scale buildup.
Budget-Friendly Solutions for Hard Water Problems
So your water hardness test came back high—now what? The good news is that protecting your boiler doesn’t have to break the bank. Here are practical, affordable solutions I’ve used and recommended over the years.
Option 1: Water Filter Pitchers with Scale Reduction
Standard Brita-style pitchers primarily reduce chlorine and improve taste, but some models include ion-exchange resins that also reduce hardness. The BWT (Best Water Technology) pitcher is specifically designed with coffee brewing in mind and costs around $30-40.
Pros:
- Very affordable upfront cost
- Easy to use—no installation required
- Improves taste as well as protecting equipment
Cons:
- Filter replacements add ongoing cost
- Not as effective for very hard water
- Requires remembering to fill and filter before brewing
Option 2: In-Tank Softening Pouches
Many espresso machines allow you to place a softening pouch directly in the water reservoir. Brands like Oscar and various generic options use ion-exchange resin beads to capture hardness minerals. A single pouch typically lasts 2-3 months and costs $10-20.
This is my favorite budget solution because it’s passive—you just drop it in and forget about it until replacement time. I’ve found they work well for moderately hard water up to around 200 ppm.
Option 3: Inline Water Filters
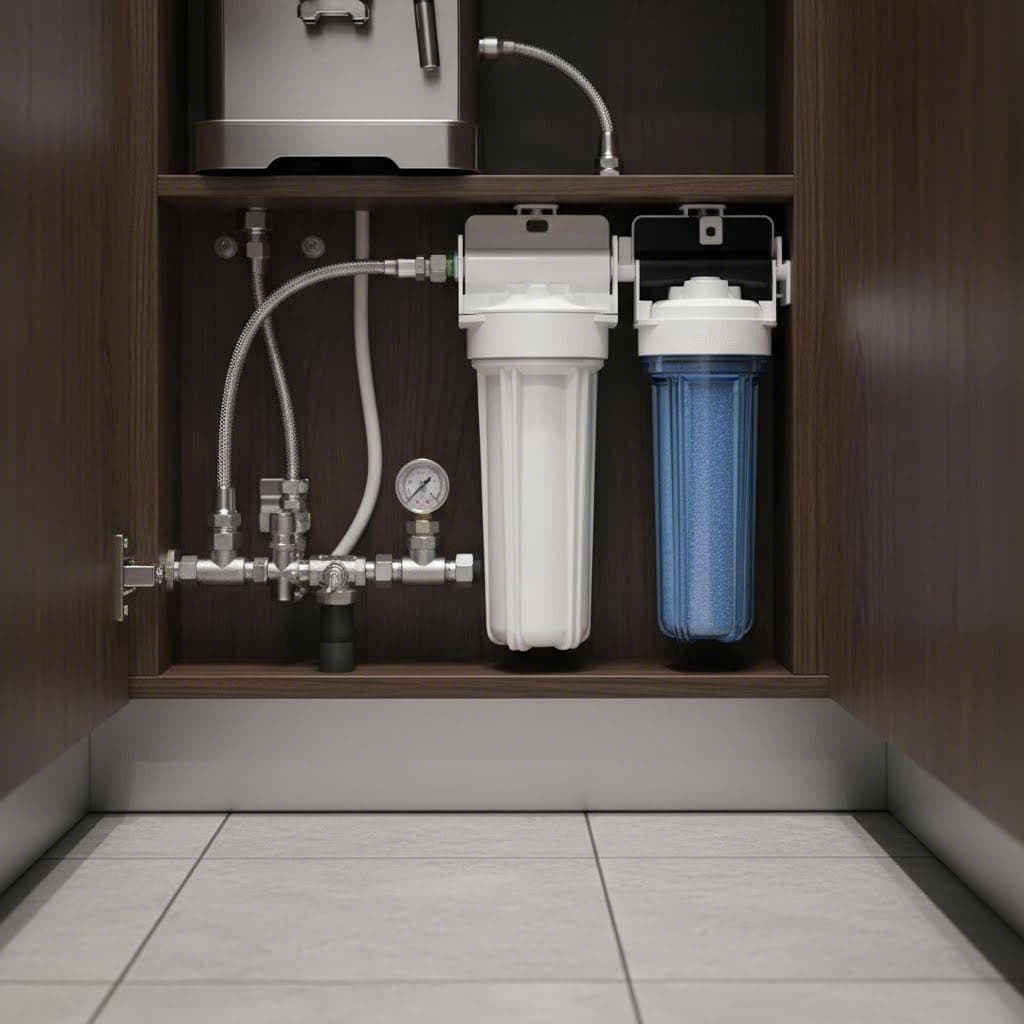
If your machine connects directly to a water line, an inline filter with scale inhibition technology offers more consistent protection. Systems like the 3M Aqua-Pure or BWT Bestmax range from $50-150 depending on capacity. While pricier upfront, they require less frequent replacement and provide better filtration overall.
Option 4: Using Bottled or Pre-Treated Water
Some baristas prefer starting with distilled or reverse osmosis water and adding minerals back in with products like Third Wave Water or TWW Espresso Profile packets. This gives you complete control over your water composition for around $15-20 per 12-gallon packet supply.
This approach is popular among enthusiasts who want to optimize for both equipment protection and flavor. It’s slightly more involved but guarantees consistent water quality regardless of what comes out of your tap.
Creating a Descaling Schedule Based on Your Water
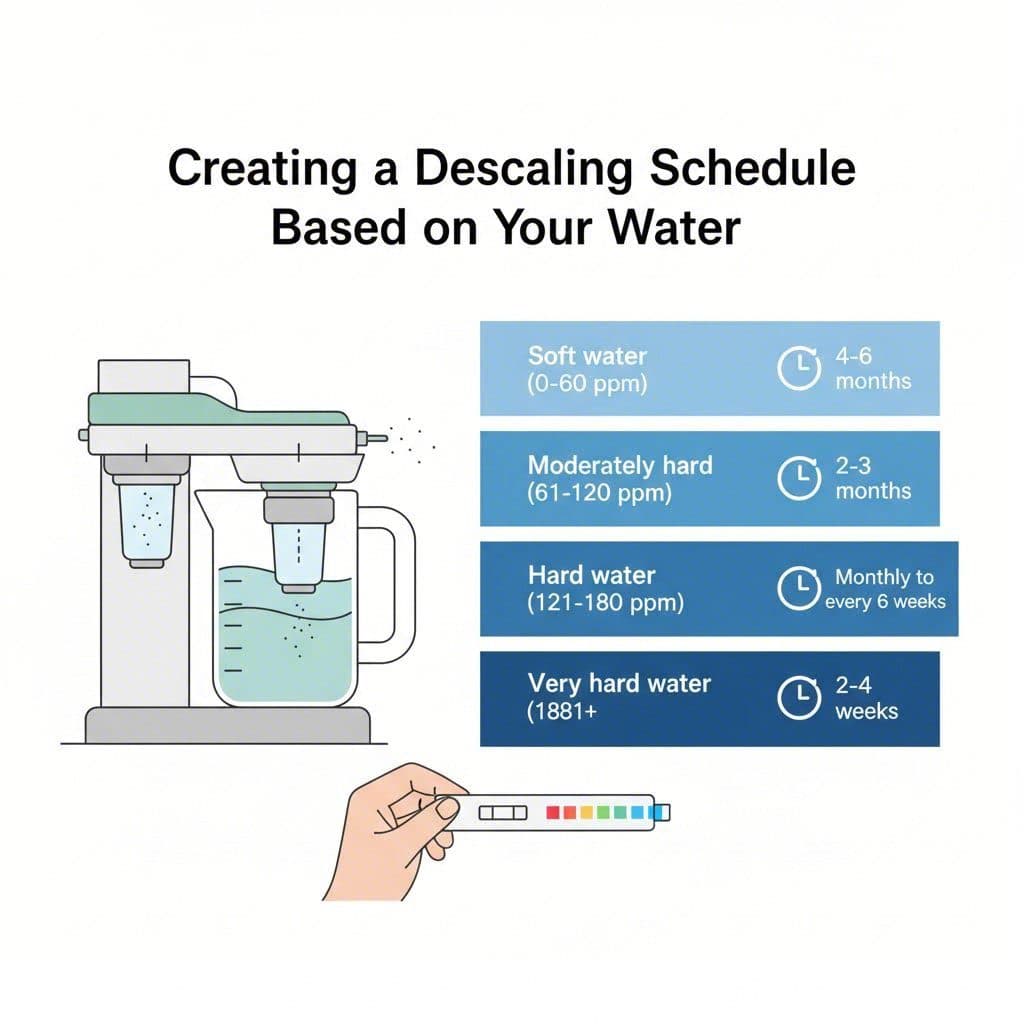
Even with filtration, some mineral buildup is inevitable. Regular descaling is your insurance policy against the scale that slips through. Your water hardness test results should directly inform how often you descale.
Here’s a general guideline based on hardness level and daily use:
- Soft water (0-60 ppm) – Descale every 4-6 months
- Moderately hard (61-120 ppm) – Descale every 2-3 months
- Hard water (121-180 ppm) – Descale monthly to every 6 weeks
- Very hard water (181+ ppm) – Descale every 2-4 weeks (and strongly consider better filtration)
For descaling, I recommend using citric acid powder for budget-conscious home baristas. It’s food-safe, effective, and incredibly cheap—about $10 for a bag that lasts years. Mix 1-2 tablespoons per liter of water and run it through your machine according to the manufacturer’s instructions.
Barista Tip: Keep a simple log of your descaling dates. I use a sticky note on my machine or a reminder in my phone. It takes two seconds and prevents the “when did I last descale?” guessing game.
Frequently Asked Questions
How often should I test my water hardness?
Test your water at least once when setting up a new machine, then retest every 6-12 months or whenever you move to a new location. Municipal water sources can vary seasonally, so an annual check keeps you informed of any changes that might affect your equipment or descaling schedule.
Can hard water affect coffee taste as well as equipment?
Absolutely. Water that’s too hard tends to produce coffee that tastes flat, chalky, or muted. The excess minerals interfere with proper extraction and can leave an unpleasant mineral aftertaste. Finding the right hardness balance improves both equipment longevity and your cup quality.
Is bottled spring water safe for espresso machines?
It depends on the specific brand. Some bottled spring waters are quite hard and will cause scale buildup just like tap water. Always check the mineral content on the label—look for calcium levels below 70 mg/L and total dissolved solids under 150 ppm for safe, regular use.
Do water softening pitchers remove all the minerals?
No, they reduce mineral content but don’t eliminate it entirely. This is actually a good thing for coffee purposes. Complete mineral removal (like distilled water) isn’t ideal for brewing or for your machine’s longevity. Pitchers designed for coffee typically leave enough beneficial minerals while reducing scale-forming compounds.
What are signs my machine has scale buildup?
Common warning signs include: longer heating times, reduced steam pressure, unusual noises during heating, inconsistent shot flow rates, and visible white deposits around the group head or steam wand. If you notice these symptoms, descale immediately and consider testing your water hardness.
Final Thoughts: Protect Your Investment With a Simple Test
A water hardness test is one of the cheapest and most impactful things you can do for your coffee setup. For less than the cost of a bag of specialty beans, you gain the knowledge to protect equipment worth hundreds or thousands of dollars. In my experience, the home baristas who take water seriously are the ones whose machines run smoothly for years.
Start by testing your water this week. Based on the results, choose an appropriate filtration method and set up a descaling schedule. These small, budget-friendly steps create a foundation for consistent, delicious coffee and equipment that stays healthy far longer than average.
Your boiler will thank you—and so will your wallet when you’re not shopping for a replacement two years from now.

Comments