


Table of Contents
- Quick Verdict: The Whipped Cream Dispenser Method
- What You'll Need
- Ingredients
- Gear
- Understanding the Nitro Cold Brew Magic
- But Wait—N2O Isn't Nitrogen, Right?
- Step-by-Step: Making Nitro Cold Brew at Home
- Step 1: Prepare Your Cold Brew
- Step 2: Fill the Dispenser
- Step 3: Charge with N2O
- Step 4: Rest and Shake
- Step 5: Dispense and Enjoy
- Troubleshooting Common Problems
- No Cascade Effect
- Too Foamy or Fizzy
- Weak Coffee Flavor
- Dispenser Won't Pressurize
- Taking Your Nitro Cold Brew to the Next Level
- Flavored Nitro Options
- Nitro Coffee Cocktails
- Cost Comparison: Homemade vs. Coffee Shop
- Frequently Asked Questions
- Is N2O safe to use with coffee?
- How long does nitro cold brew stay fresh?
- Can I use regular coffee instead of cold brew?
- Why doesn't my nitro coffee taste sweet like the coffee shop version?
- Can I use CO2 cartridges instead of N2O?
- Summary and Your Next Step
Quick Verdict: The Whipped Cream Dispenser Method
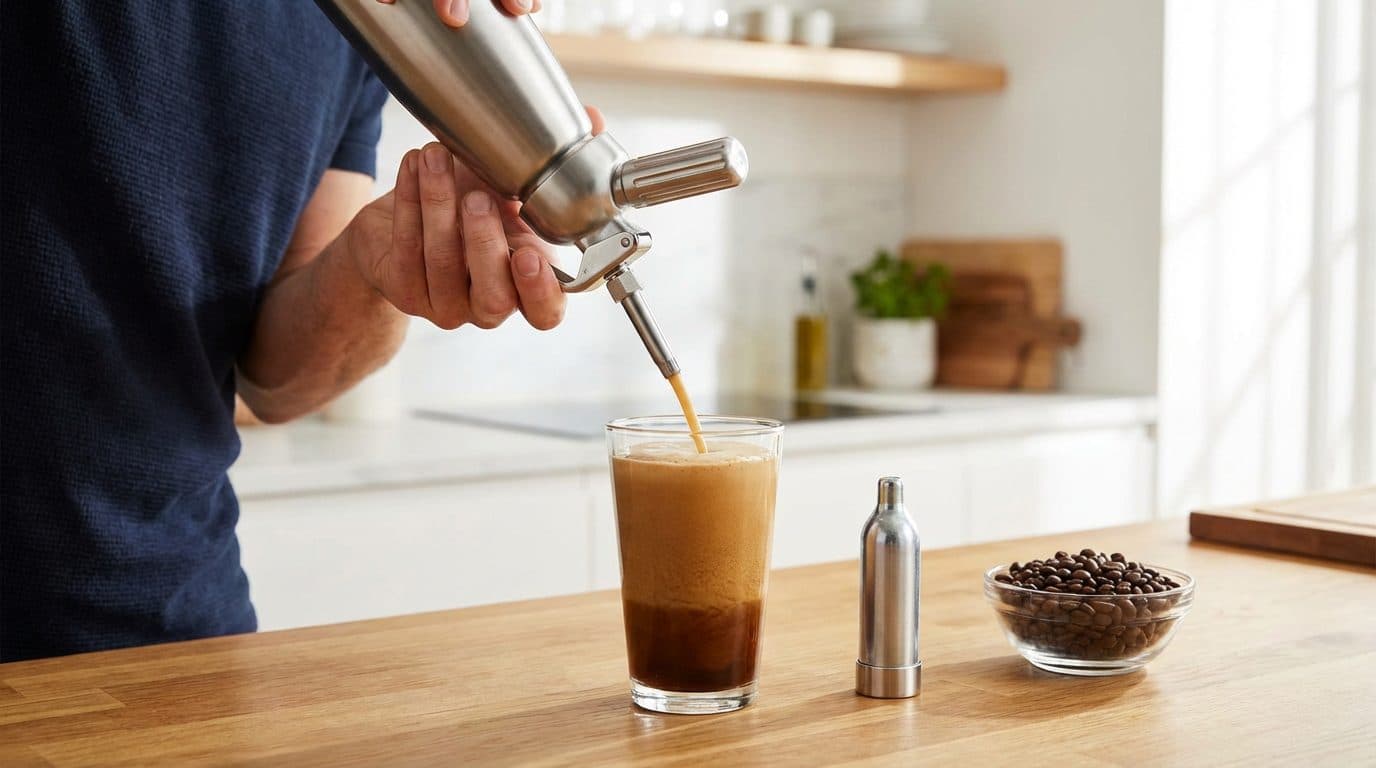
If you’ve been paying $6+ for a creamy, cascading glass of nitro cold brew at your local coffee shop, I have great news. You can make virtually identical nitro cold brew at home using a simple whipped cream dispenser and N2O cartridges. It’s not “real” nitrogen gas, but the results are remarkably close—and the setup costs a fraction of professional nitro systems.
What You’ll Need
Before we dive into the process, let’s gather everything you need to make nitro cold brew at home. The good news? Most of these items are probably already in your kitchen or easy to find online.
Ingredients
- Cold brew coffee concentrate – About 2 cups (homemade or store-bought)
- Filtered water – For diluting if using concentrate
- Ice – Optional, for serving
Gear
- Whipped cream dispenser – 1-liter size works best (ISI or similar brand)
- N2O cartridges – Standard 8g cream chargers
- Fine mesh strainer or coffee filter – For straining cold brew if homemade
- Tall glass – Clear glass shows off that beautiful cascade
- Kitchen scale – Optional but helpful for consistency
Barista Tip: Make sure your whipped cream dispenser is clean and completely dry before use. Any residue from previous whipped cream adventures will affect the taste of your coffee.
Understanding the Nitro Cold Brew Magic
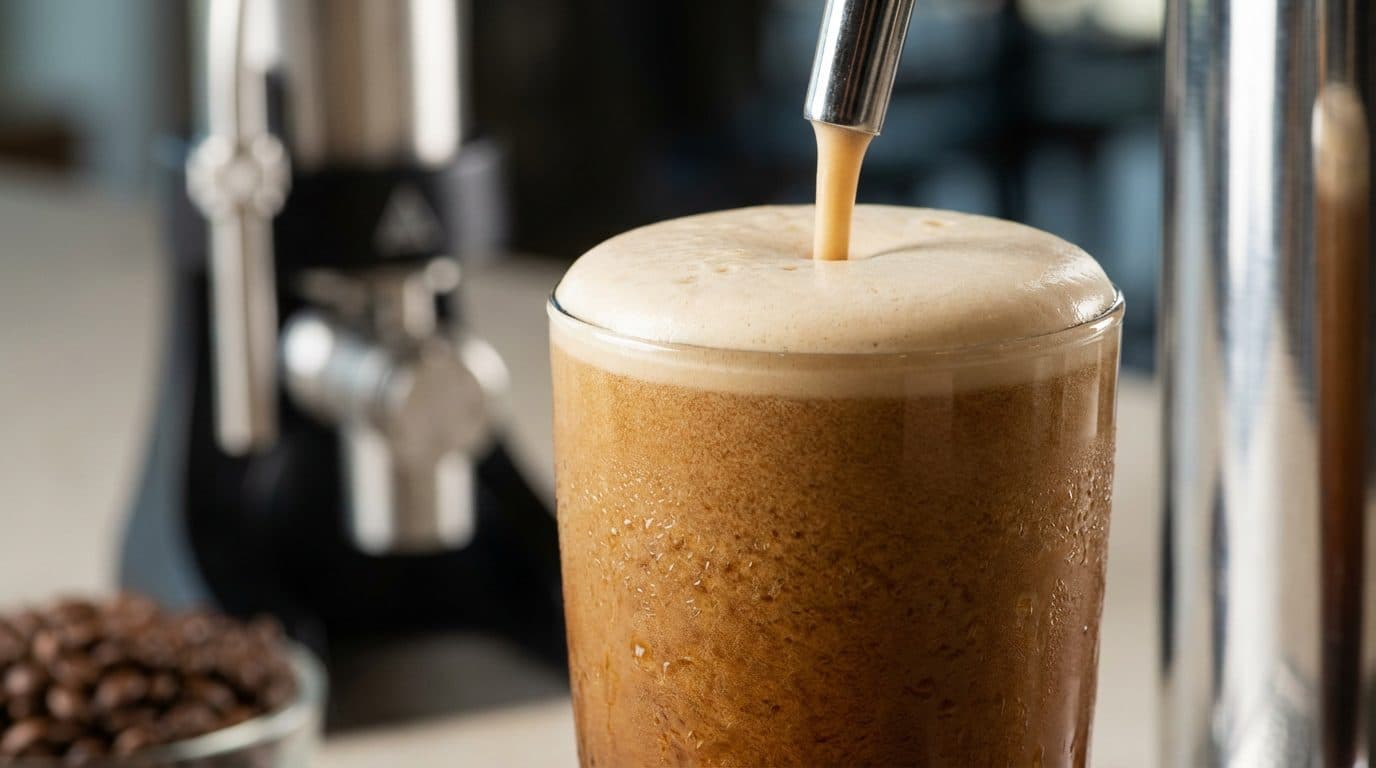
What makes nitro cold brew so special? It’s all about the tiny nitrogen bubbles infused into cold brew coffee. These microscopic bubbles create that signature creamy texture, cascading visual effect, and naturally sweet taste—all without adding any sugar or cream.
In short: nitrogen doesn’t dissolve into liquids as easily as carbon dioxide does, so you get smaller, more stable bubbles that create a silky mouthfeel rather than fizzy carbonation.
But Wait—N2O Isn’t Nitrogen, Right?
You’re correct. Professional nitro systems use pure nitrogen gas (N2). Whipped cream dispensers use nitrous oxide (N2O). Here’s the honest truth: the results aren’t technically identical, but they’re remarkably similar for home use.
N2O creates slightly larger bubbles and a somewhat different cascade pattern. However, the creamy texture, the sweet-tasting finish, and that satisfying visual effect? All present and accounted for. I’ve served this to coffee snob friends without telling them the method, and nobody could tell the difference.
Key Takeaway: The whipped cream dispenser hack gives you 90% of the coffee shop experience at about 10% of the cost of a professional nitrogen setup.
Step-by-Step: Making Nitro Cold Brew at Home
Now for the fun part. This process takes about 5 minutes once you have cold brew ready. Here’s exactly how to make nitro cold brew using your whipped cream dispenser.
Step 1: Prepare Your Cold Brew
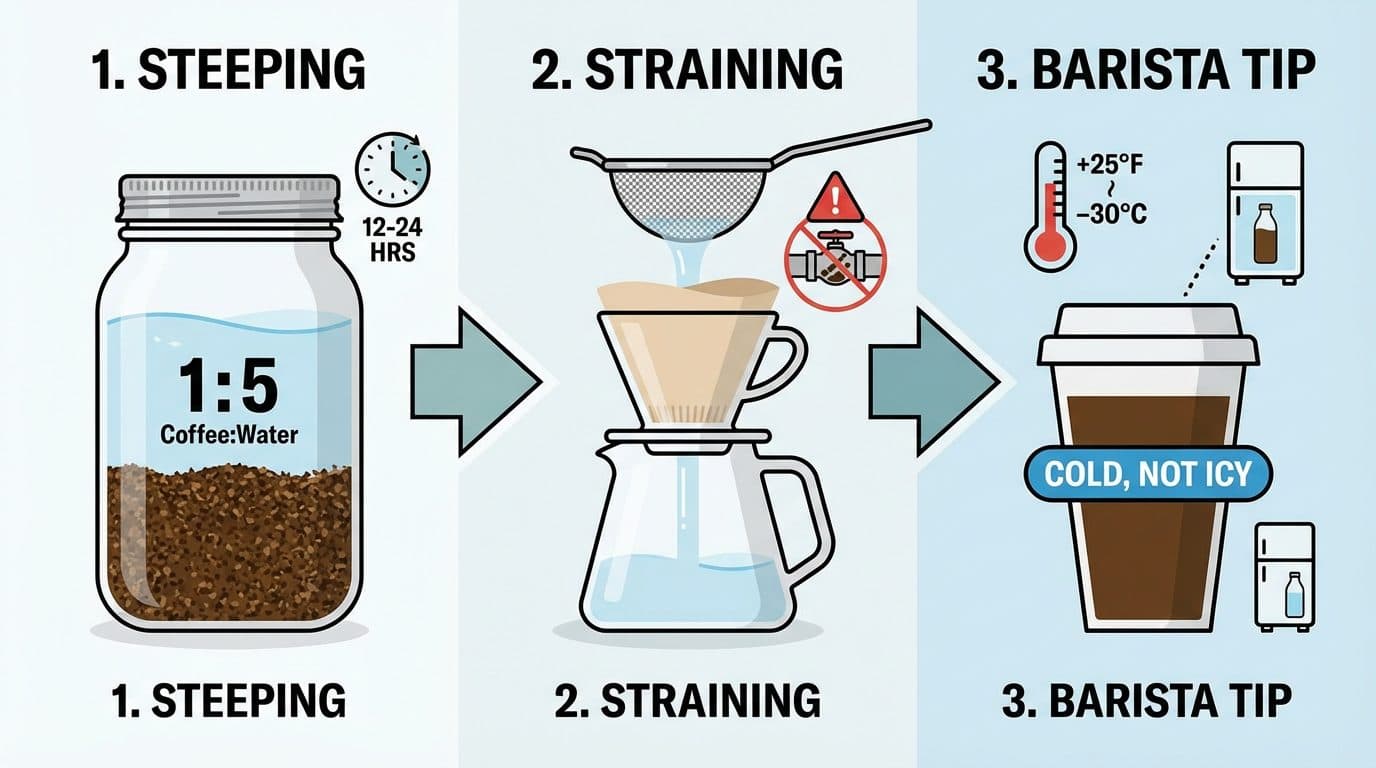
Start with high-quality cold brew concentrate. If you’re making it from scratch, use coarsely ground coffee steeped in cold water for 12-24 hours. The ratio I’ve found works best is 1:5 (one part coffee to five parts water).
Strain your cold brew thoroughly. Any grounds or sediment will clog your dispenser’s valve—trust me, I’ve learned this the hard way. Run it through a fine mesh strainer, then a paper filter for best results.
Barista Tip: Your cold brew should be cold but not icy. Refrigerator temperature (around 38-40°F) works perfectly. Too cold and the gas won’t infuse properly.
Step 2: Fill the Dispenser
Pour your cold brew into the whipped cream dispenser. Fill it only about halfway to two-thirds full—you need headspace for the gas to pressurize properly. For a 1-liter dispenser, aim for about 500-600ml of cold brew.
- Remove the dispenser head completely
- Pour cold brew directly into the canister
- Leave at least one-third of the space empty
- Wipe the rim clean before sealing
Step 3: Charge with N2O
Screw the dispenser head on tightly—this is crucial for proper pressurization. Insert one N2O cartridge into the charger holder and screw it onto the dispenser until you hear the gas release. You’ll know it worked when you hear that satisfying “psssst” sound.
For optimal results, use two cartridges. After the first charge, shake the dispenser vigorously for about 30 seconds. Then add the second cartridge and shake again for another 30 seconds.
Step 4: Rest and Shake
Here’s a step many people skip—don’t rush it. Let the dispenser rest in the refrigerator for at least 30 seconds to 2 minutes. This allows the gas to fully dissolve into the coffee.
Give it one final gentle shake before dispensing. You’re essentially letting those tiny bubbles get comfortable in their new coffee home.
Step 5: Dispense and Enjoy
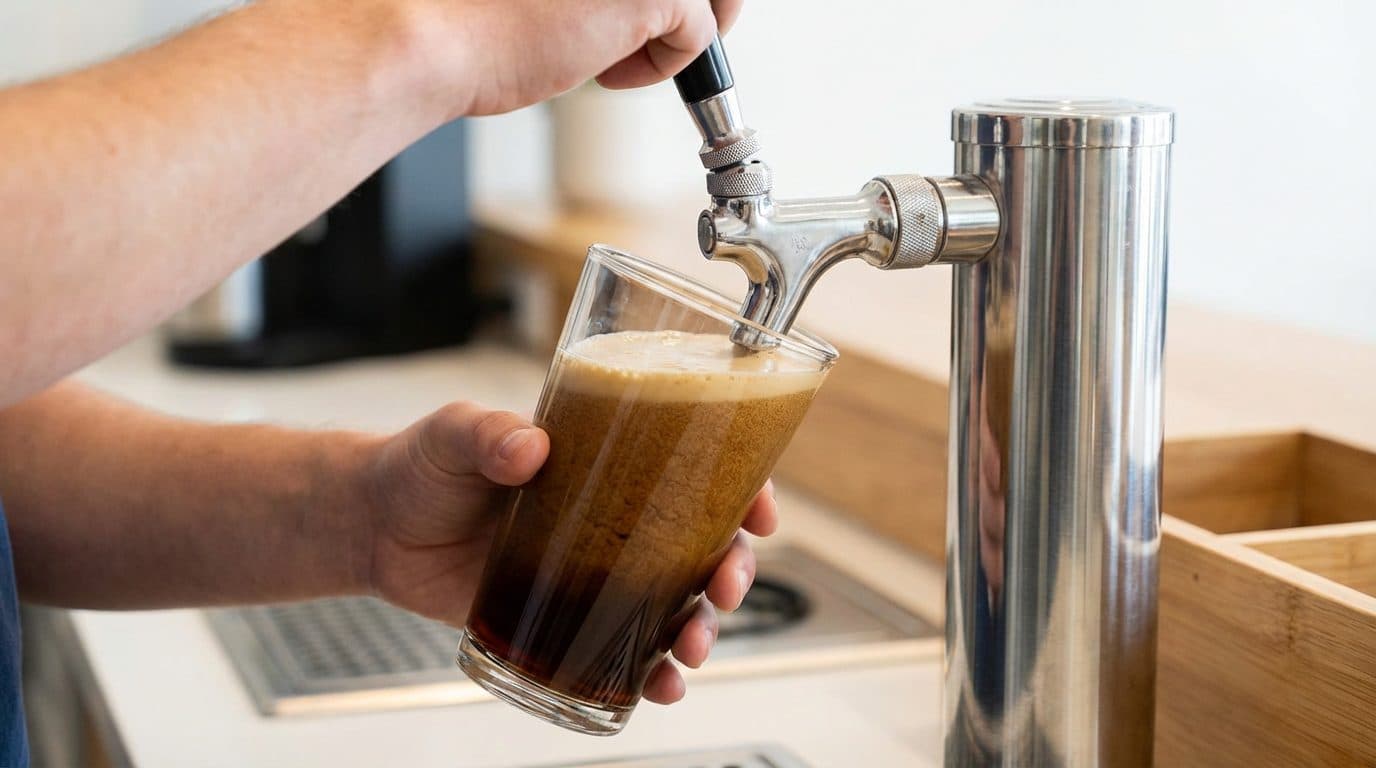
Hold your glass at a slight angle, position the dispenser nozzle near the bottom of the glass, and press the lever steadily. Pour slowly—this isn’t a race.
Watch the cascade happen. Those creamy waves of micro-bubbles rising through dark coffee? That’s the moment that makes this whole process worth it.
- Dispense slowly and steadily
- Fill the glass about three-quarters full
- Let the cascade settle for 30 seconds before drinking
- Serve immediately for best texture
Taste Profile: Expect a silky, creamy mouthfeel with naturally enhanced sweetness. The nitrogen brings out chocolatey, smooth notes while reducing perceived bitterness. Low acidity, full body, and a clean finish.
Troubleshooting Common Problems
Even with the best instructions, things don’t always go perfectly the first time. Here are the issues I’ve encountered over the years and how to fix them.
No Cascade Effect
If your nitro cold brew pours flat without that signature cascade, the gas hasn’t infused properly. This usually means you didn’t shake enough, the coffee was too cold, or there wasn’t enough headspace in the dispenser. Try using warmer coffee (still cold, but not ice-cold) and shake more vigorously.
Too Foamy or Fizzy
Getting something that looks more like Guinness foam than silky nitro? You’ve probably over-charged. Stick to two cartridges maximum for a 1-liter dispenser. Also, let the dispenser rest longer before pouring.
Weak Coffee Flavor
Nitrogen infusion can mellow flavors, so start with a stronger cold brew than you normally drink. If your concentrate is typically diluted 1:1, try using it at full strength or only slightly diluted for nitro.
Dispenser Won’t Pressurize
Check that the head is screwed on completely and the gasket is properly seated. A worn gasket is often the culprit—these are inexpensive to replace and should be checked regularly.
Taking Your Nitro Cold Brew to the Next Level
Once you’ve mastered the basic technique, there’s plenty of room for experimentation. In my experience, these variations produce excellent results.
Flavored Nitro Options
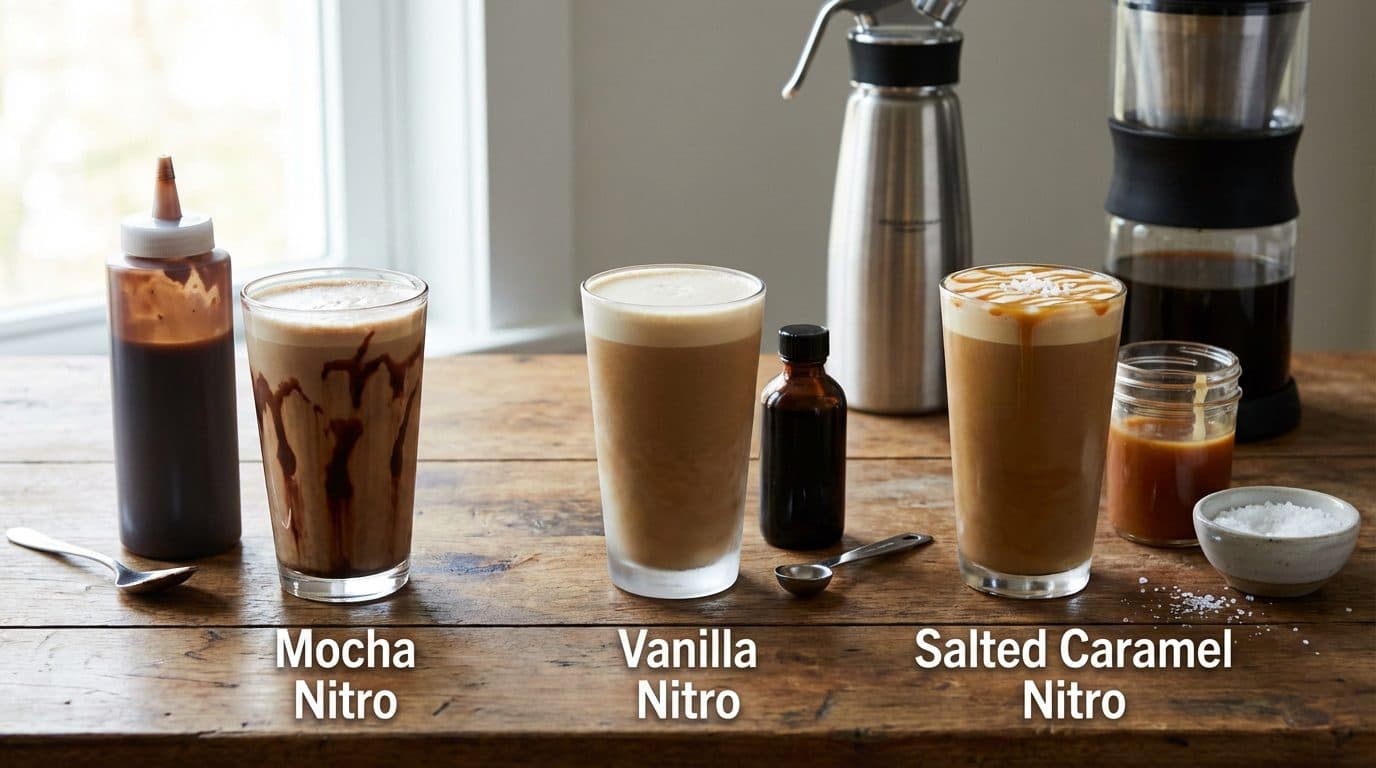
Add vanilla extract, a splash of maple syrup, or a touch of cinnamon to your cold brew before infusing. The nitrogen actually helps distribute flavors more evenly throughout the drink.
- Vanilla Nitro: Add 1/2 teaspoon vanilla extract per cup of cold brew
- Mocha Nitro: Mix in 1 tablespoon chocolate syrup before charging
- Salted Caramel Nitro: Add caramel sauce and a tiny pinch of sea salt
Nitro Coffee Cocktails
For evening entertaining, try adding a shot of Irish cream liqueur or coffee liqueur to your cold brew before nitrogenating. The creamy texture from the nitrogen pairs beautifully with spirits.
Barista Tip: Always add any mix-ins before charging with N2O. Adding them afterward will flatten your nitro effect immediately.
Cost Comparison: Homemade vs. Coffee Shop
Let’s talk money. Is the whipped cream dispenser hack actually worth it? Here’s a realistic breakdown.
| Item | Cost | Servings |
|---|---|---|
| Whipped cream dispenser (one-time) | $30-50 | Unlimited |
| N2O cartridges (box of 24) | $15-20 | 12 batches |
| Cold brew coffee (homemade) | $0.50-1.00 per batch | 2-3 servings |
| Coffee shop nitro cold brew | $5-7 per serving | 1 serving |
After your initial investment, each homemade nitro cold brew costs roughly $1-2. Compare that to $5-7 at a coffee shop. If you drink nitro cold brew even twice a week, you’ll recoup the dispenser cost within a month or two.
Frequently Asked Questions
Is N2O safe to use with coffee?

Yes, N2O (nitrous oxide) is food-grade and completely safe for this purpose. It’s the same gas used in whipped cream canisters at restaurants and has been used in food preparation for decades. The amounts used are tiny and dissipate almost immediately.
How long does nitro cold brew stay fresh?
Once infused, the nitro effect lasts only a few minutes—similar to how a poured Guinness settles. Drink it immediately for the best cascade and texture. However, the cold brew itself stays fresh in the dispenser for up to 24 hours if kept refrigerated and sealed.
Can I use regular coffee instead of cold brew?
Technically yes, but the results won’t be the same. Cold brew’s smooth, low-acid profile works best with nitrogen infusion. Hot-brewed coffee that’s been cooled will work but may taste more bitter and acidic.
Why doesn’t my nitro coffee taste sweet like the coffee shop version?
Nitrogen naturally enhances the perception of sweetness, but the effect depends on your cold brew quality. Use fresh, well-made cold brew with quality beans. Some coffee shops also use slightly sweetened cold brew or flavored syrups—there’s no shame in adding a touch of simple syrup if you prefer.
Can I use CO2 cartridges instead of N2O?
No—CO2 will carbonate your coffee, making it fizzy like soda rather than creamy. Stick with N2O cartridges specifically. They’re typically labeled as “cream chargers” or “whipped cream cartridges.”
Summary and Your Next Step
Making nitro cold brew at home with a whipped cream dispenser is genuinely one of the best coffee hacks I’ve discovered. It’s affordable, surprisingly easy, and produces results that rival expensive coffee shop versions. The creamy cascade, the silky texture, that naturally sweet finish—all achievable in your own kitchen.
Start with a quality whipped cream dispenser and some basic cold brew concentrate. Master the technique with the steps above, then experiment with flavors and variations that suit your taste. Life really is too short for bad coffee, and there’s no reason your morning nitro should cost $6 when you can make it at home for pocket change.
Grab a dispenser, charge it up, and enjoy that satisfying cascade. Your wallet—and your taste buds—will thank you.



Comments