


Table of Contents
- What You'll Need to Make Cold Brew in a Mason Jar
- Ingredients
- Gear
- The Perfect Cold Brew Ratio and Grind Size
- Why Grind Size Matters
- Quick Reference Table
- Step-by-Step: How to Make Cold Brew in a Mason Jar Overnight
- How Long Should Cold Brew Steep Overnight?
- Steeping Time Breakdown
- Room Temperature vs. Refrigerator
- Serving Your Homemade Cold Brew
- Dilution Guidelines
- Serving Suggestions
- Common Cold Brew Mistakes and How to Avoid Them
- Using Too Fine a Grind
- Not Filtering Properly
- Storing Too Long
- Using Stale Coffee
- Frequently Asked Questions
- Can I use any type of coffee for cold brew in a mason jar?
- Is cold brew stronger than regular coffee?
- Why does my cold brew taste bitter or sour?
- Do I need special equipment to make cold brew at home?
- Can I heat up cold brew?
- Summary and Your Next Step
Ever wonder why your local coffee shop charges $5 for a drink that looks like it’s just sitting in a jar? Here’s the thing: cold brew is one of the easiest coffee drinks you can make at home, and all you need is a mason jar, some ground coffee, and a bit of patience. Learning how to make cold brew in a mason jar overnight will save you money and give you a smoother, less acidic coffee that’s perfect for hot summer mornings or whenever you need a refreshing caffeine boost.
In this guide, I’ll walk you through everything you need to know to make cold brew in a mason jar at home. You’ll discover the ideal coffee-to-water ratio, the best grind size, exactly how long to steep, and my personal tips for getting that rich, smooth concentrate that rivals any café. Ready to become your own cold brew barista? Let’s get brewing.
What You’ll Need to Make Cold Brew in a Mason Jar
Before we dive into the process, let’s gather everything you need. The beauty of making cold brew at home is that you probably already have most of these items in your kitchen.
Ingredients
- Coarsely ground coffee: 1 cup (about 85 grams)
- Cold, filtered water: 4 cups (about 950 ml)
- Optional: A pinch of salt to reduce bitterness
Gear
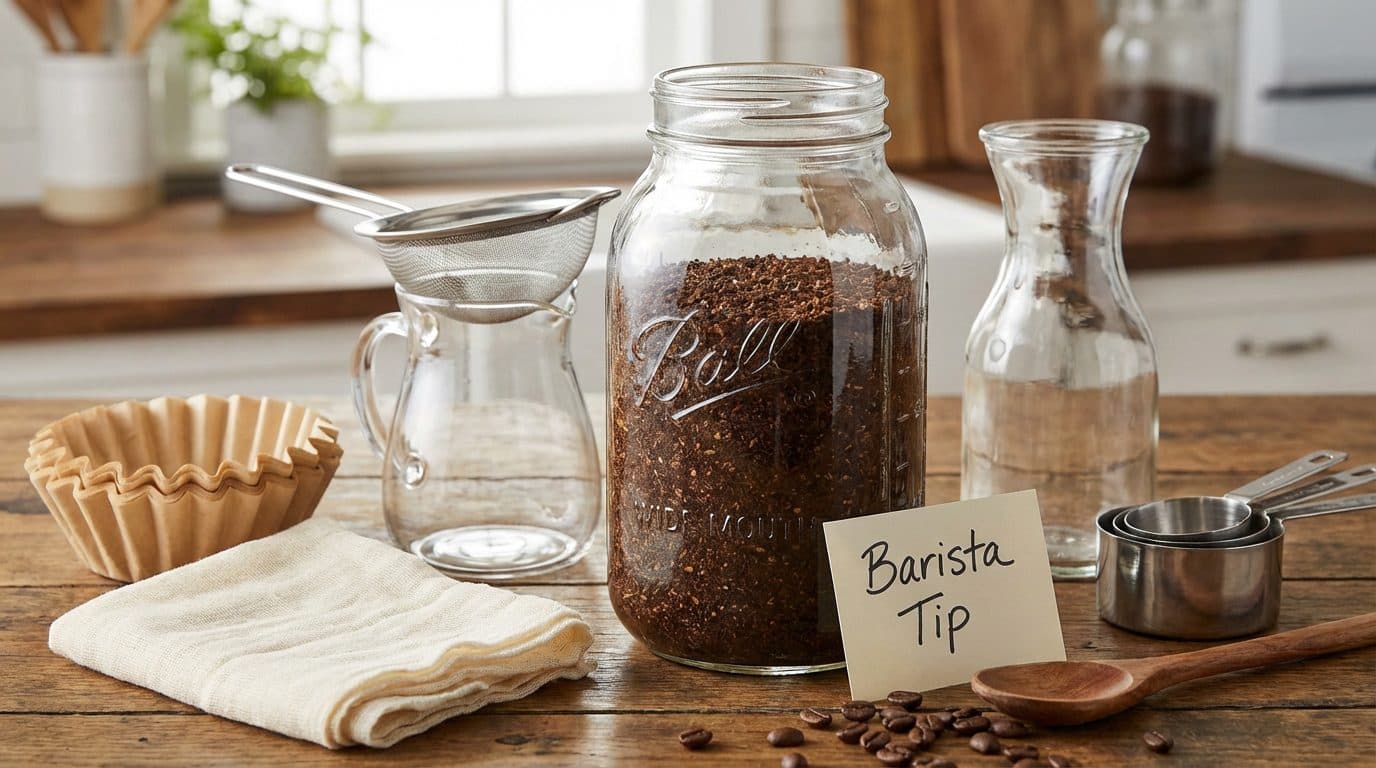
- Wide-mouth mason jar: 32 oz (quart-sized) works perfectly
- Fine-mesh strainer or cheesecloth: For filtering the grounds
- Paper coffee filter: For a super smooth final product
- Second jar or pitcher: To hold your finished concentrate
- Measuring cups: For consistent results every time
Barista Tip: I’ve found that using a wide-mouth mason jar makes the straining process so much easier. The narrow-mouth versions work, but you’ll be wrestling with a funnel and making a mess. Trust me on this one.
The Perfect Cold Brew Ratio and Grind Size
Getting your ratio right is the difference between a bold, satisfying cold brew and a watery disappointment. For cold brew concentrate, I recommend a 1:4 coffee-to-water ratio by volume. This gives you a strong concentrate that you can dilute to your preferred strength later.
Why Grind Size Matters
Coarse grind is absolutely essential for cold brew. Think sea salt or raw sugar texture. Here’s why this matters: fine grounds will over-extract during the long steep time, leaving you with a bitter, muddy mess that no amount of filtering will fix. Coarse grounds extract slowly and evenly, producing that signature smooth, sweet cold brew flavor.
If you’re buying pre-ground coffee, look for “coarse” or “French press” grind. Better yet, grind your own beans right before brewing. In my experience, freshly ground coffee makes a noticeable difference in flavor, even with cold brew’s forgiving nature.
Quick Reference Table
| Mason Jar Size | Coffee Amount | Water Amount | Yield (Concentrate) |
|---|---|---|---|
| 16 oz (pint) | 1/2 cup | 2 cups | About 1.5 cups |
| 32 oz (quart) | 1 cup | 4 cups | About 3 cups |
| 64 oz (half gallon) | 2 cups | 8 cups | About 6 cups |
Step-by-Step: How to Make Cold Brew in a Mason Jar Overnight
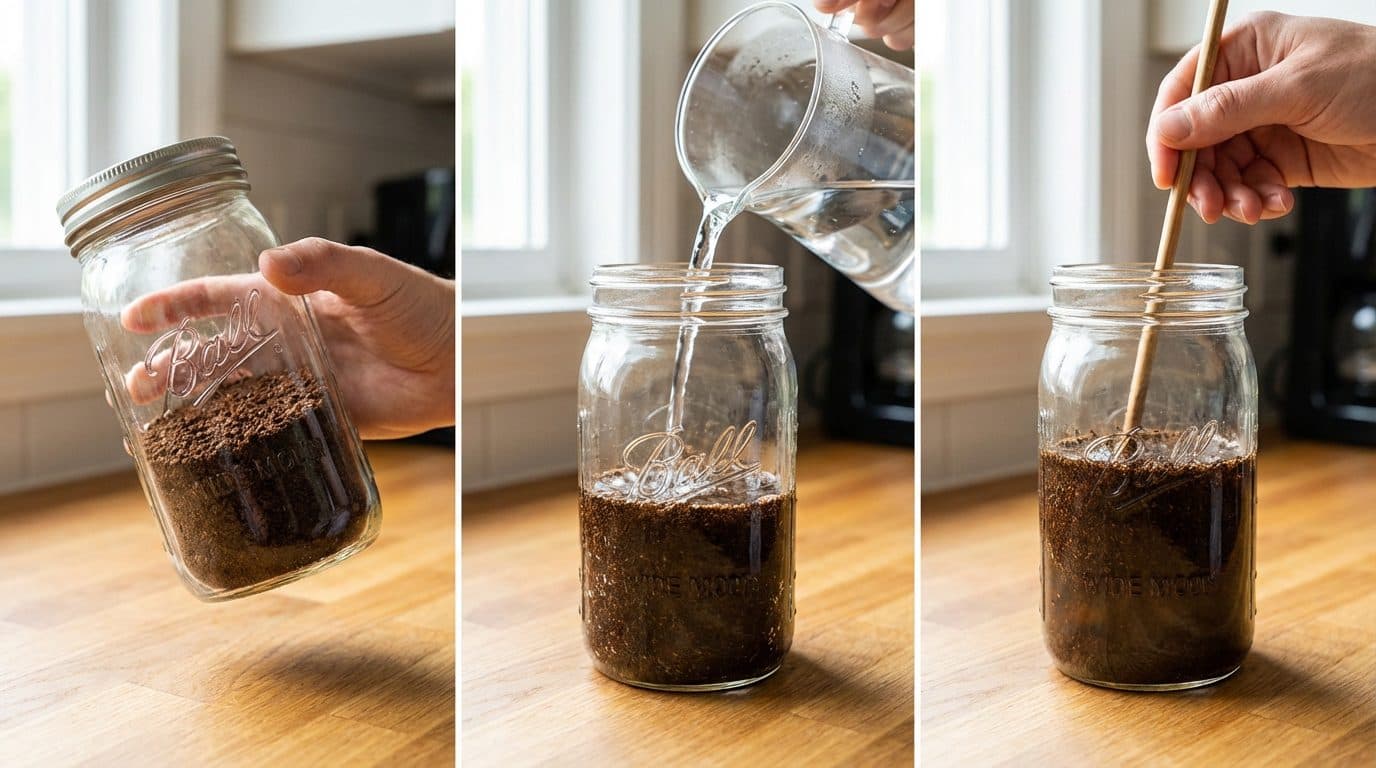
Now for the fun part. Making cold brew is wonderfully hands-off, but following these steps will ensure you get consistent, delicious results every time.
- Add your coarsely ground coffee to the mason jar. Give it a little shake to level the grounds at the bottom.
- Pour cold, filtered water over the grounds. Pour slowly and evenly to saturate all the coffee. Using filtered water makes a real difference in the final taste.
- Stir gently with a long spoon or chopstick. Make sure all the grounds are wet and there are no dry clumps floating on top.
- Cover the jar with the lid or plastic wrap. This prevents any funky fridge odors from sneaking into your brew.
- Place in the refrigerator for 12 to 24 hours. I find 16 to 18 hours hits the sweet spot for most coffees.
- Strain through a fine-mesh strainer. Pour the mixture through a strainer lined with cheesecloth into your second jar.
- Filter again through a paper filter for extra smoothness. This step is optional but removes fine sediment for a cleaner cup.
- Store your concentrate in the fridge. It keeps well for up to two weeks.
Barista Tip: Don’t squeeze or press the grounds when straining. Let gravity do the work. Pressing releases bitter compounds and fine particles that make your cold brew taste harsh.
How Long Should Cold Brew Steep Overnight?
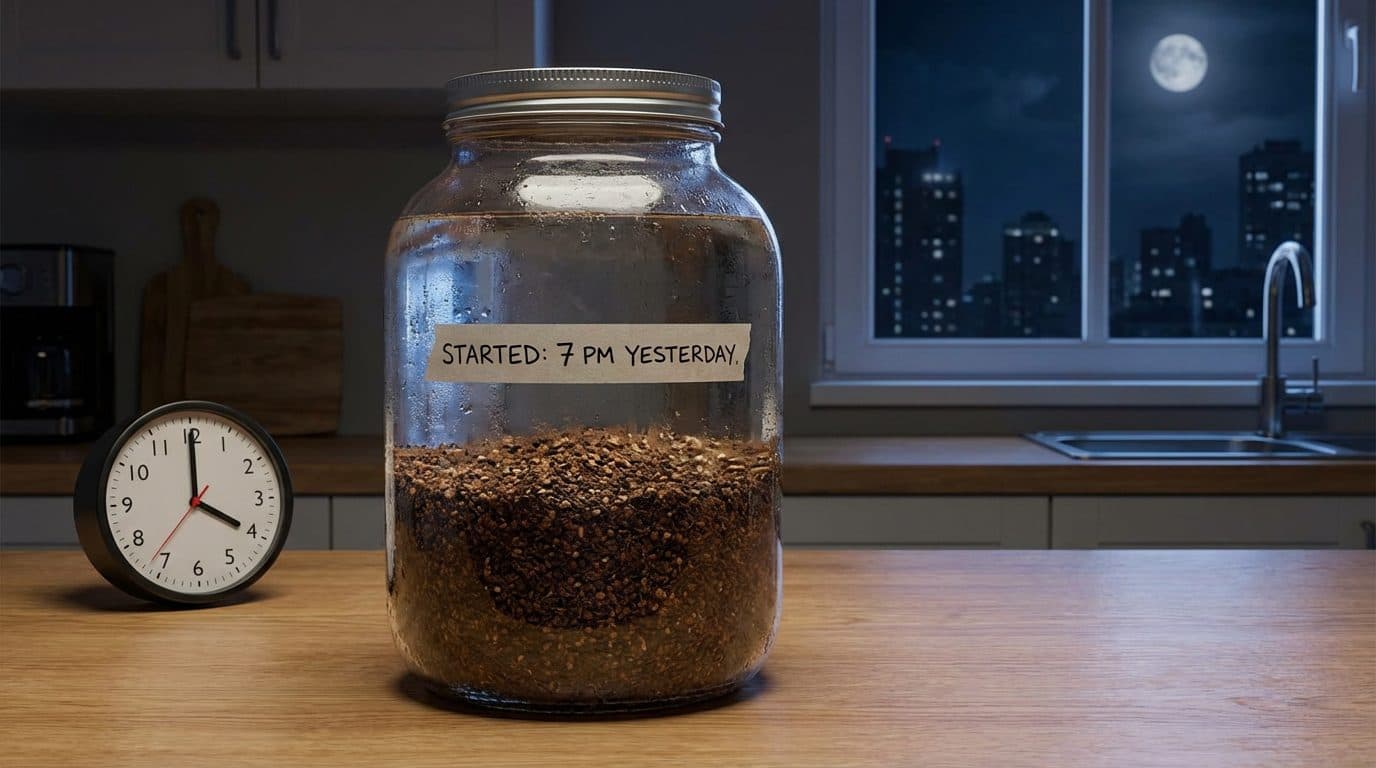
The overnight steep is where the magic happens. Cold water extracts coffee compounds much more slowly than hot water, which is why you need those 12 to 24 hours. But the exact timing affects your final flavor profile.
Steeping Time Breakdown
- 12 hours: Lighter, more tea-like body with subtle flavors. Good if you prefer a milder cold brew.
- 16-18 hours: The sweet spot for most people. Rich, smooth, and full-bodied without bitterness.
- 24 hours: Maximum extraction. Bold and intense, but watch for over-extraction with some beans.
Here’s a mini scenario: Sarah tried her first batch at 12 hours and found it too weak. Her second batch at 24 hours tasted a bit woody and harsh. She landed on 16 hours as her perfect steep time. Your ideal timing might be different depending on your beans and taste preferences, so don’t be afraid to experiment.
Room Temperature vs. Refrigerator
You can steep cold brew at room temperature or in the fridge. Room temperature brewing extracts faster, so reduce your time to 12 to 16 hours. Fridge brewing takes longer but produces a slightly smoother, more mellow flavor. I prefer the fridge method because it feels safer and the results are consistently excellent.
Serving Your Homemade Cold Brew
Remember, what you’ve made is a concentrate, not ready-to-drink cold brew. Drinking it straight will give you a serious caffeine jolt and an intense flavor that might be overwhelming.
Dilution Guidelines
Start with a 1:1 ratio of concentrate to water or milk, then adjust to your taste. Some people prefer a stronger 2:1 concentrate-to-water ratio, while others like it lighter at 1:2. There’s no wrong answer here.
Serving Suggestions
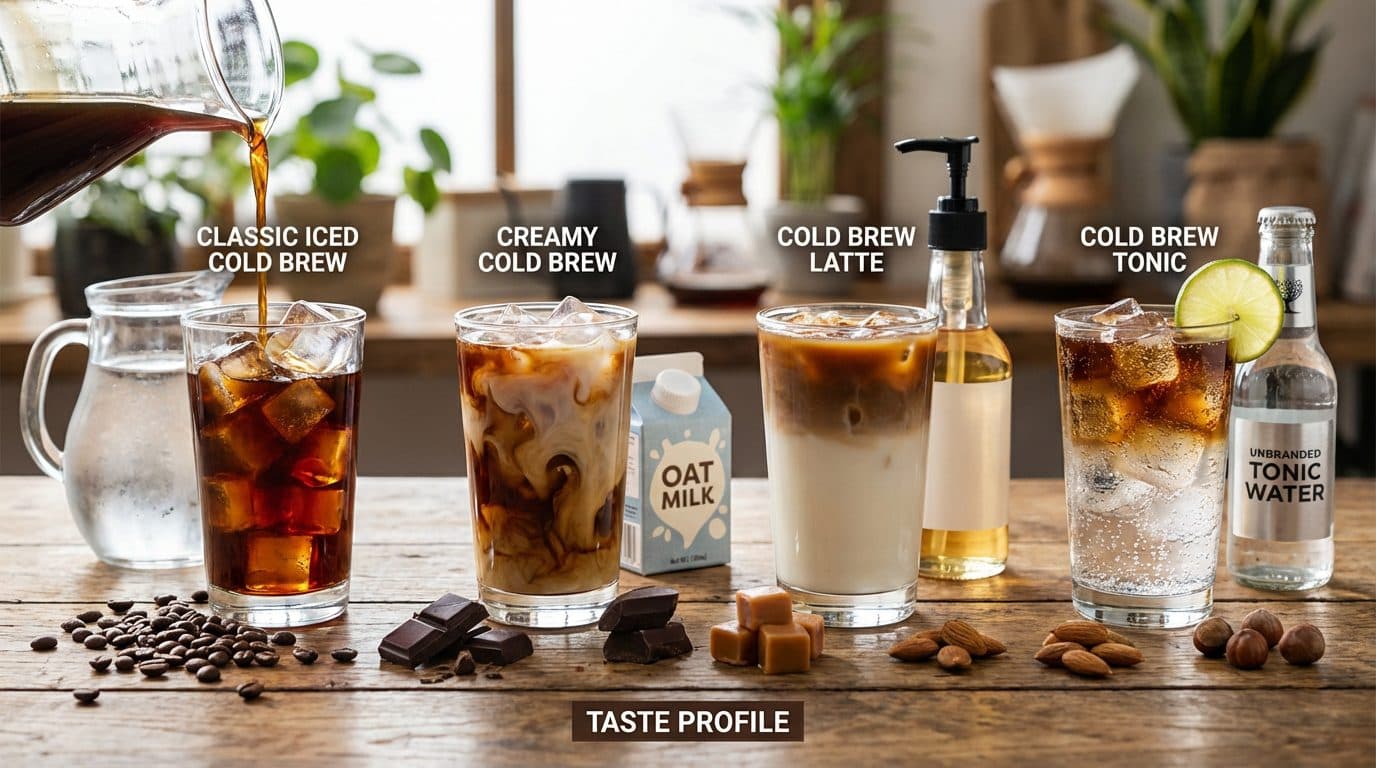
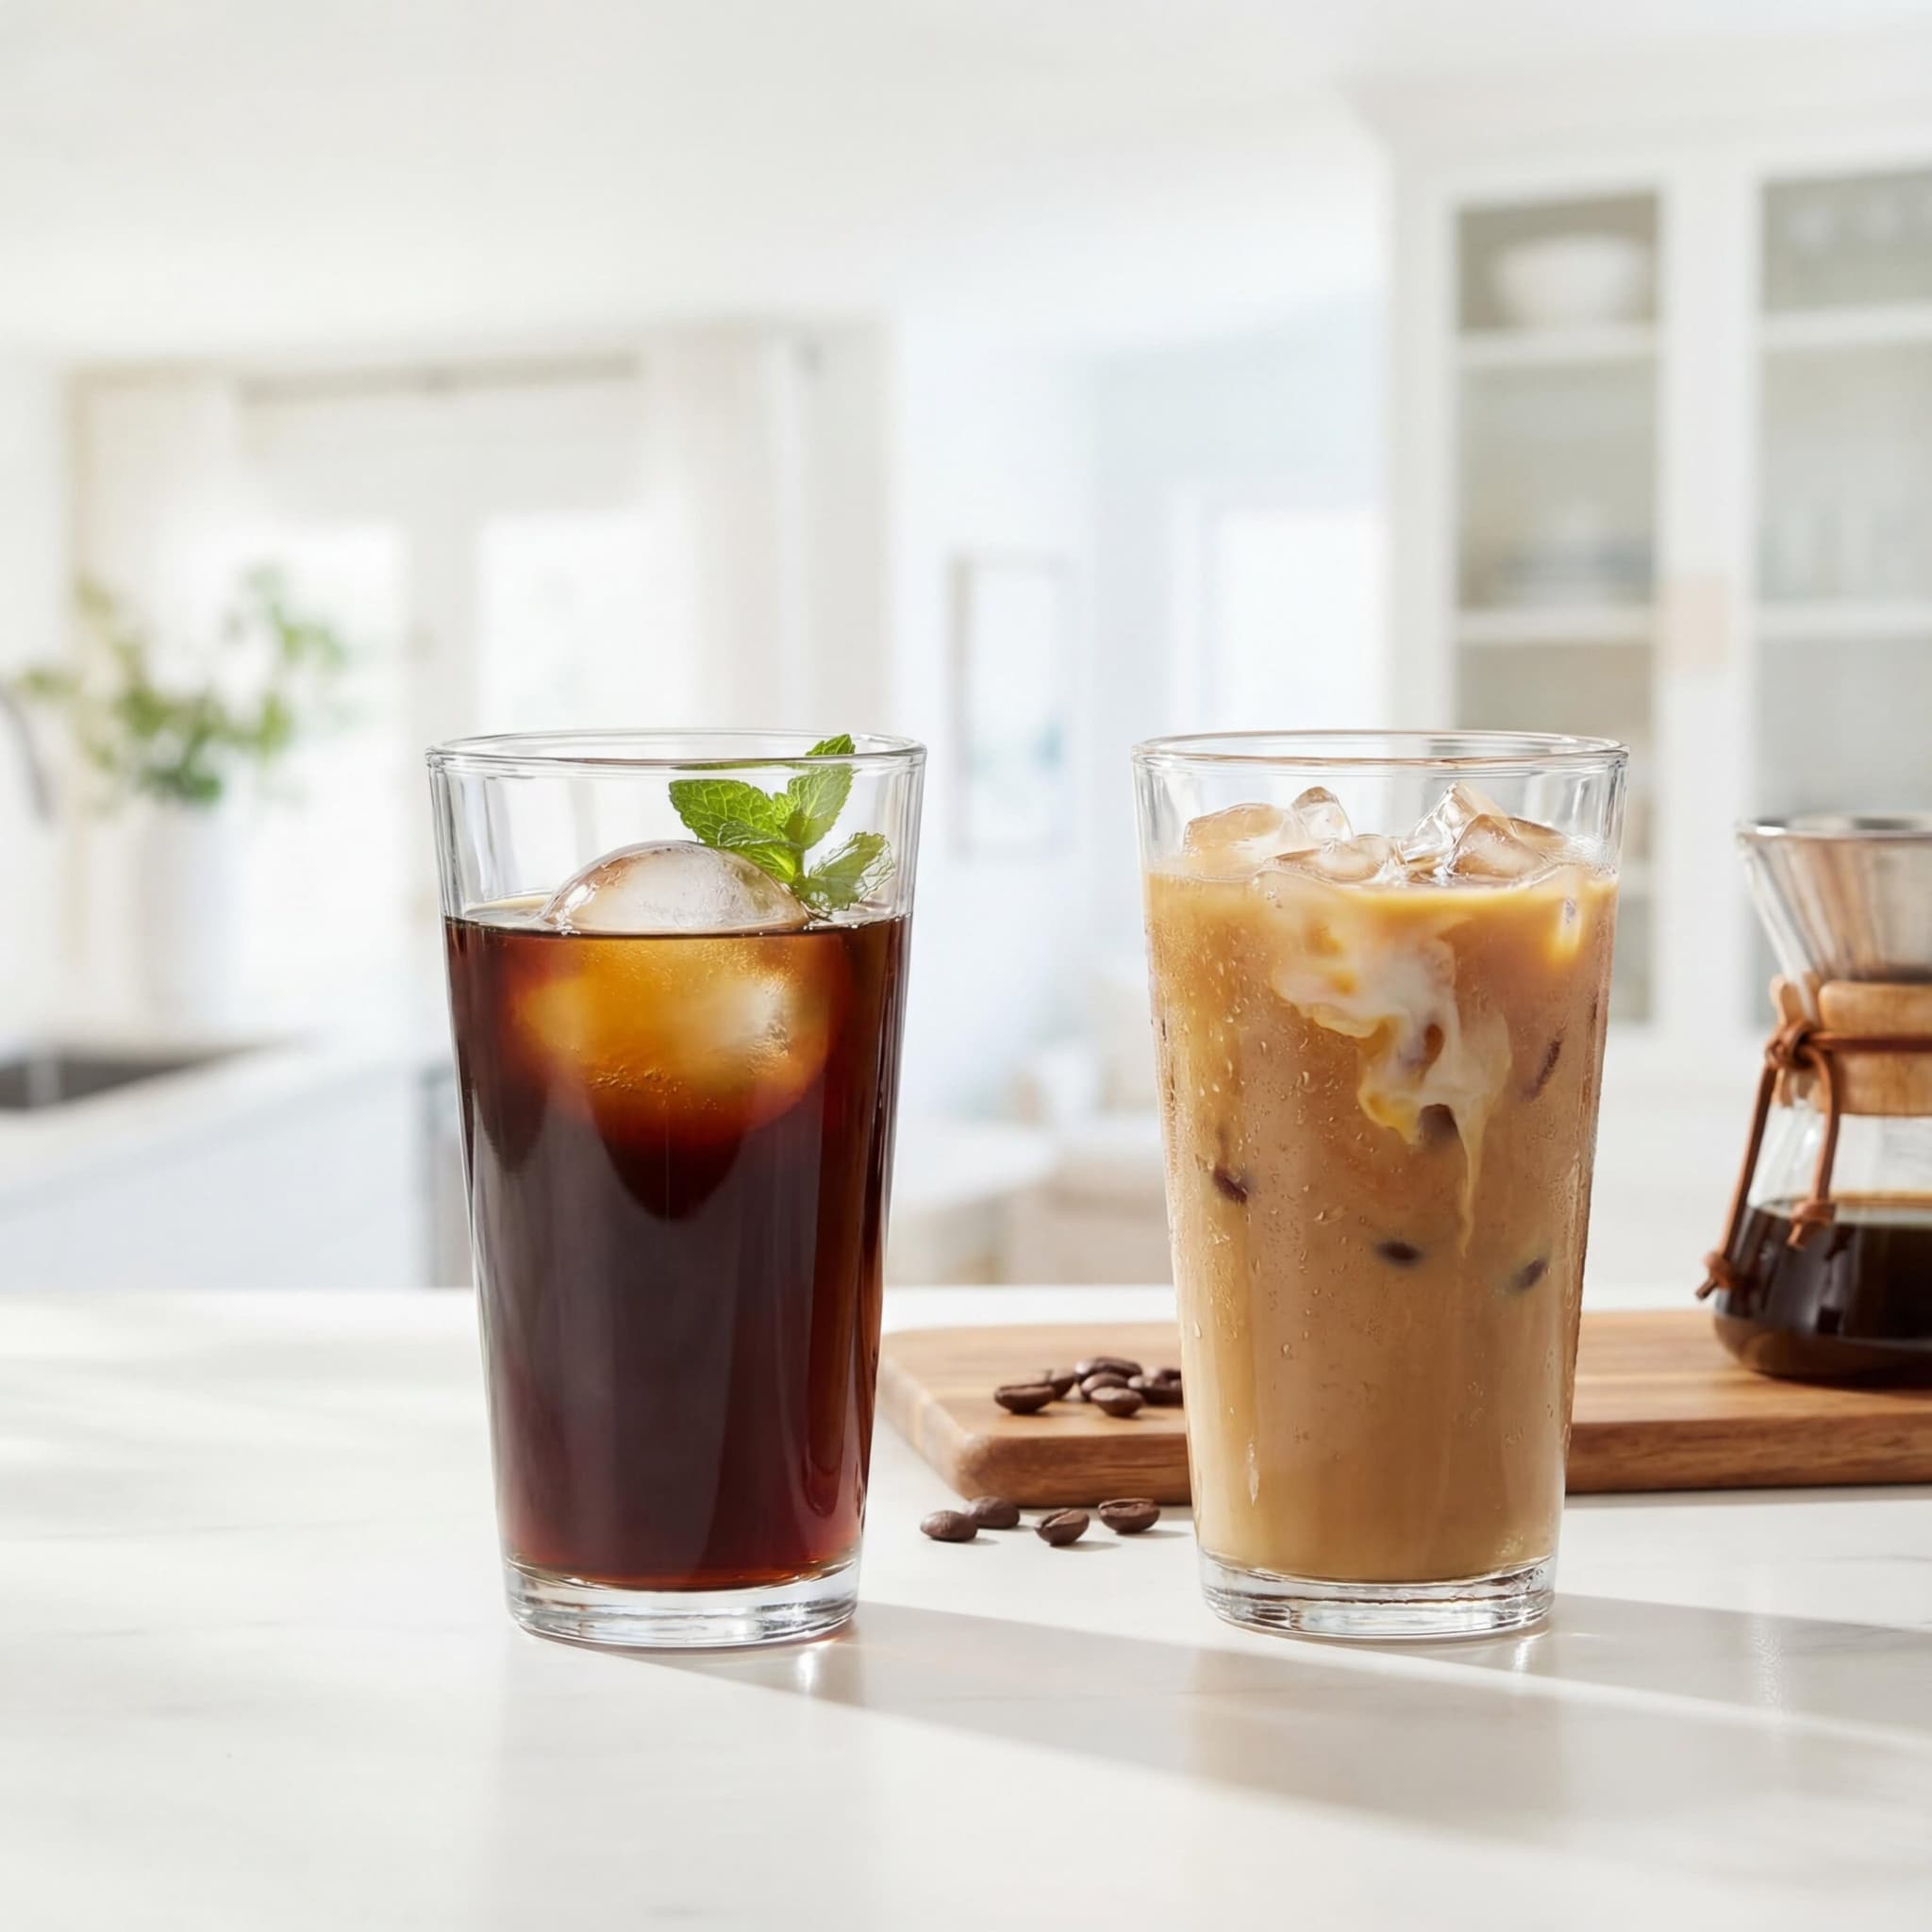
- Classic iced cold brew: Fill a glass with ice, add concentrate, top with cold water.
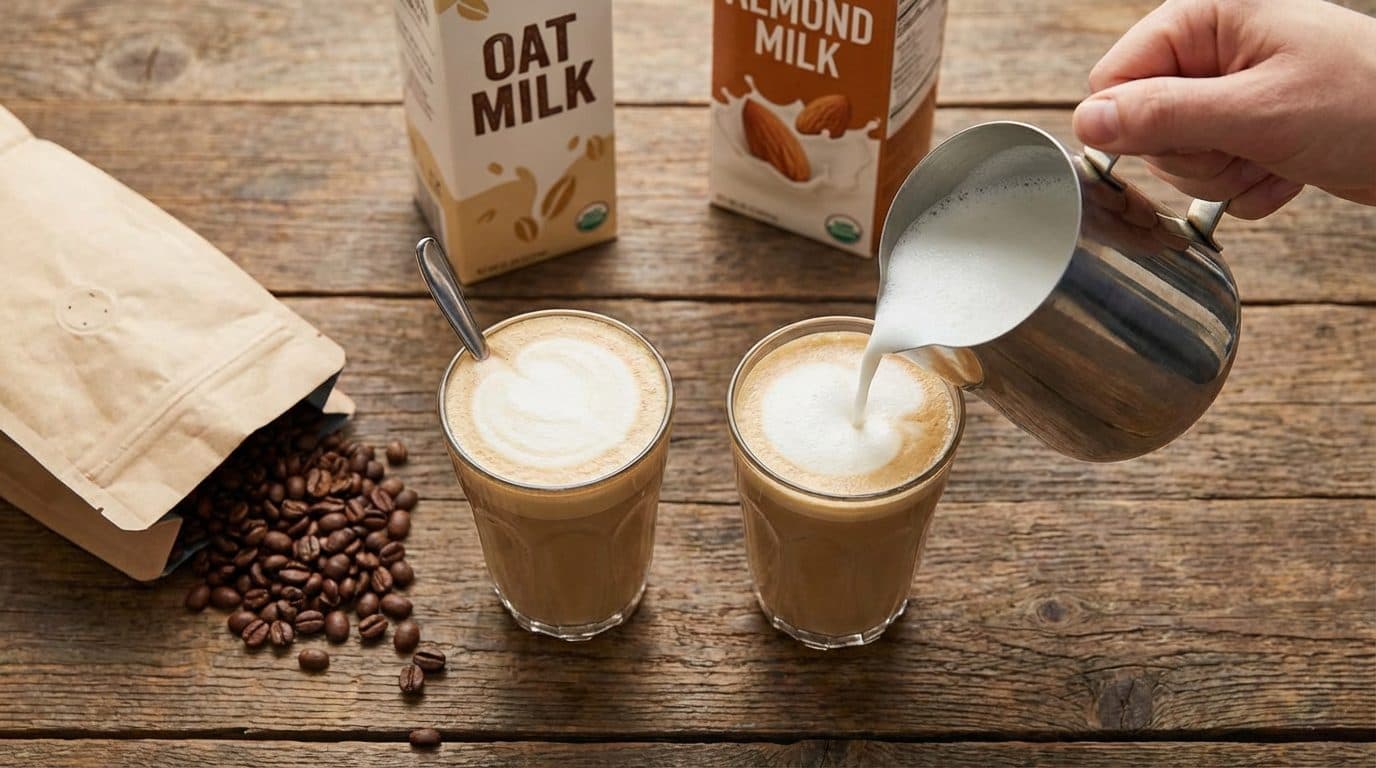
- Creamy cold brew: Mix concentrate with your favorite milk or cream over ice.
- Cold brew latte: Use a 1:2 ratio of concentrate to milk, add a splash of vanilla syrup.
- Cold brew tonic: Mix 1 part concentrate with 2 parts tonic water over ice. Surprisingly refreshing.
Taste Profile: Expect your homemade cold brew to taste smooth, naturally sweet, and low in acidity. You’ll notice chocolate, nutty, or caramel notes depending on your beans. The slow extraction brings out the coffee’s natural sweetness without the harsh, bitter edges of hot-brewed coffee.
Common Cold Brew Mistakes and How to Avoid Them
Even with cold brew’s forgiving nature, a few common mistakes can sabotage your batch. Here’s what to watch out for.
Using Too Fine a Grind
This is the number one mistake I see. Fine grounds over-extract and create a bitter, sludgy cold brew that no filter can save. Always use coarse grounds, even if you have to buy a bag specifically for cold brew.
Not Filtering Properly
Skipping the second filter leaves sediment in your concentrate. It won’t hurt you, but it creates a gritty texture and the cold brew won’t keep as long. Take the extra five minutes to do a second pass through a paper filter.
Storing Too Long
Cold brew concentrate stays fresh for about two weeks in the fridge. After that, it starts to oxidize and develop stale, cardboard-like flavors. Make smaller batches more frequently for the best taste.
Using Stale Coffee
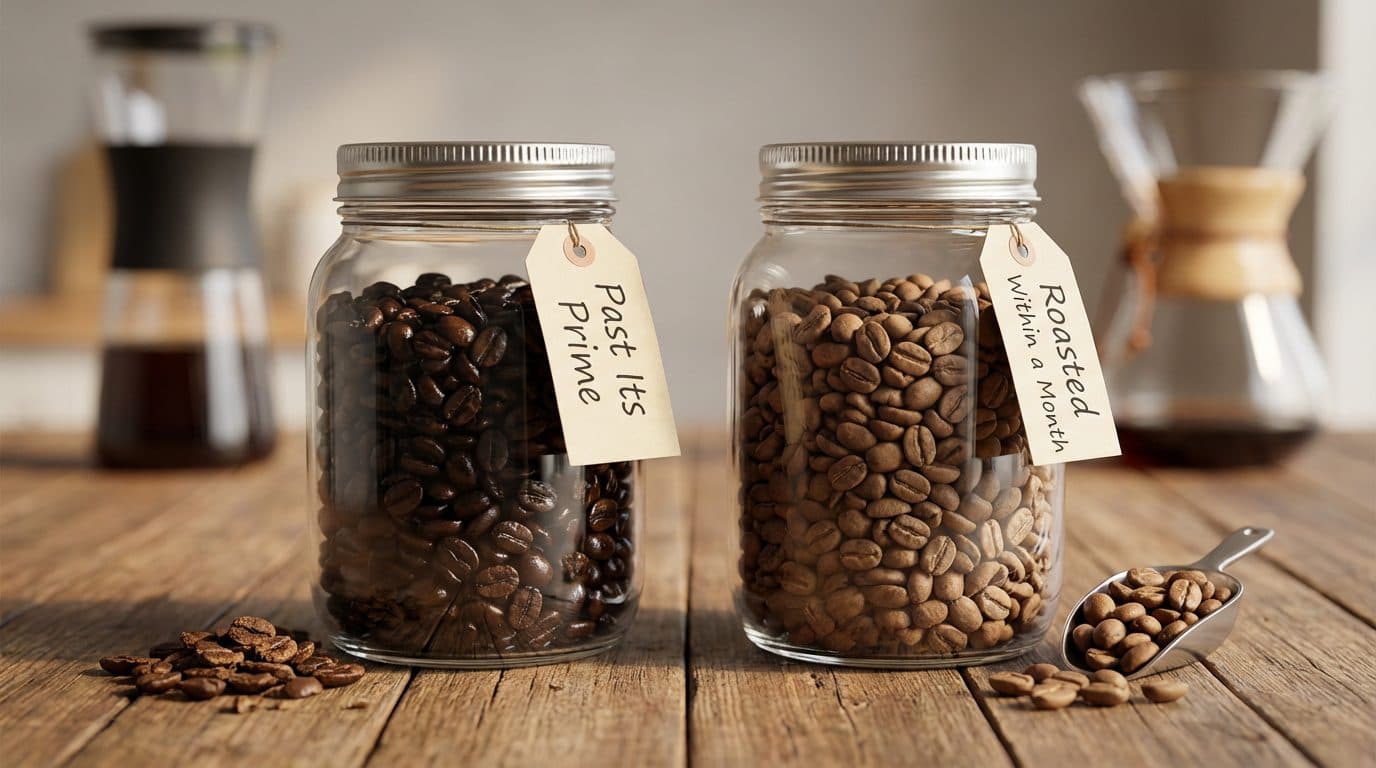
Life is too short for bad coffee. Cold brew can’t fix stale beans. Use coffee roasted within the past month for the best flavor. If your beans smell flat or have an oily sheen, they’re past their prime.
Frequently Asked Questions
Can I use any type of coffee for cold brew in a mason jar?
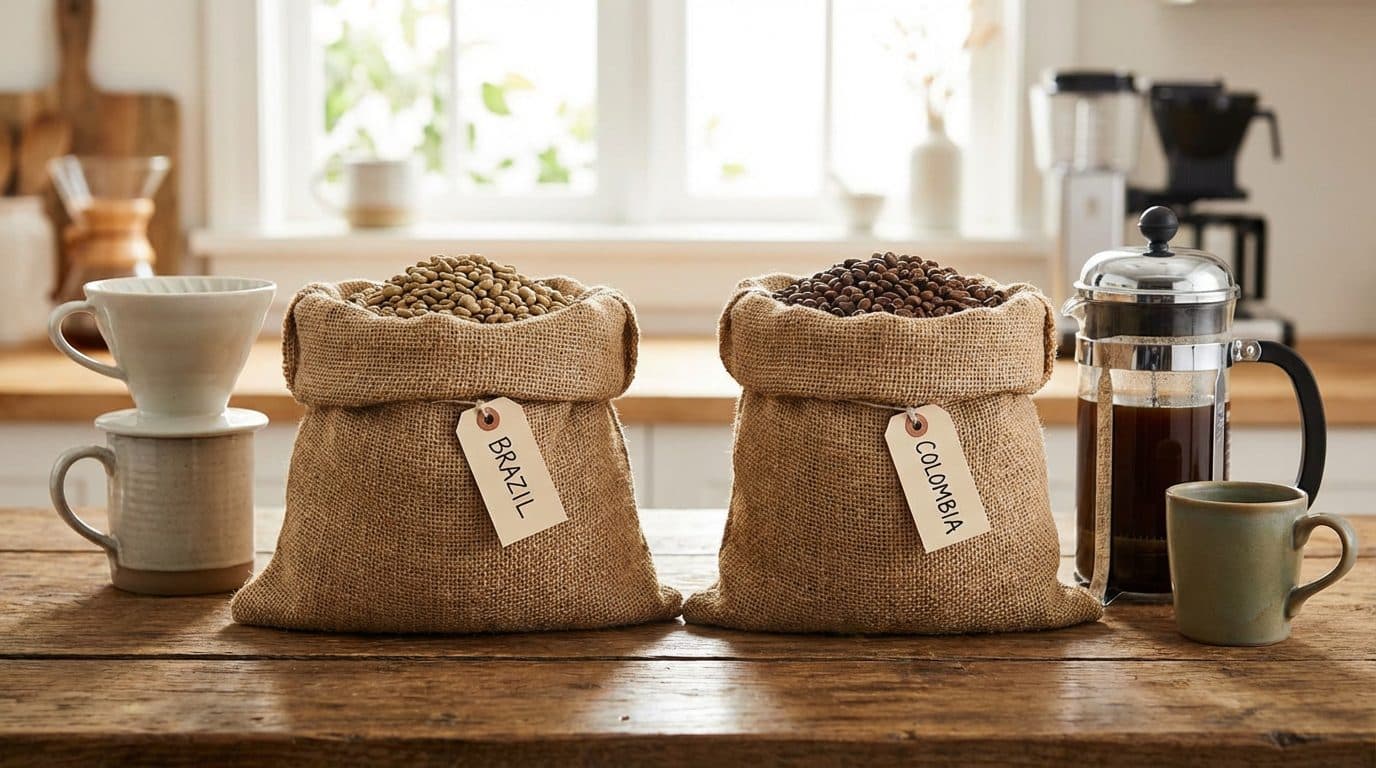
Yes, you can use any coffee you enjoy. Medium to dark roasts tend to produce the classic cold brew flavor with chocolate and caramel notes. Light roasts work too but may taste more acidic or fruity. Experiment with different origins to find your favorite.
Is cold brew stronger than regular coffee?
Cold brew concentrate is stronger in caffeine because of the higher coffee-to-water ratio. However, once you dilute it for drinking, the caffeine content is similar to regular drip coffee. The concentrate packs roughly 200mg of caffeine per cup, so dilute it before drinking.
Why does my cold brew taste bitter or sour?
Bitter cold brew usually means over-extraction from too fine a grind or too long a steep time. Sour cold brew means under-extraction from too coarse a grind or too short a steep. Adjust your variables and try again.
Do I need special equipment to make cold brew at home?
Not at all. A mason jar, coffee, water, and something to strain with are all you need. Fancy cold brew makers can simplify the process, but they’re not necessary for great results.
Can I heat up cold brew?
Absolutely. Dilute your concentrate with hot water for a smooth, low-acid hot coffee. It won’t taste exactly like fresh hot-brewed coffee, but many people prefer the mellow flavor. Just don’t boil it, as that can create off-flavors.
Summary and Your Next Step
Making cold brew in a mason jar overnight is one of the simplest ways to enjoy café-quality coffee at home. With just coarse ground coffee, cold water, and 12 to 24 hours of patience, you’ll have a smooth, naturally sweet concentrate that lasts for weeks and costs a fraction of store-bought versions.
Remember the key points: use coarsely ground coffee, stick to a 1:4 ratio, steep for 16 to 18 hours in the fridge, and filter twice for the smoothest results. Start your first batch tonight, and by tomorrow morning, you’ll be sipping on homemade cold brew that rivals anything from your favorite coffee shop. Your wallet and your taste buds will thank you.

Comments