


Table of Contents
- What You'll Need for Your Iced Vanilla Latte
- Ingredients
- Gear
- How to Brew Strong Coffee for Iced Lattes
- The Coffee-to-Water Ratio That Works
- Best Brewing Methods for Strong Coffee
- Making Homemade Vanilla Syrup (It's Easier Than You Think)
- Simple Vanilla Syrup Recipe
- Step-by-Step: Assembling Your Perfect Iced Vanilla Latte
- The Assembly Process
- Common Mistakes and How to Avoid Them
- Mistake #1: Using Regular-Strength Coffee
- Mistake #2: Pouring Hot Coffee Over Ice
- Mistake #3: Adding Syrup Last
- Mistake #4: Skimping on Ice
- Variations to Try Once You've Mastered the Basics
- Frequently Asked Questions
- Can I use instant coffee for an iced vanilla latte?
- How do I make my iced latte less watery?
- What's the best milk for an iced vanilla latte?
- How much caffeine is in a homemade iced vanilla latte?
- Can I make iced vanilla lattes ahead of time?
- Final Thoughts and Your Next Step
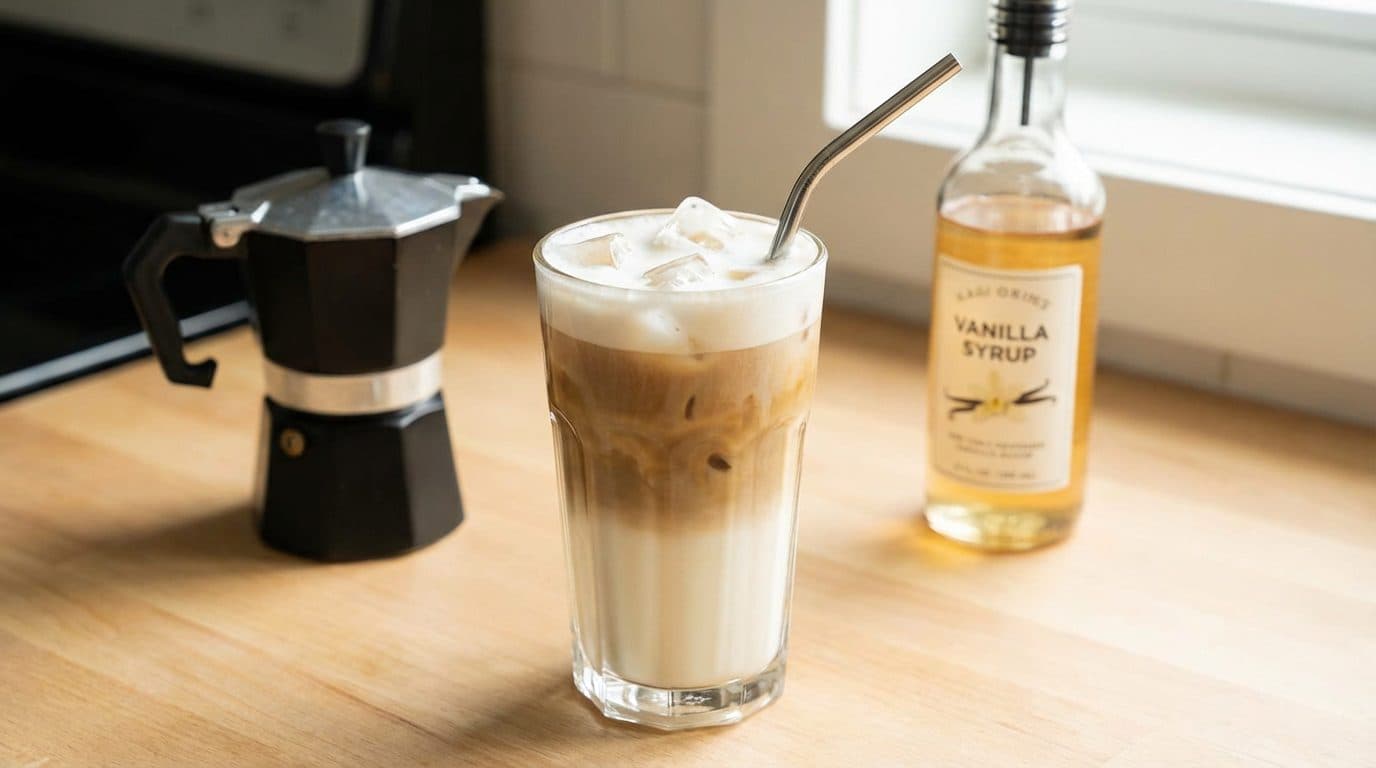
Is there anything more satisfying than that first sip of a perfectly balanced iced vanilla latte on a warm afternoon? The problem is, those daily coffee shop runs add up fast—we’re talking $5 to $7 per drink, which can easily become a $150+ monthly habit. Here’s the good news: making an iced vanilla latte at home using strong coffee is surprisingly simple, and once you nail the technique, you’ll wonder why you ever waited in those drive-thru lines.
In this guide, I’ll walk you through everything you need to create café-quality iced vanilla lattes in your own kitchen. You’ll learn how to brew coffee that’s strong enough to stand up to ice and milk, how to make your own vanilla syrup, and the little tricks that separate a mediocre iced latte from one that makes you close your eyes and smile. Let’s get brewing.
What You’ll Need for Your Iced Vanilla Latte
Ingredients
- Strong brewed coffee – About 4-6 oz (I’ll explain brewing methods below)
- Milk of your choice – 6-8 oz (whole milk, oat milk, and almond milk all work beautifully)
- Vanilla syrup – 1-2 tablespoons (store-bought or homemade)
- Ice cubes – Enough to fill your glass
- Optional: A splash of vanilla extract – If you want extra vanilla depth
Gear
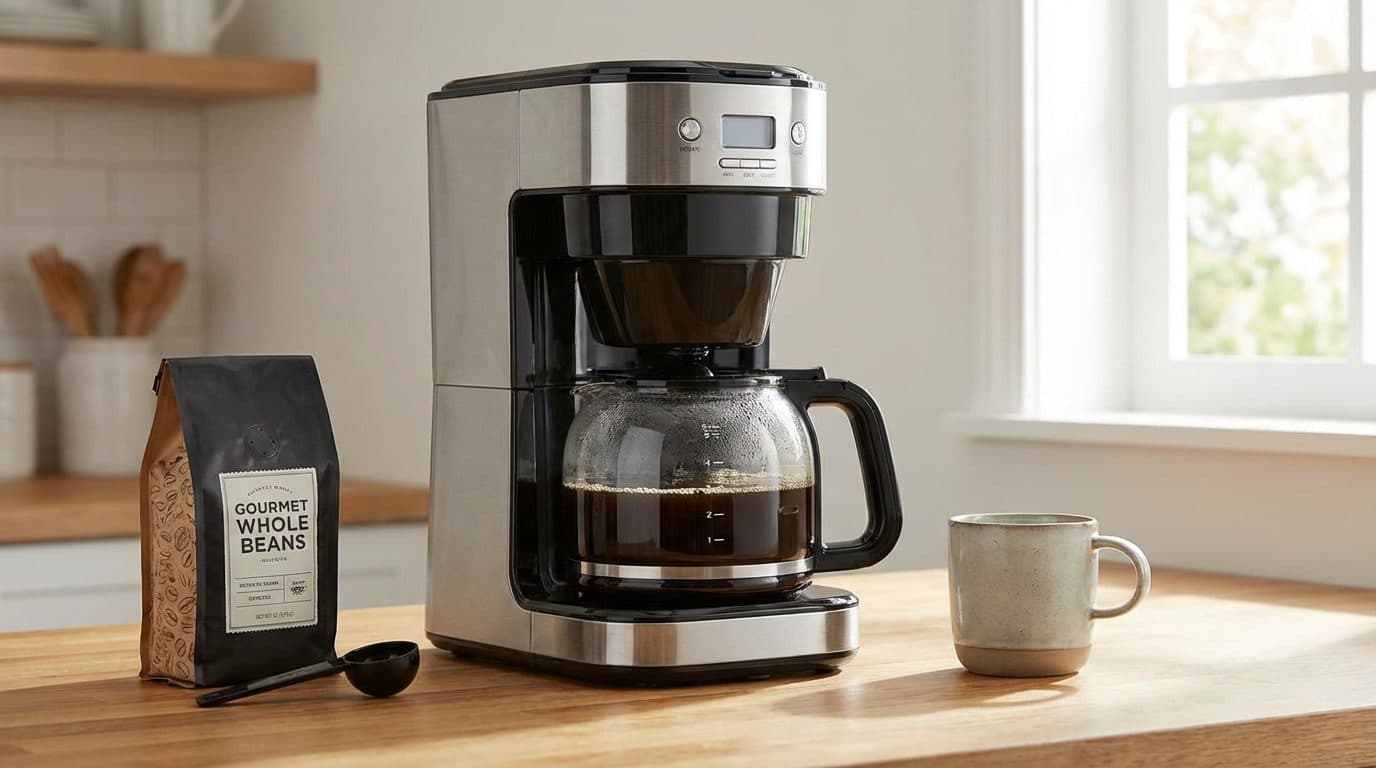
- Your preferred coffee brewing method (French press, Moka pot, AeroPress, or drip maker)
- A tall glass (12-16 oz works perfectly)
- A long spoon for stirring
- Small saucepan (if making homemade vanilla syrup)
- Measuring spoons
How to Brew Strong Coffee for Iced Lattes

Here’s the thing about iced coffee drinks: regular-strength coffee gets watered down the moment ice hits the glass. You end up with something weak and disappointing. The secret to a great iced vanilla latte is starting with coffee that’s bold enough to maintain its flavor even after dilution.
The Coffee-to-Water Ratio That Works
For iced lattes, I’ve found that using roughly double the coffee grounds you’d normally use creates the perfect intensity. If you typically use 2 tablespoons of coffee for a cup, bump it up to 3.5 or even 4 tablespoons. This concentrated brew becomes the backbone of your drink.
| Brewing Method | Coffee Amount | Water Amount | Brew Time |
|---|---|---|---|
| French Press | 4 tbsp (28g) | 6 oz (180ml) | 4 minutes |
| Moka Pot | Fill basket fully | Fill to valve | 4-5 minutes |
| AeroPress | 2.5 tbsp (17g) | 4 oz (120ml) | 1.5 minutes |
| Drip Maker | 4 tbsp (28g) | 6 oz (180ml) | Varies |
Best Brewing Methods for Strong Coffee
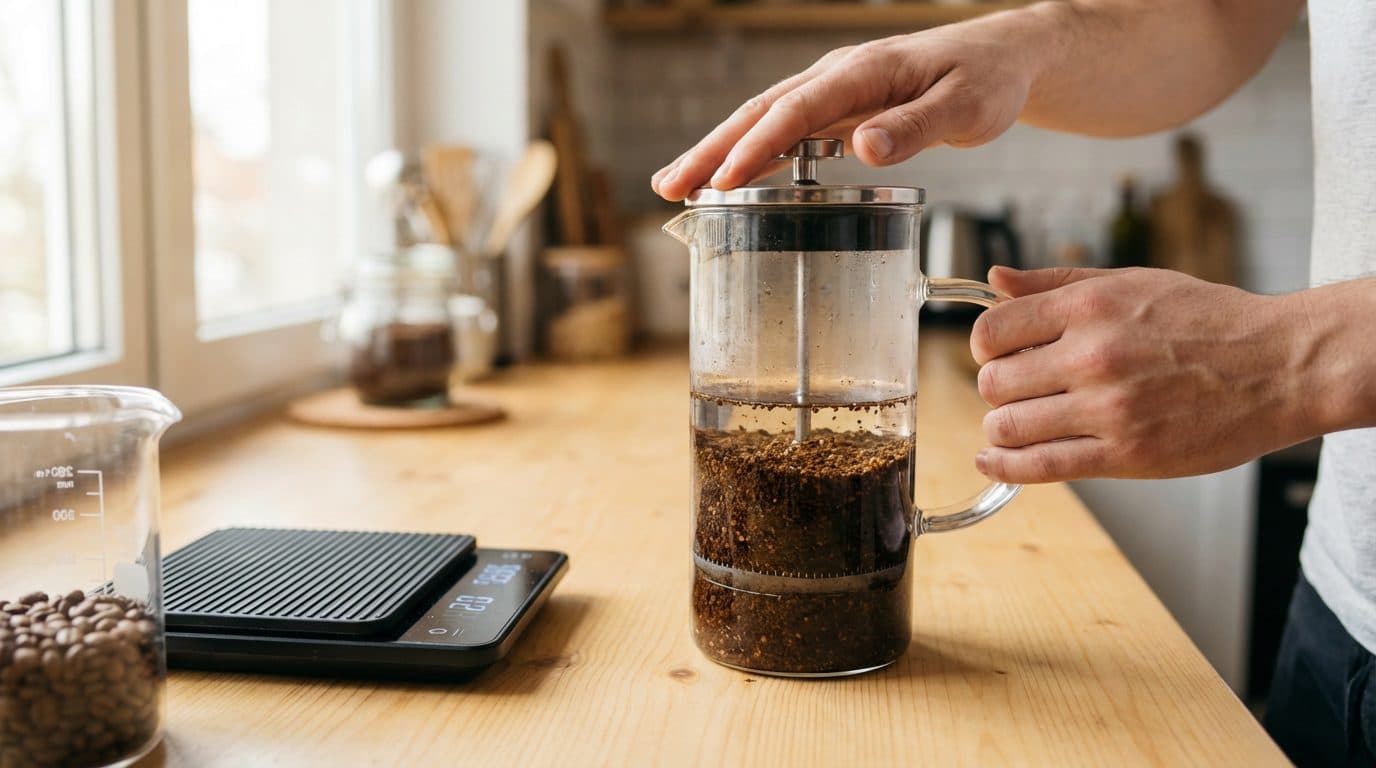
French Press: This is my go-to for iced lattes. The full immersion brewing extracts rich, full-bodied coffee with natural oils intact. Use coarse grounds, steep for 4 minutes, and press slowly.
Moka Pot: If you want something approaching espresso strength without an espresso machine, the Moka pot delivers. The pressurized brewing creates intense, concentrated coffee that’s perfect for lattes.
AeroPress: Quick, versatile, and capable of producing strong coffee in under two minutes. Use the inverted method for maximum extraction.
Barista Tip: Whatever method you choose, let your coffee cool to room temperature before pouring it over ice. Hot coffee hitting ice creates rapid melting and dilutes your drink before you’ve taken your first sip. Even better? Brew your coffee the night before and refrigerate it.
Making Homemade Vanilla Syrup (It’s Easier Than You Think)
Store-bought vanilla syrup works fine, but homemade syrup takes about 10 minutes and tastes noticeably better. Plus, you control the sweetness level and avoid artificial ingredients. In my experience, once people try homemade syrup, they rarely go back.
Simple Vanilla Syrup Recipe
- 1 cup water
- 1 cup granulated sugar
- 2 teaspoons pure vanilla extract (or 1 vanilla bean, split)
Instructions:
- Combine water and sugar in a small saucepan over medium heat.
- Stir until the sugar completely dissolves—this takes about 3-4 minutes.
- Remove from heat and stir in vanilla extract (or add the split vanilla bean and let it steep for 30 minutes).
- Let cool completely before transferring to a jar or bottle.
- Store in the refrigerator for up to 3 weeks.
Barista Tip: For a richer, more complex flavor, try using a combination of brown sugar and white sugar. The molasses notes in brown sugar add caramel undertones that complement coffee beautifully.
Step-by-Step: Assembling Your Perfect Iced Vanilla Latte
Now for the fun part. With your strong coffee brewed and cooled and your vanilla syrup ready, you’re just minutes away from iced latte bliss.
Taste Profile: Expect a creamy, smooth drink with pronounced vanilla sweetness balanced by bold coffee notes. The finish is cool and refreshing with lingering caramel-like undertones.
The Assembly Process
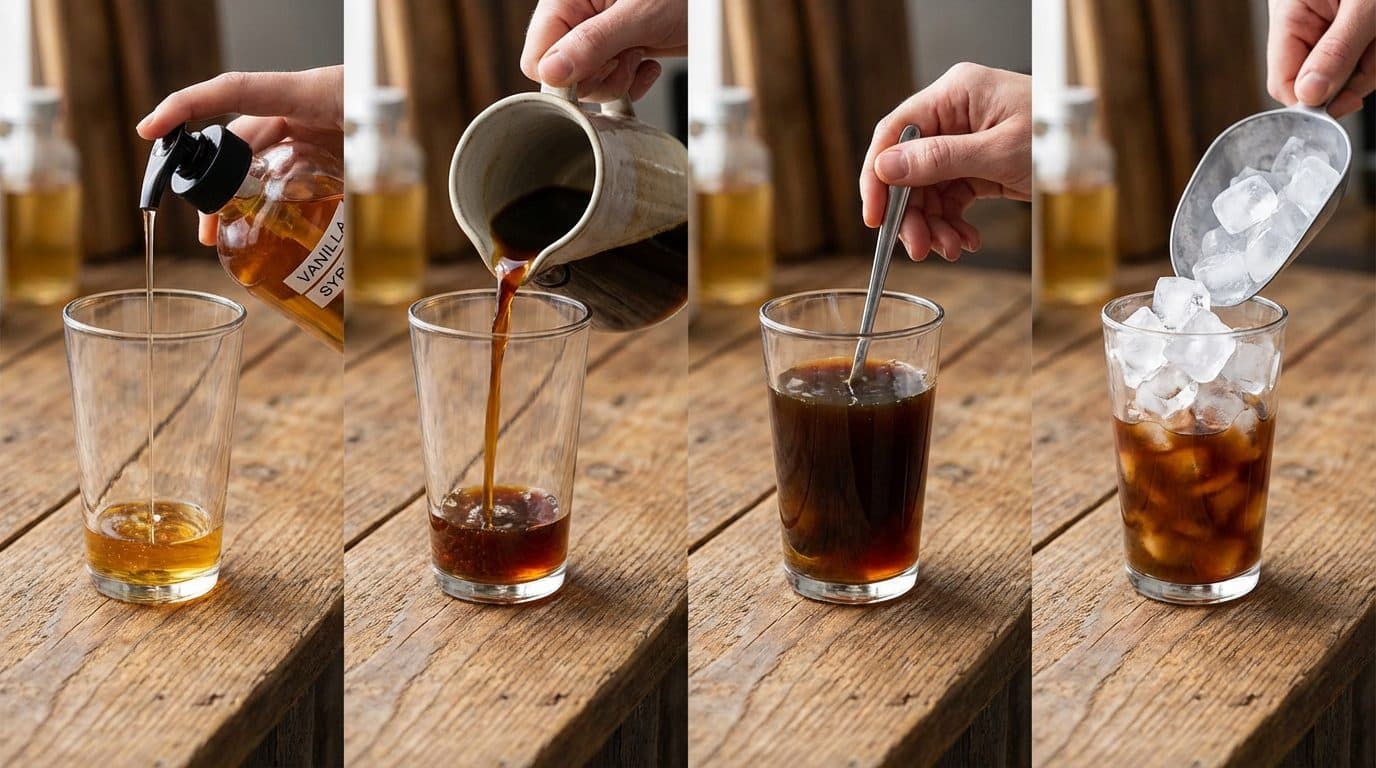
- Add vanilla syrup to your glass first. Start with 1-2 tablespoons depending on your sweetness preference. Adding it first ensures it mixes properly instead of sinking to the bottom.
- Pour in your cooled strong coffee. Use 4-6 oz depending on how coffee-forward you like your latte.
- Give it a quick stir. Make sure the syrup and coffee are fully combined before adding anything else.
- Fill the glass with ice. Don’t be shy here—a full glass of ice keeps your drink cold longer and creates that satisfying iced coffee aesthetic.
- Pour milk slowly over the ice. This creates those beautiful layers you see at coffee shops. Use 6-8 oz of your preferred milk.
- Stir gently and taste. Adjust sweetness or add more coffee if needed.
Barista Tip: For an extra creamy texture without adding more calories, try frothing your cold milk before adding it. A handheld milk frother or even a mason jar with a tight lid (shake vigorously for 30 seconds) creates a lovely foam layer on top.
Common Mistakes and How to Avoid Them
I’ve made every mistake in the book when it comes to iced lattes. Life is too short for bad coffee, so let me save you some frustration.
Mistake #1: Using Regular-Strength Coffee
This is the most common error. Standard coffee gets lost once you add ice and milk. The result tastes like vaguely coffee-flavored milk water. Always brew strong—your future self will thank you.
Mistake #2: Pouring Hot Coffee Over Ice
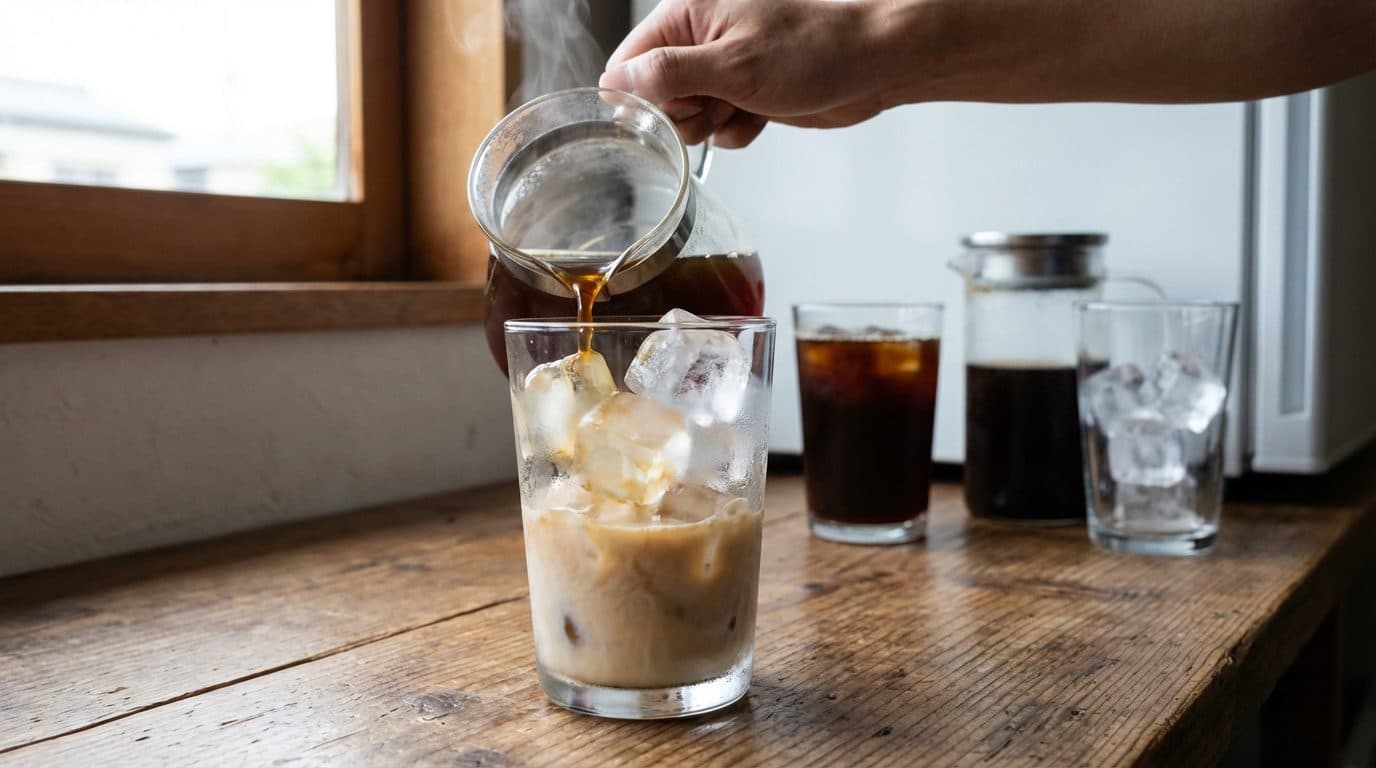
Yes, it’s tempting when you’re in a hurry. But hot coffee melts ice almost instantly, leaving you with a lukewarm, watered-down mess. Patience pays off. Cool your coffee first, or plan ahead and refrigerate it overnight.
Mistake #3: Adding Syrup Last
Vanilla syrup is thick and doesn’t mix well into cold drinks. If you add it on top, you’ll end up with pockets of intense sweetness and bland sips. Always add syrup to the coffee before the ice goes in.
Mistake #4: Skimping on Ice
A half-filled glass of ice melts faster than a packed glass. Counterintuitive, right? More ice actually keeps your drink colder longer because there’s more thermal mass. Fill that glass up.
Key Takeaway: The holy trinity of a great iced vanilla latte is strong coffee, quality vanilla (preferably homemade syrup), and proper assembly technique. Nail these three elements, and you’ll consistently make drinks that rival any café.
Variations to Try Once You’ve Mastered the Basics
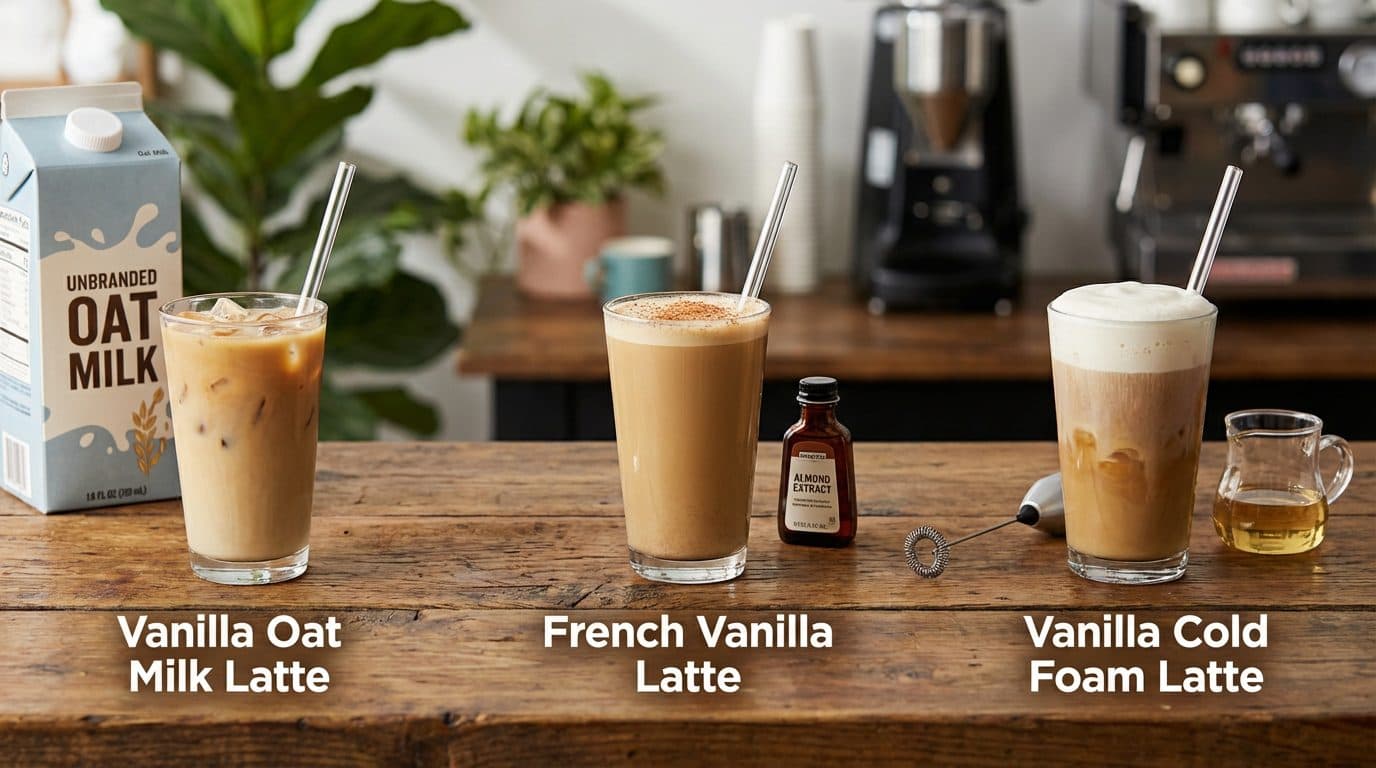
Once you’re comfortable with the classic iced vanilla latte, there’s a whole world of variations to explore.
- Vanilla Oat Milk Latte: Oat milk’s natural sweetness pairs exceptionally well with vanilla. You might even reduce the syrup by half.
- French Vanilla Latte: Add a tiny pinch of nutmeg and a drop of almond extract to your vanilla syrup for that nostalgic French vanilla flavor.
- Vanilla Cold Foam Latte: Froth cold heavy cream with a splash of vanilla syrup and float it on top of your latte. Decadent and Instagram-worthy.
- Salted Vanilla Latte: Add a tiny pinch of flaky sea salt to your drink. It sounds odd, but salt enhances sweetness and adds complexity.
- Vanilla Mocha: Stir in a tablespoon of chocolate syrup or cocoa powder for a dessert-like treat.
Frequently Asked Questions
Can I use instant coffee for an iced vanilla latte?
You can, though the flavor won’t be quite as nuanced. If using instant coffee, dissolve 2-3 teaspoons in just 2-3 oz of hot water to create a concentrated base. Let it cool before building your drink. Some higher-quality instant coffees actually work surprisingly well for iced drinks.
How do I make my iced latte less watery?
Three strategies work well: brew stronger coffee, use coffee ice cubes (freeze leftover coffee in ice cube trays), or chill your coffee in the refrigerator before assembling your drink. Coffee ice cubes are a game-changer because they add coffee flavor as they melt instead of diluting your drink.
What’s the best milk for an iced vanilla latte?
It depends on your preferences. Whole milk creates the creamiest texture. Oat milk is the most popular non-dairy option because it’s naturally sweet and froths well. Almond milk works but can taste slightly thin. Coconut milk adds tropical notes that some people love with vanilla.
How much caffeine is in a homemade iced vanilla latte?
Using the strong coffee method described above, expect roughly 120-150mg of caffeine per drink—similar to a coffee shop grande latte. This varies based on your coffee beans and exact brewing ratio.
Can I make iced vanilla lattes ahead of time?
You can prep the coffee and syrup ahead, but I wouldn’t recommend fully assembling the drink in advance. The ice will melt and the milk can separate. Instead, keep your strong coffee and vanilla syrup in the fridge, then assemble fresh when you’re ready to drink.
Final Thoughts and Your Next Step
Making an iced vanilla latte at home using strong coffee isn’t complicated—it just requires understanding a few key principles. Brew your coffee stronger than usual, let it cool properly, use quality vanilla syrup (homemade is worth the minimal effort), and assemble in the right order. That’s really all there is to it.
Start with the basic recipe this week, and once you’ve got it dialed in, experiment with the variations. Try different milks, play with the coffee-to-milk ratio, or get creative with flavored syrups. The beauty of being your own barista is that you can customize every element to your exact preferences—something no coffee shop can match.
Your wallet will appreciate the savings, and your mornings (or afternoons) will feel just a little bit more luxurious. Now grab that French press and get brewing.

Comments