


Table of Contents
- What You'll Need to Make a Cortado at Home
- Gear
- Ingredients
- Understanding the Cortado: What Makes It Special
- Cortado vs. Other Espresso Drinks
- Step-by-Step: Pulling Espresso on a Small Espresso Machine
- Step 1: Prep Your Machine
- Step 2: Grind and Dose Your Coffee
- Step 3: Tamp Firmly and Level
- Step 4: Pull Your Shot
- Expected Taste Profile
- How to Steam Milk for a Cortado
- Step 1: Start With Cold Milk
- Step 2: Purge Your Steam Wand
- Step 3: Position and Steam
- Step 4: Swirl and Rest
- Assembling Your Perfect Cortado at Home
- The Pour
- Serving Suggestions
- Troubleshooting Common Cortado Mistakes
- Frequently Asked Questions
- Can I make a cortado with a single shot of espresso?
- What's the difference between a cortado and a flat white?
- Do I need an expensive espresso machine to make a good cortado?
- Can I make a cortado without a steam wand?
- How is a cortado different from a macchiato?
- Conclusion and Next Steps
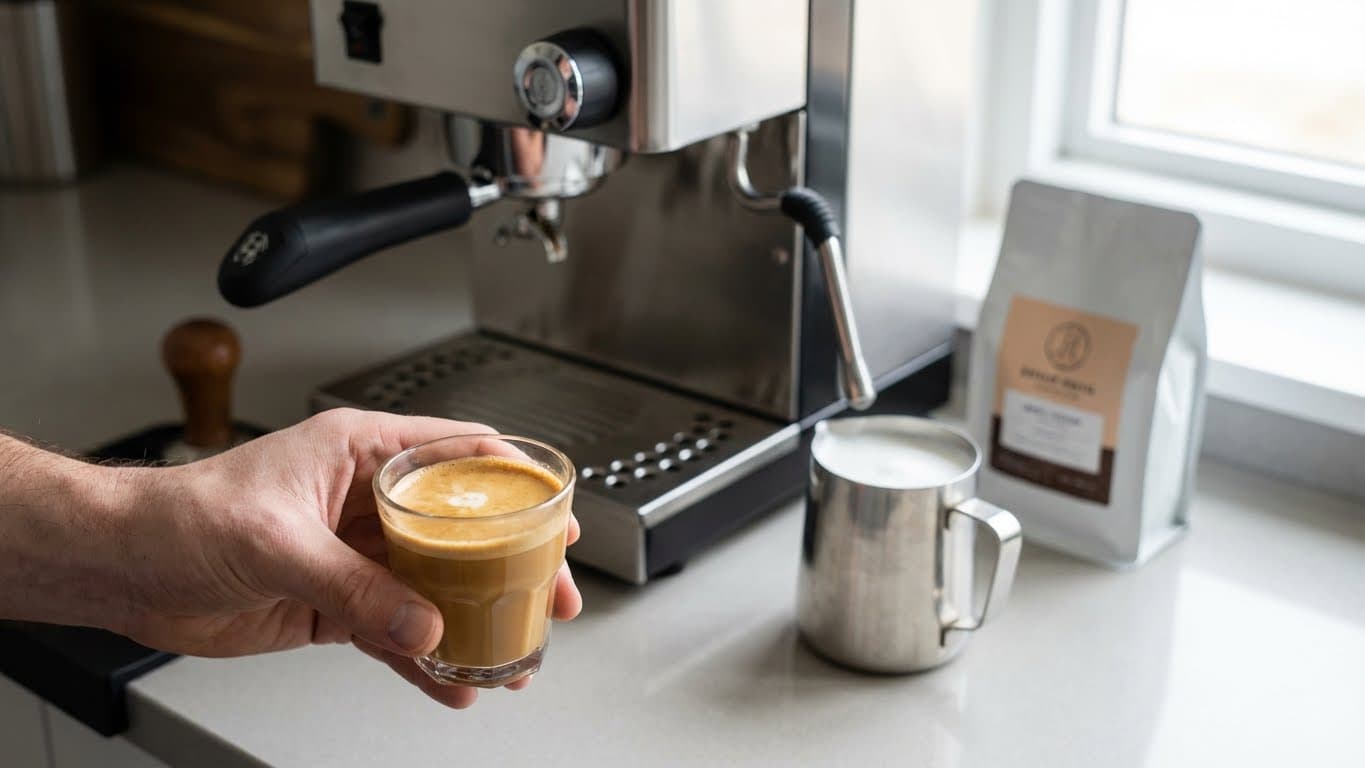
Ever wondered how to enjoy that perfectly balanced, smooth cortado without leaving your kitchen? If you own a small espresso machine, you’re already halfway there. The cortado—a Spanish coffee classic—has become a café favorite for good reason: it delivers bold espresso flavor softened by just a touch of warm, silky milk. No foam mountains, no complicated techniques, just pure coffee satisfaction.
In this guide, I’ll walk you through exactly how to make a cortado at home using your compact espresso machine. Whether you’ve got a budget-friendly machine or a mid-range model, you’ll learn the essentials of pulling a solid espresso shot, steaming milk properly, and combining them into that beautiful 1:1 ratio that defines the cortado. Let’s get brewing.
What You’ll Need to Make a Cortado at Home
Before we dive into the process, let’s gather everything you need. The beauty of making a cortado at home is that it requires minimal equipment and ingredients—perfect for those of us with limited counter space.
Gear
- Small espresso machine with a steam wand (even basic models work)
- Espresso grinder (or pre-ground espresso if that’s what you have)
- Tamper for compacting your coffee grounds
- Small pitcher for steaming milk (a 12oz pitcher is ideal)
- 4–5oz glass or cup (traditional cortado glasses work best)
- Kitchen scale (optional but helpful for consistency)
- Timer or your phone
Ingredients
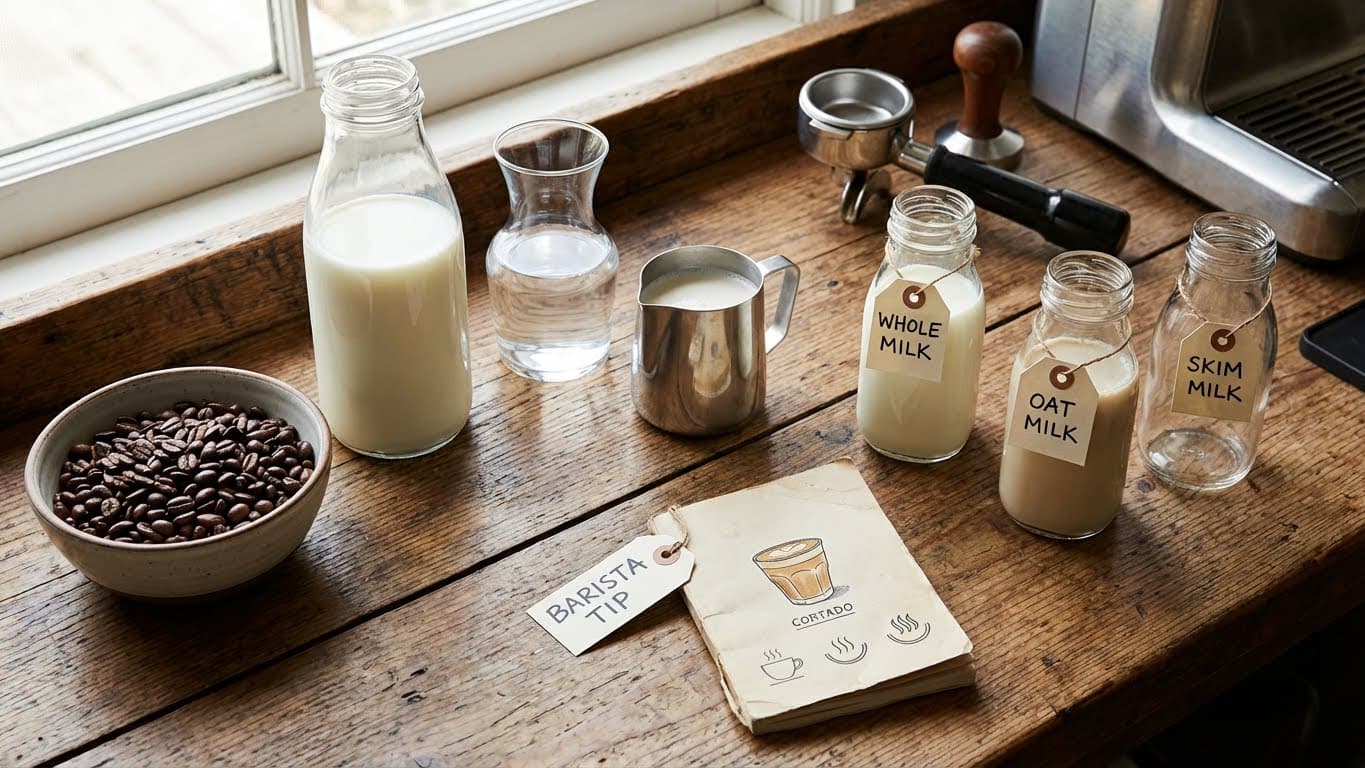
- 18–20 grams of freshly roasted espresso beans
- 2–3oz of whole milk (or your preferred milk alternative)
- Filtered water for your machine
Barista Tip: Whole milk creates the creamiest texture for a cortado, but oat milk steams beautifully if you’re going dairy-free. Avoid skim milk—it froths too much and doesn’t deliver that velvety mouthfeel a cortado needs.
Understanding the Cortado: What Makes It Special
Before you start pulling shots, it helps to understand what sets a cortado apart from other espresso drinks. In short, a cortado is espresso “cut” with an equal amount of warm steamed milk. The name comes from the Spanish verb “cortar,” meaning “to cut.”
Unlike a cappuccino with its thick foam layer or a latte with its larger milk volume, the cortado maintains a 1:1 ratio. You get roughly 2oz of espresso paired with 2oz of lightly textured milk. The result? A drink that lets the espresso shine while taking away some of the intensity.
Cortado vs. Other Espresso Drinks
| Drink | Espresso | Milk | Foam | Size |
|---|---|---|---|---|
| Cortado | 2oz | 2oz | Minimal | 4oz |
| Macchiato | 2oz | Splash | Dollop | 2–3oz |
| Flat White | 2oz | 4oz | Microfoam | 6oz |
| Cappuccino | 2oz | 2oz | Thick layer | 6oz |
I’ve found that people who love strong coffee but find straight espresso too intense often fall in love with the cortado. It’s the Goldilocks of espresso drinks—not too milky, not too harsh, just right.
Step-by-Step: Pulling Espresso on a Small Espresso Machine
Small espresso machines sometimes get a bad reputation, but with proper technique, they can produce excellent shots. Here’s how to get the best results from your compact setup.
Step 1: Prep Your Machine
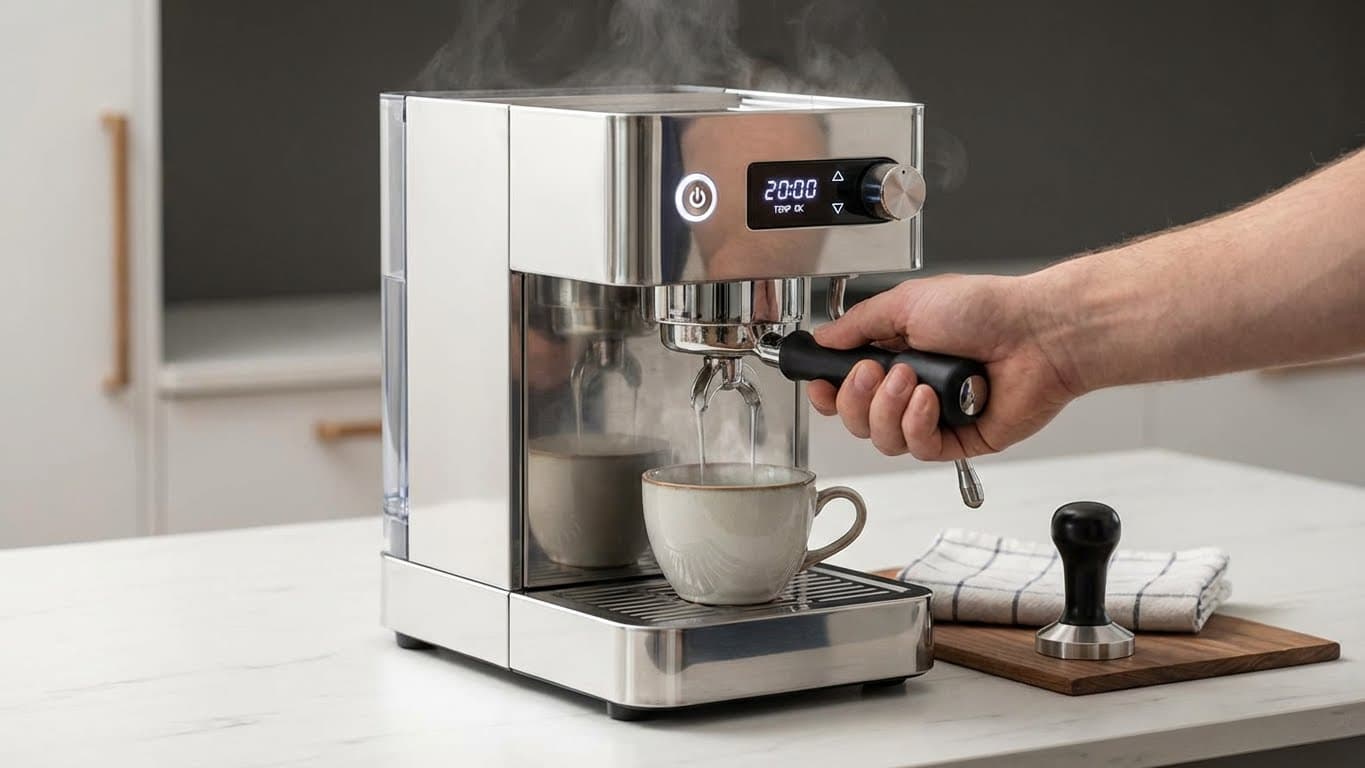
Turn on your espresso machine and let it heat up fully. Most small machines need about 15–25 minutes to reach optimal brewing temperature. I know it’s tempting to rush this, but patience pays off. Run a quick blank shot (water only) through the portafilter to warm it up and flush any stale water from the system.
Step 2: Grind and Dose Your Coffee
If you’re grinding fresh, aim for a fine consistency—similar to table salt. Dose 18–20 grams of coffee into your portafilter basket. Distribute the grounds evenly by gently tapping the side of the portafilter or using a distribution tool if you have one.
Step 3: Tamp Firmly and Level
Apply firm, even pressure when tamping—about 30 pounds of force. The goal is a level, compact puck. A common mistake I see is tamping at an angle, which causes water to channel through the weak spots and results in an uneven, sour shot.
Step 4: Pull Your Shot
Lock in the portafilter and start your shot immediately. You’re aiming for approximately 36–40 grams of liquid espresso (a double shot) in 25–30 seconds. Watch the stream: it should start slow and thick, then become a steady honey-colored flow.
- If it runs too fast (under 20 seconds): Grind finer or use more coffee
- If it runs too slow (over 35 seconds): Grind coarser or use less coffee
Barista Tip: Small machines often have less pressure than commercial ones. Don’t stress if your timing is slightly off—focus on taste. A well-extracted shot should taste balanced: sweet, slightly bitter, with no sour or ashy notes.
Expected Taste Profile
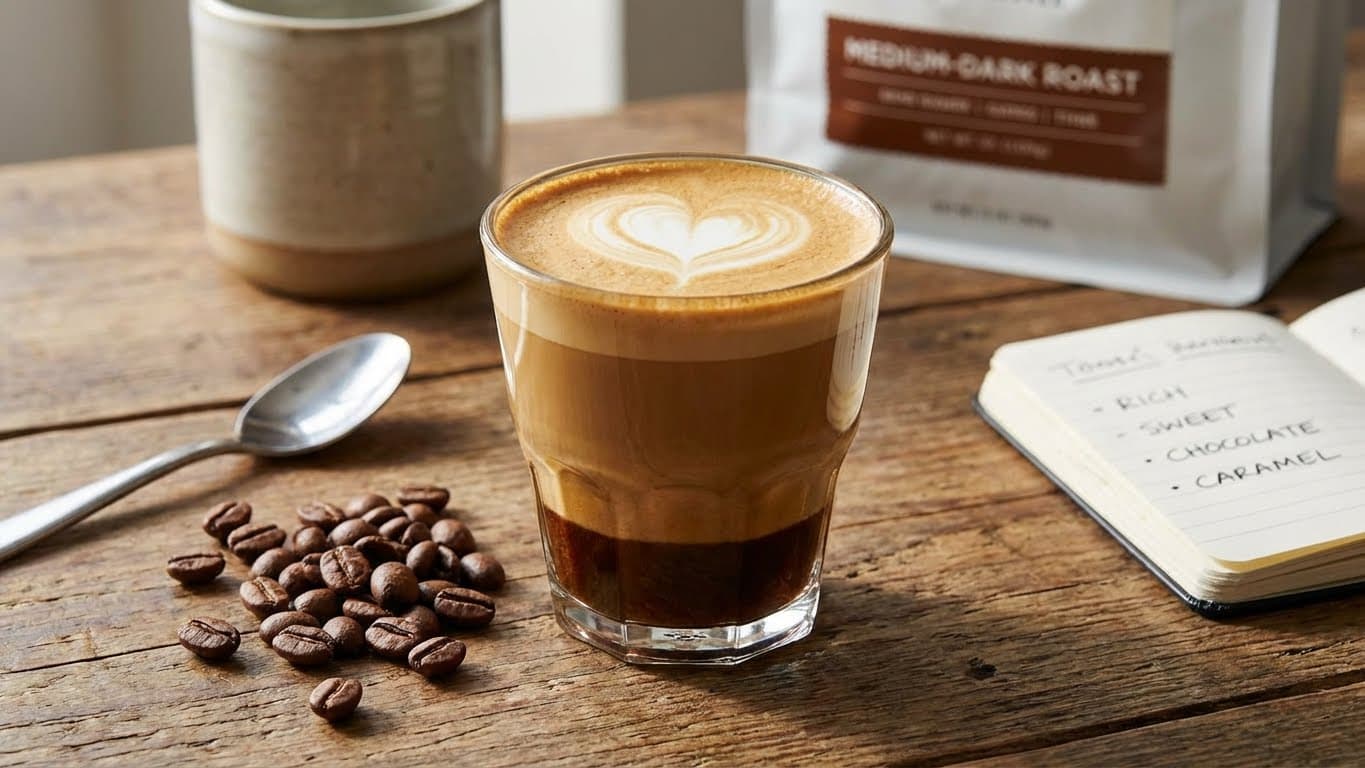
A good espresso for your cortado should taste rich, slightly sweet, with notes that complement milk. I prefer medium to medium-dark roasts for cortados because they hold up well against the milk without becoming bitter. Light roasts can work but may taste too acidic in this preparation.
How to Steam Milk for a Cortado
Here’s where many home baristas struggle, especially with small espresso machines that have less powerful steam wands. But don’t worry—the cortado actually requires less milk texturing than other drinks, making it more forgiving.
Step 1: Start With Cold Milk
Pour about 3oz of cold milk into your small pitcher. Starting with cold milk gives you more time to work with before it overheats. Keep in mind you’ll lose some volume, so always pour a bit more than you need.
Step 2: Purge Your Steam Wand
Before inserting the wand into the milk, open the steam valve briefly to purge any condensation. You’ll hear a short burst of steam and water—this ensures you’re working with dry, powerful steam.
Step 3: Position and Steam
Submerge the steam wand tip just below the milk’s surface. Position the pitcher at a slight angle. When you open the steam valve, you should hear a gentle “tss-tss” sound—this is air being incorporated into the milk.
For a cortado, you only want minimal foam. After 2–3 seconds of that stretching sound, lower the pitcher so the wand goes deeper. Now you’re just heating the milk and creating a uniform texture. Stop when the pitcher feels hot to the touch (around 140–150°F or 60–65°C).
Step 4: Swirl and Rest
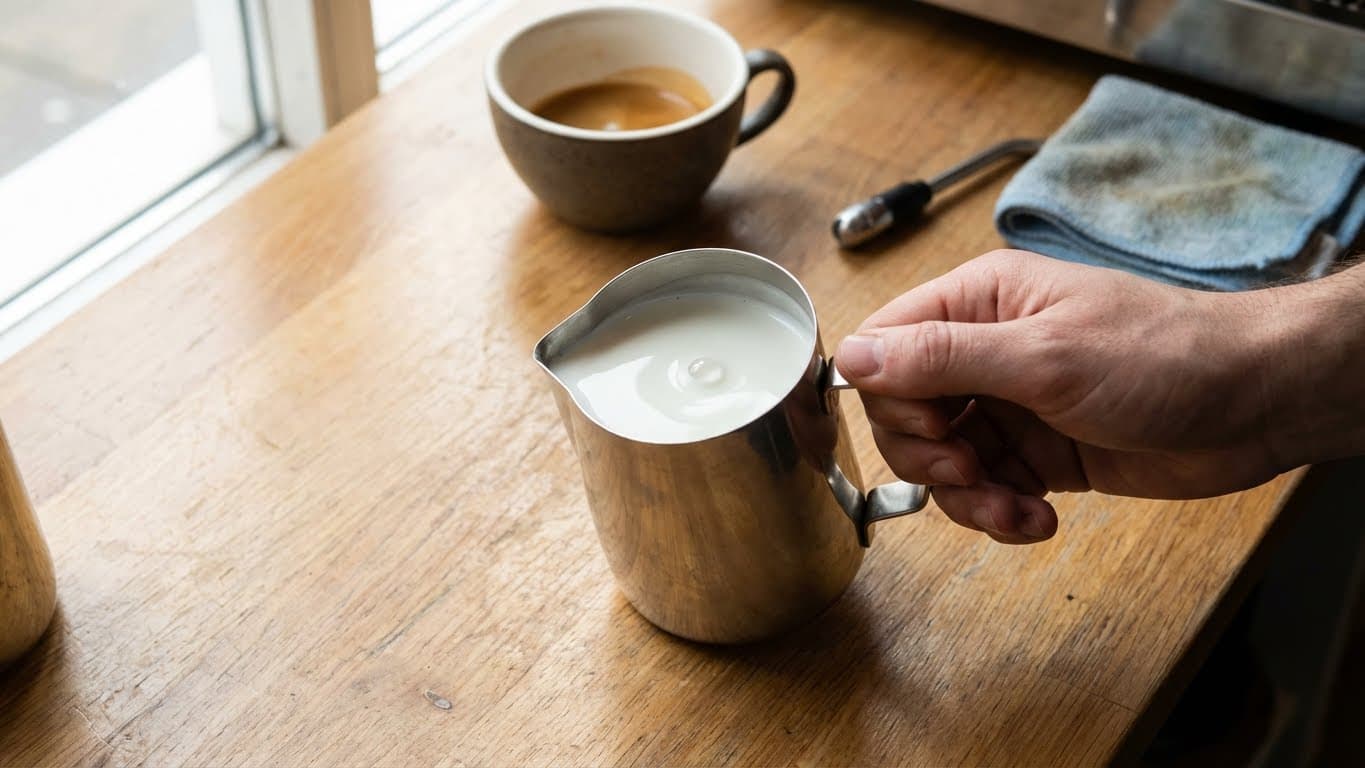
Give the pitcher a few swirls on the counter and tap it once to pop any large bubbles. The milk should look glossy and have the consistency of wet paint. If it looks like bubble bath foam, you’ve aerated too much—better for cappuccinos, not cortados.
Barista Tip: Small steam wands take longer to heat milk. Be patient and resist the urge to overheat. Scorched milk tastes flat and ruins even the best espresso shot.
Assembling Your Perfect Cortado at Home
Now comes the fun part—bringing it all together. The cortado is beautifully simple, but the assembly matters for achieving that signature look and taste.
The Pour
- Have your freshly pulled double espresso in a warm 4–5oz glass
- Give your steamed milk a final swirl to reintegrate any separated foam
- Pour the milk slowly into the center of the espresso
- Aim for equal parts—the milk should fill the glass, leaving about half an inch from the rim
You’re not going for latte art here. A cortado traditionally has a simple, creamy white top layer that gently blends into the brown espresso below. Some people prefer to see distinct layers; others like it more mixed. Both are correct—it’s your coffee.
Serving Suggestions
Traditionally, cortados are served in a small glass (often a Gibraltar glass, which is why some cafés call it a “Gibraltar”). If you don’t have one, a small ceramic cup works fine. Serve it immediately—cortados are meant to be enjoyed fresh while the espresso and milk are perfectly integrated.
I enjoy mine with a small piece of dark chocolate on the side. The bittersweet notes complement the espresso beautifully without overwhelming the drink.
Troubleshooting Common Cortado Mistakes
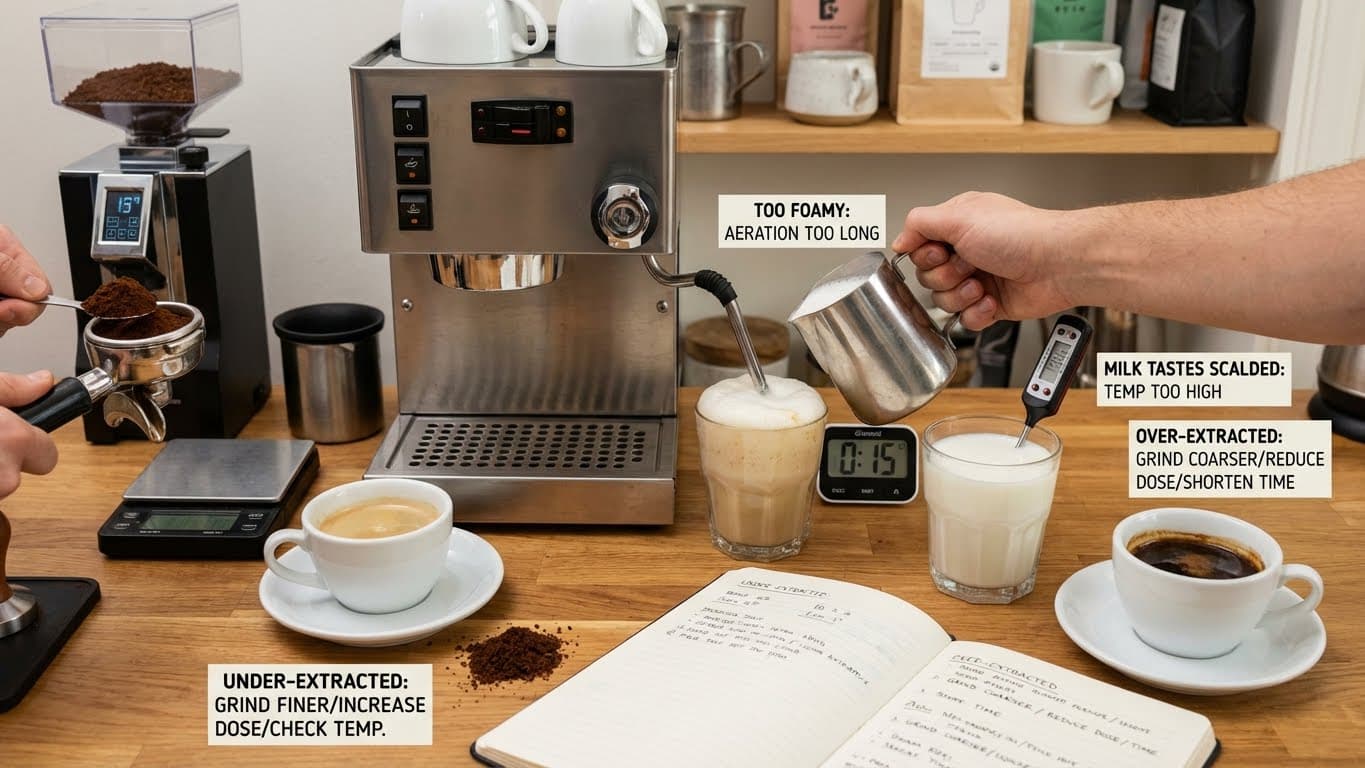
Making a cortado at home with a small espresso machine comes with a learning curve. Here are issues I’ve encountered and how to fix them.
- Espresso tastes sour or weak: Your shot is under-extracted. Grind finer, increase dose, or check that your water temperature is adequate.
- Espresso tastes bitter or burnt: Over-extraction. Grind coarser, reduce dose, or shorten your shot time.
- Milk is too foamy: You stretched the milk too long. Keep the aeration phase brief (2–3 seconds max).
- Milk tastes scalded: You overheated it. Stop steaming when the pitcher is uncomfortable to hold.
- Drink is too weak: Your espresso-to-milk ratio is off. Use less milk or pull a stronger shot.
Key Takeaway: The perfect cortado requires balance. Neither the espresso nor the milk should dominate. If your drink tastes more like a latte, reduce the milk. If it’s too intense, your espresso might be over-extracted.
Frequently Asked Questions
Can I make a cortado with a single shot of espresso?
Technically yes, but it will be smaller and less intense. Traditional cortados use a double shot. If you prefer a lighter coffee, try a single shot with one ounce of milk to maintain the 1:1 ratio.
What’s the difference between a cortado and a flat white?
The main difference is size and milk texture. A flat white uses more milk (typically 4oz compared to 2oz) and has a thin layer of microfoam. A cortado is smaller, stronger, and has minimal to no foam on top.
Do I need an expensive espresso machine to make a good cortado?
Not at all. While high-end machines offer more consistency, small espresso machines in the $100–$300 range can produce great results with practice. Focus on grind quality and proper technique—these matter more than fancy equipment.
Can I make a cortado without a steam wand?
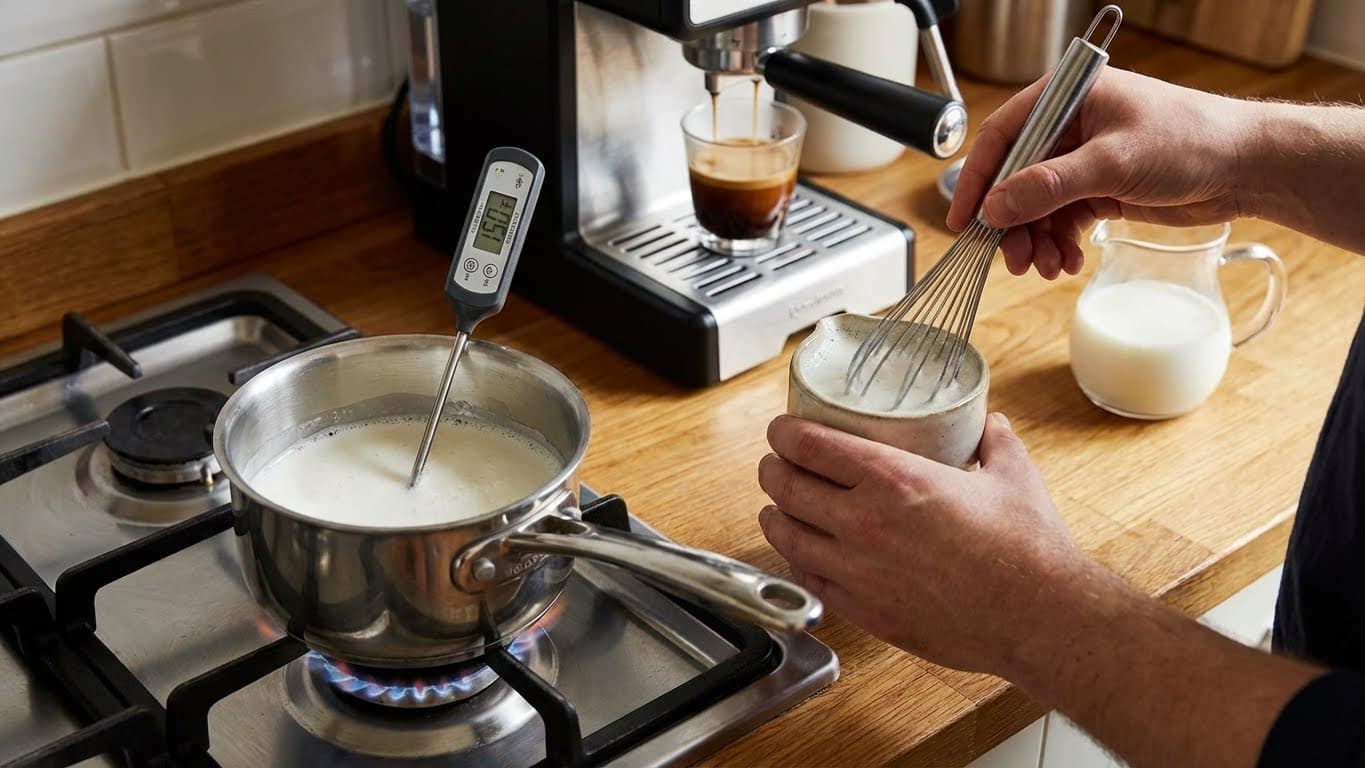
You can heat milk on the stovetop and whisk it gently to create some texture. It won’t be quite the same, but many home baristas find this method works in a pinch. Heat the milk to around 150°F and whisk vigorously for 20–30 seconds.
How is a cortado different from a macchiato?
A macchiato has much less milk—just a “mark” or dollop of foam on top of the espresso. A cortado uses equal parts espresso and steamed milk, making it creamier and more substantial than a macchiato.
Conclusion and Next Steps
Making a cortado at home with a small espresso machine is entirely achievable once you understand the fundamentals. Focus on pulling a balanced double shot, steam your milk with minimal foam, and combine them in that beautiful 1:1 ratio. With a bit of practice, you’ll be crafting café-quality cortados in your own kitchen.
Start by dialing in your espresso—this is the foundation of a great cortado. Once your shots taste sweet and balanced, the milk technique becomes easier to master. Keep notes on what works: your grind size, dose, and shot time. Consistency is the secret weapon of every great home barista.
Life is too short for bad coffee, especially when a perfect cortado is just a few steps away. Try making one tomorrow morning, and I think you’ll never go back to that expensive café habit again.

Comments