


Table of Contents
- Quick Verdict: The Simplest Path to Great Coffee
- What You'll Need
- Why Brew Coffee Bags at Home?
- The Case for Simplicity
- Who Is This Method For?
- Who Is This NOT For?
- How to Brew Coffee Bags Step by Step
- Step 1: Heat Your Water Properly
- Step 2: Preheat Your Mug
- Step 3: Place the Coffee Bag and Pour
- Step 4: Cover and Steep
- Step 5: Dunk and Agitate
- Step 6: Remove, Squeeze (Gently), and Enjoy
- Common Coffee Bag Mistakes (And How to Avoid Them)
- Using Boiling Water
- Steeping Too Short
- Steeping Too Long
- Using Stale Coffee Bags
- Not Using Enough Water
- Coffee Bags vs. Other Simple Brewing Methods
- How to Choose Quality Coffee Bags
- Frequently Asked Questions
- Can I reuse a coffee bag for a second cup?
- Are coffee bags more expensive than regular ground coffee?
- Can I make iced coffee with coffee bags?
- How do coffee bags compare to instant coffee?
- Do coffee bags work for travel?
- Conclusion: Start Brewing Cleaner, Simpler Coffee Today
Quick Verdict: The Simplest Path to Great Coffee
Coffee bags are the ultimate low-effort, high-reward brewing method. If you want delicious coffee without the gear, the grinder, or the cleanup, this is your answer. I’ve found that with just a few small tweaks to your technique, coffee bags can rival pour-over quality while taking a fraction of the time and effort.
What You’ll Need
Before we dive into the brewing process, let’s gather everything. The beauty of coffee bags is that the list is refreshingly short.
Ingredients:
- 1 coffee bag (freshly purchased, check the roast date)
- Hot water (195–205°F or 90–96°C)
Gear:
- Your favorite mug
- A kettle (electric or stovetop)
- A small plate or saucer (optional, for covering)
- A timer (your phone works perfectly)
That’s it. No grinder. No scale. No complicated dripper setup. Just you, hot water, and a little patience.
Why Brew Coffee Bags at Home?
Let’s be honest—sometimes you just don’t want to deal with the whole coffee ritual. Maybe it’s early, maybe you’re traveling, or maybe your regular setup is in the dishwasher. Coffee bags offer a cleaner, simpler brewing experience without sacrificing flavor.
The Case for Simplicity
In my experience, the best cup of coffee is the one you’ll actually make. If your fancy pour-over equipment sits unused because the process feels like too much work, you’re not getting good coffee—you’re getting no coffee. Coffee bags bridge that gap beautifully.
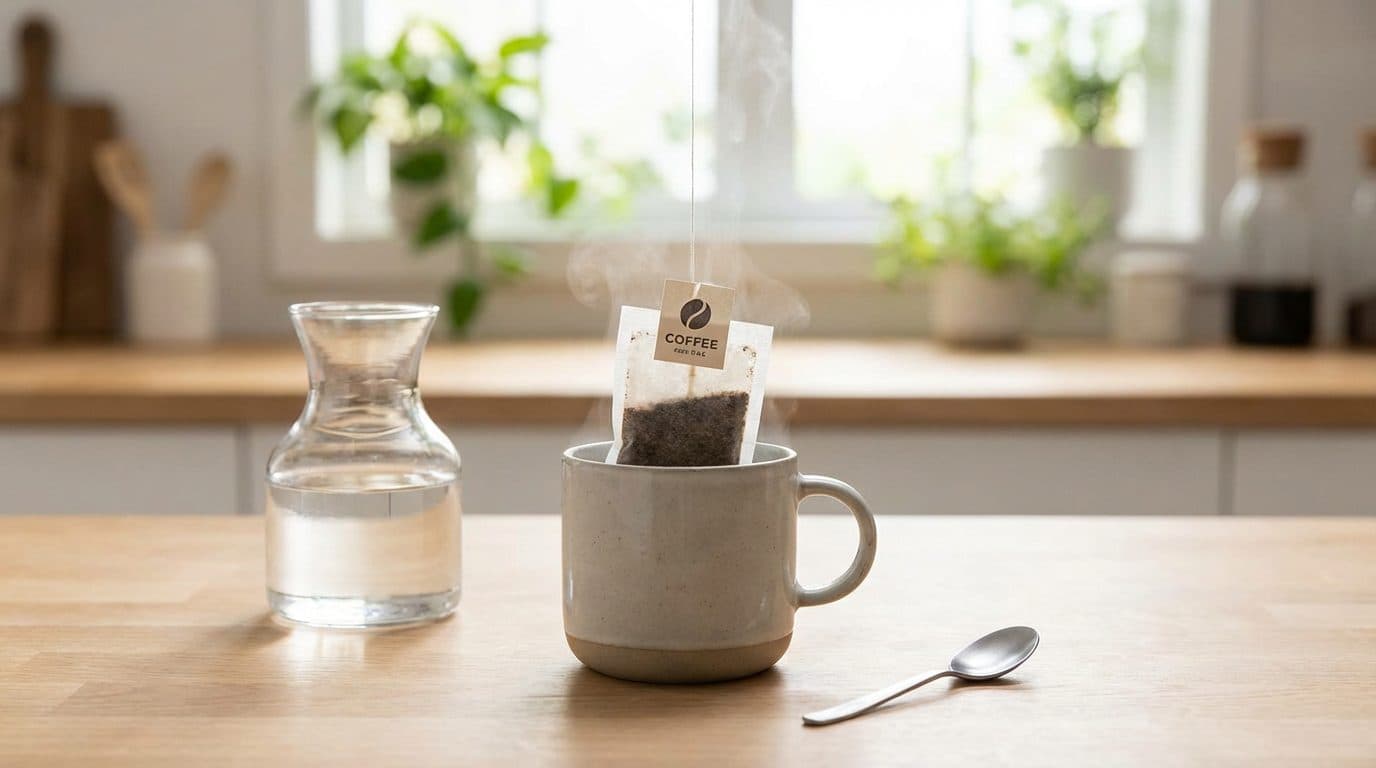
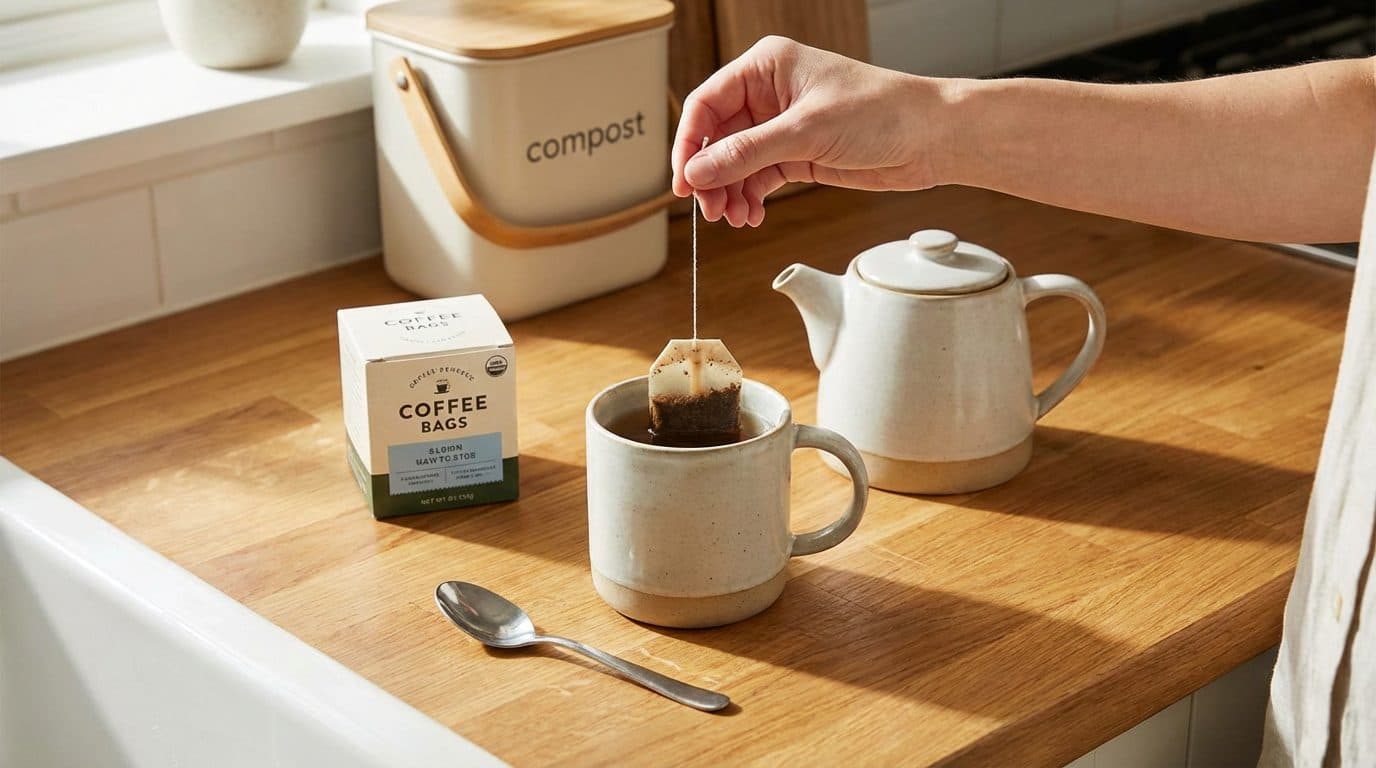
Think of them like tea bags, but for coffee. Each bag contains pre-ground coffee sealed in a filter. You steep, remove, and enjoy. The cleanup? Toss the bag in the compost. Done.
Who Is This Method For?
- Travelers who refuse to drink hotel room instant coffee
- Office workers without access to proper brewing equipment
- Minimalists who want fewer gadgets in their kitchen
- Beginners who find pour-over intimidating
- Anyone who values a quick, mess-free morning
Who Is This NOT For?
- Control enthusiasts who want to adjust every variable
- Those who prefer extremely strong, espresso-style coffee
- Coffee drinkers who already love their current ritual
How to Brew Coffee Bags Step by Step
Here’s where we get practical. Follow these steps, and you’ll extract the maximum flavor from your coffee bags every single time.
Step 1: Heat Your Water Properly
Boil your water, then let it cool for about 30 seconds. You’re aiming for that 195–205°F sweet spot. Water that’s too hot will scorch the grounds and create bitterness. Water that’s too cool will under-extract, leaving you with a weak, sour cup.
Barista Tip: If you don’t have a thermometer, watch for the water. Once it stops actively boiling and the aggressive bubbles calm down, you’re usually in the right range.
Step 2: Preheat Your Mug
Pour a splash of hot water into your mug, swirl it around, and dump it out. This step takes five seconds and keeps your coffee hotter longer. A cold ceramic mug can drop your brew temperature by 10–15°F instantly—and temperature affects extraction.
Step 3: Place the Coffee Bag and Pour
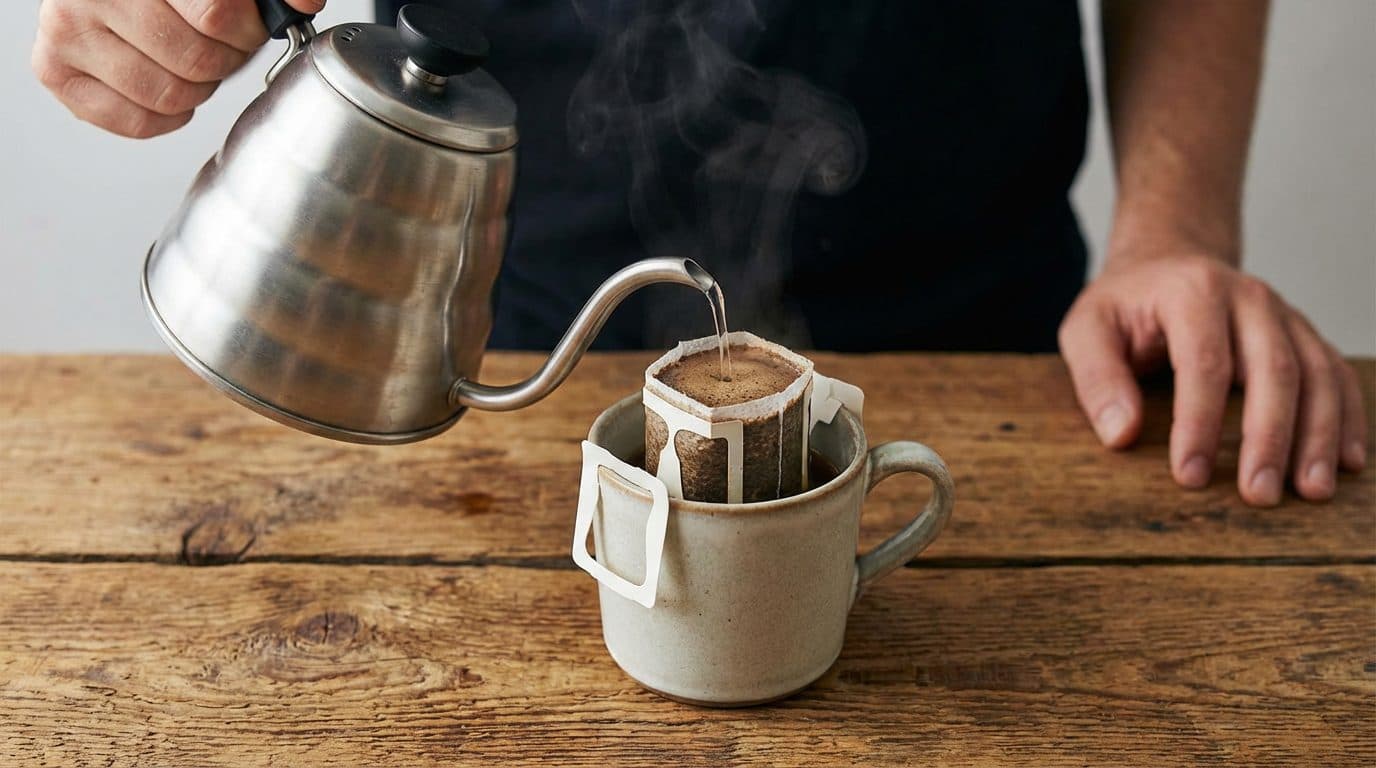
Put your coffee bag in the mug with the string hanging over the edge. Pour hot water directly over the bag, ensuring it’s fully submerged. Most mugs hold about 8–10 ounces, which is perfect for one coffee bag.
Here’s a technique I’ve found makes a noticeable difference: pour in a slow, circular motion. This saturates all the grounds evenly from the start, promoting consistent extraction.
Step 4: Cover and Steep
Place a small plate or saucer over your mug. This traps heat and allows the coffee to steep more efficiently. In short, it’s the difference between a lukewarm cup and one that stays hot until the last sip.
Set your timer for 4 to 5 minutes. This is your baseline. Four minutes gives you a lighter, brighter cup. Five minutes pushes toward fuller body and deeper flavor.
Step 5: Dunk and Agitate
About halfway through steeping, lift the bag gently and dunk it a few times. Think of it like bobbing a tea bag—you’re encouraging water to flow through the grounds and extract more flavor. Three to five dunks is plenty. Don’t go overboard or you’ll agitate too much and potentially release bitter compounds.
Step 6: Remove, Squeeze (Gently), and Enjoy
When your timer goes off, remove the coffee bag. Here’s a small but useful trick: give the bag a gentle squeeze against the side of your mug with a spoon. This extracts a bit more of the flavorful oils without overdoing it.
Some people skip the squeeze entirely—and that’s fine. Experiment and see what your taste buds prefer.
Taste Profile: When brewed properly, coffee bags typically produce a clean, medium-bodied cup with balanced acidity. Expect smooth, approachable flavors rather than the heavy, oily character of French press coffee.
Common Coffee Bag Mistakes (And How to Avoid Them)
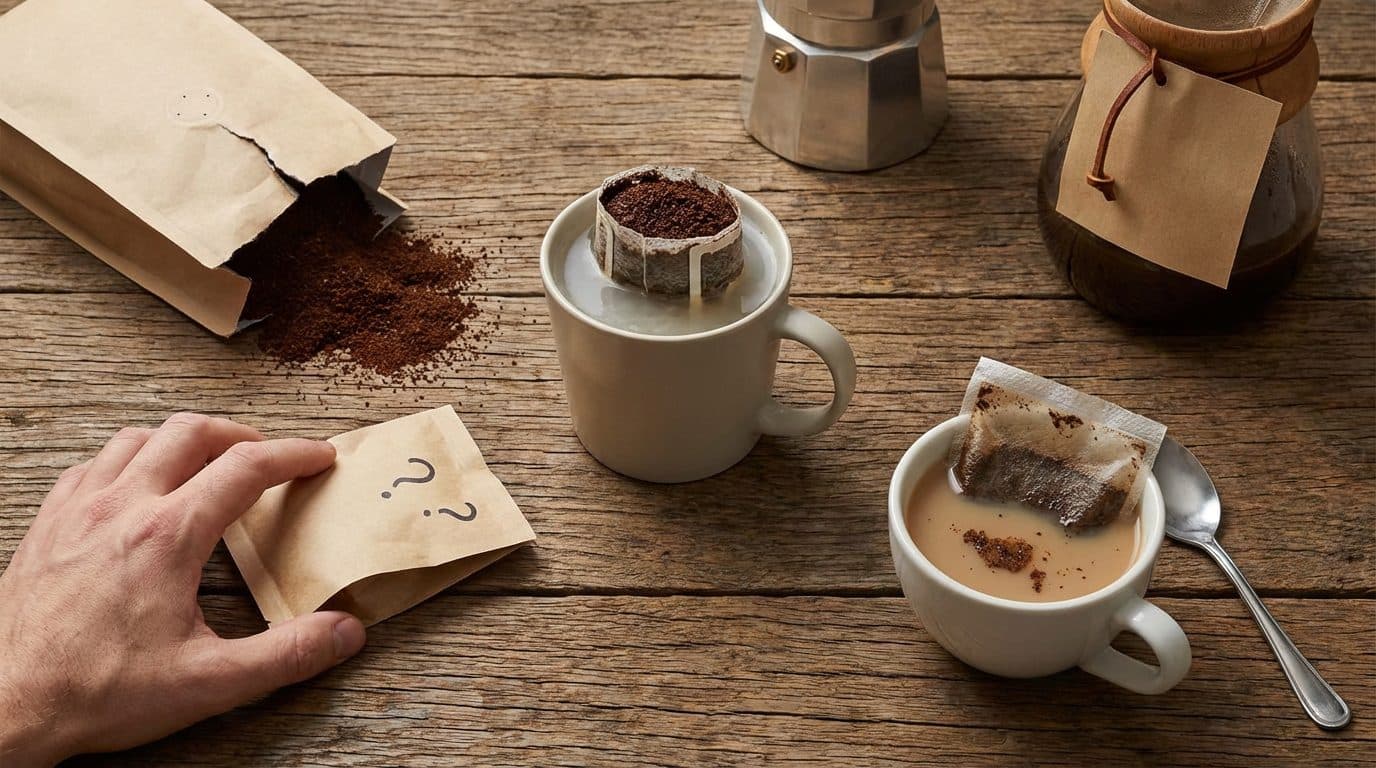
Even with a simple method, there are ways to go wrong. Here are the mistakes I see most often.
Using Boiling Water
Straight-from-the-kettle, aggressively boiling water burns coffee grounds. This is the number one reason people think coffee bags taste bitter or harsh. Always let your water rest for 30 seconds after boiling.
Steeping Too Short
Impatience is the enemy of good coffee. Two or three minutes isn’t enough time for proper extraction. You’ll end up with weak, watery coffee that tastes sour. Commit to the full four to five minutes.
Steeping Too Long
On the flip side, forgetting about your coffee bag for ten minutes will over-extract the grounds. The result? Bitter, astringent flavors that overwhelm the cup. Set a timer. Life is too short for bitter coffee.
Using Stale Coffee Bags
Coffee bags have a shelf life. Check the roast date or best-by date before purchasing. Ideally, use them within three to six months of the roast date. Pre-ground coffee loses freshness faster than whole beans, so don’t let them sit in your pantry for a year.
Not Using Enough Water
Under-filling your mug concentrates the coffee and can make it taste overly strong or harsh. Most coffee bags are designed for 8 ounces of water. Fill your mug appropriately.
Coffee Bags vs. Other Simple Brewing Methods
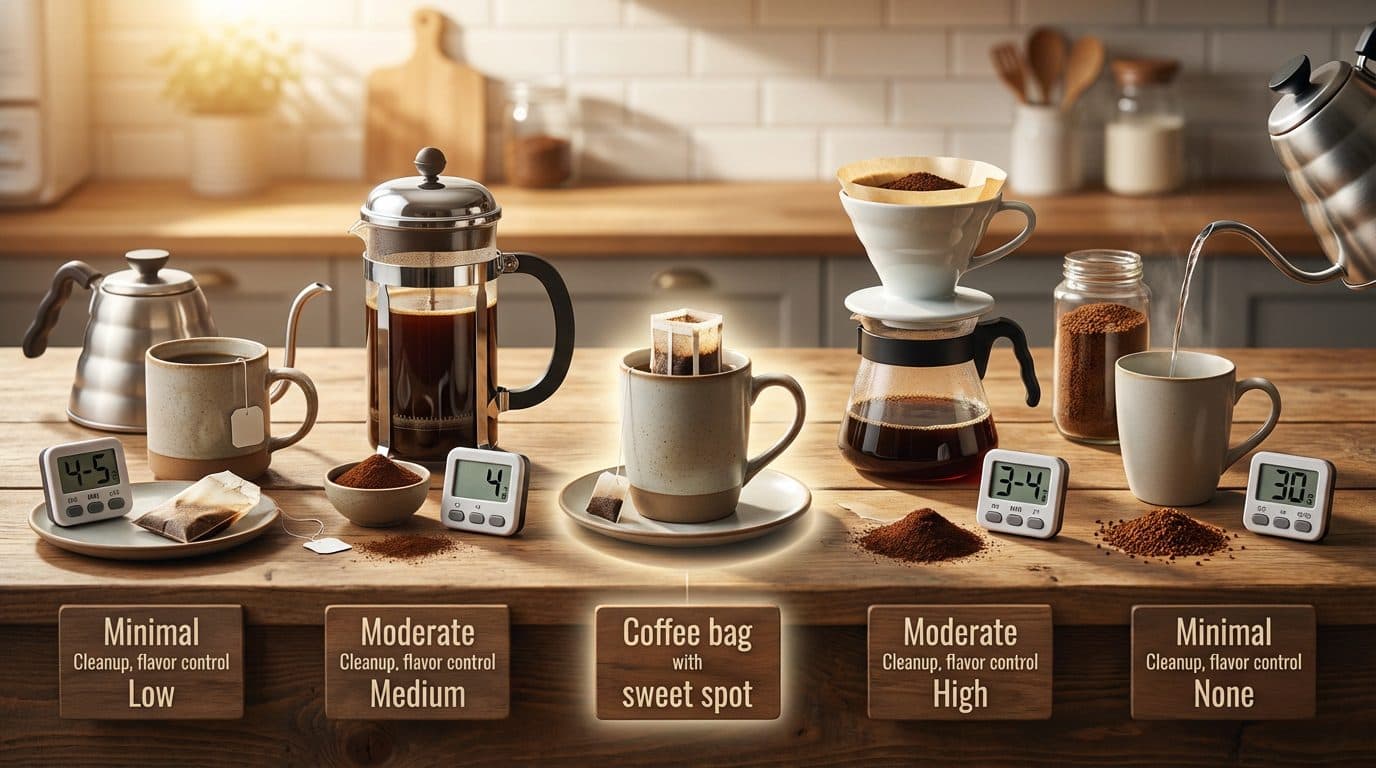
How do coffee bags stack up against other easy brewing options? Here’s a quick comparison to help you decide.
| Method | Brew Time | Cleanup | Gear Needed | Flavor Control |
|---|---|---|---|---|
| Coffee Bags | 4–5 min | Minimal | Mug + kettle | Low |
| French Press | 4 min | Moderate | French press | Medium |
| Pour-Over | 3–4 min | Moderate | Dripper + filters | High |
| Instant Coffee | 30 sec | Minimal | Mug only | None |
Coffee bags hit a sweet spot: better flavor than instant, less hassle than pour-over, and virtually no cleanup compared to French press.
How to Choose Quality Coffee Bags
Not all coffee bags are created equal. Here’s what to look for when shopping.
- Roast date visibility: Good brands print roast dates, not just expiration dates.
- Single-origin options: These tend to have more distinctive, interesting flavors.
- Specialty roasters: Brands that focus on coffee quality (not just convenience) make better products.
- Nitrogen-flushed packaging: This extends freshness by removing oxygen from the package.
Some of my favorite brands include Steeped Coffee, Tandem Coffee, and Canyon Coffee. They take the format seriously and use quality beans. Supermarket options can work in a pinch, but the flavor difference is noticeable.
Frequently Asked Questions
Can I reuse a coffee bag for a second cup?
Technically yes, but I wouldn’t recommend it. Most of the good flavor extracts on the first steep. A second cup will taste weak and flat. Treat coffee bags as single-use for the best experience.
Are coffee bags more expensive than regular ground coffee?
Per cup, yes. You’re paying for convenience and pre-portioning. However, the cost difference isn’t dramatic, and you eliminate waste from stale coffee sitting in an open bag. For many people, the convenience justifies the small premium.
Can I make iced coffee with coffee bags?
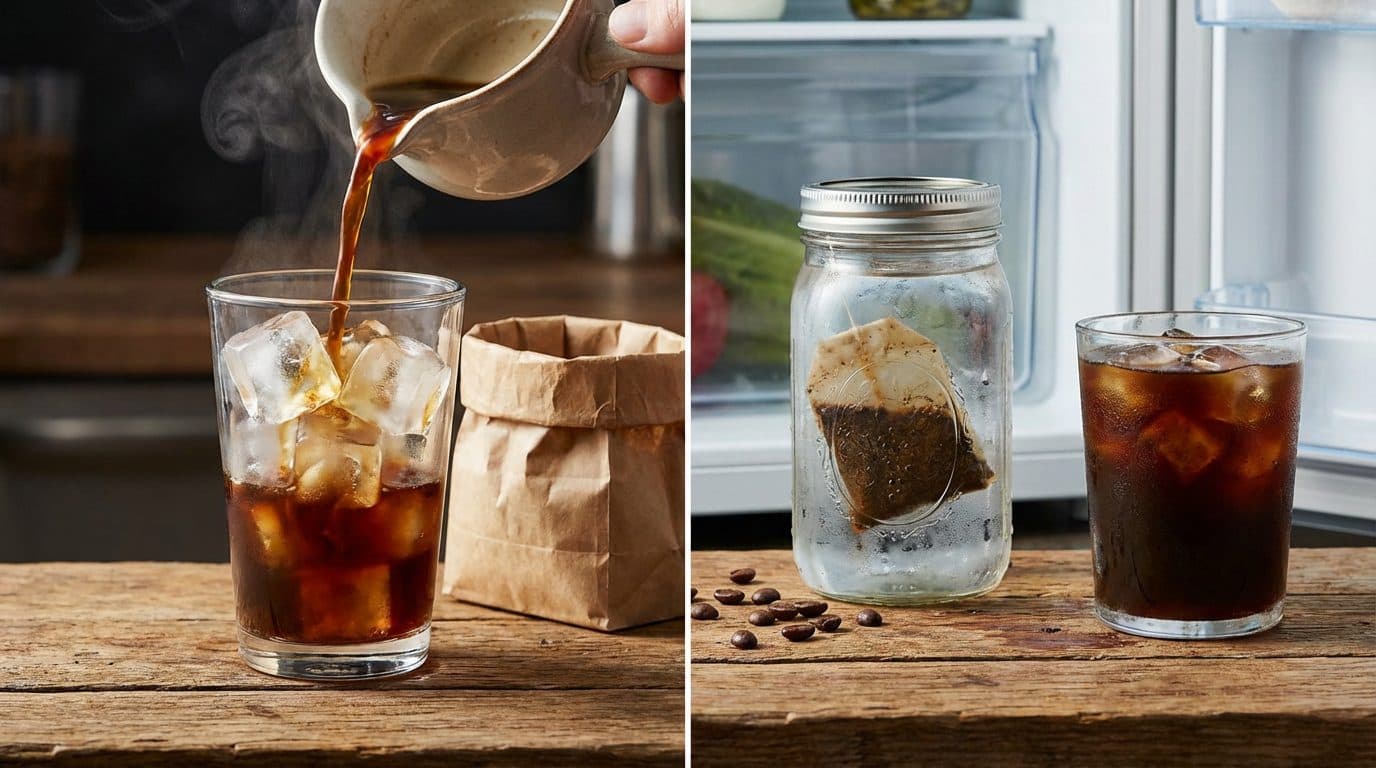
Absolutely. Brew the coffee slightly stronger than usual (use less water or steep a minute longer), then pour over a glass filled with ice. The ice dilutes the coffee as it melts, balancing the strength. Cold-steeping overnight in the refrigerator also works beautifully.
How do coffee bags compare to instant coffee?
There’s no comparison. Coffee bags contain real ground coffee that steeps and extracts like any other brewing method. Instant coffee is pre-brewed, dried, and reconstituted. The flavor difference is significant—coffee bags taste like actual fresh coffee.
Do coffee bags work for travel?
They’re perfect for travel. Pack a few bags, request hot water at your hotel or airport lounge, and you’ve got legitimate coffee without relying on questionable coffee makers or expensive café drinks.
Conclusion: Start Brewing Cleaner, Simpler Coffee Today
Brewing coffee bags at home is one of the easiest ways to enjoy quality coffee without the fuss. Heat your water properly, steep for four to five minutes, and pay attention to freshness. That’s really all there is to it.
In my experience, the people who dismiss coffee bags have never tried a good one brewed correctly. Give this method an honest shot. You might find it becomes your go-to on busy mornings or your travel essential. Sometimes the simplest approach is the smartest one—and your future, well-caffeinated self will thank you.

Comments