


Table of Contents
That shot tasted off—bitter, flat, maybe a little stale—even though you just opened a fresh bag of beans. Before blaming the roaster or your technique, check your grinder’s chute. Those few grams of old grounds lurking inside from yesterday’s brew might be the culprit. Not purging old grounds is one of the most overlooked grinder mistakes, and it takes about five seconds to fix.
Here’s the deal: every grinder retains some coffee in its burrs, chute, or dosing chamber after you finish grinding. That retained coffee goes stale fast—oxidizing and losing aromatics within hours. When you grind fresh beans the next morning, those old grounds mix in and drag down the entire cup. The fix is simple, but most home baristas skip it entirely.
Why Grinders Retain Coffee in the First Place
Grinder retention isn’t a design flaw—it’s physics. Coffee grounds are lightweight, slightly oily, and prone to static cling. As beans pass through the burrs, some particles stick to metal surfaces, lodge in the exit chute, or settle in the dosing chamber. The amount varies by grinder design:
- Flat burr grinders: Typically retain 1–5 grams depending on the model and grind size.
- Conical burr grinders: Often retain less (0.5–2 grams) due to gravity-assisted design.
- Blade grinders: Minimal retention, but inconsistent grind size creates other problems.
- Doserless vs. doser models: Doser grinders can hold 5–10+ grams in the chamber between uses.
Even “low retention” grinders marketed to espresso enthusiasts still hold some coffee. If you’re grinding 18 grams for a double shot and 2 grams are stale leftovers, that’s over 10% of your dose compromised before water even touches it.
How Stale Retained Grounds Affect Taste
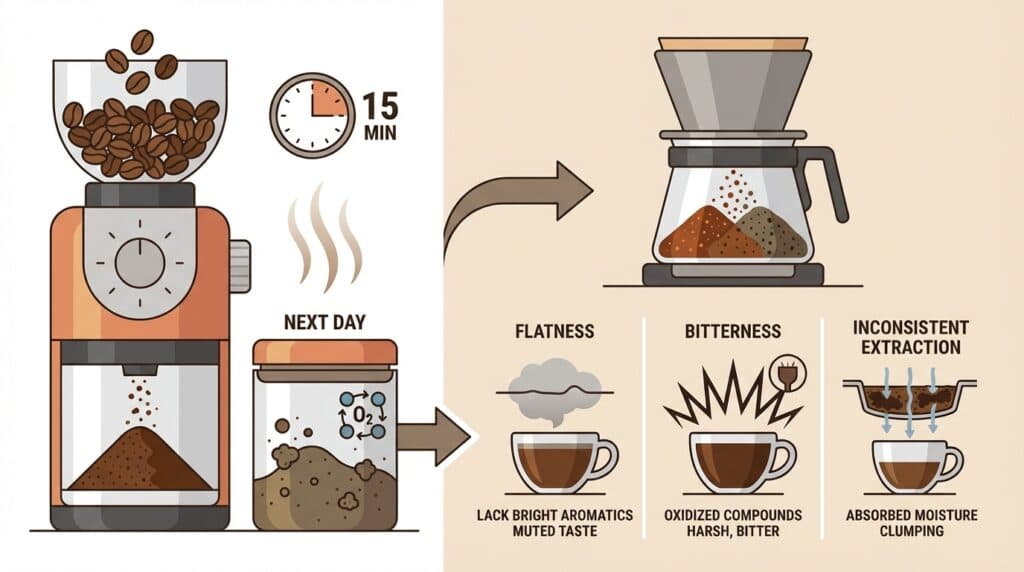
Coffee begins losing volatile aromatics within 15 minutes of grinding. By the next day, those trapped grounds have oxidized significantly. When mixed with fresh coffee, they introduce:
- Flatness: Stale grounds lack the bright, complex aromatics of freshly ground coffee. Your cup tastes muted.
- Bitterness: Oxidized coffee compounds lean bitter and harsh, especially in espresso where extraction is concentrated.
- Inconsistent extraction: Old grounds may have absorbed moisture or clumped, extracting differently than fresh particles.
- Off-flavors: If previous beans were a different roast or origin, you get flavor contamination—yesterday’s dark roast muddying today’s light Ethiopian.
The impact scales with brewing method. Espresso suffers most because small doses magnify any flaw. Pour-over and French press are more forgiving, but you’ll still notice diminished clarity and aroma.
Myth vs. Reality: Purging Your Grinder

Plenty of advice floats around about grinder purging. Some of it helps. Some wastes coffee. Here’s what actually matters:
- Myth: You need to purge 10+ grams every time you grind.
Reality: For most home grinders, purging 2–5 grams clears the retained coffee. Weigh your output a few times to learn your grinder’s actual retention. - Myth: Purging only matters for espresso.
Reality: Any brewing method benefits. Stale grounds affect filter coffee too—you just notice it less because the dose is larger and extraction is gentler. - Myth: Single-dose grinding eliminates the need to purge.
Reality: Single-dosing reduces retention but doesn’t eliminate it. You still need to clear whatever stuck in the burrs and chute. - Myth: Tapping or shaking the grinder is enough.
Reality: Tapping helps dislodge loose grounds, but static-clung particles need airflow or a quick burst of fresh beans to push them out. - Myth: Retention doesn’t matter if you grind daily.
Reality: Even 12–24 hours of sitting causes noticeable staleness. If you grind every morning, yesterday’s grounds are still degrading your cup.
How to Purge Your Grinder Properly
Purging takes seconds once you build the habit. Here’s a reliable method:
- Weigh your beans: Add 2–4 grams more than your target dose. For an 18g espresso dose, weigh out 20–22g.
- Grind a short burst: Run the grinder for 1–2 seconds, then stop. This pushes stale grounds out of the chute.
- Discard the first output: Toss those initial grams—they contain the retained coffee from your last session.
- Grind the rest: Continue grinding and weigh your final output to hit your target dose.
- Tap gently: A light tap on the grinder body helps dislodge any remaining particles before they settle.
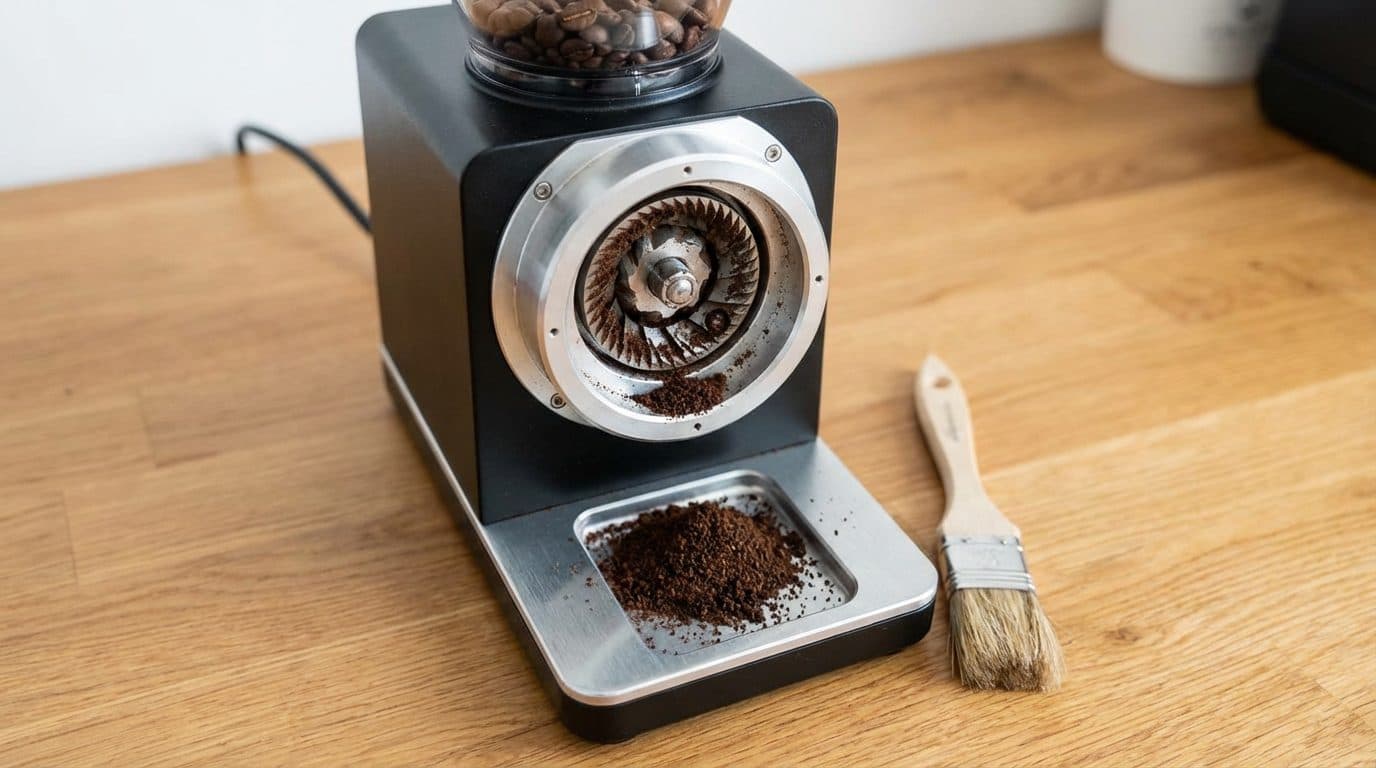
Barista Tip: Use a small brush (a clean paintbrush or grinder brush) to sweep the chute after grinding. This clears static-clung fines that purging alone misses, especially on humid days when grounds clump more.
Some grinders feature bellows or blow-out mechanisms to force air through the chute. If yours has one, use it after every grind—it’s faster than purging with beans and wastes nothing.
When Purging Matters Most
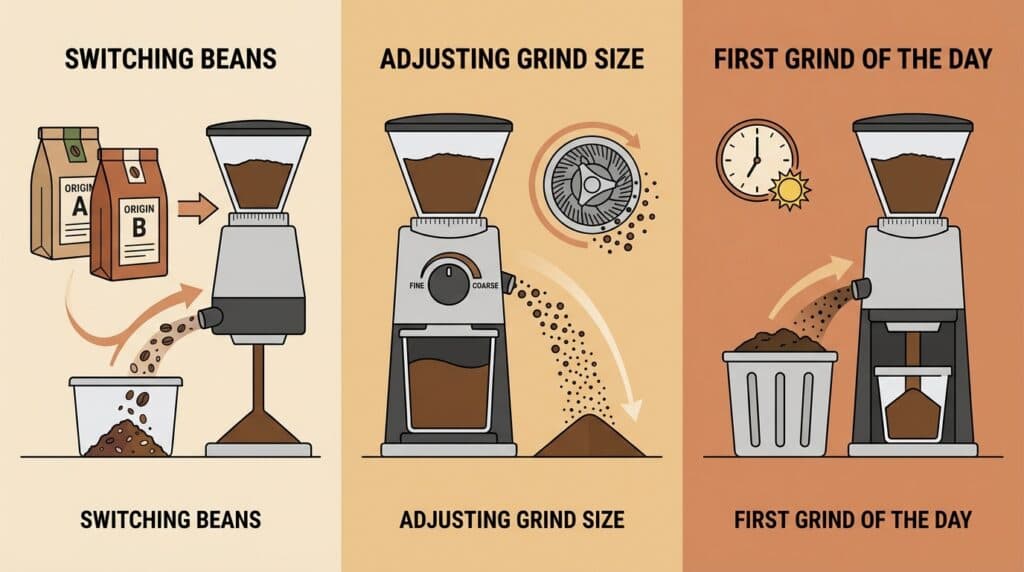
Not every situation demands the same level of attention. Prioritize purging in these scenarios:
- Switching beans: Different origins or roast levels contaminate each other. Purge 5–10 grams when changing bags to clear all traces of the previous coffee.
- Adjusting grind size: After dialing finer or coarser, the first grounds out will be a mix of old and new settings. Purge to get consistent particle size.
- First grind of the day: Overnight retention is the stalest. Always purge your morning dose.
- Espresso brewing: Small doses and high extraction pressure amplify any flaw. Purging is non-negotiable for quality shots.
- After cleaning: Grinder cleaning tablets or rice leave residue. Purge 10+ grams of sacrificial beans after any deep clean.
For casual filter coffee with the same beans daily, you can get away with lighter purging—maybe just a tap and a quick brush. But if you’re chasing the best cup your setup can produce, consistent purging pays off.
Reducing Retention at the Source
Beyond purging, a few habits minimize how much coffee gets trapped:
- Single-dose grinding: Weigh beans before grinding rather than using a hopper. Less coffee in the system means less retention.
- RDT (Ross Droplet Technique): Spritz beans with a single drop of water before grinding. This reduces static, so fewer grounds cling to surfaces. Use sparingly—too much moisture damages burrs over time.
- Regular cleaning: Oily residue builds up and traps more grounds. Brush your burrs weekly and deep-clean monthly.
- Grinder choice: If retention frustrates you, look for grinders marketed as “low retention” or “zero retention.” These designs prioritize minimal dead space and vertical chutes.
Key Takeaways
Stale retained grounds silently sabotage otherwise good coffee. Here’s your action list:
- Purge 2–5 grams before your first grind of the day—always.
- Purge 5–10 grams when switching beans or adjusting grind size.
- Use a brush to clear static-clung fines from the chute.
- Consider single-dosing and RDT to reduce retention overall.
- Weigh your grinder’s actual retention so you know exactly how much to purge.
Tomorrow morning, try this: grind your usual dose, but add 3 extra grams and toss the first bit that comes out. Taste the difference. Once you notice what fresh-only grounds do for clarity and aroma, you won’t skip purging again.



Comments