


Table of Contents
- Why Mold Grows in Your Coffee Maker Water Reservoir
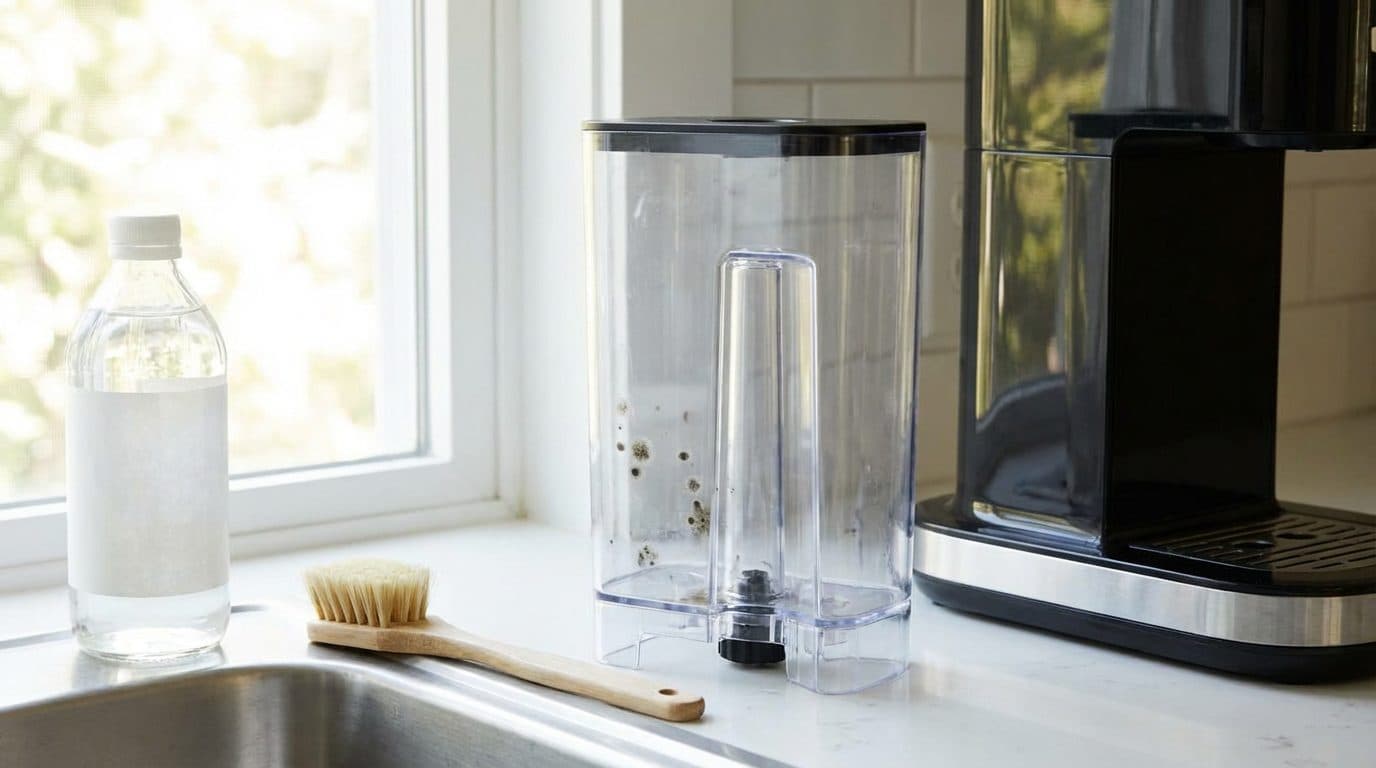
- What You'll Need to Remove Mold from Your Coffee Maker
- Cleaning Supplies
- Optional But Helpful
- Step-by-Step Guide: Removing Mold from Coffee Maker Water Reservoir
- Step 1: Empty and Disassemble
- Step 2: Initial Rinse and Scrub
- Step 3: The Vinegar Deep Clean
- Step 4: Run a Cleaning Cycle
- Step 5: Rinse Thoroughly
- Step 6: Dry Completely
- Alternative Cleaning Methods That Actually Work
- Hydrogen Peroxide Method
- Lemon Juice Method
- Commercial Coffee Maker Cleaners
- Preventing Mold from Coming Back
- Frequently Asked Questions
- Is it safe to drink coffee from a machine that had mold?
- How often should I clean my coffee maker's water reservoir?
- Can mold inside a coffee maker make me sick?
- What if the mold keeps coming back no matter what I do?
- Does the type of water I use affect mold growth?
- Conclusion and Your Next Steps
Have you ever lifted the lid of your coffee maker’s water reservoir and been greeted by a fuzzy, dark-spotted nightmare? You’re not alone. In my experience, discovering mold in a coffee maker water reservoir is one of the most common—and most disgusting—problems home coffee lovers face. The warm, damp environment inside that tank is basically a five-star hotel for mold and bacteria.
The good news? Removing mold from your coffee maker water reservoir isn’t complicated, and you probably have everything you need in your kitchen right now. In this guide, I’ll walk you through exactly how to clean it safely, prevent it from coming back, and bust a few myths along the way. Life is too short for moldy coffee, so let’s fix this.
Why Mold Grows in Your Coffee Maker Water Reservoir
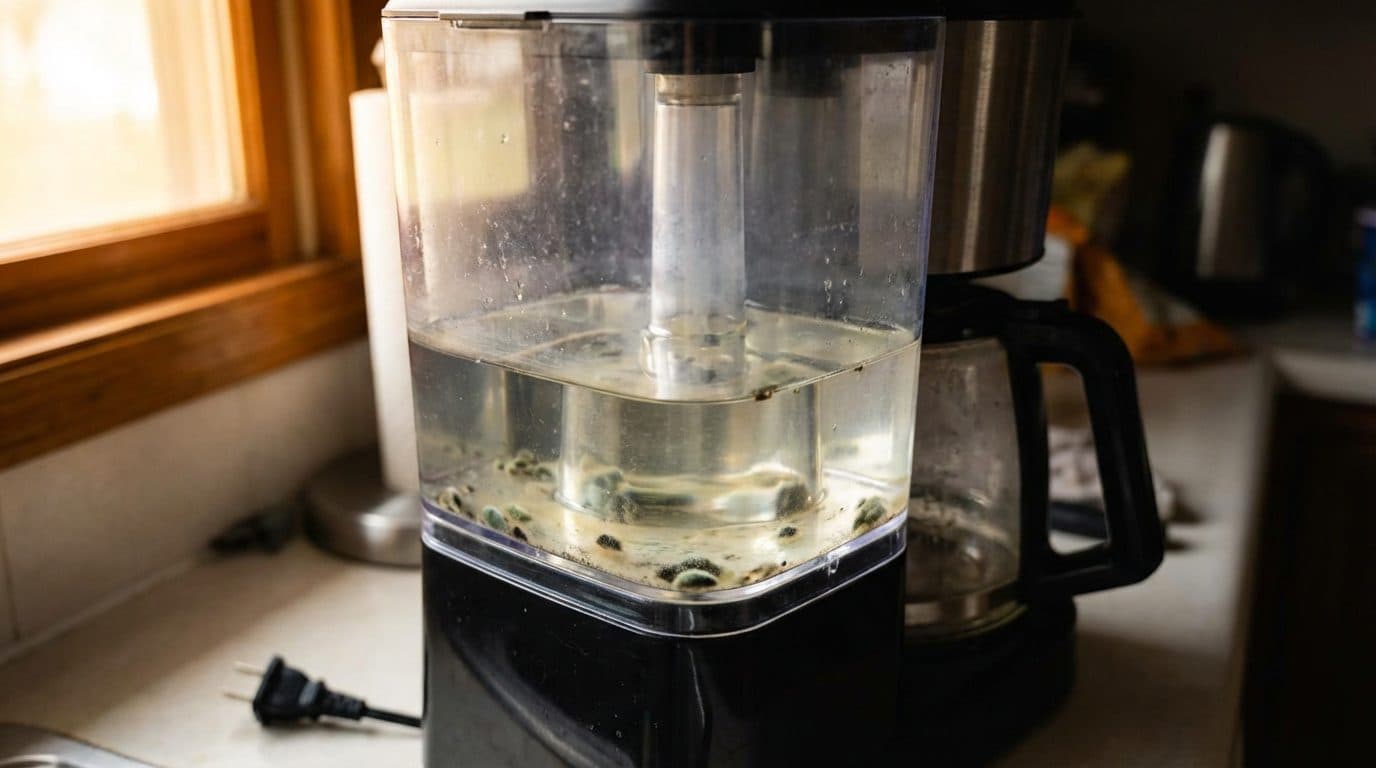
Before we dive into the cleaning process, it helps to understand why this happens in the first place. Mold thrives in environments that are warm, dark, and moist. Your coffee maker’s water reservoir checks all three boxes, especially if you leave standing water in it between uses.
Here’s what creates the perfect storm for mold growth:
- Stagnant water: Leaving water sitting in the reservoir for days gives mold spores time to settle and multiply.
- Warmth: The heat from brewing cycles creates residual warmth that lingers in the machine.
- Lack of airflow: Closed reservoirs trap humidity inside, preventing evaporation.
- Mineral buildup: Hard water deposits create textured surfaces where mold can anchor and grow.
I’ve found that coffee makers stored near stoves or in sunny spots tend to develop mold faster because of the extra warmth. Even high-quality machines aren’t immune—mold doesn’t discriminate based on brand or price tag.
What You’ll Need to Remove Mold from Your Coffee Maker
The good news is you don’t need fancy cleaning products. In fact, I recommend avoiding harsh chemical cleaners since residue can affect your coffee’s taste and potentially your health. Here’s what works best:
Cleaning Supplies
- White distilled vinegar (the MVP of coffee maker cleaning)
- Baking soda
- Dish soap (mild, unscented preferred)
- Clean microfiber cloths or soft sponges
- A bottle brush or long-handled soft brush
- Fresh, filtered water
Optional But Helpful
- Hydrogen peroxide (3% solution)
- Lemon juice (natural alternative to vinegar)
- Old toothbrush for tight corners
- Rubber gloves if you’re squeamish about mold
Barista Tip: Never use bleach in your coffee maker. Even tiny residual amounts can be harmful and will absolutely ruin the taste of your coffee for weeks.
Step-by-Step Guide: Removing Mold from Coffee Maker Water Reservoir
Now let’s get that reservoir sparkling clean. This process works for most drip coffee makers, but the principles apply to any machine with a removable or accessible water tank.
Step 1: Empty and Disassemble
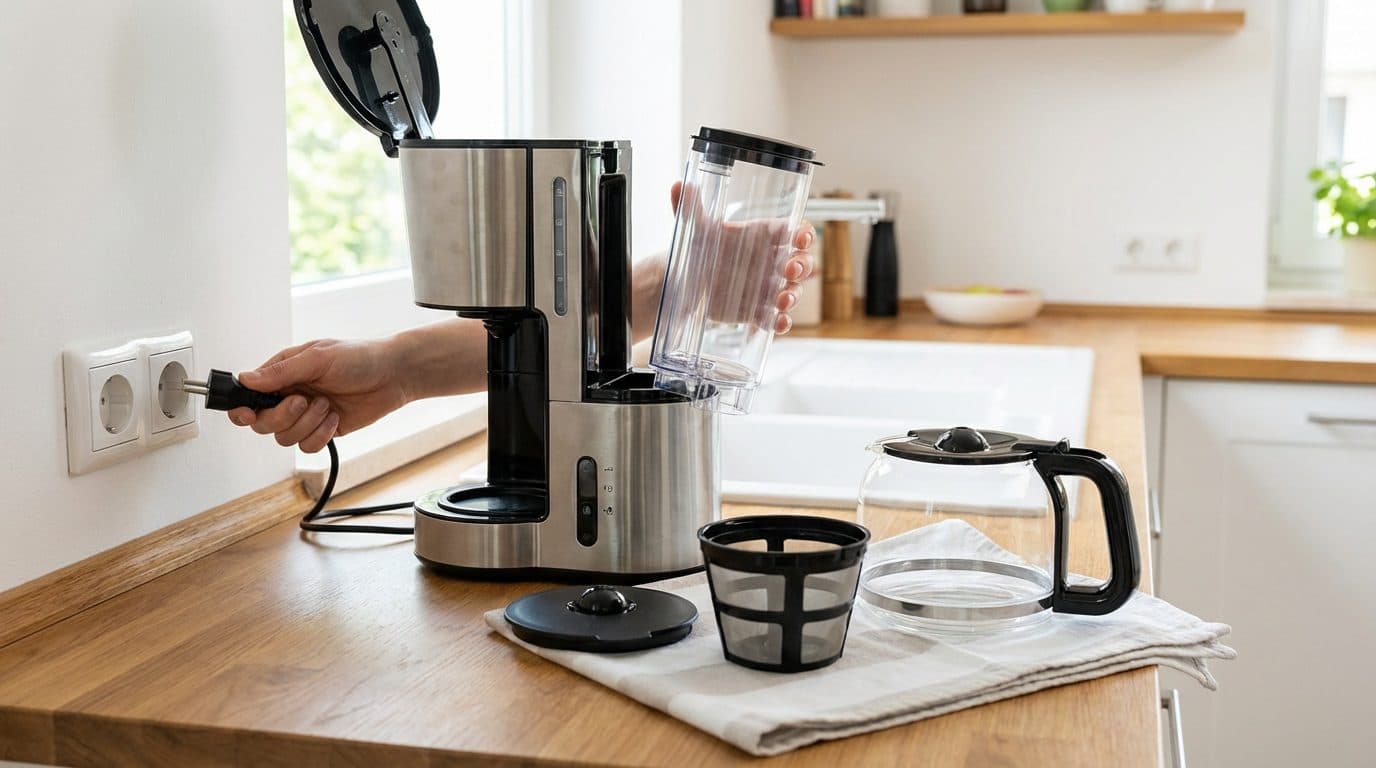
First, unplug your coffee maker and let it cool completely. Remove the water reservoir if it’s detachable. Take out any removable parts like the lid, filter basket, and carafe. This gives you full access to every surface the mold might be hiding on.
Step 2: Initial Rinse and Scrub
Dump out any standing water and give the reservoir a preliminary rinse with warm water. Using your bottle brush and a few drops of dish soap, gently scrub the visible mold spots. Don’t go too aggressive here—you’re just removing the surface layer before the deep clean.
For stubborn spots, make a paste with baking soda and a little water. Apply it directly to the mold, let it sit for five minutes, then scrub gently. Baking soda is mildly abrasive and naturally deodorizing.
Step 3: The Vinegar Deep Clean
This is where the real magic happens. Fill the reservoir with a mixture of equal parts white vinegar and water. If the mold was severe, you can use undiluted vinegar instead.
Let this solution sit in the reservoir for at least 30 minutes. For heavy mold contamination, I recommend letting it soak for a full hour. The acetic acid in vinegar kills most mold species and breaks down mineral deposits simultaneously.
Step 4: Run a Cleaning Cycle
After soaking, place the reservoir back in the machine (if applicable) and run a full brewing cycle with the vinegar solution. This cleans the internal tubing, heating element, and any other parts the water touches during brewing.
Let the vinegar solution sit in the carafe for another 15 minutes before discarding it.
Step 5: Rinse Thoroughly
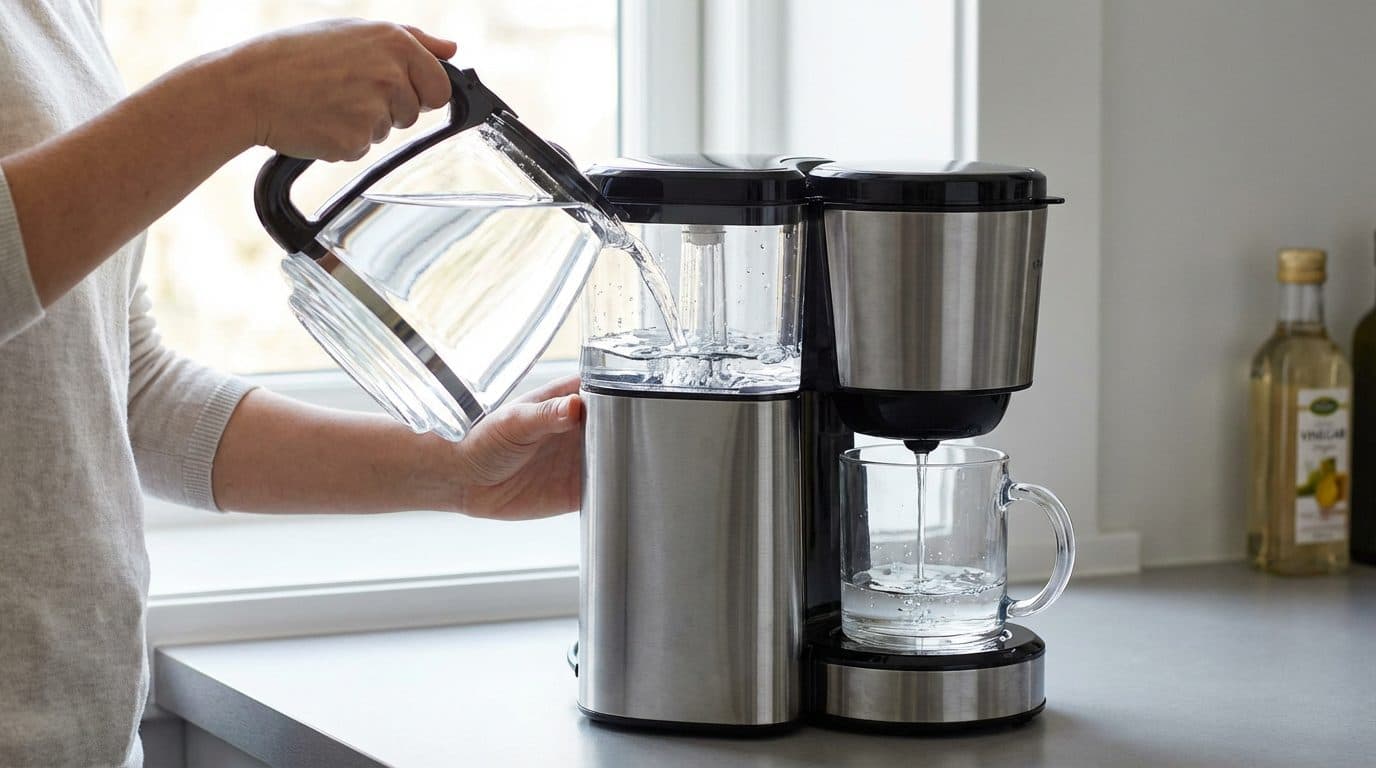
This step is crucial. Fill the reservoir with fresh, clean water and run at least two to three complete brewing cycles. You want to flush out every trace of vinegar. Trust me—vinegar-flavored coffee is not a trend worth starting.
After the rinse cycles, smell the reservoir and taste a small amount of the water that comes through. If you detect any vinegar odor or taste, run another cycle.
Step 6: Dry Completely
Use a clean microfiber cloth to wipe down all surfaces. Then—and this is important—leave the reservoir lid open and let everything air dry completely before reassembling. Moisture is mold’s best friend, so giving your machine time to dry prevents immediate regrowth.
Alternative Cleaning Methods That Actually Work
Vinegar is my go-to, but it’s not the only option. Here are some alternatives I’ve tested over the years:
Hydrogen Peroxide Method
Mix one part 3% hydrogen peroxide with two parts water. Fill the reservoir and let it sit for 30 minutes. Hydrogen peroxide is excellent at killing mold and breaks down into just water and oxygen, so it’s very safe. The downside? It’s slightly less effective at removing mineral buildup than vinegar.
Lemon Juice Method
If you can’t stand the smell of vinegar, lemon juice works similarly thanks to its citric acid content. Use the juice of two to three lemons mixed with water to fill the reservoir. It smells better but costs more and doesn’t work quite as well on heavy mold infestations.
Commercial Coffee Maker Cleaners
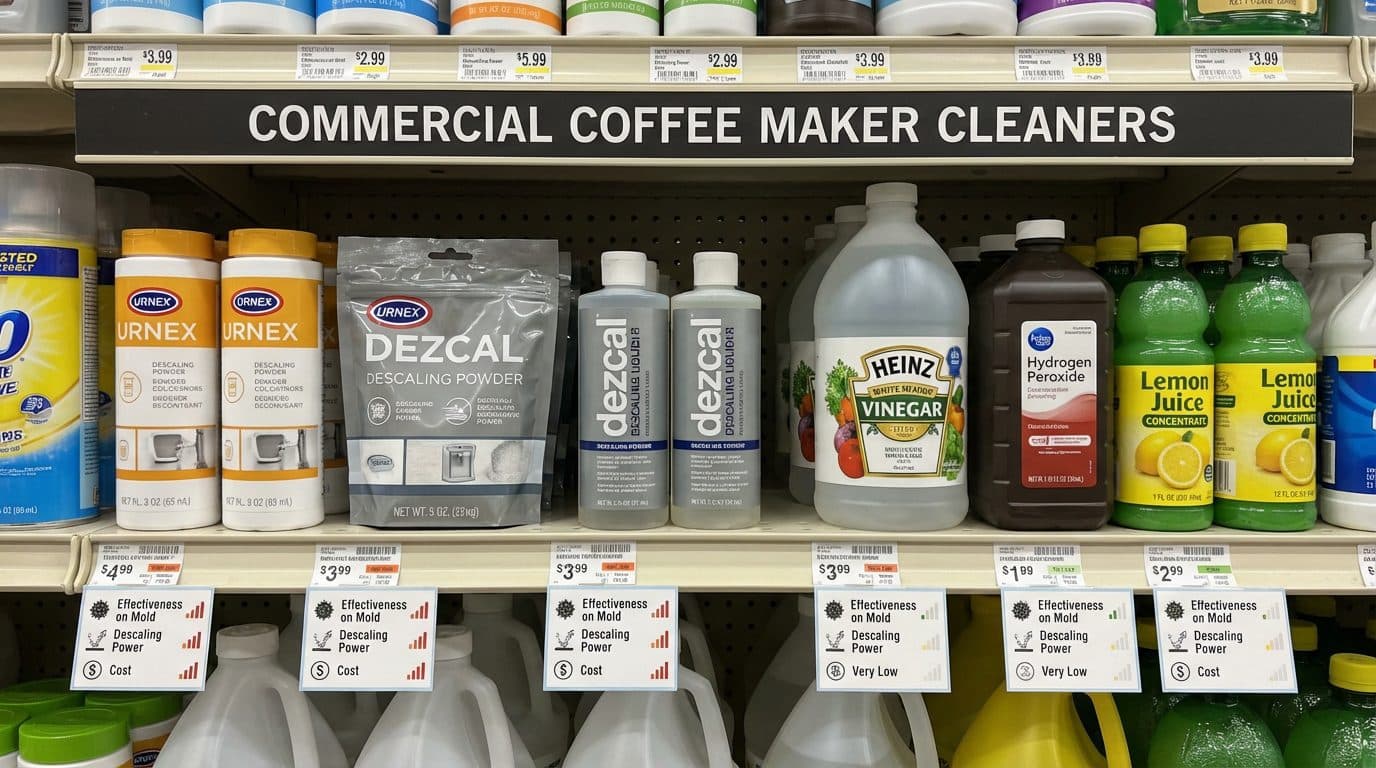
Products like Urnex or Dezcal are specifically formulated for coffee equipment. They’re effective and safe when used as directed. However, they’re more expensive than vinegar and honestly not necessary for routine mold removal.
| Cleaning Agent | Effectiveness on Mold | Descaling Power | Cost |
|---|---|---|---|
| White Vinegar | Excellent | Excellent | Very Low |
| Hydrogen Peroxide | Excellent | Poor | Low |
| Lemon Juice | Good | Good | Medium |
| Commercial Cleaner | Excellent | Excellent | High |
Preventing Mold from Coming Back
Cleaning mold once is annoying. Cleaning it repeatedly is exhausting. Here’s how to keep your reservoir mold-free going forward:
- Empty the reservoir daily: Never leave water sitting overnight. It takes 30 seconds and makes a huge difference.
- Leave the lid open: After brewing, prop the reservoir lid open to allow moisture to escape.
- Use filtered water: This reduces mineral buildup, which gives mold fewer places to anchor.
- Weekly wipe-down: Once a week, wipe the interior with a dry cloth to remove any moisture or residue.
- Monthly deep clean: Run a vinegar cycle once a month, even if you don’t see visible mold.
I’ve also found that storing your coffee maker in a well-ventilated area helps tremendously. Avoid placing it in enclosed cabinets or corners where air doesn’t circulate.
Frequently Asked Questions
Is it safe to drink coffee from a machine that had mold?
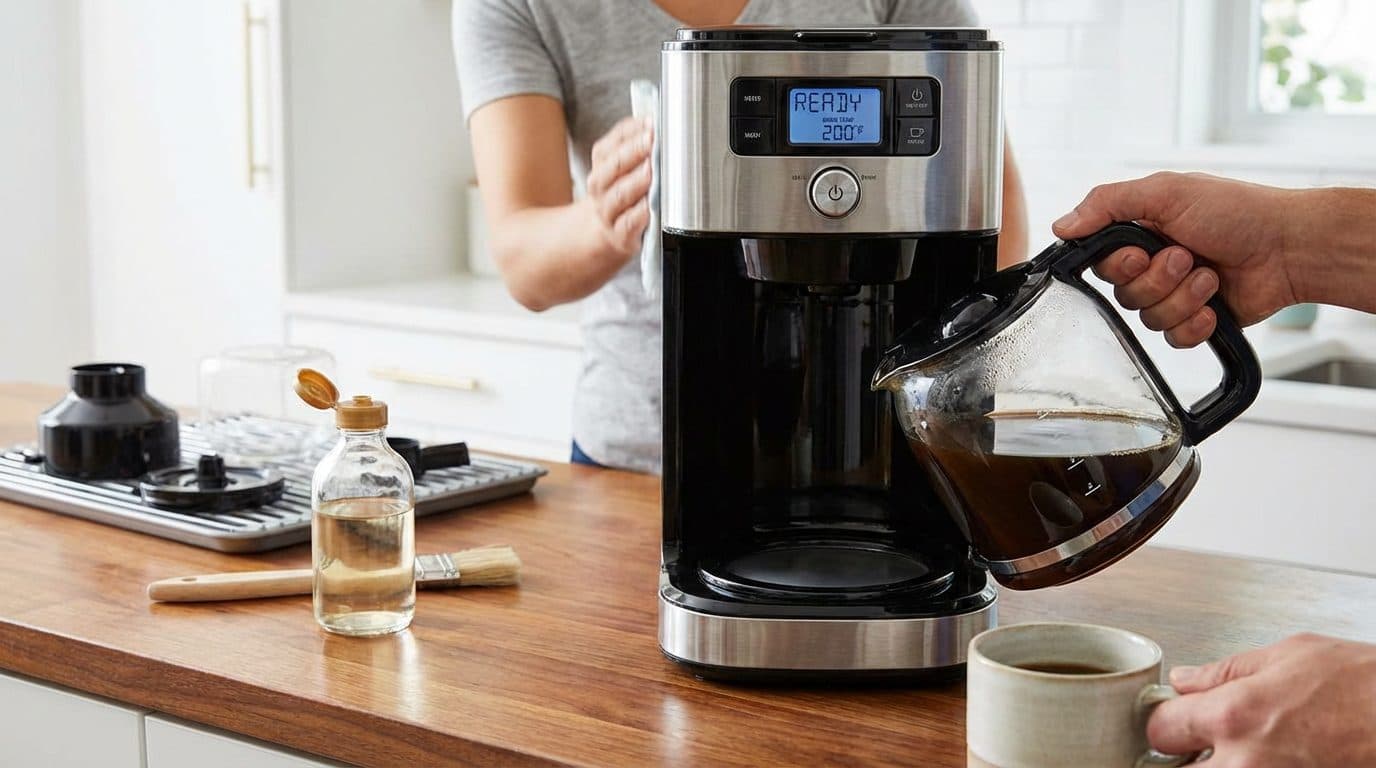
After a thorough cleaning using the methods above, yes, your coffee maker is safe to use. The high brewing temperature and the acidic nature of coffee itself provide some protection. However, if the mold contamination was severe or you have respiratory sensitivities or a compromised immune system, consider replacing the reservoir or the entire machine.
How often should I clean my coffee maker’s water reservoir?
For most home users, a deep cleaning once a month is sufficient. If you use your machine daily, brew for multiple people, or live in a humid climate, consider cleaning every two to three weeks. Quick daily maintenance like emptying and drying the reservoir prevents most problems.
Can mold inside a coffee maker make me sick?
Potentially, yes. While many people drink coffee from mildly contaminated machines without immediate symptoms, mold exposure can cause allergic reactions, respiratory issues, and digestive discomfort. Some mold species produce mycotoxins that are harmful even in small amounts. When in doubt, clean it out.
What if the mold keeps coming back no matter what I do?
Persistent mold usually indicates moisture retention in places you can’t easily reach. Check for cracks in the reservoir where water might pool, inspect gaskets and seals for damage, and ensure your machine is drying completely between uses. If mold returns within days of cleaning, it might be time for a new coffee maker—some contamination is just too deep-seated to fix.
Does the type of water I use affect mold growth?
Yes. Tap water contains minerals and sometimes organic matter that feed mold colonies. Filtered water reduces these nutrients and makes your reservoir less hospitable. Distilled water is even better for preventing growth, though it can make your coffee taste slightly flat. I recommend a simple carbon filter as the best balance.
Conclusion and Your Next Steps
Removing mold from your coffee maker water reservoir doesn’t require special equipment or professional help. With some white vinegar, a bit of elbow grease, and about an hour of your time, you can restore your machine to pristine condition. The key is acting promptly when you spot mold and committing to regular maintenance afterward.
Start today by emptying your reservoir and giving it a quick inspection. If you see any discoloration or fuzzy growth, run through the cleaning steps above. Then make it a habit to empty and dry your reservoir daily—future you will thank present you every time you pour a fresh, clean cup of coffee.
Your morning brew deserves better than mold. And honestly? So do you.



Comments