


Table of Contents
- Quick Verdict: Keurig Descaling Solution
- Why Your Keurig Is Begging for a Deep Clean
- What Exactly Is Keurig Descaling Solution?
- What's Inside the Formula?
- Pros and Cons of Keurig Descaling Solution
- Pros
- Cons
- Who Is This For?
- Who Is This NOT For?
- How to Use Keurig Descaling Solution: Step-by-Step
- What You'll Need
- The Descaling Process
- Keurig Descaling Solution vs. White Vinegar: Which Works Better?
- Signs Your Keurig Desperately Needs Descaling
- Frequently Asked Questions
- How often should I use Keurig Descaling Solution?
- Can I use Keurig Descaling Solution on other coffee makers?
- Is it safe to drink coffee immediately after descaling?
- Will descaling fix a Keurig that won't brew at all?
- Does the descaling solution have an expiration date?
- Final Verdict: Is Keurig Descaling Solution Worth It?
Quick Verdict: Keurig Descaling Solution
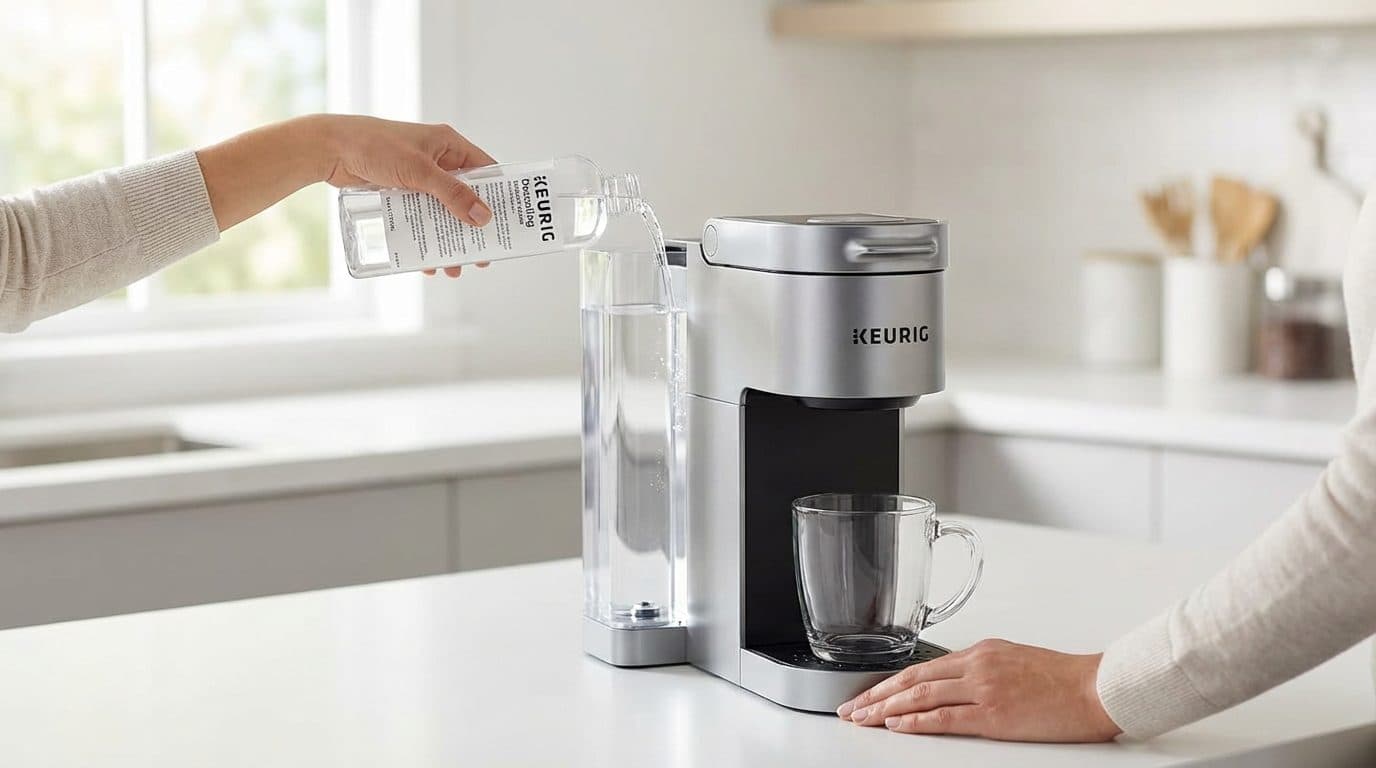
Keurig’s official Descaling Solution gets the job done reliably and safely. It’s specifically formulated for Keurig machines, which means zero guesswork and no voided warranties. While it’s pricier than DIY alternatives like white vinegar, the convenience and peace of mind make it worthwhile for most home coffee lovers who want to keep their brewer running smoothly.
Why Your Keurig Is Begging for a Deep Clean
Have you noticed your morning cup taking forever to brew? Or maybe your coffee tastes slightly off, almost stale or metallic? Here’s a truth bomb that surprises many coffee lovers: mineral buildup inside your Keurig could be the silent culprit ruining your daily brew.
Every time water flows through your machine, it leaves behind tiny mineral deposits. Over time, these deposits (called limescale) accumulate in the heating element, water lines, and internal components. I’ve seen machines that were practically choking on buildup after just six months of daily use. The Keurig descaling solution is designed specifically to dissolve these deposits and restore your brewer to its former glory.
In this review, I’ll break down everything you need to know about Keurig’s official descaling solution—how it works, whether it’s worth the price, and how to use it properly for the best results.
What Exactly Is Keurig Descaling Solution?
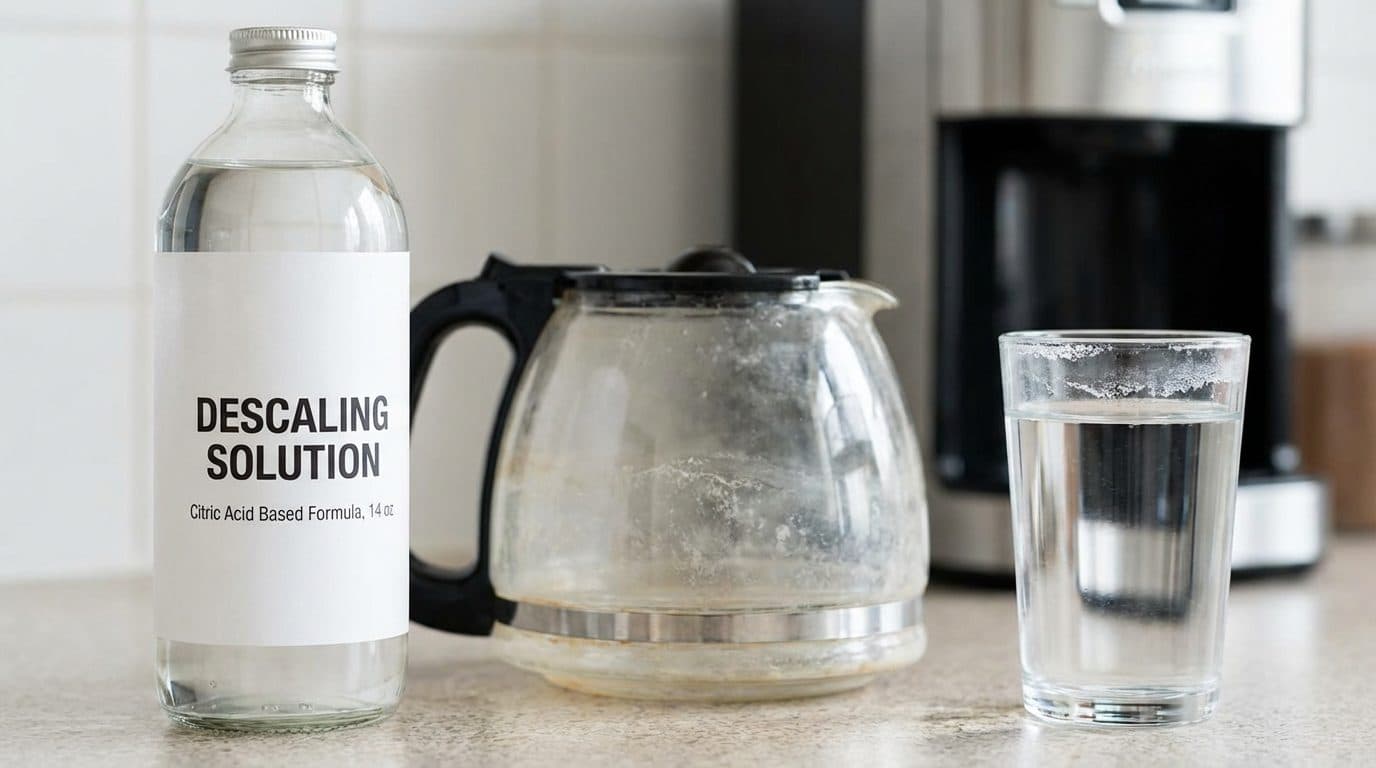
Keurig Descaling Solution is a citric acid-based cleaning formula designed to remove calcium deposits and scale buildup from inside your coffee maker. In short, it’s a specialized cleaner that breaks down the mineral gunk that accumulates from your tap water over time.
The solution comes in 14-ounce bottles, with each bottle containing enough liquid for one complete descaling cycle. Keurig recommends descaling every three to six months, depending on your water hardness and how frequently you brew.
What’s Inside the Formula?
Unlike harsh chemical descalers, Keurig’s solution uses food-safe citric acid as its active ingredient. This makes it effective at dissolving limescale while remaining safe for the plastic and metal components inside your machine. The formula is also biodegradable, which is a nice bonus for environmentally conscious coffee drinkers.
| Feature | Keurig Descaling Solution |
|---|---|
| Active Ingredient | Citric Acid |
| Bottle Size | 14 oz (1 descale cycle) |
| Recommended Frequency | Every 3-6 months |
| Compatible Machines | All Keurig models |
| Rinse Cycles Needed | Multiple (until water runs clear) |
Pros and Cons of Keurig Descaling Solution
After using this product on multiple Keurig machines over the years, I’ve developed a pretty clear picture of its strengths and weaknesses. Here’s my honest breakdown:
Pros
- Officially approved by Keurig – Using it won’t void your warranty, which is a legitimate concern with DIY alternatives
- Pre-measured convenience – One bottle equals one descaling cycle, so there’s no guessing about ratios
- Effective on stubborn buildup – In my experience, it handles moderate to heavy scale better than vinegar
- No lingering odor – Unlike vinegar, the citric acid formula doesn’t leave a smell that requires endless rinse cycles
- Works on all Keurig models – From the compact K-Mini to the fancy K-Café, it’s universally compatible
Cons
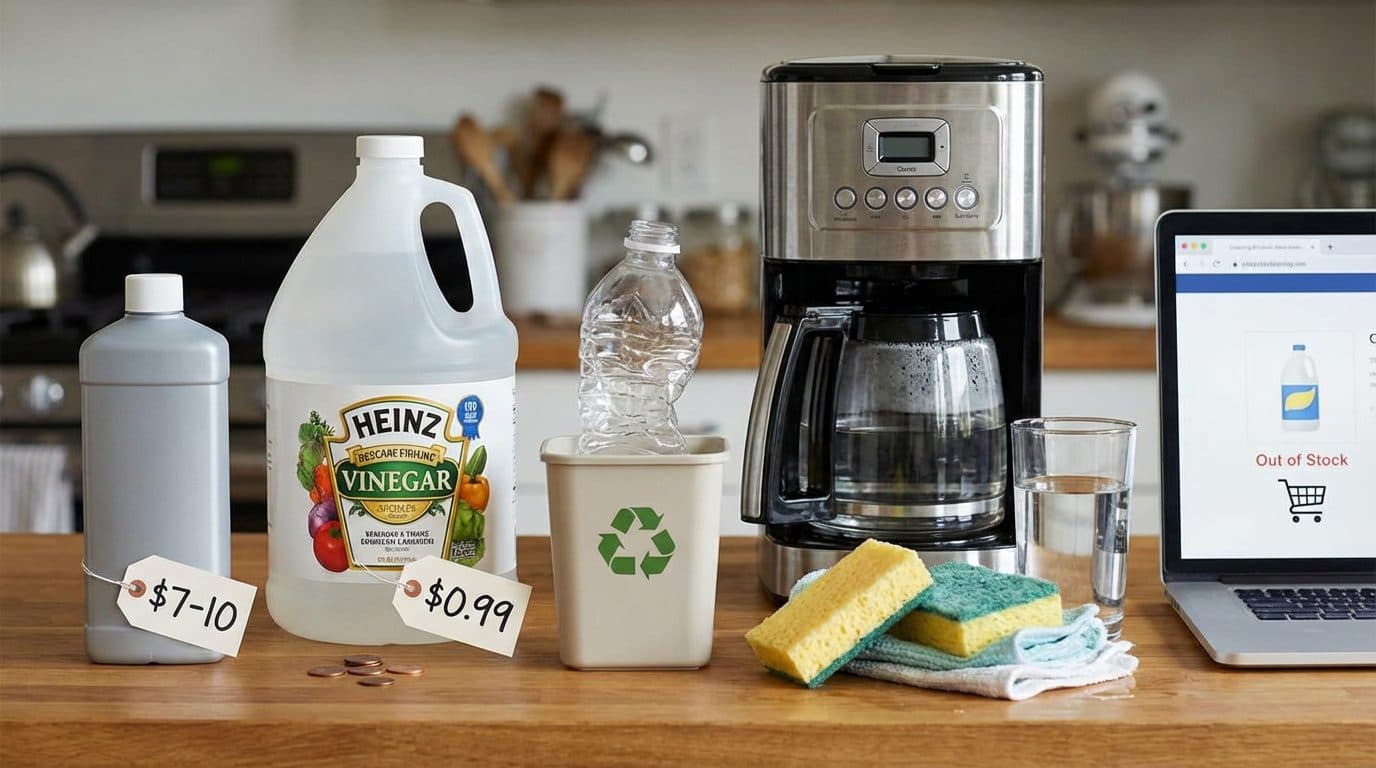
- Pricier than DIY options – A single bottle costs around $7-10, while white vinegar costs pennies
- Single-use packaging – Each bottle is meant for one descaling session, which creates more plastic waste
- Still requires multiple rinses – You’ll need to run several water-only cycles afterward to flush the solution completely
- Not always stocked locally – Sometimes you’ll need to order online rather than grabbing it at your local grocery store
Who Is This For?
Keurig’s descaling solution is perfect for coffee drinkers who value convenience and want to follow manufacturer guidelines. If you’re the type who prefers using official products to keep your appliances in top shape, this is your best bet.
It’s also ideal for anyone living in an area with hard water. In my experience, homes with well water or municipal water that’s high in minerals really benefit from regular descaling with a dedicated product. The Keurig descaling solution handles heavy buildup more effectively than gentler alternatives.
Who Is This NOT For?
If you’re budget-conscious and comfortable with DIY maintenance, you might find the price hard to justify. White vinegar works reasonably well for light buildup and costs a fraction of the price. Just be prepared for the extra rinse cycles and that lingering vinegar smell.
It’s also not necessary for people who use filtered or distilled water exclusively in their Keurig. With minimal mineral content in your water, scale buildup happens much slower, and you might only need to descale once a year.
How to Use Keurig Descaling Solution: Step-by-Step
Using the descaling solution is straightforward, but following the proper steps ensures you get the best results. Here’s the process I use every time:
What You’ll Need
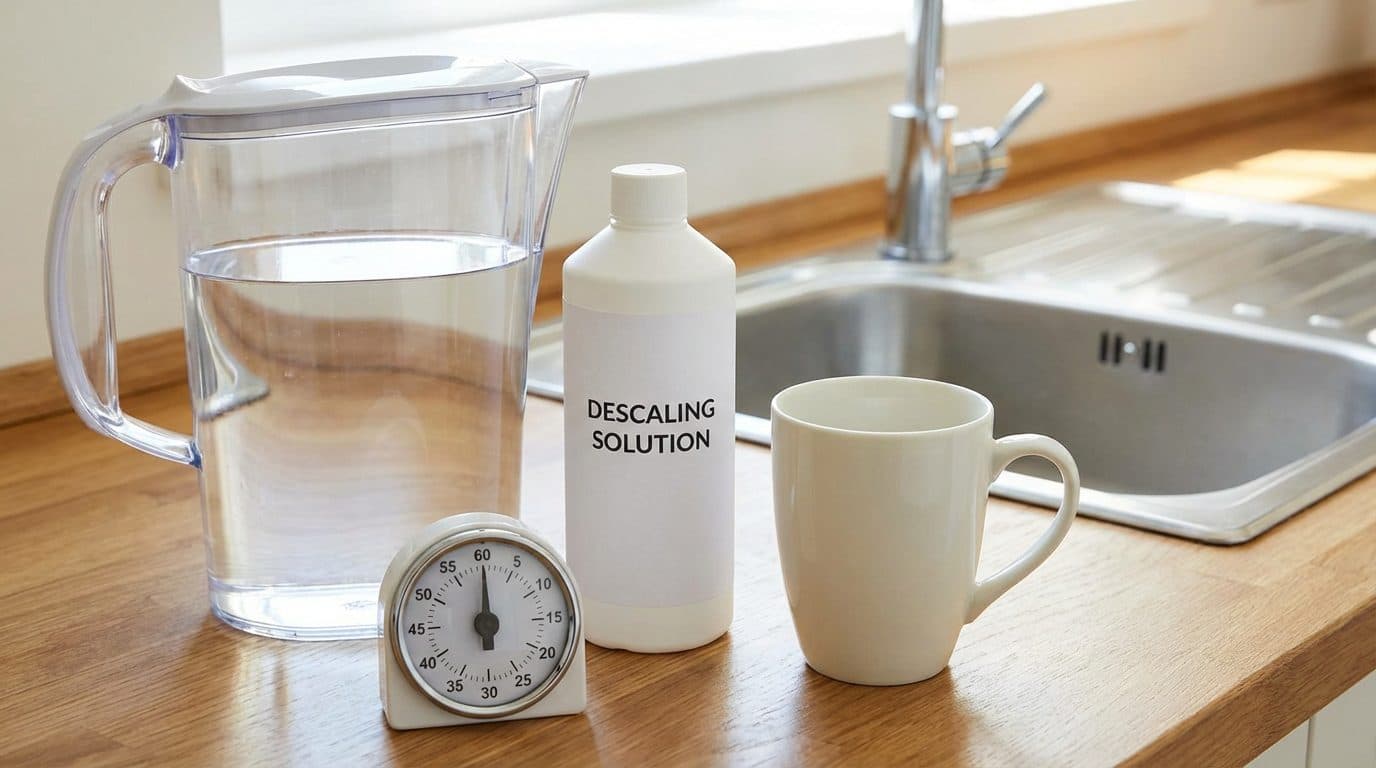
- 1 bottle of Keurig Descaling Solution
- Fresh water
- A large ceramic mug (at least 10 oz)
- Access to a sink
- About 45-60 minutes of time
The Descaling Process
Step 1: Turn off your Keurig and remove any K-Cup pod from the holder. Empty the water reservoir completely and remove the water filter if you have one installed.
Step 2: Pour the entire bottle of Keurig Descaling Solution into the reservoir. Then fill the empty bottle with water and add that to the reservoir as well. This creates the proper dilution ratio.
Step 3: Place your large mug on the drip tray. Turn on the machine and run a brew cycle without inserting a pod. Select the largest cup size available on your machine.
Step 4: Empty the mug into the sink after each cycle. Repeat until the “add water” indicator lights up. This typically takes 4-6 cycles depending on your reservoir size.
Step 5: Let the machine sit for 30 minutes with the power on. This allows the remaining solution in the internal components to break down any stubborn scale deposits.
Step 6: Empty any remaining solution from the reservoir and rinse it thoroughly. Fill it with fresh water only.
Step 7: Run at least 12 brew cycles with fresh water to flush out all traces of the descaling solution. Yes, twelve. I know it sounds excessive, but you really don’t want citric acid residue in your next latte.
Barista Tip: I like to do my descaling on a day when I’m working from home and can run rinse cycles between tasks. It takes the tedium out of standing by the machine for an hour.
Keurig Descaling Solution vs. White Vinegar: Which Works Better?
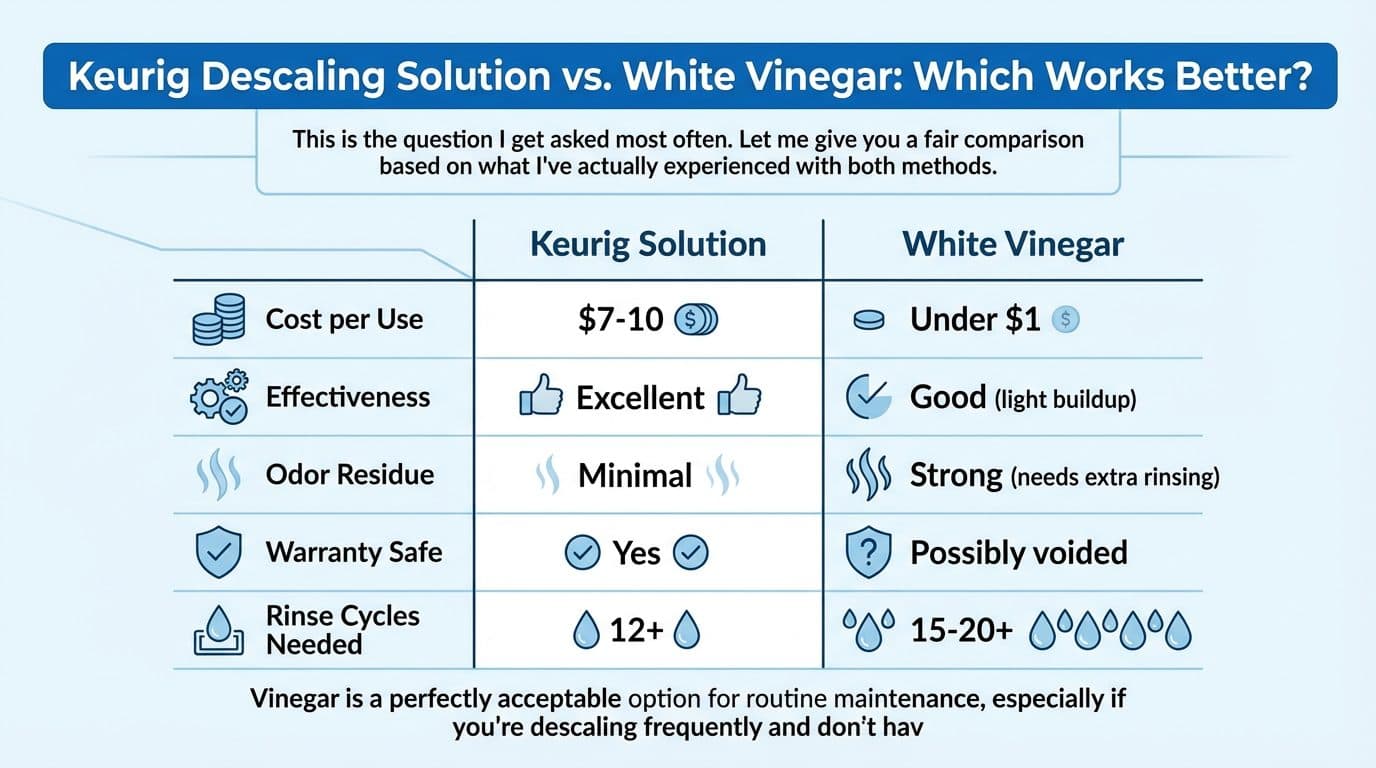
This is the question I get asked most often. Let me give you a fair comparison based on what I’ve actually experienced with both methods.
| Factor | Keurig Solution | White Vinegar |
|---|---|---|
| Cost per Use | $7-10 | Under $1 |
| Effectiveness | Excellent | Good (light buildup) |
| Odor Residue | Minimal | Strong (needs extra rinsing) |
| Warranty Safe | Yes | Possibly voided |
| Rinse Cycles Needed | 12+ | 15-20+ |
Vinegar is a perfectly acceptable option for routine maintenance, especially if you’re descaling frequently and don’t have heavy buildup. However, the Keurig descaling solution is noticeably more effective when your machine is seriously gunked up. I’ve rescued machines with the official solution that vinegar couldn’t fully clean.
Key Takeaway: If your Keurig is sluggish, making strange noises, or producing weak coffee despite regular vinegar cleaning, the official descaling solution is worth trying. Sometimes you just need the stronger formula.
Signs Your Keurig Desperately Needs Descaling
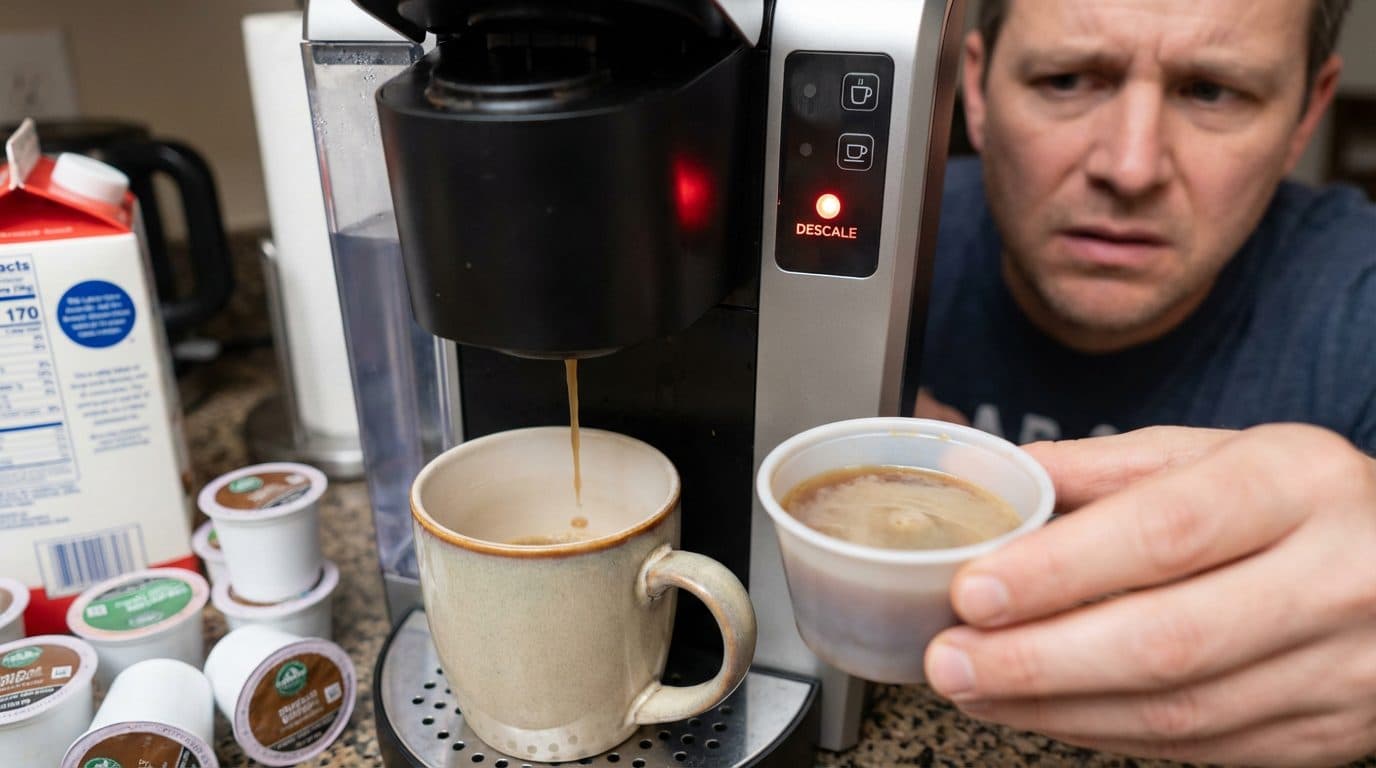
Many coffee lovers wait until their machine displays the “descale” warning light. But by that point, buildup has already been affecting your brew quality for weeks. Here are the early warning signs I watch for:
- Slower brew times – If your cup is taking noticeably longer to fill, scale is likely restricting water flow
- Incomplete brewing – The machine starts but doesn’t dispense a full cup
- Unusual sounds – Louder pumping noises or sputtering during brewing
- Off-tasting coffee – A subtle metallic or stale flavor that wasn’t there before
- Lukewarm coffee – Scale buildup on the heating element reduces temperature efficiency
In my experience, addressing these signs early with regular descaling extends your Keurig’s lifespan significantly. I’ve known people who got 7+ years out of their machines with proper maintenance.
Frequently Asked Questions
How often should I use Keurig Descaling Solution?
Keurig recommends descaling every three to six months. However, if you have hard water or brew multiple cups daily, lean toward every three months. People with soft water or who use filtered water can often stretch to six months without issues.
Can I use Keurig Descaling Solution on other coffee makers?
Technically, yes. The citric acid formula is safe for most coffee makers with internal heating elements. However, always check your specific machine’s manual first. Some manufacturers have particular recommendations that could affect your warranty.
Is it safe to drink coffee immediately after descaling?
Only after completing all the rinse cycles. You need to run at least 12 fresh water cycles to flush the descaling solution completely. If your coffee tastes slightly off or soapy after that, run a few more rinse cycles before brewing your next cup.
Will descaling fix a Keurig that won’t brew at all?
Sometimes, but not always. Severe scale buildup can completely block water flow, and descaling might restore function. However, if your machine has other mechanical issues, descaling alone won’t fix them. It’s worth trying before you consider replacing your brewer.
Does the descaling solution have an expiration date?
The bottles typically have a shelf life of about two years when stored properly. Check the bottom of the bottle for the best-by date. Expired solution may be less effective at breaking down mineral deposits.
Final Verdict: Is Keurig Descaling Solution Worth It?
After years of testing various descaling methods, I keep coming back to Keurig’s official solution for one simple reason: it works consistently without any drama. Is it the cheapest option? No. But the convenience, effectiveness, and warranty peace of mind make it worthwhile for most home coffee enthusiasts.
If you’re serious about maintaining your Keurig and want your morning coffee to taste its best, regular descaling isn’t optional—it’s essential maintenance. The Keurig Descaling Solution takes the guesswork out of the process and delivers reliable results every time.
Life’s too short for bad coffee, and it’s definitely too short to fight with a clogged-up brewer at 6 AM. Keep a bottle on hand, descale on schedule, and your Keurig will reward you with years of delicious cups.
Check the latest price on Amazon to stock up before your next maintenance session.


Comments