Have you ever watched a barista pour a perfect heart or rosetta into a latte and thought, “I wish I could do that at home”? You’re not alone. Latte art seems like magic, but here’s the thing: you don’t need expensive equipment to start practicing latte art at home. With a few cheap tools and the right technique, you can begin your journey toward Instagram-worthy pours without breaking the bank.
In this beginner tutorial, I’ll walk you through everything you need to get started. You’ll learn which affordable tools actually work, how to steam milk without a fancy espresso machine, and the fundamental techniques that will have you pouring recognizable patterns in no time. Let’s turn your kitchen into a latte art studio.
What You’ll Need to Practice Latte Art at Home
Before we dive into technique, let’s talk gear. The good news? You probably have some of these items already. The even better news? The rest won’t cost you much.
Essential Gear List
A milk frothing pitcher (12oz or 20oz) – Look for one with a pointed spout. You can find decent stainless steel pitchers for under $10.
A handheld milk frother – These battery-powered wands cost around $5-15 and work surprisingly well for beginners.
A French press – An alternative to the handheld frother for creating microfoam.
Wide, rounded cups – A bowl-shaped cup gives you more canvas to work with. Thrift stores are goldmines for these.
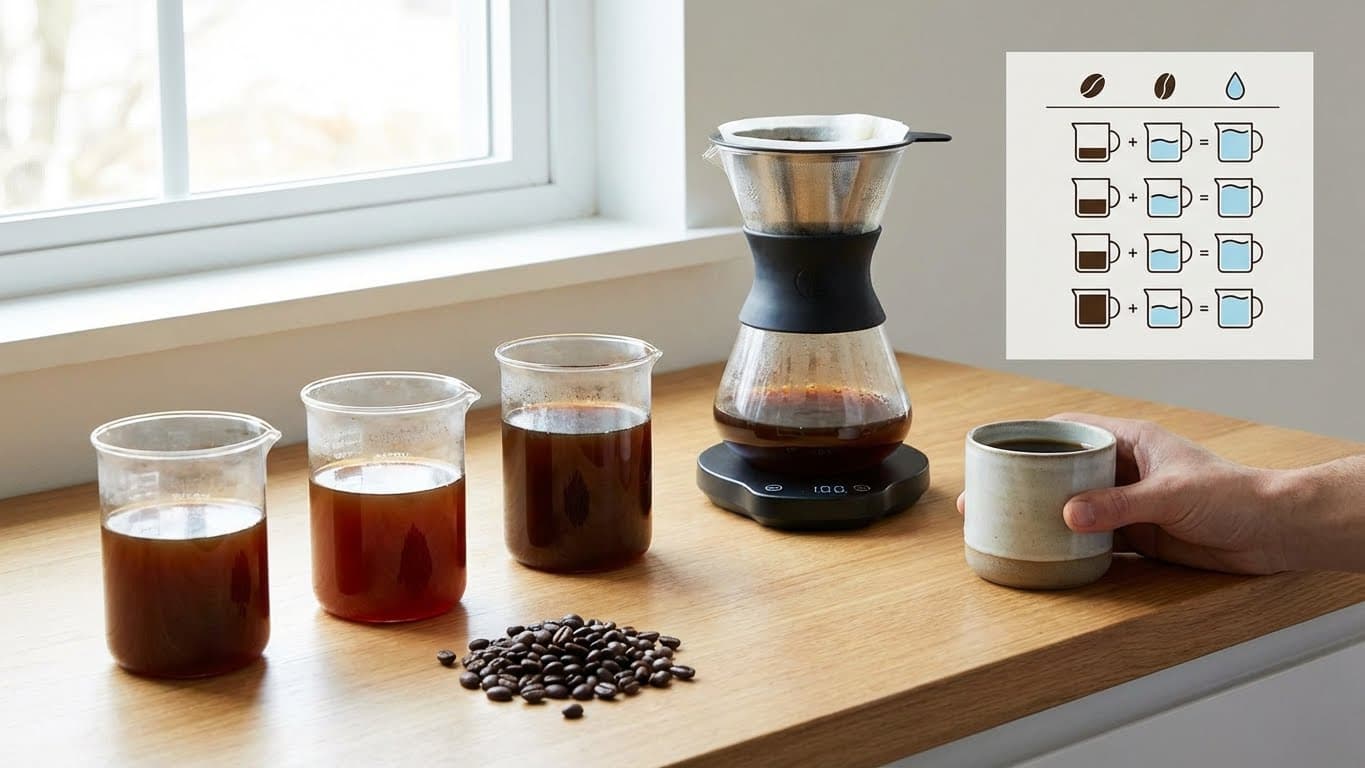
Instant coffee or strong brewed coffee – You don’t need espresso to practice the pouring motion.
Optional But Helpful
A thermometer – Helps you hit the ideal milk temperature (around 140-150°F or 60-65°C).
Dishwashing liquid – Yes, really. I’ll explain this clever practice hack shortly.
A practice template or latte art pen – Useful for etching designs once you master free pouring.
Barista Tip: Don’t obsess over getting the “perfect” pitcher right away. I’ve seen people create beautiful art with a $7 pitcher from an online marketplace. The spout shape matters more than the price tag.
Understanding Microfoam: The Foundation of Latte Art
Here’s a truth bomb: latte art is80% milk preparation and 20% pouring technique. You could have the steadiest hands in the world, but without proper microfoam, your designs will sink or blob into nothing.
What Is Microfoam?
Microfoam is steamed milk with tiny, uniform bubbles that create a silky, paint-like texture. Think wet paint, not bubble bath. When done right, it should have a glossy sheen and pour like thick cream. In short, microfoam means milk that’s been aerated just enough to be velvety but not so much that it becomes stiff or bubbly.
How to Create Microfoam Without an Espresso Machine
No steam wand? No problem. Here are two budget-friendly methods:
Method 1: Handheld Frother
Pour cold milk into your pitcher (fill it about one-third full).
Heat the milk in a microwave for 30-45 seconds until warm but not hot.
Submerge the frother just below the surface and turn it on.
Move it in small circles, keeping it near the surface to incorporate air.
Once you see foam forming, plunge the frother deeper to break up large bubbles.
Continue until the milk is silky and has doubled in volume.
Method 2: French Press
Heat milk on the stove or in a microwave until warm (not boiling).
Pour the warm milk into your French press (fill it no more than one-third).
Pump the plunger vigorously up and down for 30-60 seconds.
Tap the French press on the counter and swirl to integrate the foam.
Barista Tip: After frothing, always swirl your pitcher and tap it on the counter. This pops large bubbles and creates that glossy, pourable consistency you’re after.
The Secret Practice Hack: Soap and Water Training
Here’s something most tutorials won’t tell you: professional baristas often practice with water and dish soap. Why waste milk when you’re just learning the pouring motion?
How the Soap Method Works
A few drops of dish soap mixed with water mimics the weight and flow of frothed milk surprisingly well. It creates bubbles that behave similarly to microfoam, letting you practice your wrist movements hundreds of times without any cost.
To try this:
Fill your pitcher halfway with lukewarm water.
Add 2-3 drops of dish soap.
Use your frother or shake vigorously to create foam.
Practice pouring into a cup filled with water (or cold coffee if you want contrast).
I’ve found that doing10-15 practice pours with soap water before using real milk makes a noticeable difference. Your muscle memory develops faster, and you won’t feel guilty about wasting ingredients.
Basic Latte Art Patterns for Beginners
Now for the fun part. Let’s break down three beginner-friendly patterns you can start practicing today.
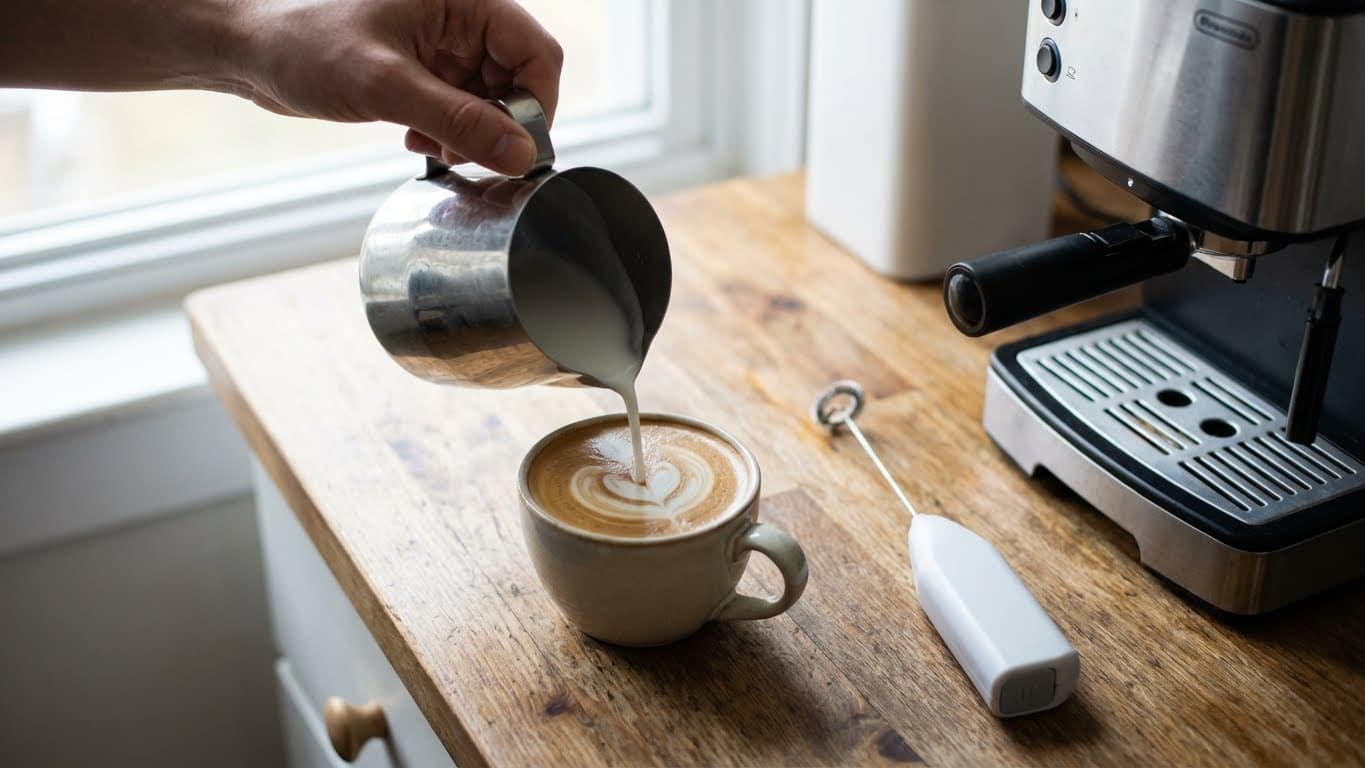
Pattern 1: The Heart
The heart is where every latte artist begins. It teaches you the fundamental pour-and-pull motion.
Hold your cup at a slight angle (about 20degrees).
Start pouring from a height of 3-4 inches, aiming for the center of the cup.
As the cup fills halfway, bring the pitcher closer to the surface.
When you see white foam appear, slow your pour and wiggle gently side to side.
Once a white circle forms, pull the pitcher through the center in one swift motion.
Straighten your cup as you finish.
Common Mistake: Pouring too fast or from too close at the start. This causes the milk to dive under the coffee instead of sitting on top.
Pattern 2: The Monk’s Head (Solid Circle)
Before you can pour a heart, master the monk’s head. It’s simply a solid white circle with no pull-through. This teaches you how to control foam placement.
Follow the same starting steps as the heart.
When white foam appears, hold your position and keep pouring steadily.
Stop pouring once you have a solid white circle—no pull-through needed.
If you can consistently land a centered, symmetrical circle, you’re ready to progress.
Pattern 3: Simple Rosetta (Fern Leaf)
The rosetta is the design that makes people say “wow.” It looks complex but builds directly on the heart technique.
Start with your basic pour from height.
When foam appears on the surface, begin a gentle side-to-side wiggle with your wrist.
Slowly move the pitcher backward as you wiggle, creating layered “leaves.”
Finish by pulling through the center to create the stem.
Barista Tip: The wiggle comes from your wrist, not your whole arm. Keep movements small and controlled. In my experience, beginners often wiggle too wide—think “vibration” more than “wave.”
Troubleshooting Common Beginner Mistakes
Latte art doesn’t happen overnight. Here are the issues I see most often and how to fix them.
Problem: Foam Sinks Immediately
Your milk isn’t textured enough, or you’re pouring from too high. Get closer to the surface once the cup is half full.
Problem: Blotchy or Blob-Like Designs
Large bubbles are the culprit. Swirl and tap your pitcher more aggressively before pouring. Also, check if your milk is too cold—microfoam holds best when warmed properly.
Problem: Design Is Off-Center
Aim for the same spot consistently. Tilt your cup toward the spout and pour into the deepest part of the liquid.
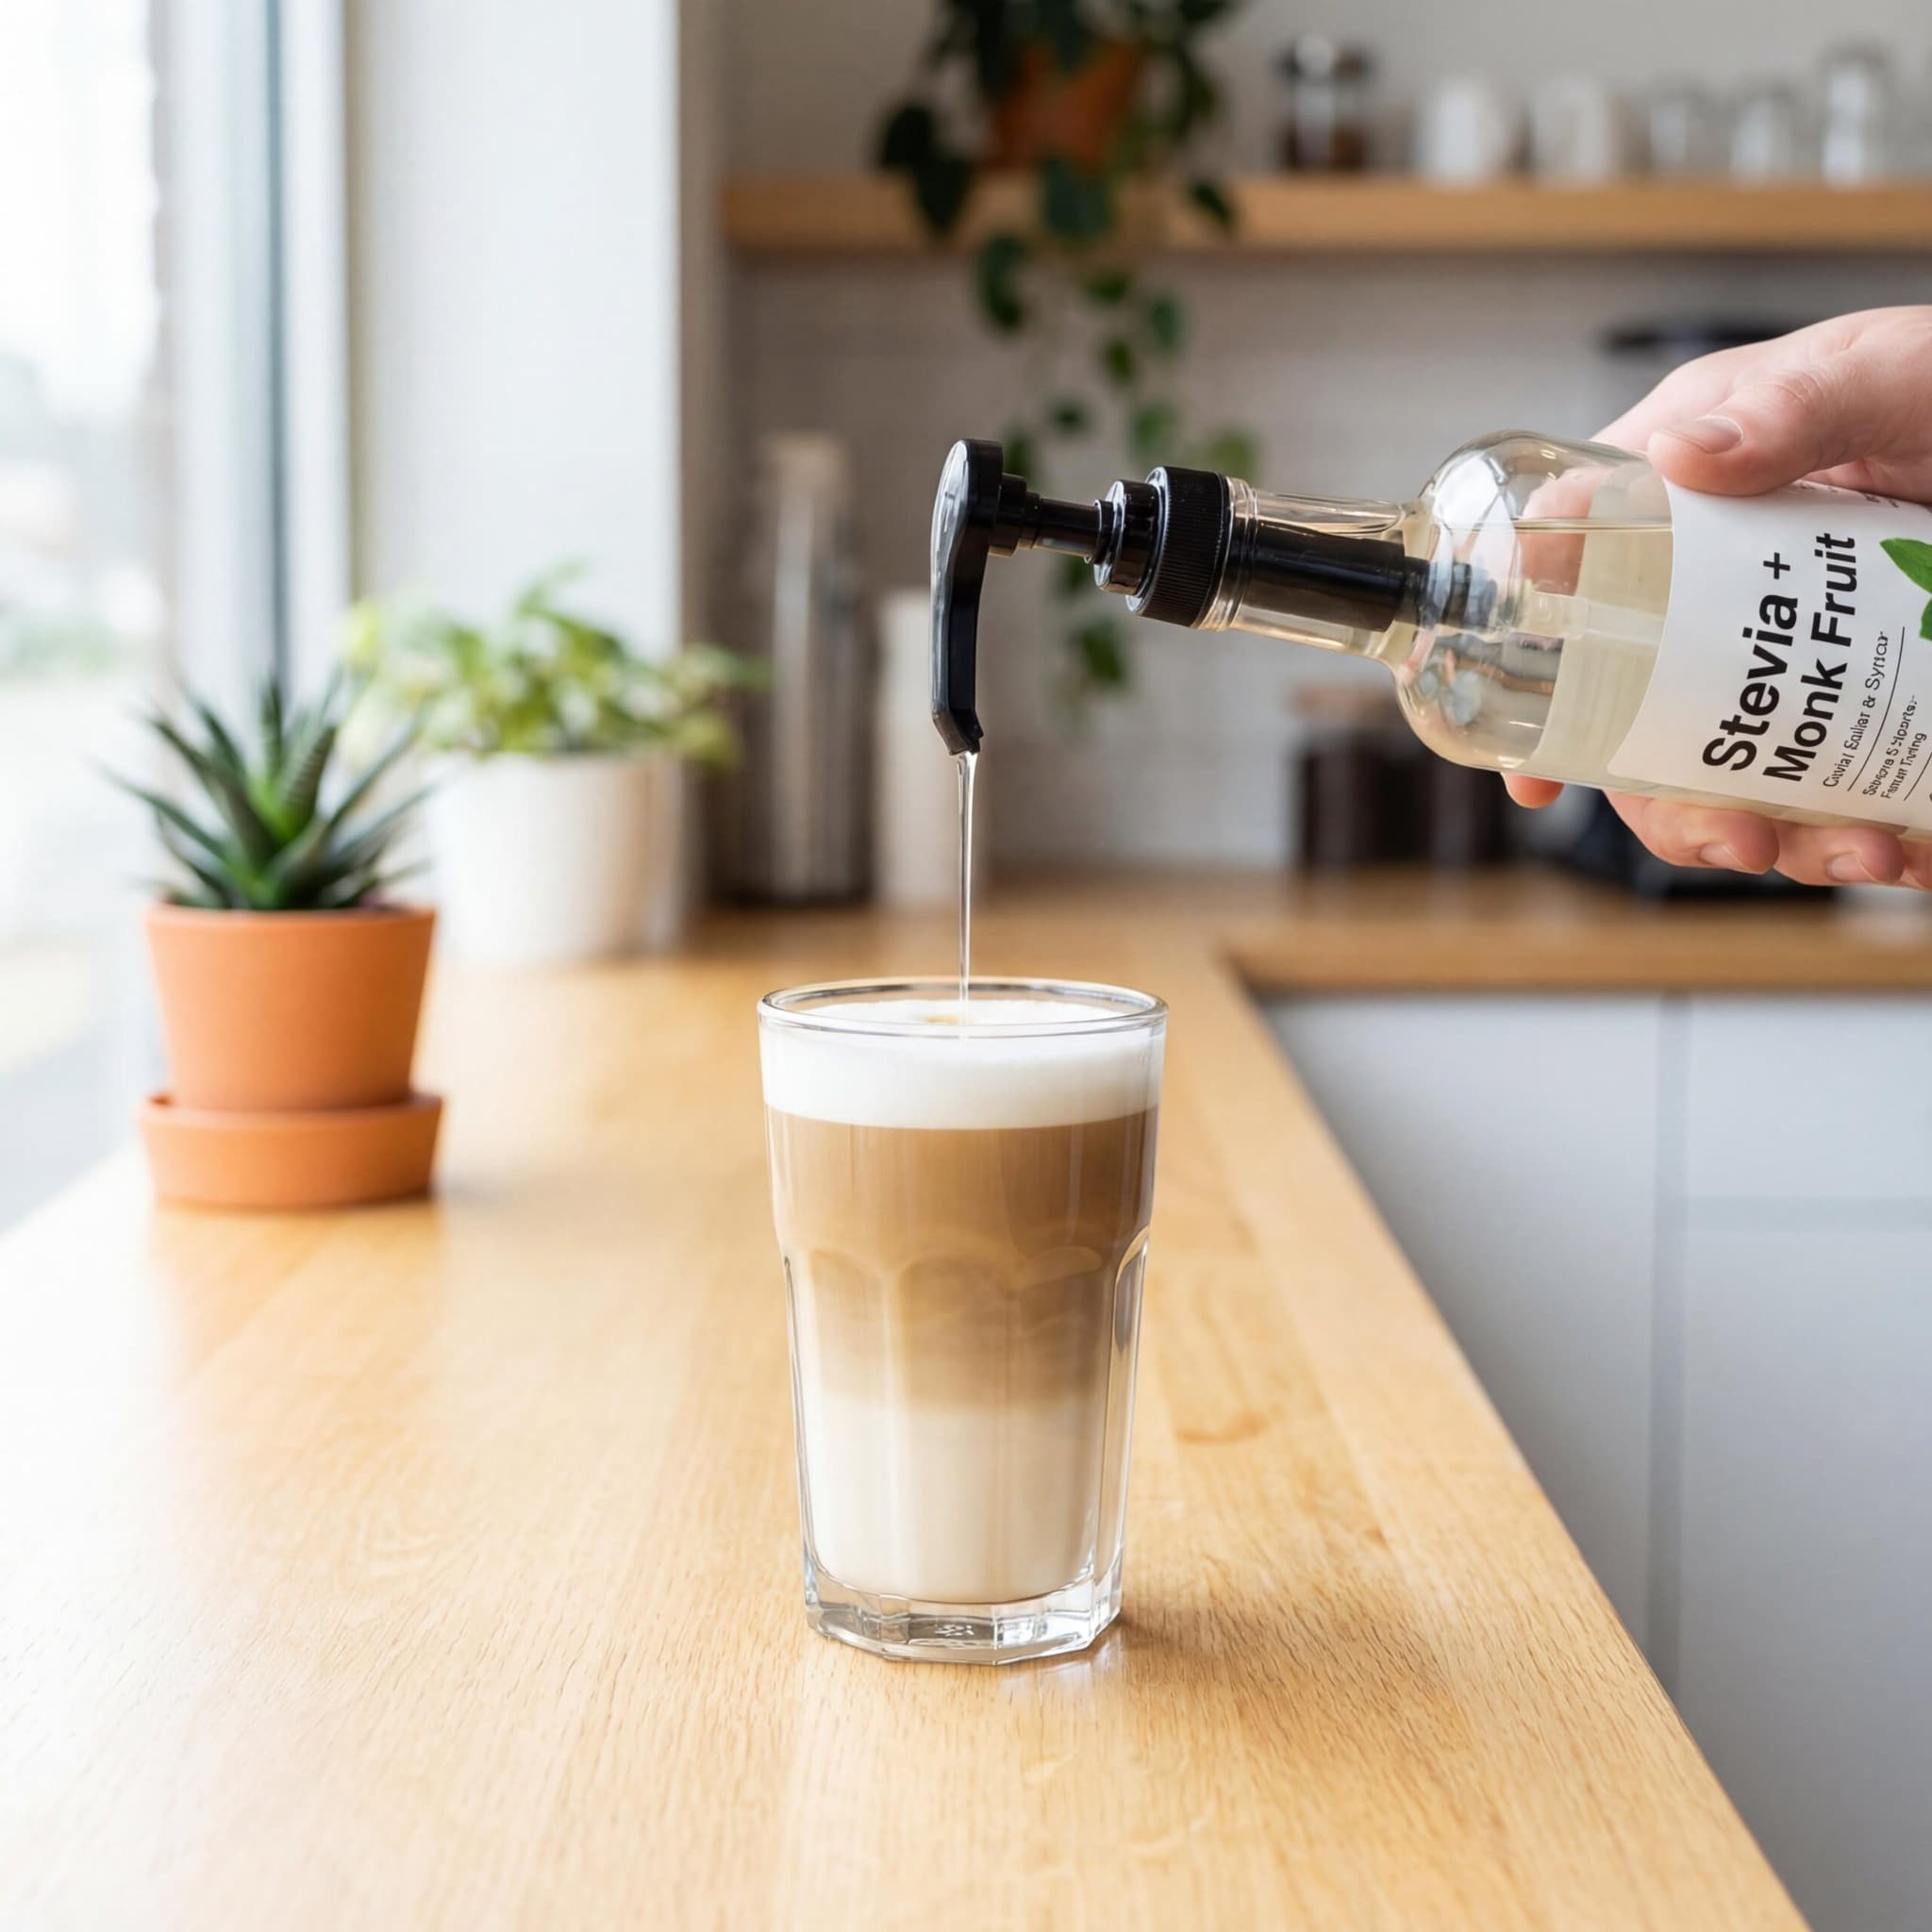
Problem: Can’t Create Patterns With Non-Dairy Milk
Plant milks behave differently. Oat milk tends to foam best among alternatives. Look for “barista edition” versions—they’re formulated to create better microfoam and usually cost only slightly more.
Frequently Asked Questions
Can I learn latte art without an espresso machine?
Absolutely. While espresso machines offer steam wands for perfect microfoam, a handheld frother or French press works well for beginners. Many people practice with strong brewed coffee or even instant coffee to focus purely on pouring technique.
How long does it take to learn basic latte art?
Most people can pour a recognizable heart within 2-4 weeks of daily practice. Mastering more complex designs like rosettas or tulips typically takes a few months. The key is consistency—even 10minutes a day adds up quickly.
What milk is best for latte art?
Whole milk produces the creamiest, most stable microfoam due to its fat content. For non-dairy options, oat milk (especially barista versions) tends to perform best. Skim milk can work but creates less creamy foam.
Why does my latte art disappear so quickly?
This usually means your microfoam isn’t integrated well, or the milk was too hot. Overheated milk breaks down and won’t hold designs. Aim for 140-150°F (60-65°C) maximum.
Do I need a special cup for latte art?
A wide, rounded cup with a smooth interior surface works best. The curved shape gives you space to create designs. Tall, narrow mugs make latte art much harder.
Final Thoughts and Your Next Steps
Learning to practice latte art at home with cheap tools is entirely achievable—and honestly, it’s one of the most rewarding coffee skills you can develop. Start with the basics: good microfoam, proper pouring height, and patient repetition. Don’t expect perfection on day one, but do expect gradual improvement if you stay consistent.
My recommendation? Commit to just five practice pours each morning for the next two weeks. Use the soap-and-water method to save on milk, then test your skills with the real thing on weekends. Before you know it, you’ll be impressing yourself—and anyone lucky enough to receive one of your handcrafted lattes. Life’s too short for boring coffee, so grab that pitcher and start pouring.


Comments