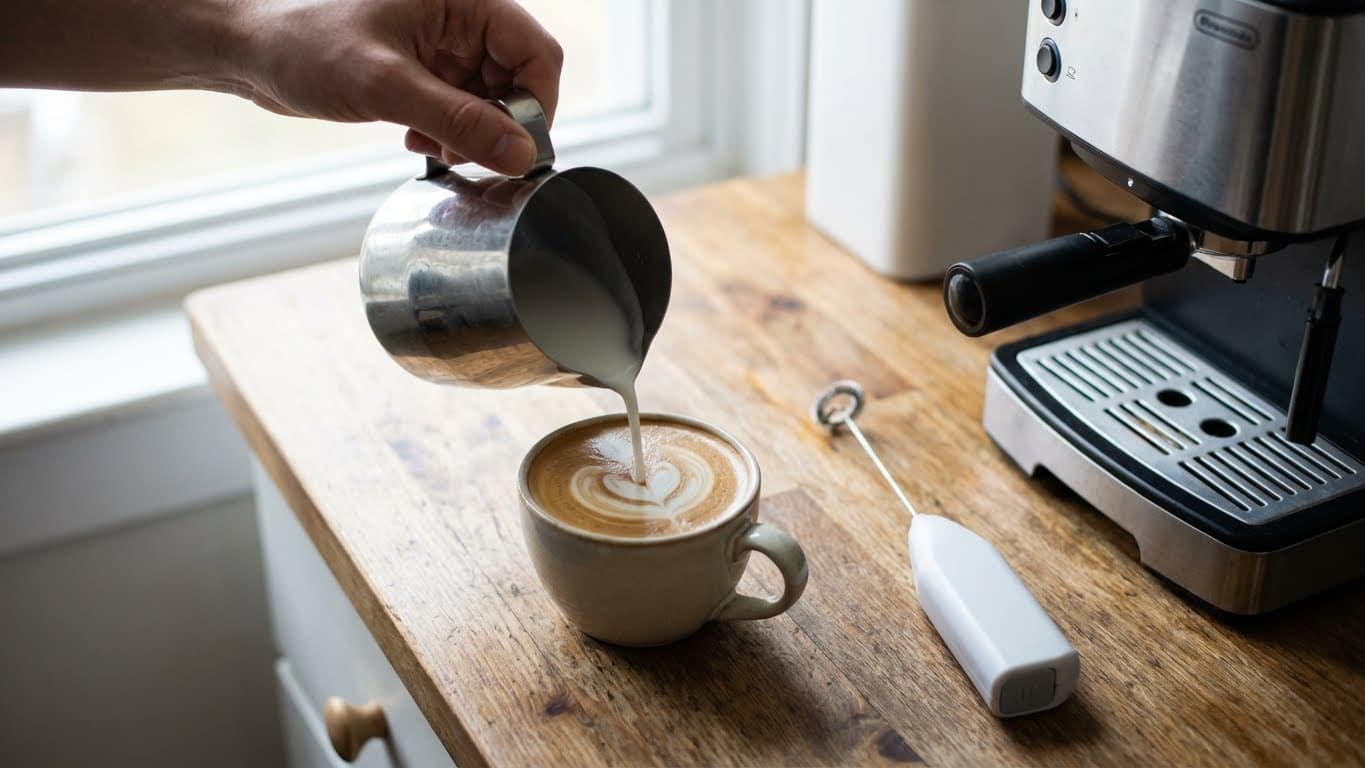
What if you’re craving a delicious pour-over coffee, but your kitchen scale is buried in a drawer somewhere—or you simply don’t own one? You’re not alone. Many home baristas assume that making great pour-over coffee requires precise gram measurements and fancy equipment. The truth? You can brew an excellent cup using nothing more than a simple spoon and a bit of know-how.
In this guide, I’ll walk you through exactly how to make pour-over coffee at home without a scale. You’ll learn the spoon-based measurements that work, the technique to nail your brew, and the adjustments to make if something tastes off. By the end, you’ll be brewing confidently—no digital display required.
What You’ll Need to Make Pour-Over Coffee Without a Scale
Gear
Pour-over dripper (Hario V60, Kalita Wave, Melitta, or any cone-style dripper)
Paper or reusable filter
Coffee mug or carafe
Kettle (gooseneck preferred, but any kettle works)
That’s genuinely all you need. No scale, no complicated gadgets. If you’ve got a spoon and a way to boil water, you’re ready to go.
The Spoon-to-Coffee Ratio: Your New Best Friend
Here’s the thing about scales—they’re accurate, but they’re not the only path to good coffee. Before kitchen scales became popular, people brewed amazing coffee for decades using simple volume measurements. The key is understanding the basic ratio and then adjusting to your taste.
The Standard Tablespoon Measurement
A level tablespoon of ground coffee weighs approximately 5-7 grams, depending on grind size and bean density. For pour-over coffee, I recommend starting with this simple formula:
2 level tablespoons of ground coffee per 6 ounces (180ml) of water
For a standard 12-ounce mug: use 4 level tablespoons
For a larger 16-ounce serving: use 5-6 level tablespoons
In short: think of it as roughly 1 tablespoon per 3 ounces of water. This gives you a solid starting point that works for most medium-roast coffees.
Quick Reference Table
Serving Size
Water Amount
Coffee (Tablespoons)
Small cup
6 oz (180ml)
2 level tbsp
Medium cup
10 oz (300ml)
3-4 level tbsp
Large cup
12 oz (355ml)
4 level tbsp
Extra large
16 oz (475ml)
5-6 level tbsp
Barista Tip: Always use level tablespoons, not heaping ones. A heaping tablespoon can contain nearly double the coffee, which throws off your entire brew. Scoop, then level with your finger or a knife.
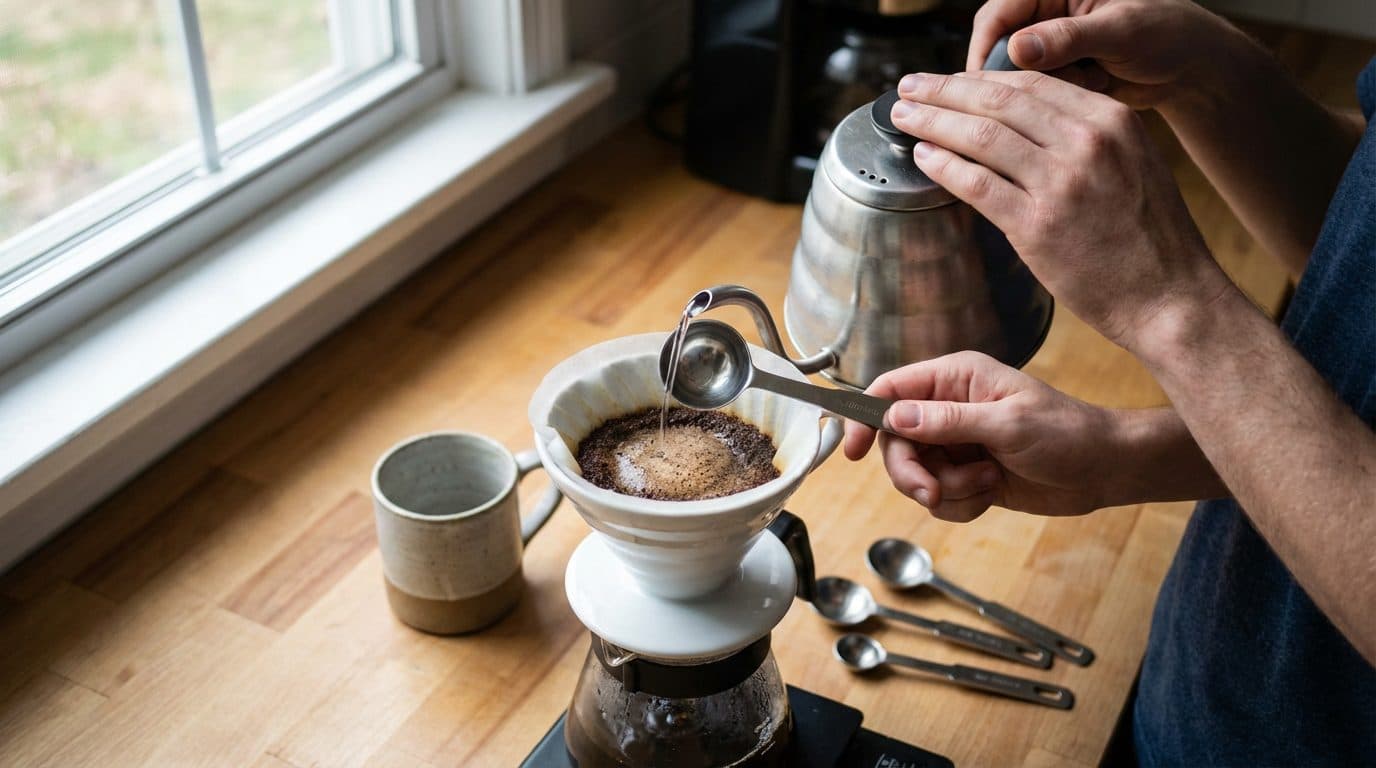
Step-by-Step: Brewing Pour-Over Coffee with Spoons
Now let’s get to the actual brewing process. I’ve refined this method over countless mornings when I just wanted good coffee without fussing over numbers. Here’s exactly what to do.
Preparation
Boil your water and let it sit for 30-45 seconds after boiling. You want it around 195-205°F (90-96°C). If you don’t have a thermometer, just wait until the aggressive bubbling stops.
Measure your coffee using the tablespoon guide above. For this example, let’s make a 12-ounce cup using 4 level tablespoons.
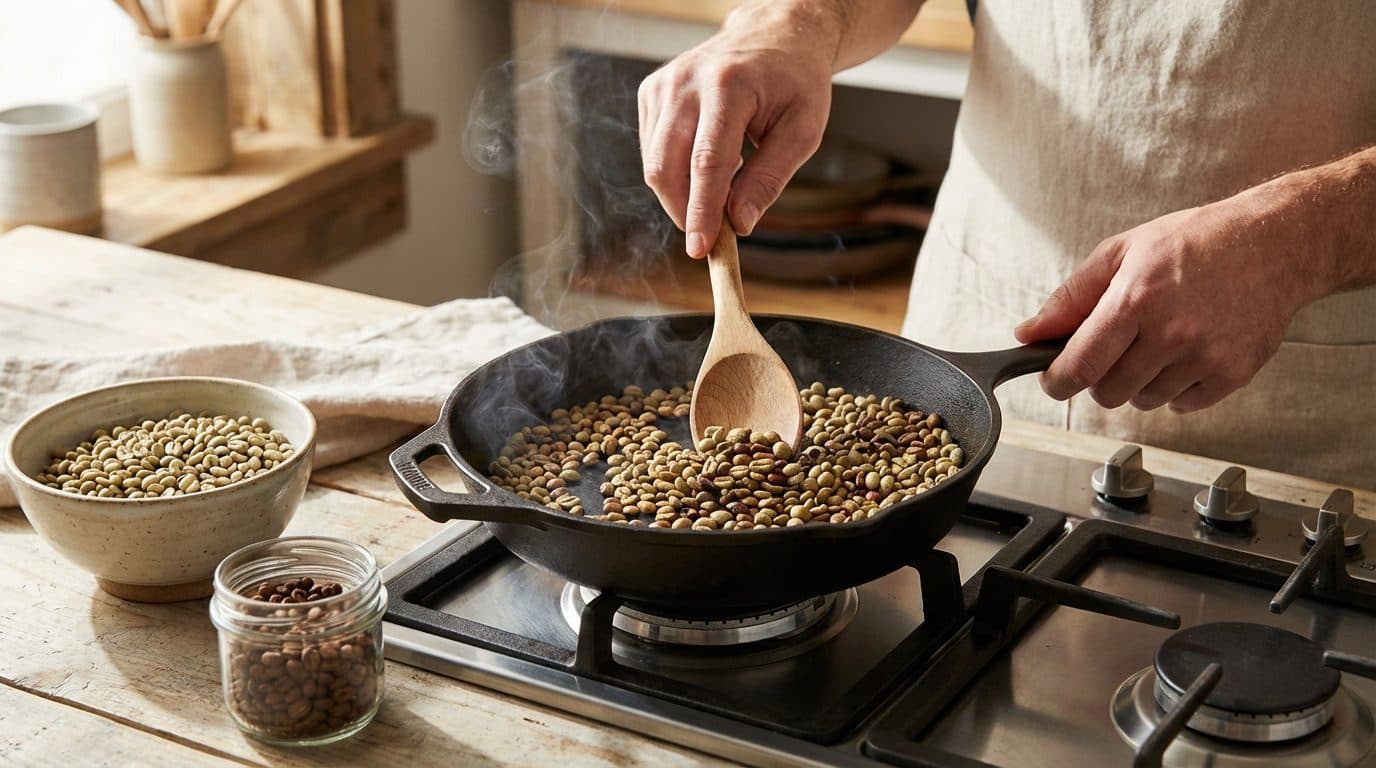
Grind your beans to a medium consistency—think table salt or slightly coarser. If using pre-ground, that’s fine too.
Place your filter in the dripper and rinse it with hot water. This removes any papery taste and preheats your mug. Dump the rinse water.
Add your ground coffee to the filter and give it a gentle shake to level the bed.
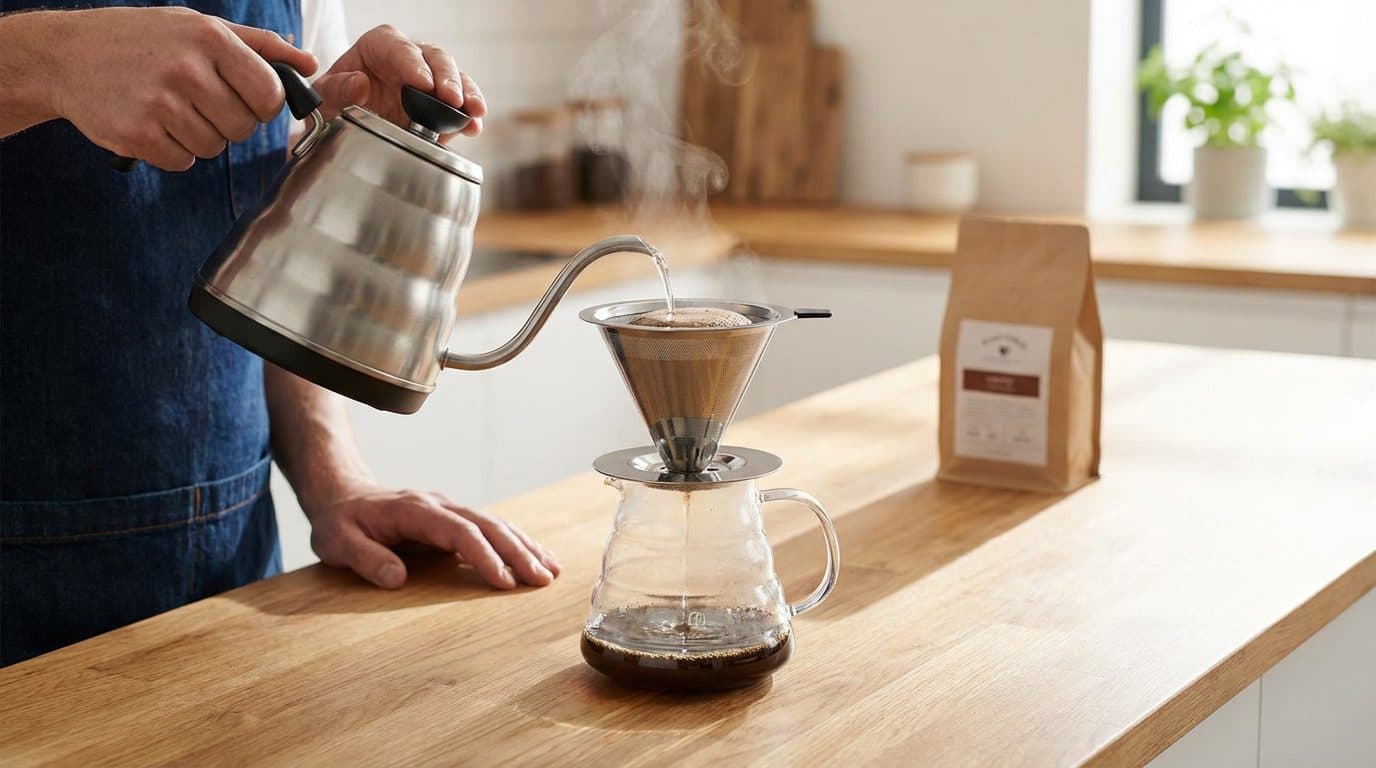
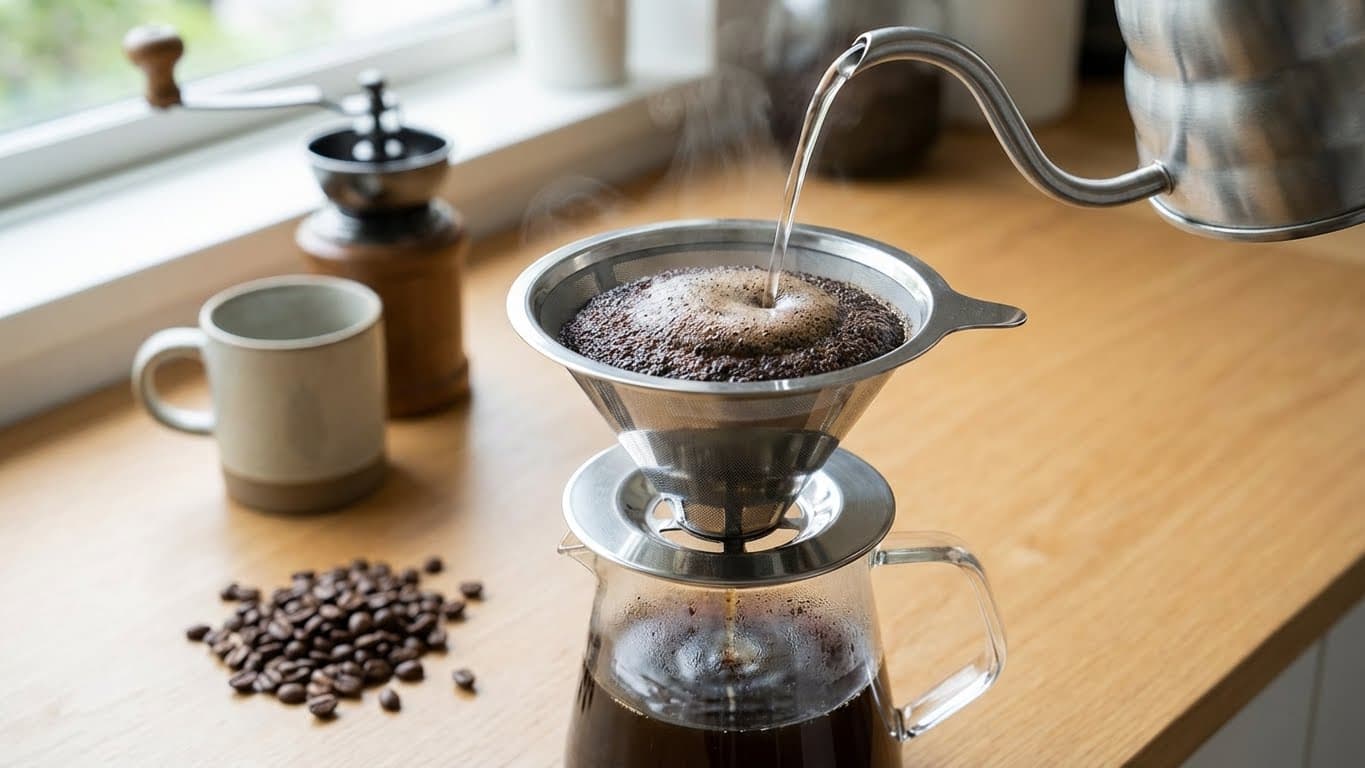
The Brewing Process
Start your timer and begin the bloom. Pour just enough water to saturate all the grounds—about twice the amount of coffee. For 4 tablespoons, pour roughly 2-3 tablespoons of water in a slow, circular motion.
Wait 30-45 seconds. You’ll see the coffee puff up and release gases. This is the bloom, and it’s essential for even extraction.
Begin your main pour. Slowly add water in concentric circles, starting from the center and moving outward. Avoid pouring directly on the filter edges.
Pour in stages. Add water in 3-4 increments rather than all at once. Pour, let it drain halfway, then pour again. This keeps the water level consistent.
Finish when your mug is full or you’ve used all your intended water. Total brew time should be around 2:30 to 4:00 minutes.
Remove your dripper, give your coffee a gentle swirl, and let it cool for a minute. Then enjoy.
Taste Profile: When done correctly, this method produces a clean, bright cup with good clarity. Expect to taste the unique characteristics of your beans—floral notes in Ethiopian coffees, chocolate in Brazilian, citrus in Kenyan.
Troubleshooting: When Your Coffee Doesn’t Taste Right
Even without a scale, you can diagnose and fix brewing problems. In my experience, most issues come down to three things: the amount of coffee, the grind size, or the water temperature. Here’s how to adjust.
If Your Coffee Tastes Weak or Watery
Add an extra half-tablespoon of coffee next time
Make your grind slightly finer (this increases extraction)
Slow down your pour to increase contact time
Weak coffee usually means under-extraction. You’re either using too little coffee or the water is passing through too quickly.
If Your Coffee Tastes Bitter or Harsh
Reduce your coffee by half a tablespoon
Use a coarser grind
Make sure your water isn’t too hot—let it cool longer after boiling
Bitter coffee typically means over-extraction. The water spent too long pulling compounds from the grounds, including the unpleasant ones.
If Your Coffee Tastes Sour or Acidic
Grind finer to slow down the flow
Make sure your water is hot enough
Extend your bloom time to 45 seconds
Sourness signals under-extraction, often from water that’s too cool or a grind that’s too coarse.
Key Takeaway: Your taste buds are actually more reliable than a scale. If something’s off, make one adjustment at a time and taste the difference. After a few brews, you’ll develop an intuition for what works.
Why Spoon Measurements Actually Work
I’ve found that many home baristas overcomplicate pour-over coffee. Yes, specialty coffee shops use scales for consistency across hundreds of daily brews. But at home, where you’re making one or two cups for yourself, precision down to the gram matters far less than understanding the process.
The Case for Simplicity
Think about how your grandparents made coffee. No scales, no apps, no stress—and they still enjoyed it every morning. Volume measurements have worked for generations because coffee brewing is more forgiving than the internet suggests. The difference between 29 grams and 31 grams of coffee? Most people can’t taste it.
What matters more is consistency. If you use 4 level tablespoons every morning with roughly the same amount of water, you’ll produce remarkably consistent results. Your brain and hands will learn the rhythm.
When You Might Want a Scale
To be fair, scales do offer advantages in certain situations:
When dialing in a brand-new bag of specialty beans
When you want to replicate a café-quality cup exactly
When experimenting with unusual brewing ratios
But for everyday brewing? Spoons work beautifully. Life is too short for bad coffee, but it’s also too short to stress over decimal points before your first sip.
Extra Tips for Better Spoon-Measured Pour-Over
After years of brewing without a scale on lazy weekend mornings, I’ve picked up a few tricks that make a real difference.
Use the same mug. Once you know how many tablespoons fill your favorite mug perfectly, you’ll never have to think about measurements again.
Mark your kettle. Many kettles have measurement lines inside. Use them to track roughly how much water you’re adding.
Invest in a coffee scoop. A standard coffee scoop equals about 2 tablespoons. One scoop per small cup simplifies things even further.
Grind fresh when possible. Pre-ground coffee loses flavor quickly. Even a budget hand grinder makes a noticeable difference.
Use filtered water. Tap water with heavy chlorine or mineral content affects taste. A simple pitcher filter helps.
Barista Tip: Keep a small notebook by your coffee station. Jot down what worked and what didn’t. “4 tbsp + coarser grind = perfect” takes ten seconds to write and saves you from repeating mistakes.
Frequently Asked Questions
Can I really make good pour-over coffee without a scale?
Absolutely. Scales are helpful for precision, but volume measurements have worked for decades. As long as you’re consistent with your tablespoon measurements and adjust based on taste, you can brew excellent pour-over coffee at home without ever weighing anything.
How many tablespoons of coffee per cup is ideal?
For pour-over coffee, start with 2 level tablespoons per 6 ounces of water. Adjust up if you prefer stronger coffee or down if you like it lighter. This ratio works well for most medium-roast beans.
Does grind size matter more than measurement?
Both matter, but grind size often has a bigger impact on flavor. Even with perfect measurements, an overly fine grind produces bitter coffee, while too coarse a grind tastes weak. Aim for a medium grind similar to table salt for pour-over.
What if I only have a teaspoon?
One tablespoon equals three teaspoons. So instead of 2 tablespoons per 6 ounces, use 6 teaspoons. It’s a bit more scooping, but it works just as well.
How do I measure water without a scale?
Use your mug as a guide. Fill it with water first, then pour that water into your kettle. You’ll know exactly how much you need to boil. Alternatively, most mugs hold between 10-14 ounces—check the bottom for markings.
Conclusion: Start Brewing and Trust Your Taste
Making pour-over coffee at home without a scale isn’t a compromise—it’s simply a different approach. With a reliable spoon measurement, a bit of practice, and attention to how your coffee tastes, you can brew cups that rival anything a scale would produce.
Start with 2 level tablespoons per 6 ounces of water, master your technique, and adjust from there. Your palate will guide you better than any number on a digital display. The best part? You’ll spend less time measuring and more time actually enjoying your coffee.
So grab your favorite spoon, heat some water, and brew your next cup with confidence. Great pour-over coffee is waiting for you—no scale required.


Comments