


Table of Contents
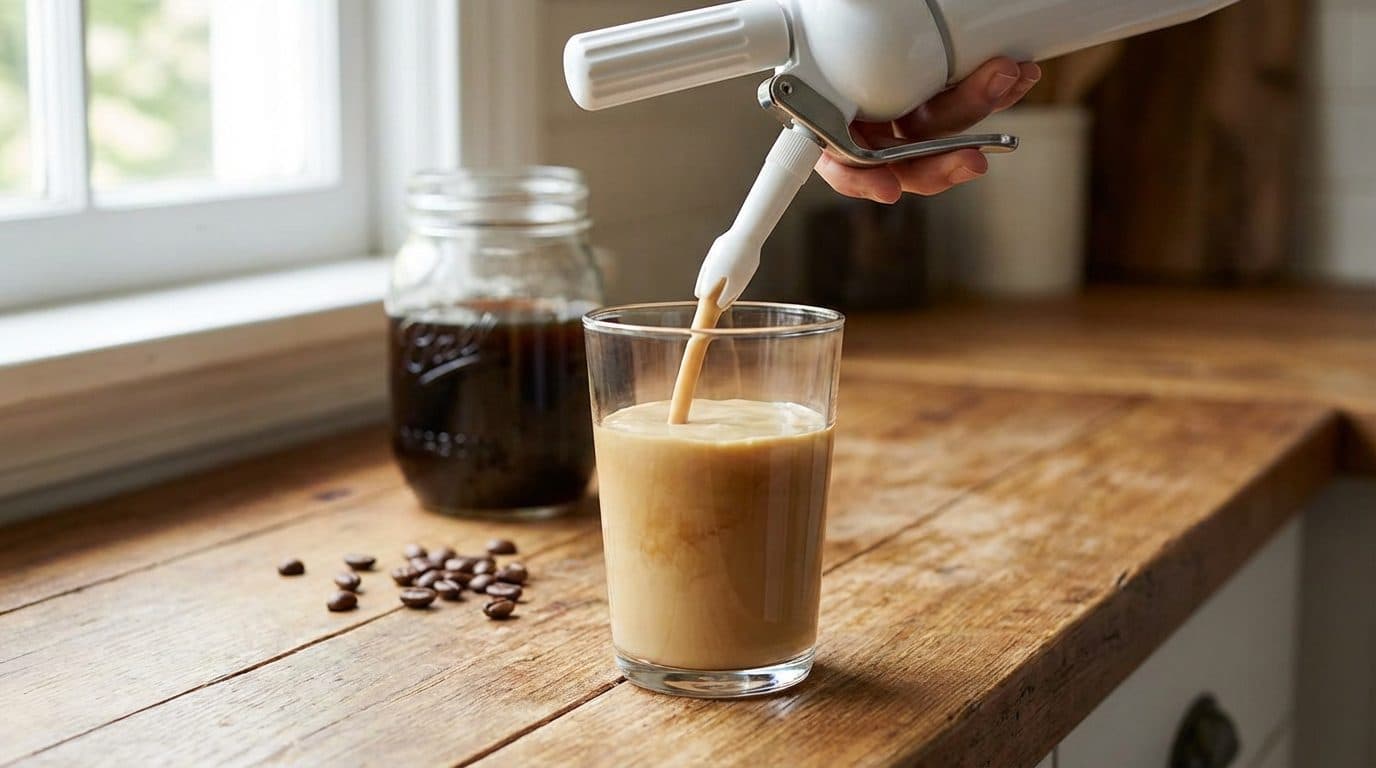
Start with 100g of coarsely ground coffee, 700ml of filtered water, and a simple whipped cream dispenser—that’s the entire setup for making nitro-style cold brew at home without expensive gear. The cascading effect, creamy mouthfeel, and velvety head that you’d pay $6 for at a café? Completely achievable in your kitchen for a fraction of the cost.
The secret isn’t nitrogen tanks or commercial kegerators. It’s understanding what nitrogen actually does to coffee and replicating that effect with tools you might already own (or can grab for under $40).
What Makes Nitro Cold Brew Different
Regular cold brew is smooth and low-acid. Nitro cold brew takes that base and infuses it with tiny nitrogen bubbles, which changes everything about the drinking experience.
Nitrogen bubbles are smaller than carbon dioxide bubbles (think Guinness versus sparkling water). These micro-bubbles create:
- A creamy texture without any dairy—the mouthfeel mimics whole milk
- Natural sweetness perception—nitrogen doesn’t add sugar, but the texture tricks your palate
- That signature cascade—the visual waterfall effect as bubbles settle
- A foamy head that lasts 2-3 minutes before dissipating
Here’s a counter-intuitive insight: nitrogen doesn’t actually change the flavor compounds in your coffee. It changes how those compounds reach your taste buds. The smaller bubbles coat your tongue differently, suppressing bitter notes and amplifying sweetness.
The Budget-Friendly Gear List
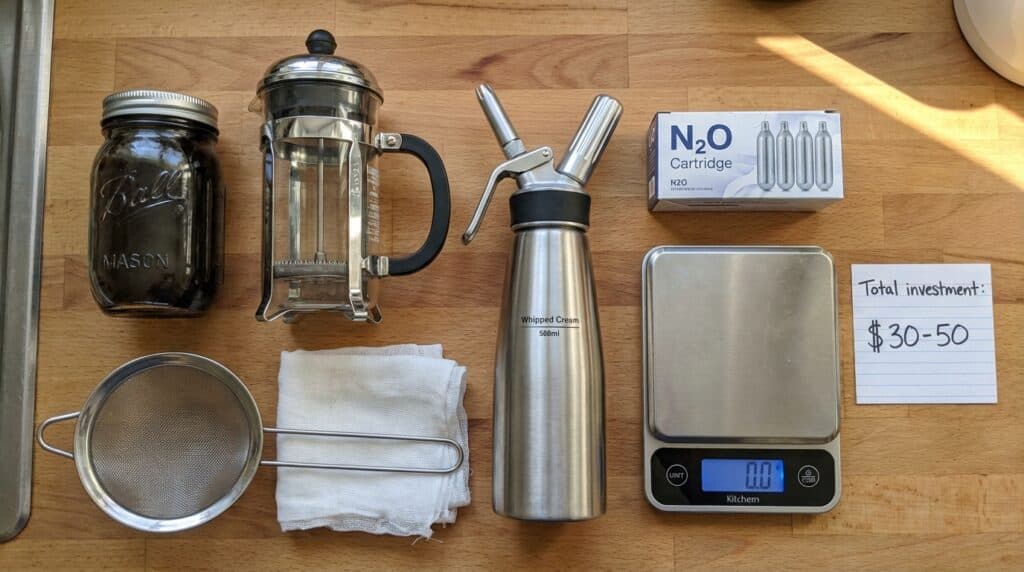
Forget nitrogen tanks and draft systems. Here’s what actually works:
- Whipped cream dispenser (500ml or 1L)—the real MVP, uses N2O cartridges
- N2O cartridges—standard whipped cream chargers, about $0.50-0.80 each
- Mason jar or French press—for brewing the cold brew base
- Fine mesh strainer or cheesecloth—for filtering
- Kitchen scale—precision matters for consistency
Total investment: $30-50 for the dispenser plus ongoing cartridge costs. Compare that to $200+ for entry-level nitrogen draft systems.
Important note: Whipped cream dispensers use nitrous oxide (N2O), not pure nitrogen (N2). The result is nearly identical for home purposes—you get the cascade, the head, and the creamy texture. Purists will note a subtle difference, but most home baristas can’t tell them apart in blind tastings.
Making the Cold Brew Base
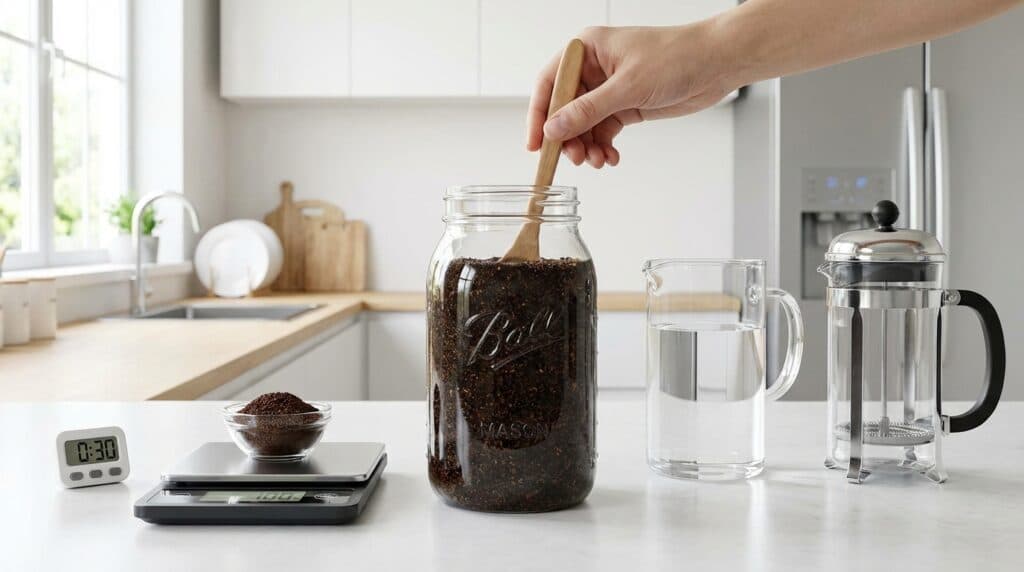
Nitro amplifies whatever’s in your cold brew. A mediocre base becomes a mediocre nitro. Start here:
Ingredients:
- 100g coarsely ground coffee (think sea salt texture, not fine sand)
- 700ml filtered water at room temperature
- Brewing vessel (mason jar, French press, or pitcher)
Method:
- Combine coffee and water in your vessel. Stir gently for 30 seconds to ensure all grounds are saturated.
- Cover and refrigerate for 16-20 hours. Shorter = brighter and more acidic. Longer = heavier body but potential bitterness.
- Strain through a fine mesh strainer first to catch large particles.
- Filter again through cheesecloth or a paper filter for a cleaner cup.
- Store the concentrate in a sealed container. It keeps for 10-14 days refrigerated.
This ratio produces a concentrate. For drinking straight, dilute 1:1 with water or milk. For nitro, you’ll use it at full strength or slightly diluted (more on that below).
Barista Tip: Grind coarser than you think—if your cold brew tastes bitter or astringent, the grind was too fine. Aim for particles visible to the naked eye, roughly the size of raw sugar crystals.
Bean Selection for Nitro
Medium to dark roasts work best. The nitrogen infusion softens bright, fruity notes, so light roasts can taste flat. Look for beans with chocolate, caramel, or nutty tasting notes—these shine through the creamy texture.
Single origins from Brazil, Colombia, or Sumatra tend to perform well. Avoid anything described as “bright” or “citrusy” unless you enjoy muted acidity.
The Nitrogenation Process
This is where the magic happens. Cold brew goes in, nitro comes out.
- Chill everything. Your cold brew, the dispenser, even the glass. Nitrogen dissolves better in cold liquid. Target 2-4°C (35-39°F).
- Fill the dispenser no more than 2/3 full. You need headspace for the gas to pressurize.
- Charge with one N2O cartridge. Screw it on until you hear the gas release into the canister.
- Shake vigorously for 30 seconds. This dissolves the gas into the liquid.
- Let it rest for 30-60 seconds, dispenser upright.
- Dispense into a clear glass held at a 45° angle, then straighten as it fills (like pouring a beer).
You should see the cascade immediately—a waterfall of micro-bubbles rushing downward, then settling into a creamy tan head.
Troubleshooting Common Issues
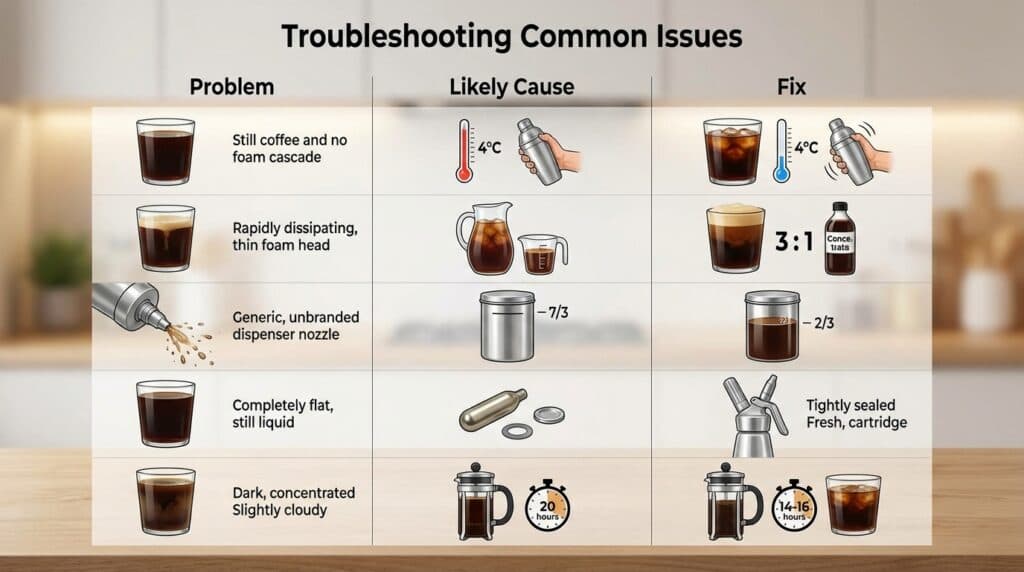
| Problem | Likely Cause | Fix |
|---|---|---|
| No cascade effect | Coffee too warm or not enough shaking | Chill to below 4°C; shake for full 30 seconds |
| Head disappears instantly | Cold brew too diluted | Use concentrate at full strength or 3:1 ratio |
| Sputtering dispenser | Overfilled canister | Never exceed 2/3 capacity |
| Flat, lifeless texture | Cartridge didn’t fully discharge | Ensure tight seal; try a fresh cartridge |
| Bitter taste | Over-extracted cold brew base | Reduce steep time to 14-16 hours |
Taste Profile: What to Expect
Done right, your homemade nitro cold brew should pour with a visible cascade lasting 15-20 seconds. The head will be dense and creamy, about 1cm thick, with a tan color similar to a stout beer.
On the palate, expect a silky, almost velvety mouthfeel that coats your tongue. The coffee’s natural sweetness becomes more pronounced—many people find they don’t need any added sugar. Body is full but not heavy, with a clean finish that doesn’t linger with bitterness. Aroma-wise, you’ll notice more chocolate and caramel notes rising through the foam.
Myth vs. Reality
- Myth: You need pure nitrogen gas for real nitro coffee.
Reality: N2O cartridges produce nearly identical results at home. Commercial operations use nitrogen for cost efficiency at scale, not superior taste. - Myth: Nitro cold brew has more caffeine.
Reality: Caffeine content depends entirely on your cold brew base. Nitrogen infusion doesn’t add or remove caffeine. - Myth: The effect only lasts a few seconds.
Reality: A properly made nitro will maintain its creamy texture for 5-10 minutes. The visual cascade fades, but the mouthfeel persists.
Frequently Asked Questions
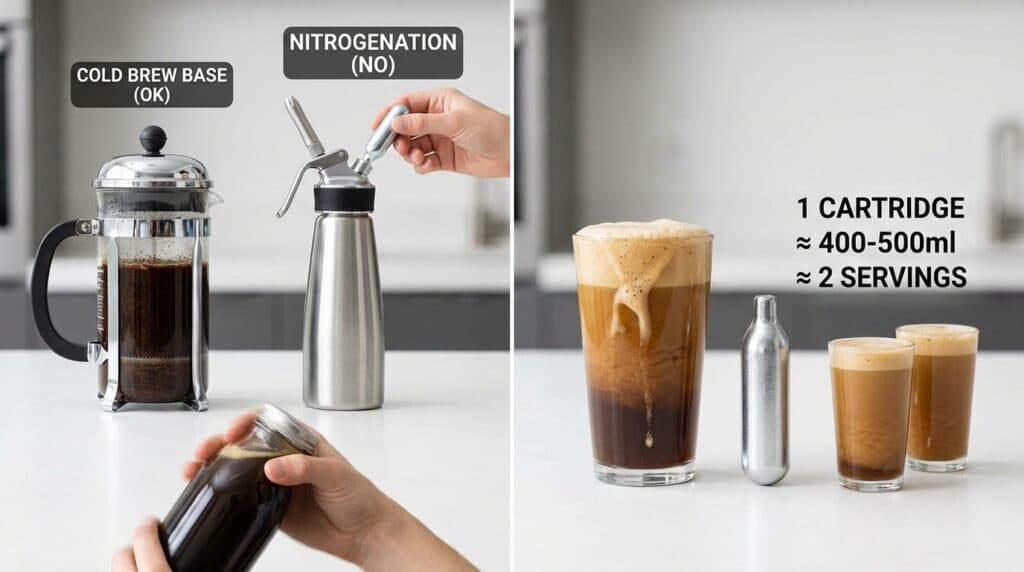
Can I use a French press instead of a whipped cream dispenser?
For brewing the cold brew base, yes. For nitrogenation, no—you need a pressurized vessel to dissolve the gas into the liquid. Some people try vigorous shaking in a sealed bottle, but results are inconsistent and short-lived.
How many servings does one cartridge make?
One N2O cartridge properly nitrogenates about 400-500ml of cold brew. For a 500ml dispenser filled to 2/3 capacity, that’s roughly two 150ml servings per charge.
Does nitro cold brew go flat if I don’t drink it immediately?
The nitrogen begins escaping once dispensed. For best results, drink within 10-15 minutes. You can re-charge leftover cold brew in the dispenser, but the base itself (un-nitrogenated) keeps for up to two weeks refrigerated.
Is this safe?
Yes, when using equipment as intended. Never overfill the dispenser, always use food-grade N2O cartridges, and follow manufacturer instructions. The pressure involved is the same as making whipped cream.
Key Takeaways
- A whipped cream dispenser with N2O cartridges replicates café-style nitro for under $50 in equipment
- Cold brew base should be concentrated (1:7 coffee-to-water ratio) and steeped 16-20 hours
- Temperature is critical—chill everything below 4°C for proper nitrogen dissolution
- Shake the charged dispenser for a full 30 seconds; shortcuts produce flat results
- Medium-dark roasts with chocolate or caramel notes work best for nitro
Tomorrow morning, skip the café line. Grab that cold brew concentrate from your fridge, charge it up, and pour yourself a cascading glass of nitro. Once you nail the technique, you’ll wonder why you ever paid $6 for something this simple to make at home.



Comments