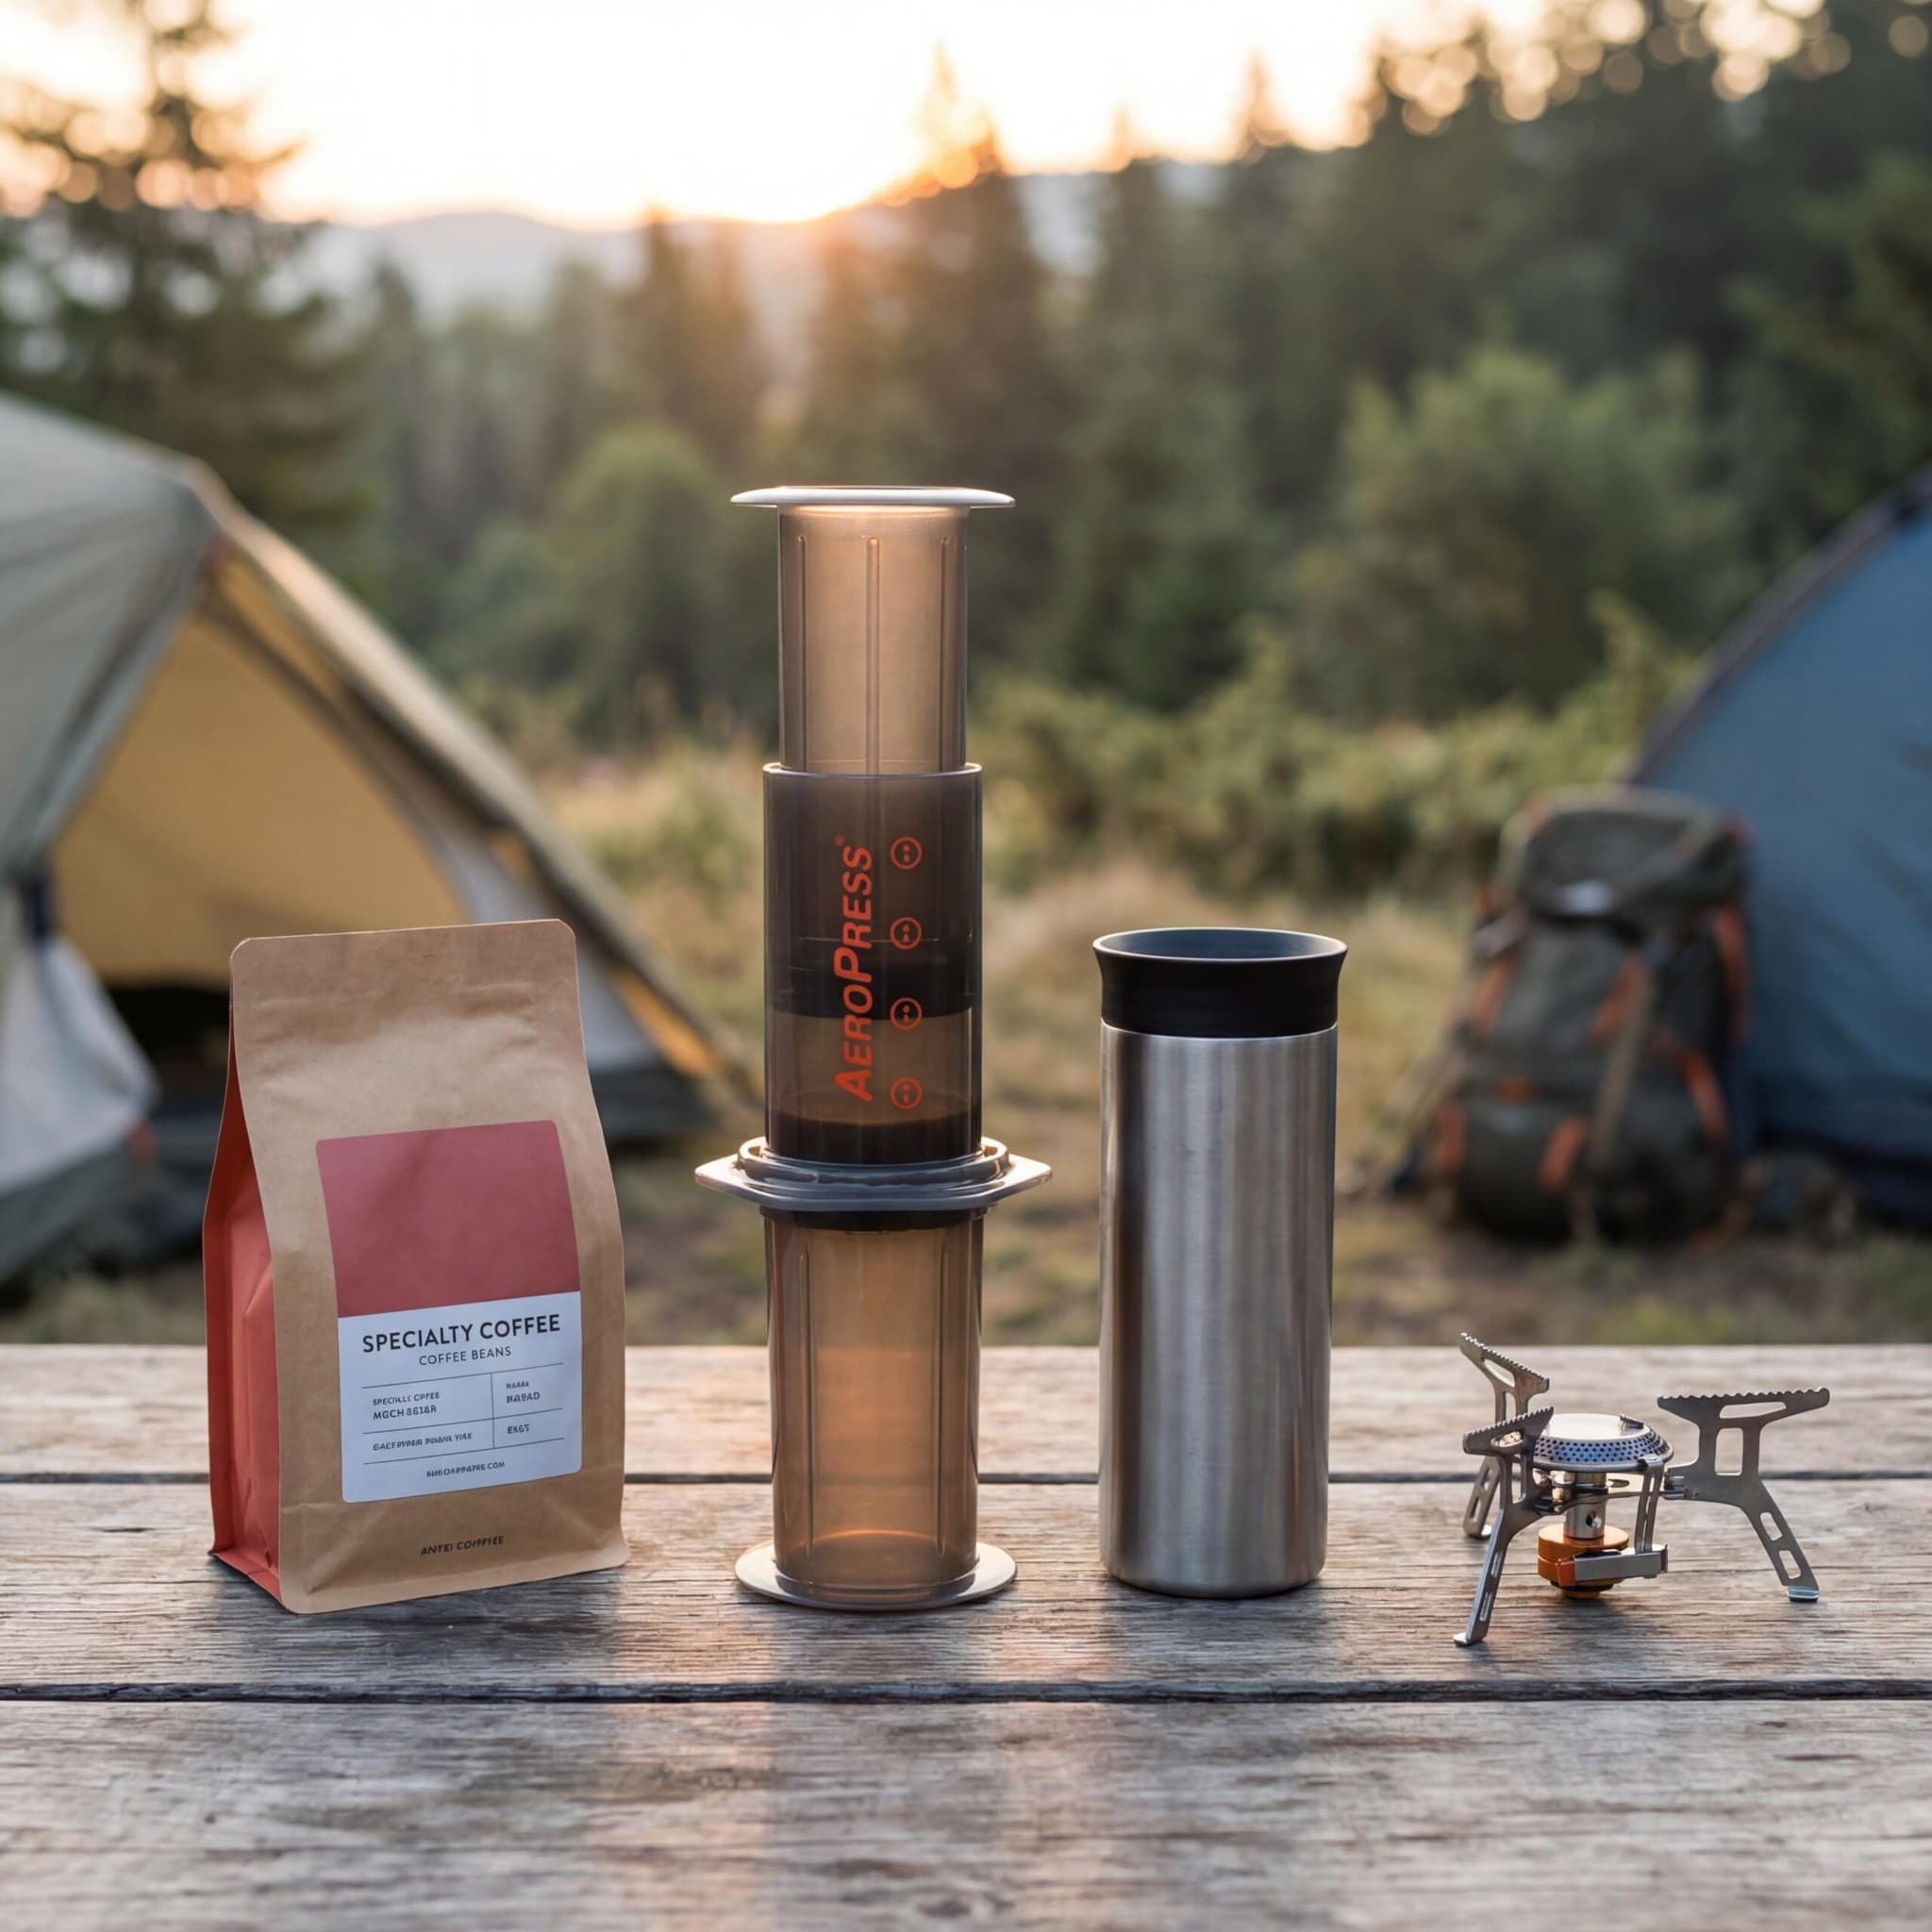
There’s something special about waking up in the middle of nature and enjoying a freshly brewed cup of coffee. But if you’ve ever tried making decent coffee while camping, you know it can be a challenge. Instant coffee often disappoints, and bulky brewing equipment just isn’t practical. That’s where the AeroPress comes in—a compact, lightweight, and nearly indestructible coffee maker that’s perfect for travel and camping adventures.
In this guide, you’ll learn exactly how to brew coffee with an AeroPress on the go, what gear you need, and some tips to get the best results even in the most remote locations.
Why the AeroPress Is Ideal for Travel and Camping
The AeroPress was designed with portability in mind. It weighs just over 200 grams, fits easily into a backpack, and is made from durable BPA-free plastic that can handle rough treatment. Unlike glass pour-over devices or fragile French presses, you don’t have to worry about it breaking during your trip.
Beyond durability, the AeroPress is incredibly versatile. You can brew a single cup in under two minutes, and cleanup takes just a few seconds—simply pop out the used coffee puck and give it a quick rinse. When water is limited at a campsite, this efficiency matters.
Lightweight and compact design
No electricity required
Fast brewing time (1-2 minutes)
Easy cleanup with minimal water
Produces smooth, rich coffee without bitterness
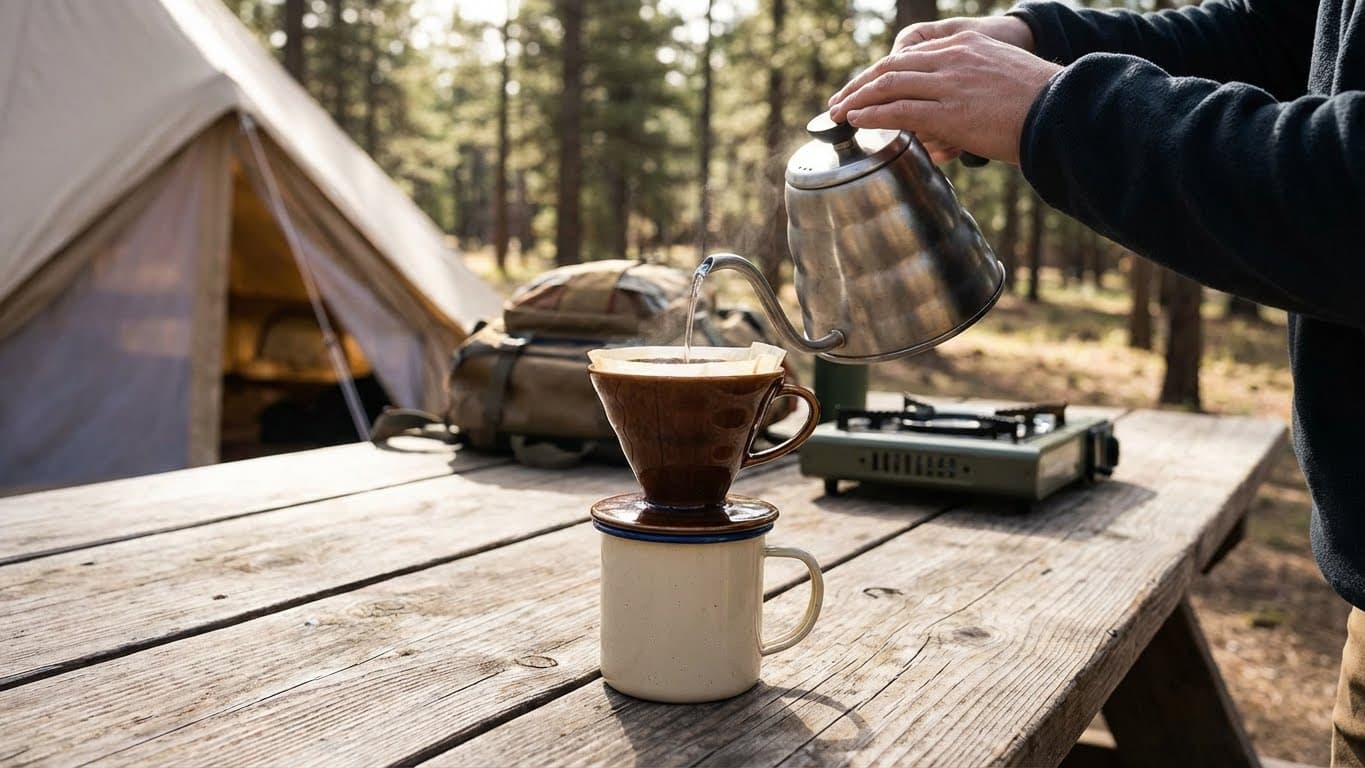
Imagine you’re at a mountain campsite with just a small camp stove. Within minutes of boiling water, you can have a café-quality cup ready. That’s the kind of convenience the AeroPress offers.
Essential Gear for Brewing AeroPress Coffee Outdoors
Before you head out, make sure you have everything you need. Forgetting a single item can mean settling for subpar coffee—or no coffee at all.
The Basic Kit
Your core setup includes the AeroPress itself (chamber, plunger, filter cap, and filters), a sturdy mug, a way to heat water, and of course, coffee. Many outdoor enthusiasts prefer the AeroPress Go, which comes with its own travel mug and carrying case.
Optional but Helpful Additions
Hand grinder: Freshly ground beans make a noticeable difference. Compact hand grinders like the Porlex or JavaPresse are popular choices.
Reusable metal filter: Eliminates the need to pack paper filters and produces a slightly fuller-bodied cup.
Small scale: If you’re serious about consistency, a pocket scale helps you measure coffee and water accurately.
Insulated mug: Keeps your coffee hot longer in cold weather.
For a weekend camping trip, you might bring pre-ground coffee to save space. For longer adventures, a hand grinder and whole beans will give you fresher results.
Step-by-Step Guide to Brewing Coffee With an AeroPress
Now let’s get into the actual brewing process. The standard method works great outdoors, but you can also try the inverted method for a slightly different flavor profile.
The Standard Method
This is the simplest approach and works well for beginners.
Boil water and let it cool for about 30 seconds (aim for around 80-85°C or 175-185°F).
Place a paper filter in the filter cap and rinse it with a little hot water to remove any papery taste.
Attach the filter cap to the AeroPress chamber and set it on top of your mug.
Add 15-18 grams of medium-fine ground coffee (about one rounded AeroPress scoop).
Pour hot water up to the number 2 or 3 mark on the chamber.
Stir gently for about 10 seconds.
Insert the plunger and press down slowly and steadily for 20-30 seconds.
You’ll hear a hissing sound when you’re done—that means all the water has been pushed through. Remove the AeroPress, pop out the coffee puck, and enjoy.
The Inverted Method
Some coffee lovers prefer this technique because it allows for a longer steep time without any dripping.
Assemble the AeroPress upside down with the plunger inserted about 1 cm into the chamber.
Add your ground coffee.
Pour hot water and stir.
Let it steep for 1-2 minutes.
Attach the filter cap (with a rinsed filter), flip the whole thing onto your mug, and press.
The inverted method requires a bit more coordination, especially on uneven ground. Practice at home before trying it at a campsite to avoid spills.
Tips for Better AeroPress Coffee While Camping
Brewing outdoors comes with unique challenges. Here are some practical tips to help you get the best cup possible.
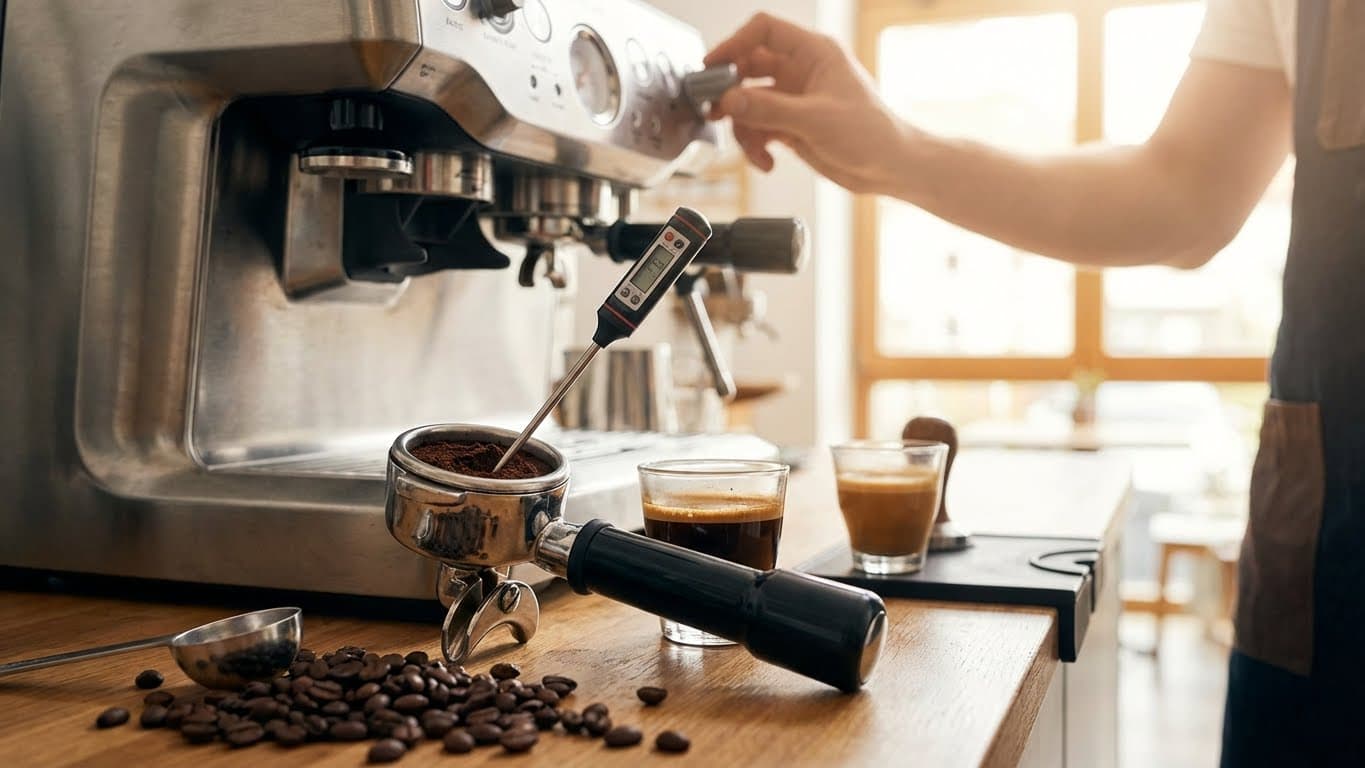
Water Temperature Matters
If you don’t have a thermometer, a good rule of thumb is to let boiling water sit for 30-60 seconds before pouring. Water that’s too hot can over-extract the coffee and make it bitter. In cold weather, your water will cool faster, so adjust accordingly.
Grind Size Adjustments
A medium-fine grind works best for most AeroPress recipes. If your coffee tastes sour or weak, try grinding finer. If it’s bitter or harsh, go coarser. When using a hand grinder at camp, consistency can vary, so taste and adjust as needed.
Pre-Measure Your Coffee
To simplify your morning routine, measure out individual portions of coffee at home and store them in small bags or containers. This saves time and ensures you don’t run out mid-trip.
Protect Your Gear
Store your AeroPress in a dry bag or its travel case to keep it clean and dry. If you’re using paper filters, keep them in a waterproof container so they don’t get damp.
One common mistake is forgetting to bring enough filters. A reusable metal filter solves this problem entirely and is worth the small investment.
Frequently Asked Questions
Can I use any type of coffee with an AeroPress?
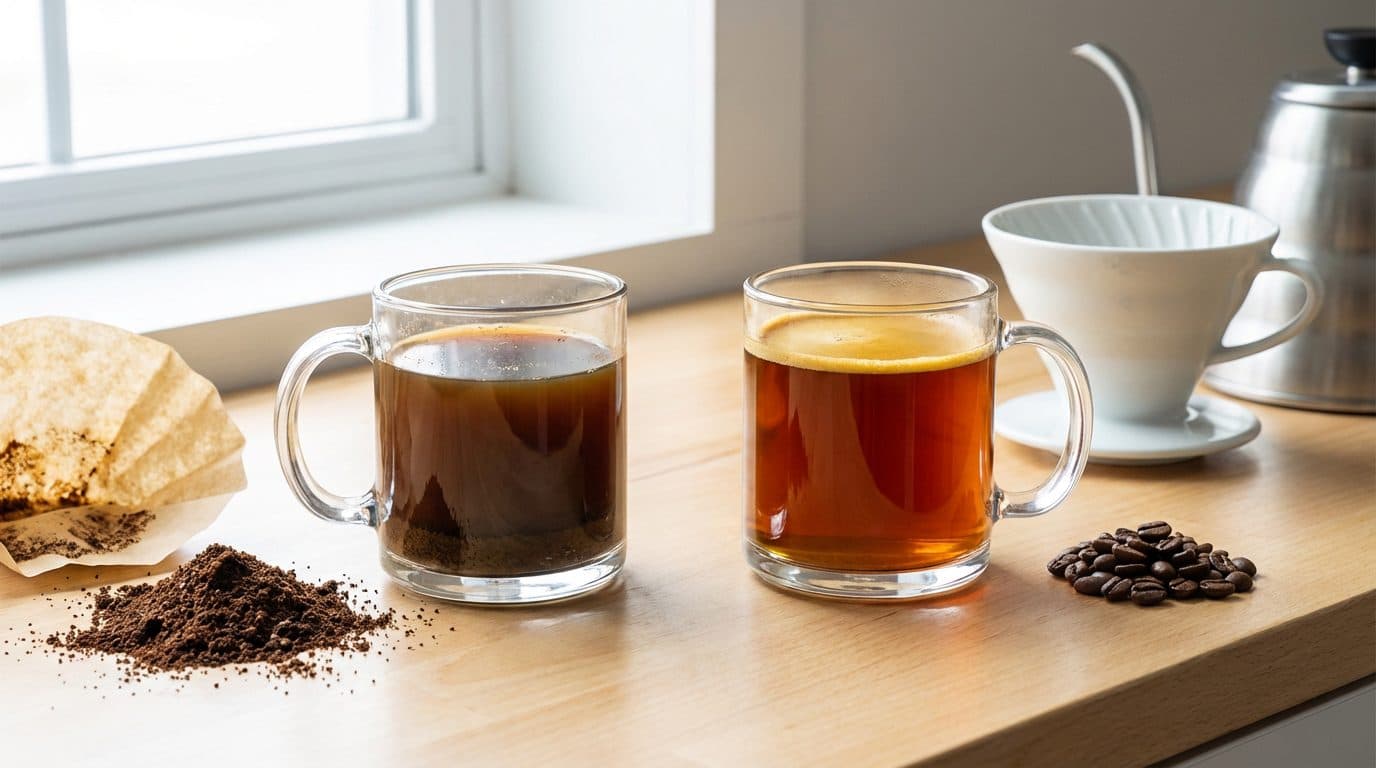
Yes, you can use any roast or origin. However, medium to light roasts tend to highlight the AeroPress’s ability to produce a clean, flavorful cup. Dark roasts work too but may taste more intense.
How do I clean the AeroPress without running water?
Simply eject the coffee puck into a trash bag or fire pit, then wipe the rubber plunger with a cloth or paper towel. A thorough rinse can wait until you have access to water.
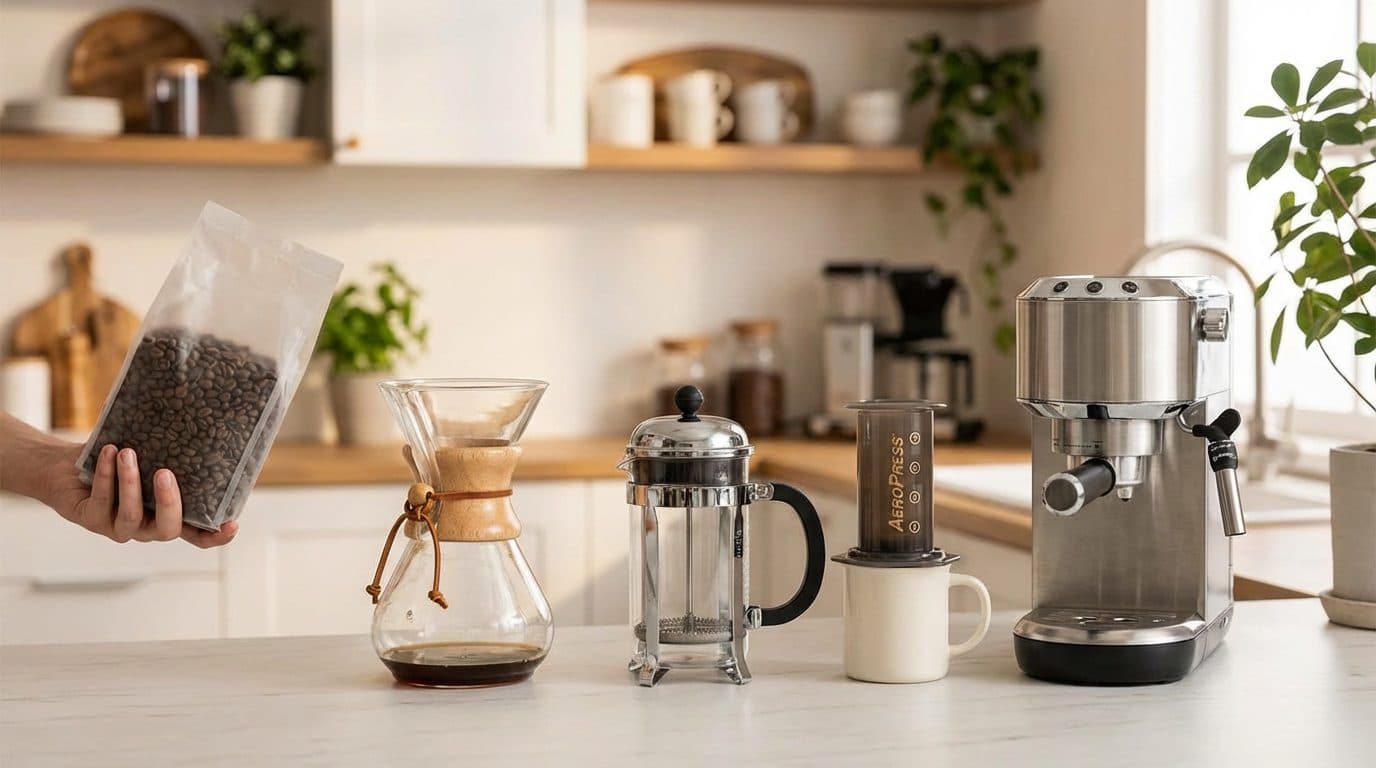
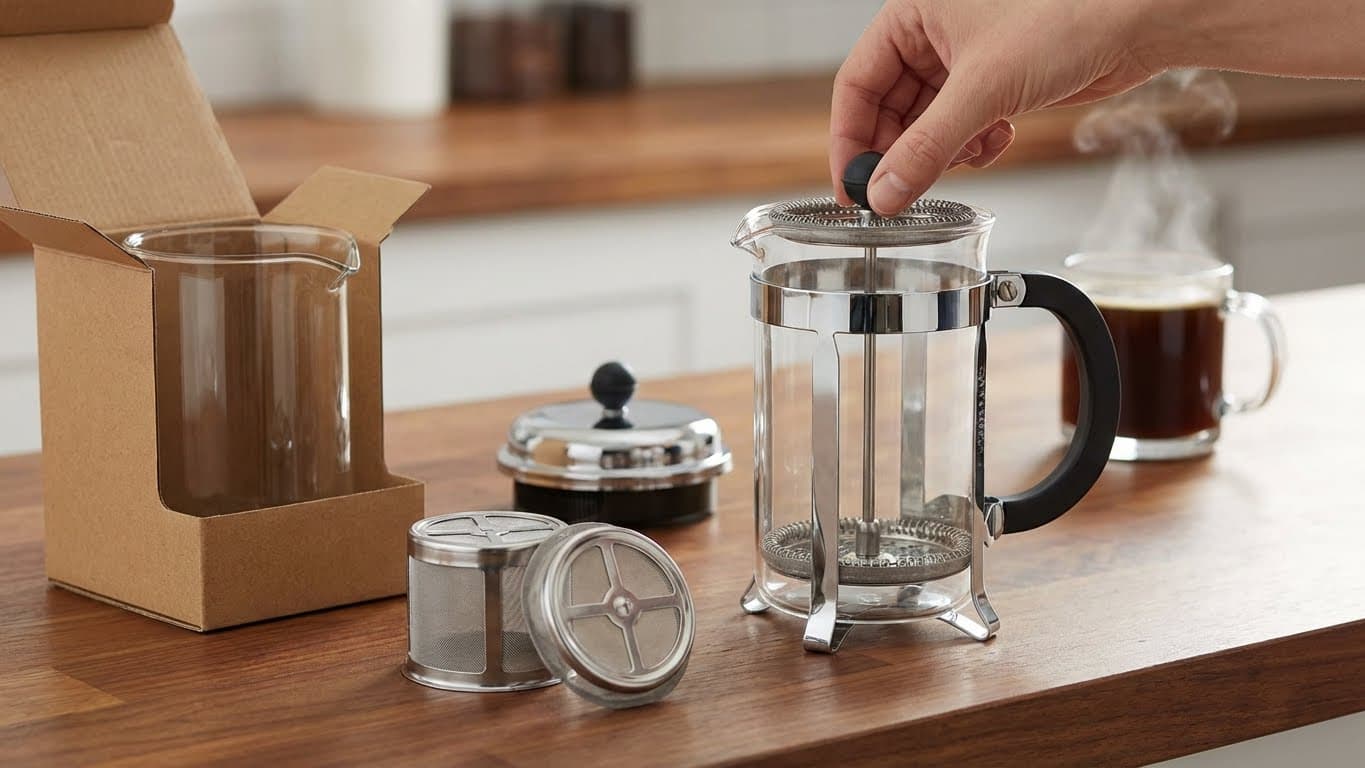
Is the AeroPress better than a French press for camping?
For most campers, yes. The AeroPress is lighter, more durable, and easier to clean. French presses can break and leave sediment in your cup, while the AeroPress produces a cleaner brew.
How much coffee should I bring for a camping trip?
Plan for about 15-18 grams per cup. For a three-day trip with two cups per day, that’s roughly 100-110 grams of coffee. Always pack a little extra just in case.
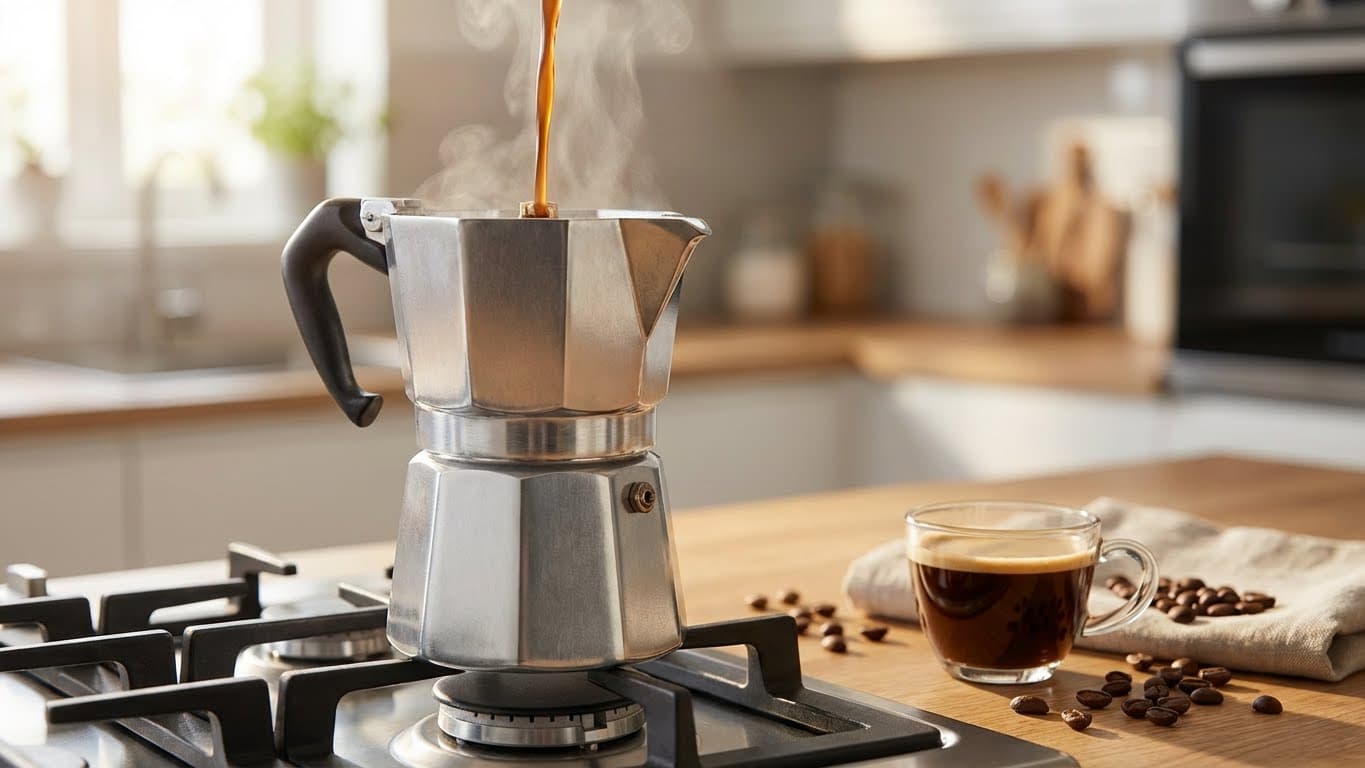
Can I make espresso-style coffee with an AeroPress?
The AeroPress can produce a concentrated brew similar to espresso, but it won’t have the same crema or intensity as a true espresso machine. It’s great for making Americanos or adding to milk for a latte-style drink.
Final Thoughts and Next Steps
Brewing coffee with an AeroPress while traveling or camping is one of the simplest ways to enjoy quality coffee anywhere. With minimal gear, quick cleanup, and consistent results, it’s no wonder this little device has become a favorite among outdoor enthusiasts and coffee lovers alike.
Start by practicing at home to find your preferred recipe and grind size. Once you’re comfortable, pack your AeroPress on your next adventure and experience the difference a good cup of coffee can make in the great outdoors. Your mornings at camp will never be the same.


Comments