


Table of Contents
There’s this specific hissing sound my machine makes when the shot is about to channel—a kind of sputtering wheeze that makes my heart sink every time. If you’ve been chasing that perfect espresso and keep getting sour, bitter, or just plain inconsistent shots, your tamping and distribution might be the culprits. Here’s the thing: most home baristas obsess over tamping pressure while completely ignoring distribution. That’s backwards. I’ve pulled thousands of shots, and I can tell you that how you spread the grounds before tamping matters way more than how hard you push down.
The fix? Focus on even distribution first, then tamp with consistent (not excessive) pressure. Let me walk you through the espresso mistakes I see constantly—and how to actually fix them.
Why Distribution Matters More Than Tamping Pressure
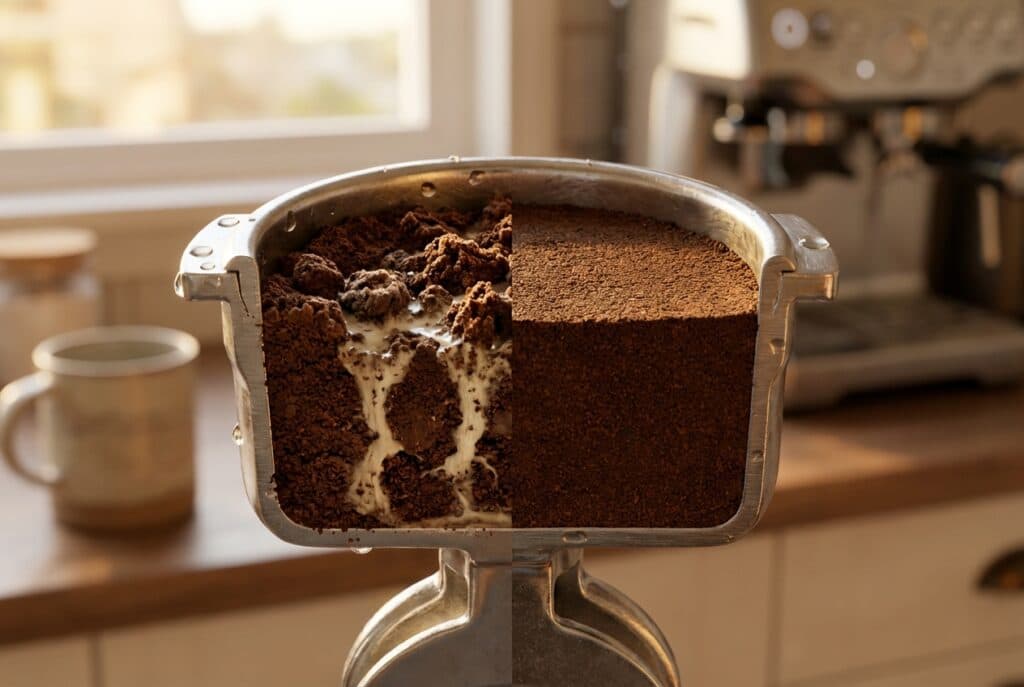
Here’s the ugly truth: you can tamp at a “perfect” 30 pounds of pressure and still pull a terrible shot. Why? Because if your coffee grounds are unevenly distributed in the basket, water will find the path of least resistance. It’ll rush through the loose spots and barely touch the dense clumps. That’s channeling. And channeling ruins everything.
I learned this the hard way after buying my first “serious” espresso setup. I was so focused on tamping technique—watching YouTube videos about keeping my elbow at 90 degrees, buying a calibrated tamper—that I ignored the messy pile of grounds I was dumping into my portafilter. My shots were all over the place. Some bitter, some sour, none consistent.
Then a barista friend told me something that changed everything: “Your tamp can only compress what’s already there. It can’t fix bad distribution.”
She was right. Once I started paying attention to how the grounds landed in the basket, my consistency improved dramatically. Tamping became almost an afterthought.
The Most Common Tamping Mistakes
Mistake #1: Tamping Too Hard
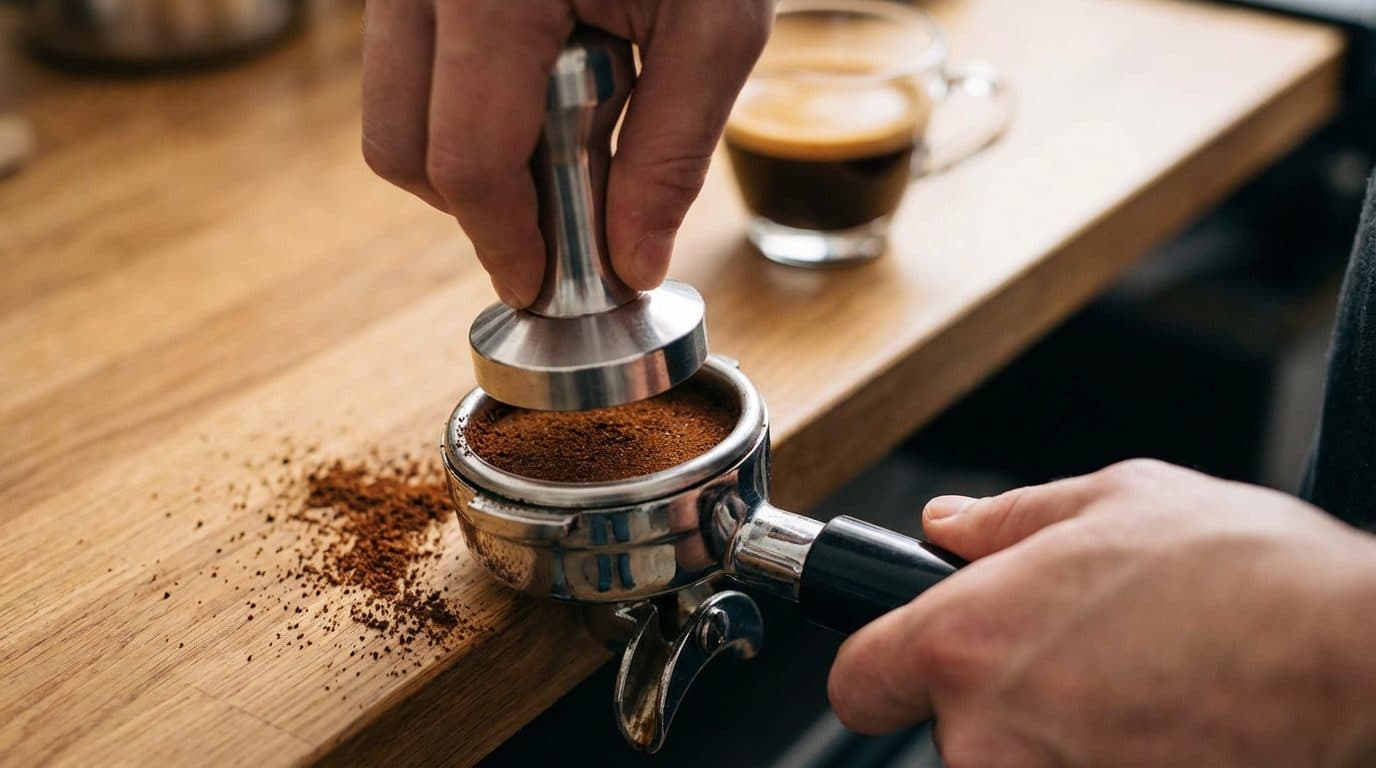
More pressure doesn’t mean better extraction. After about 15-20 pounds of force, you’re not really compressing the coffee any further—you’re just tiring out your wrist. I’ve seen people lean their entire body weight into a tamp like they’re trying to crack concrete. Unnecessary. Honestly, it’s kind of funny to watch, but it does nothing for the shot.
The goal is consistency, not maximum force. Pick a pressure that feels comfortable and repeatable. That’s it.
Mistake #2: Tamping at an Angle
This one’s sneaky. You might not even realize you’re doing it. If your tamp isn’t perfectly level, one side of the puck will be denser than the other. Water takes the easy route through the thinner side. Channeling. Bad shot.
Quick test: after tamping, look at the puck from the side. Is the surface perfectly flat and parallel to the basket rim? If not, you’re tilting. A distribution tool or leveler can help here, but honestly, just being aware of it fixes the problem for most people.
Mistake #3: The “Twist and Polish”
Okay, this is controversial. Some baristas swear by giving a little twist at the end of their tamp to “polish” the surface. Others say it’s pointless or even harmful because it can create micro-fractures in the puck.
My take? It probably doesn’t matter much either way. I used to do it religiously. Now I don’t. My shots taste the same. If it makes you feel fancy, go for it. Just don’t think it’s doing anything magical.
Distribution Techniques That Actually Work
Alright, let’s talk about what happens before the tamp. This is where the real magic is.
The Weiss Distribution Technique (WDT)
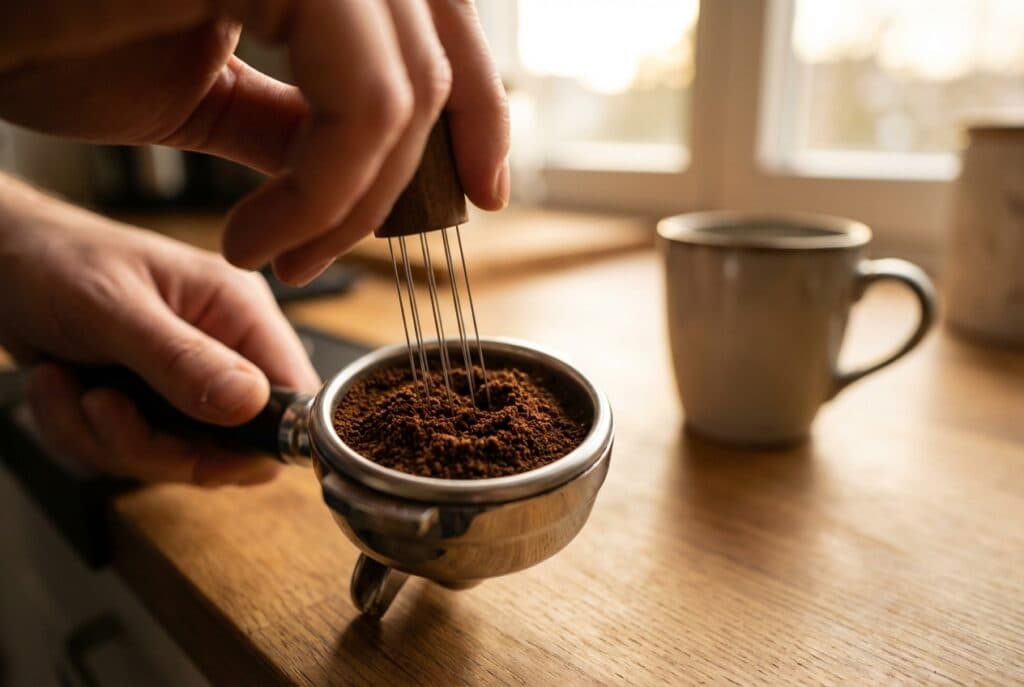
This is my go-to. You use a thin needle (or a WDT tool with multiple needles) to stir the grounds in the basket, breaking up clumps and spreading everything evenly. It sounds fussy. It kind of is. But it works incredibly well.
Here’s how I do it:
- Grind directly into the portafilter
- Insert the WDT tool and stir in circular motions, moving from the bottom up
- Make sure to reach the edges—clumps love hiding there
- Tap the portafilter gently on your palm or a mat to settle the grounds
- Level with a distribution tool or your finger
- Tamp
The whole process adds maybe 10 seconds. The improvement in shot consistency? Massive.
Distribution Tools (Spinny Things)
You’ve probably seen these—the adjustable tools with fins that you spin on top of the grounds to level them. They’re popular. They look cool. Do they work?
Sort of. They’re great for leveling, but they don’t break up clumps the way WDT does. I think of them as a finishing step, not a replacement for proper distribution. If you’re using one without doing any clump-breaking first, you’re just spreading the problem around more evenly. Still a problem.
The Stockfleth’s Move
This is an old-school technique where you use your finger to distribute grounds in a circular motion. It’s fast and requires no extra tools. I used this for years before getting a WDT tool. It’s not as thorough, but it’s better than nothing—especially if you’re in a rush.
Signs Your Puck Prep Needs Work
Not sure if distribution is your issue? Here are the telltale signs:
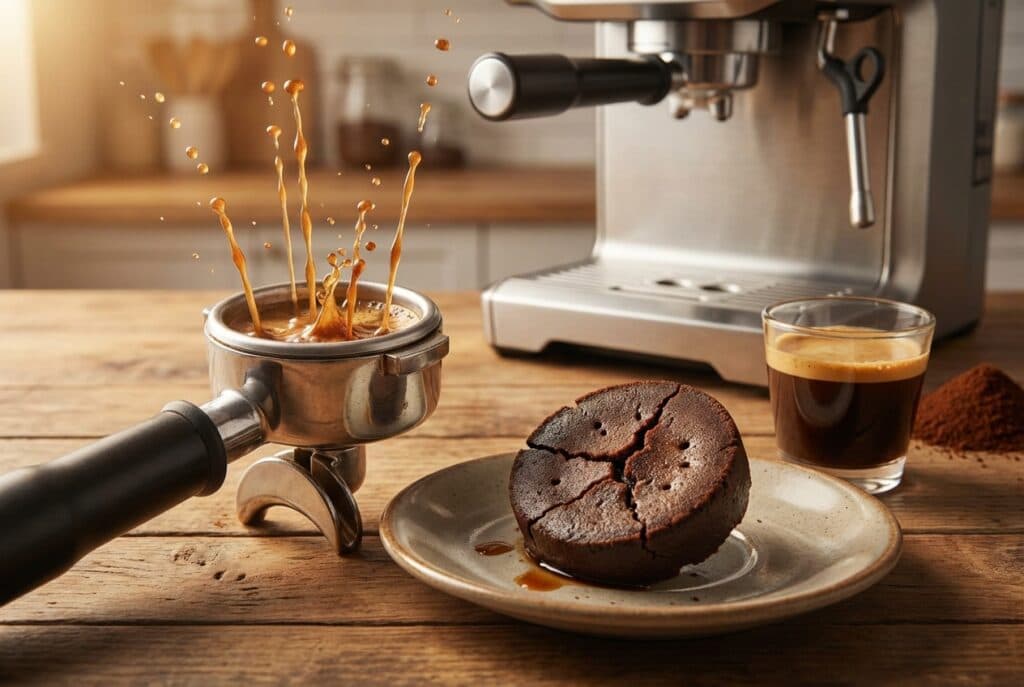
- Spurting or uneven flow: If espresso comes out in multiple streams or sprays sideways, that’s channeling. Bad distribution.
- Wildly inconsistent shot times: Same dose, same grind, but one shot runs in 20 seconds and the next takes 35? Distribution problem.
- Soupy or cracked puck: After pulling a shot, knock out the puck. If it’s wet, muddy, or has visible holes and cracks, water found weak spots.
- Sour AND bitter in the same cup: This sounds impossible, but channeling causes it. Some grounds over-extract (bitter) while others under-extract (sour).
I remember one frustrating week where every single shot tasted like licking a battery. Sour, metallic, awful. I blamed the beans. I blamed my grinder. Turned out my portafilter basket had a tiny dent I hadn’t noticed, causing uneven distribution no matter what I did. Sometimes it’s the equipment. Usually it’s technique. But check both.
A Simple Puck Prep Routine
Here’s what I do every single time. It takes under 30 seconds once you get the rhythm:
- Dose 18g of coffee (adjust for your basket size)
- WDT for 5-7 seconds, focusing on clumps
- Tap portafilter twice on mat to settle
- Use distribution tool to level (or finger-level)
- Tamp straight down with moderate, consistent pressure
- Wipe any stray grounds from the rim
- Lock in and pull
Barista Tip: Before tamping, give the portafilter a gentle shake side-to-side. This helps grounds settle into gaps you might have missed. Don’t overdo it—just two or three quick shakes.
The Counter-Intuitive Truth About Tamping
Here’s something that took me way too long to accept: tamping is the least important part of puck prep. I know, I know. It feels important. It’s satisfying. There’s a reason every espresso tutorial spends ten minutes on tamping technique.
But think about it this way. Tamping compresses grounds by maybe 5-10mm. Distribution determines whether those grounds are evenly packed or full of air pockets and clumps. Which variable has more impact on water flow?
Exactly.
So if you’re struggling with espresso consistency, stop obsessing over whether you’re tamping at exactly 30 pounds. Start looking at what’s happening before the tamp. Get a WDT tool. Pay attention to how grounds fall into your basket. Watch for clumps.
Frankly, I wish someone had told me this years ago. Would’ve saved me a lot of frustrating mornings and wasted beans.
Wrapping Up
Espresso is finicky. There’s no way around that. But tamping and distribution mistakes are some of the easiest problems to fix once you know what to look for. Focus on even distribution first—WDT is your friend here. Tamp with consistent, moderate pressure. Keep everything level. And pay attention to what your shots are telling you.
If your espresso has been inconsistent, try tightening up your puck prep routine for a week. I bet you’ll notice a difference. And once you dial it in, pulling great shots becomes almost automatic. Almost.
Now go make some coffee. Your portafilter is waiting.



Comments