AeroPress Puck Puck: Making Cold Drip Coffee

Have you ever wanted to make smooth, café-quality cold drip coffee at home without spending hundreds on a fancy tower setup? The AeroPress Puck Puck might be the clever little gadget you’ve been searching for. This ingenious attachment transforms your everyday AeroPress into a slow-drip cold brew system, producing a concentrate that’s remarkably clean, sweet, and complex.
In this guide, I’ll walk you through everything you need to know about using the Puck Puck to make exceptional cold drip coffee. You’ll learn what equipment you need, the exact brewing process, and the tips I’ve picked up after countless batches. Life is too short for bad coffee, so let’s make sure yours is extraordinary.
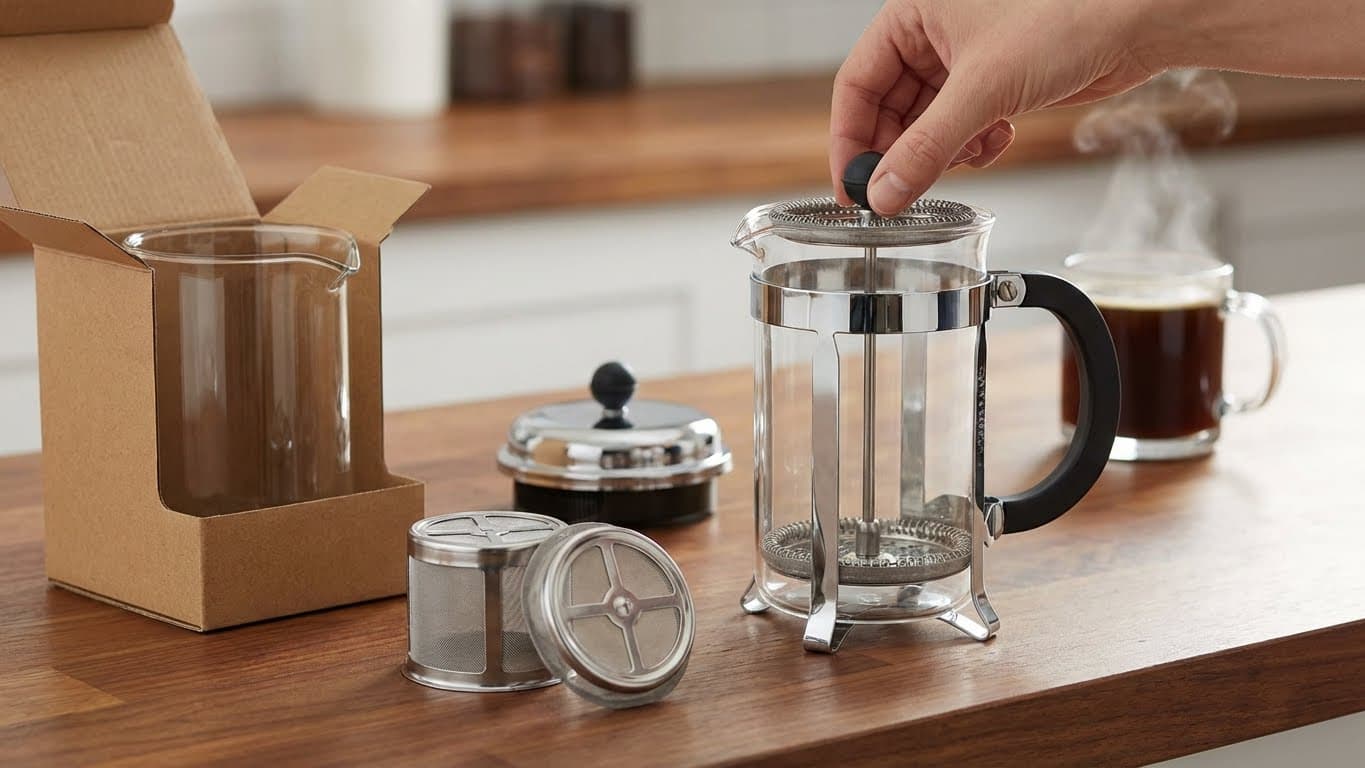
The Puck Puck is a simple silicone attachment designed by a company called Bru-Stop. It fits on top of your standard AeroPress and turns it into a slow-drip cold brew system. Unlike traditional cold brew methods that involve immersion (soaking grounds in water for 12-24 hours), the Puck Puck uses a drip mechanism to slowly release water onto your coffee grounds.
The result? A cleaner, brighter cup compared to immersion cold brew. Cold drip coffee made this way tends to have more nuanced flavors and less of that heavy, sometimes muddy taste that full-immersion methods can produce.
Traditional cold drip towers (also called Kyoto-style drippers) can cost anywhere from $200 to $500. The Puck Puck achieves similar results for a fraction of the price, making specialty cold drip accessible to every home barista.

The Puck Puck uses a valve system that controls how fast water drips through. You fill the upper chamber with ice water, adjust the drip rate, and let gravity do the work. The water slowly percolates through the coffee grounds, extracting flavors gently without the bitterness that heat can bring.
In my experience, this method produces a concentrate that’s incredibly versatile. You can drink it straight over ice, dilute it with water, or even use it as a base for coffee cocktails.
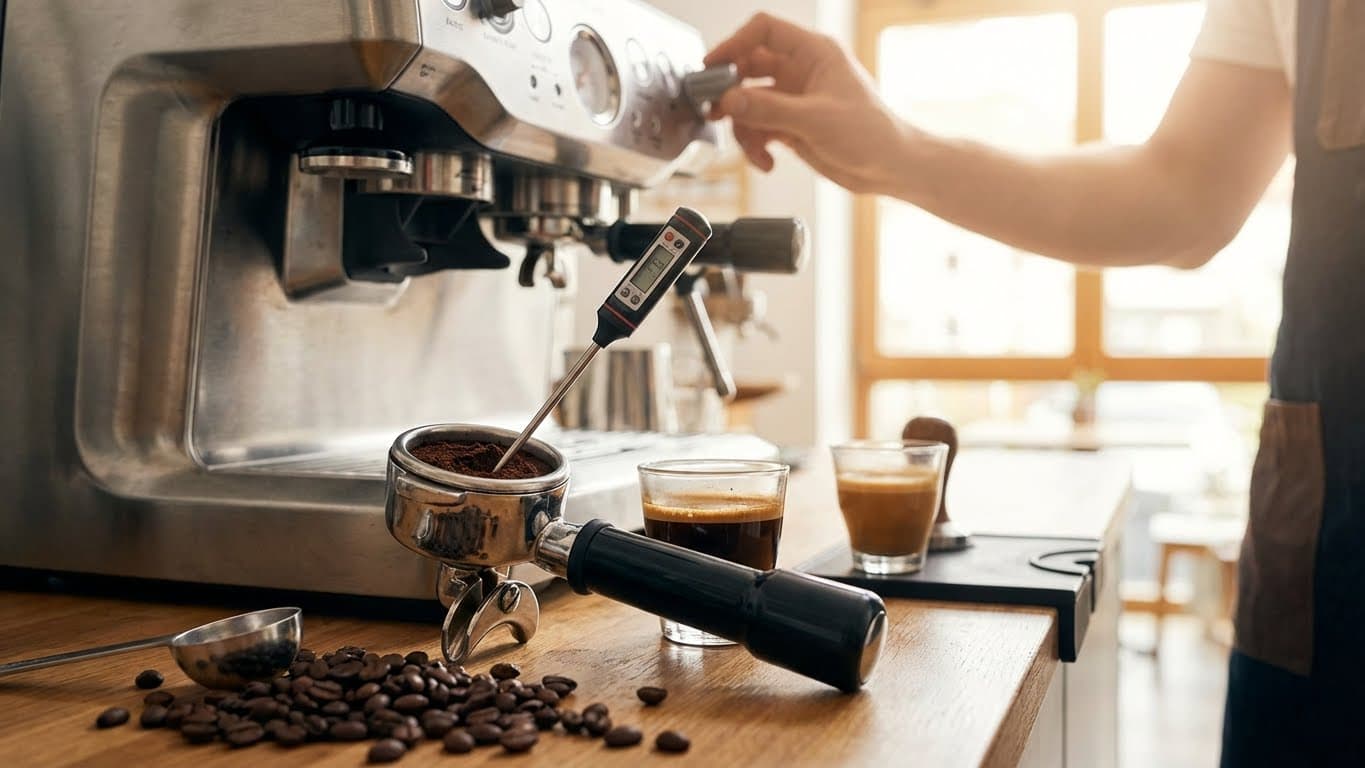
Before you start brewing, gather all your equipment and ingredients. Having everything ready makes the process smoother and more enjoyable.
When brewed correctly, Puck Puck cold drip coffee is smooth, naturally sweet, and low in acidity. You’ll notice more delicate flavor notes compared to regular cold brew—think bright fruit, chocolate undertones, and a clean finish. The slow extraction brings out complexity without over-extracting bitter compounds.
Now for the fun part. Follow these steps carefully, and you’ll have delicious cold drip coffee in a few hours.


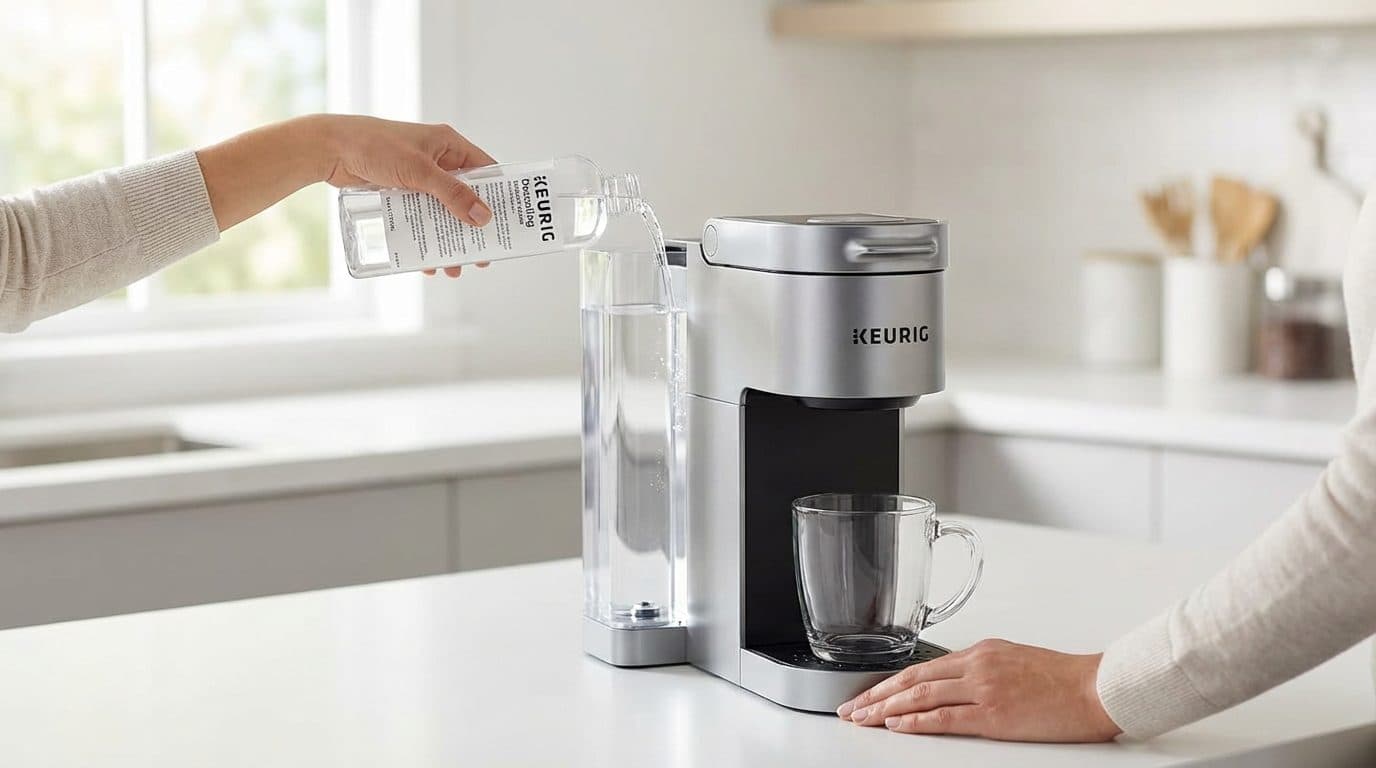
Use filtered water for a cleaner, sweeter taste. Tap water with high mineral content or chlorine can muddy the delicate flavors cold drip is known for. If you don’t have a filter, letting tap water sit uncovered overnight allows chlorine to dissipate.
After brewing dozens of batches with the Puck Puck, I’ve learned a few tricks that consistently improve results.

Here are a few pitfalls I’ve encountered that you can easily sidestep:
Even with perfect technique, things can go wrong. Here’s how to fix the most common problems.
This usually means your grind is too fine, causing the filter to clog. Try a coarser grind next time. You can also gently stir the top of the coffee bed to break up any compaction, but be careful not to disturb it too much.
Your drip rate might be too fast, or your grind too coarse. Slow down the valve and aim for that one-drip-per-second target. You could also increase your coffee dose by a few grams.
Over-extraction is the culprit here. This happens when the drip rate is too slow or the grind is too fine. Speed up the drip slightly and coarsen your grind for the next batch.
Grind size and drip rate are the two most important variables. Master these, and you’ll consistently produce excellent cold drip coffee.

When stored in an airtight container in the refrigerator, cold drip concentrate stays fresh for up to two weeks. However, I find the flavor is best within the first week.
Yes, the Puck Puck is compatible with both the original AeroPress and the AeroPress Go. The setup process is identical for both.
Cold brew uses immersion, where coffee grounds steep in water for an extended period. Cold drip uses gravity to slowly pass water through the grounds. Cold drip typically produces a cleaner, more nuanced cup with brighter acidity, while cold brew is often heavier and more full-bodied.
It depends on your preference. The concentrate is quite strong, so most people dilute it with water or milk at a 1:1 or 1:2 ratio. Try it straight first to see how strong it is, then adjust to your taste.
If you already own an AeroPress and enjoy cold coffee, the Puck Puck is an affordable way to experiment with cold drip brewing. It’s not as precise as a dedicated cold drip tower, but for the price, the results are impressive.
The AeroPress Puck Puck is a clever, budget-friendly way to explore cold drip coffee at home. It won’t replace a professional Kyoto-style dripper, but it gets remarkably close for a fraction of the cost. With a little practice, you’ll be producing smooth, complex cold coffee that rivals what you’d pay premium prices for at specialty cafés.
Start with the basic recipe and ratios I’ve outlined, then experiment. Try different beans, adjust your grind, play with the drip rate. That’s the joy of home brewing—you get to dial in exactly what tastes best to you. Your next batch of cold drip is just a few drips away. Happy brewing!

Written by
Jeanine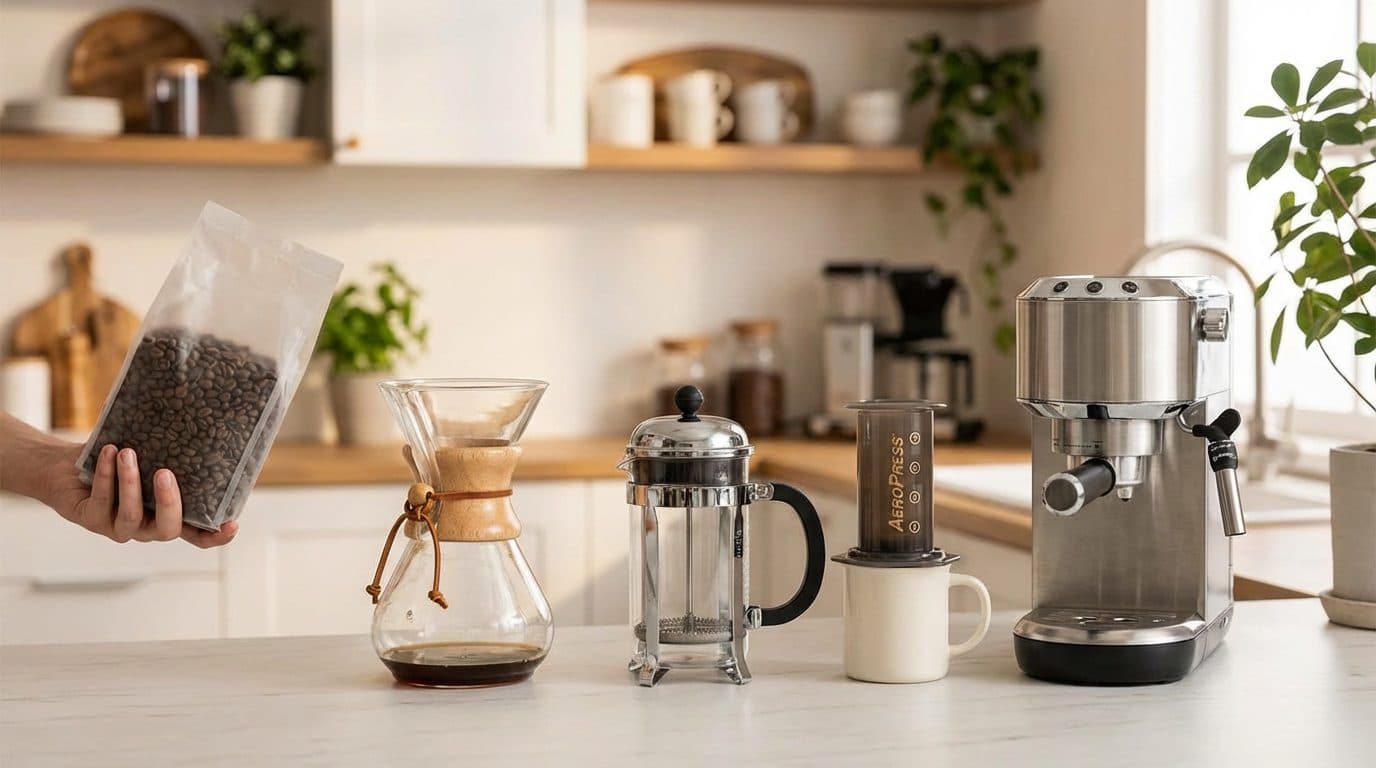 Brewing Methods: French Press, Pour-Over & More
 Brewing Methods: French Press, Pour-Over & More
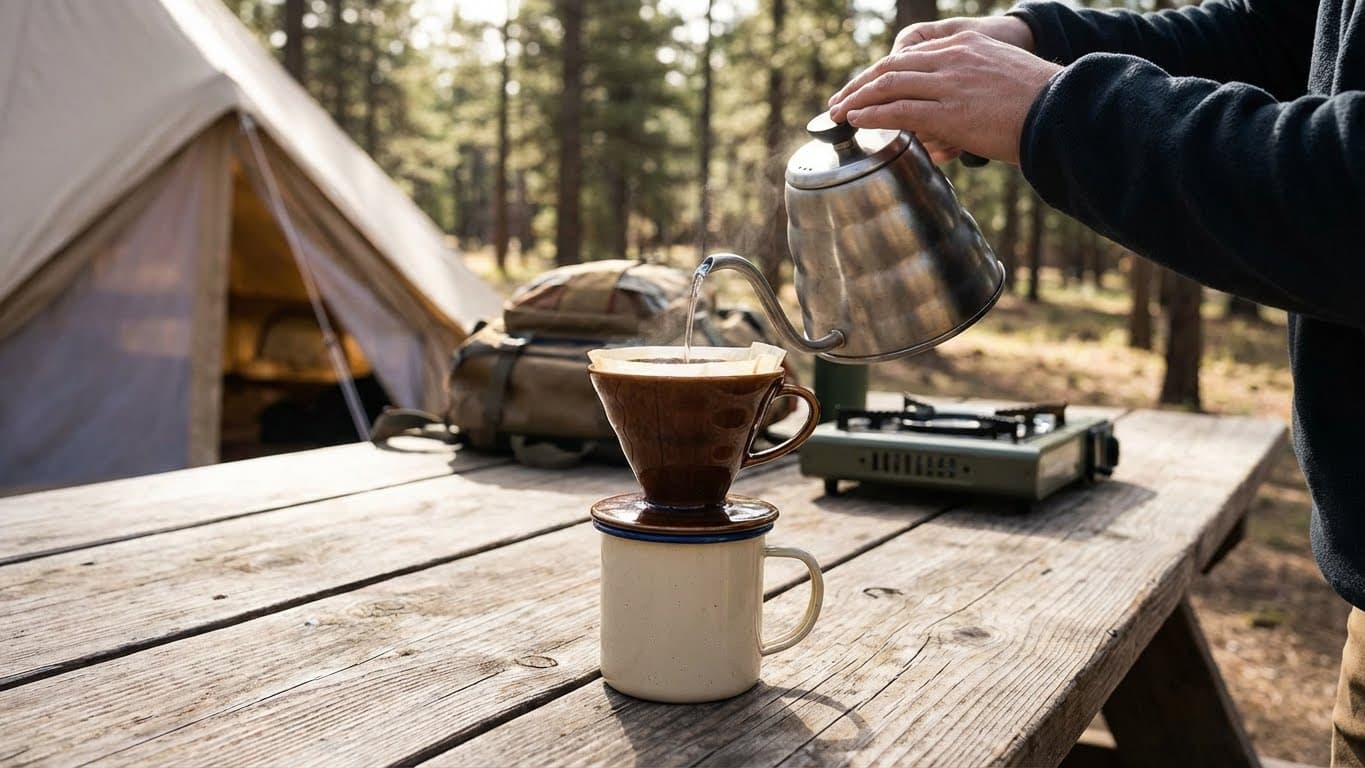 Brewing Methods: French Press, Pour-Over & More
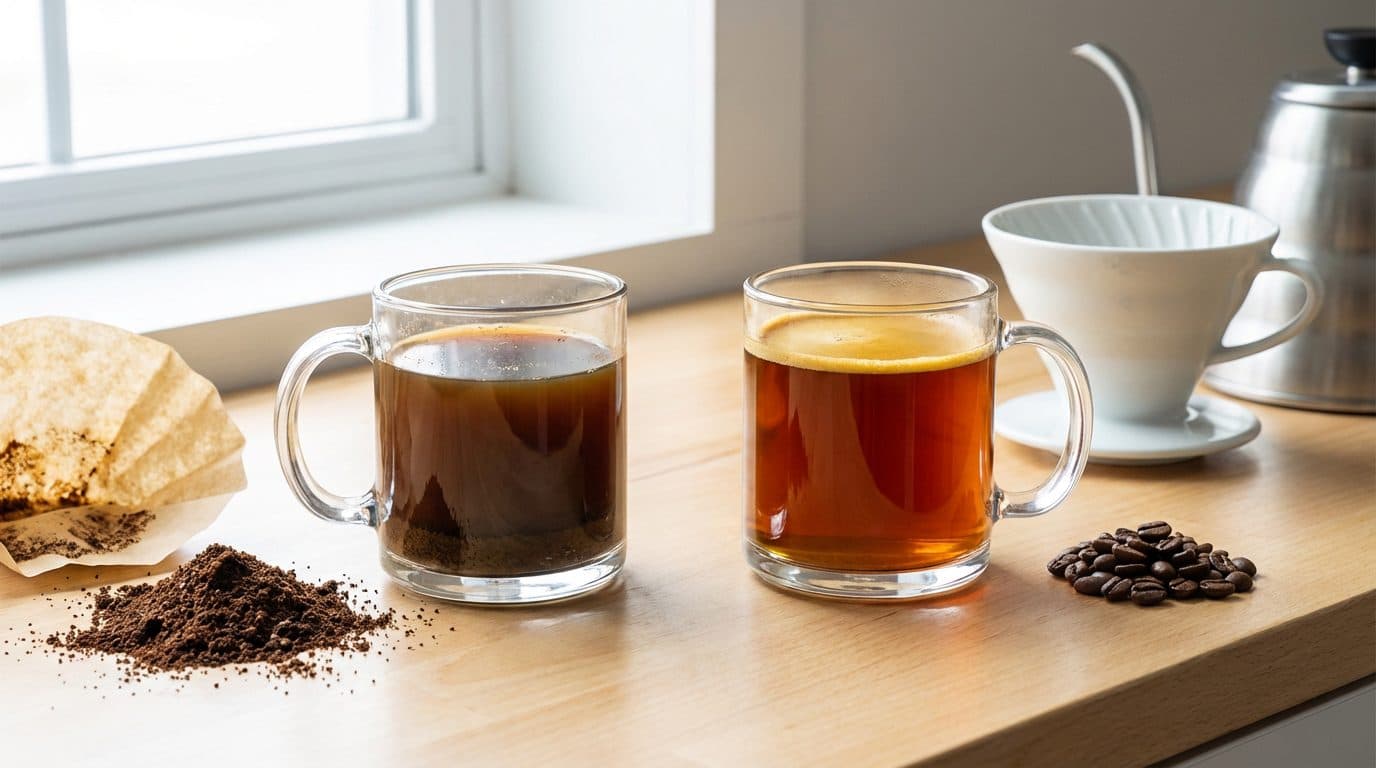
Comments