


Table of Contents
- Why Is My Cold Brew Cloudy? The Main Culprits
- Fine Coffee Particles (Sediment)
- Coffee Oils and Emulsification
- Temperature Fluctuations
- Over-Extraction
- How to Filter Cold Brew Properly: Step-by-Step
- What You'll Need
- The Double-Filtration Method
- Common Filtering Mistakes That Cause Cloudy Cold Brew
- Using Only a Metal Mesh Filter
- Rushing the Process
- Using the Wrong Grind Size
- Filtering While Still Warm
- Alternative Filtration Methods That Actually Work
- Cheesecloth (Multiple Layers)
- Nut Milk Bags
- Pour-Over Setup
- French Press Double Duty
- Preventing Cloudy Cold Brew Before It Happens
- Invest in a Burr Grinder
- Sift Your Grounds
- Don't Stir During Steeping
- Keep Temperature Consistent
- Frequently Asked Questions
- Is cloudy cold brew safe to drink?
- Why does my cold brew get cloudy after refrigeration?
- Can I fix cold brew that's already cloudy?
- How long does properly filtered cold brew last?
- Does the coffee roast level affect cloudiness?
- Summary and Your Next Steps
You’ve waited 12–24 hours for your cold brew to steep, excitement building for that smooth, refreshing glass of coffee. Then you pour it out and… it looks like murky swamp water. If you’ve ever asked yourself “why is my cold brew cloudy?” you’re definitely not alone. This is one of the most common cold brew problems home baristas face, and the good news is it’s almost always fixable.
In this guide, I’ll walk you through exactly why your cold brew turns cloudy, how to filter it properly for crystal-clear results, and some practical tips I’ve picked up over years of perfecting my own batches. By the end, you’ll know how to troubleshoot cloudy cold brew and achieve that beautiful, clean concentrate you see at fancy coffee shops.
Why Is My Cold Brew Cloudy? The Main Culprits
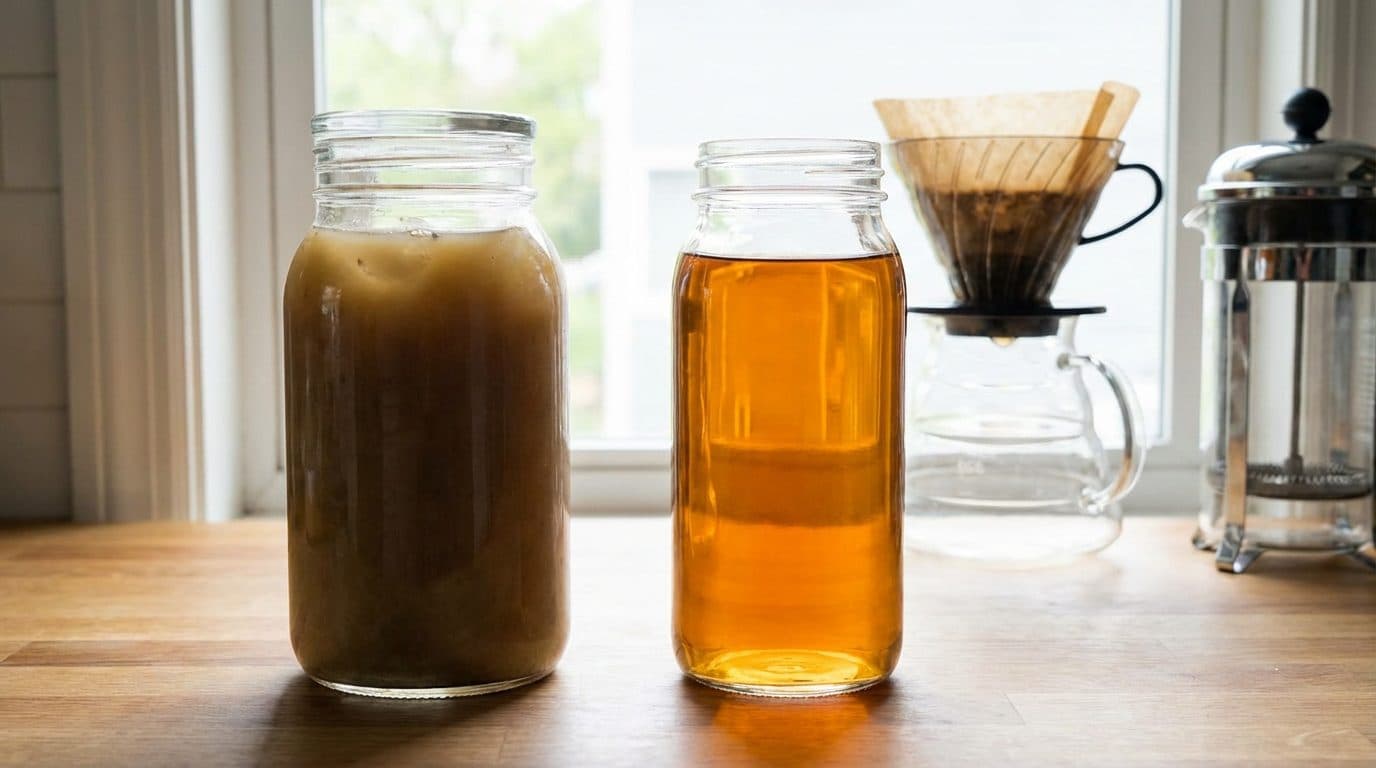
Before we fix the problem, let’s understand what’s actually happening in your jar. Cloudy cold brew isn’t dangerous to drink, but it does affect both appearance and taste. That haze you’re seeing is typically caused by one or more of these issues.
Fine Coffee Particles (Sediment)
This is the number one reason for cloudy cold brew. When your grind is too fine, tiny coffee particles slip through your filter and suspend in the liquid. Even if you’re using a coarse grind, coffee naturally produces “fines”—microscopic particles that break off during grinding. Cheaper grinders, especially blade grinders, create uneven grinds with lots of these fines.
In short: If your filter can’t catch these tiny particles, they end up floating in your brew, creating that murky appearance.
Coffee Oils and Emulsification
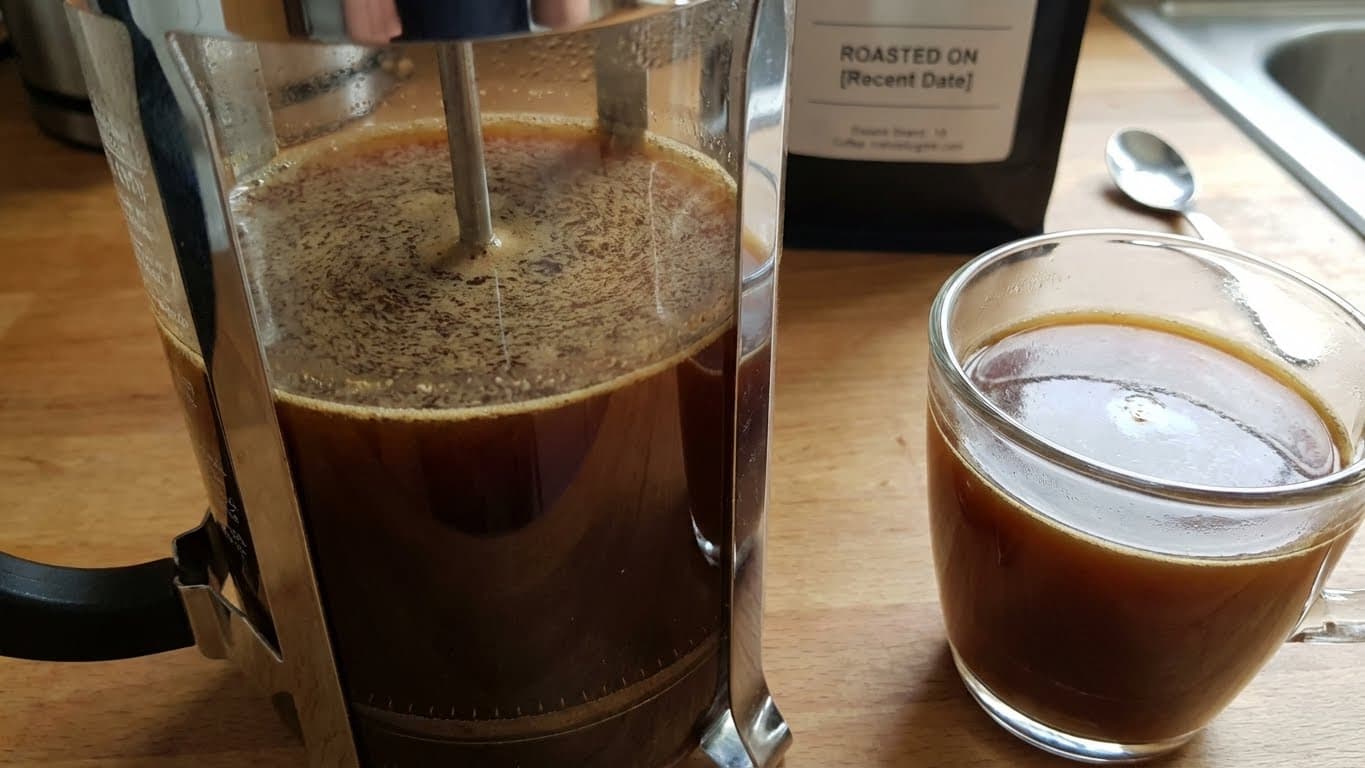
Coffee contains natural oils that can emulsify into the water during brewing. While these oils contribute to body and mouthfeel, excessive amounts can create a cloudy, almost hazy appearance. This happens more often with very fresh beans (roasted within the past few days) or when you agitate the brew too much during steeping.
Temperature Fluctuations
Here’s something many home baristas don’t realize: moving your cold brew between different temperatures can cause cloudiness. If you brew at room temperature and then refrigerate, or if you add ice directly to concentrate, the sudden temperature change can cause compounds to precipitate out of solution. This creates what coffee nerds call “cold shock haze.”
Over-Extraction
Steeping your cold brew for too long (beyond 24 hours) can extract compounds that contribute to cloudiness and bitterness. More isn’t always better when it comes to brew time.
Key Takeaway: Cloudy cold brew is usually a filtration problem, but grind size, temperature, and brew time all play supporting roles. Address these factors together for the best results.
How to Filter Cold Brew Properly: Step-by-Step
Now for the practical part. In my experience, proper filtration is 80% of the solution to cloudy cold brew. Here’s the method I use that consistently produces clear, beautiful concentrate.
What You’ll Need
- Your brewed cold brew concentrate
- Fine-mesh strainer or sieve
- Paper coffee filters (standard drip filters work great) or cheesecloth
- A large jar, pitcher, or carafe for the filtered brew
- Patience (this part is important)
The Double-Filtration Method
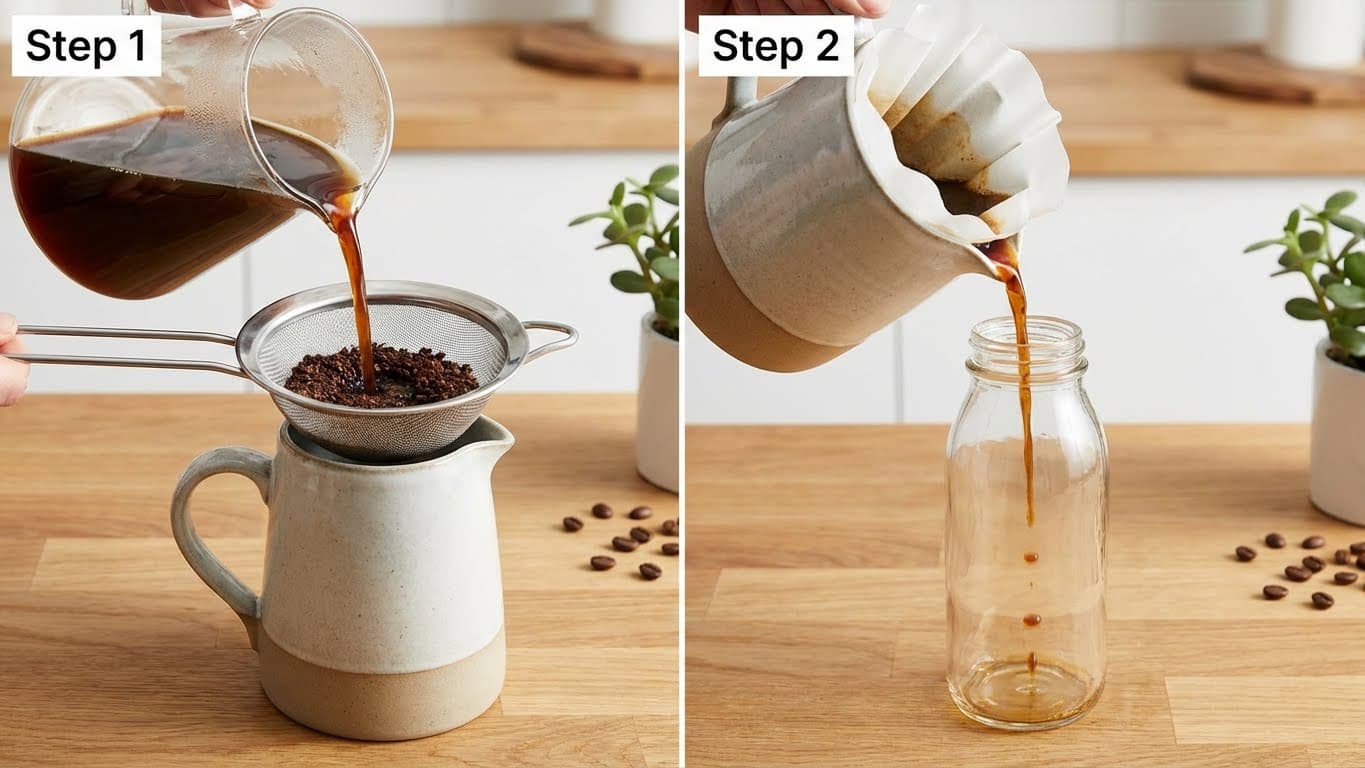
Step 1: First Pass with a Fine-Mesh Strainer
Pour your cold brew through a fine-mesh strainer to catch the large grounds and bigger sediment. This removes the bulk of the solid material and prevents your paper filter from clogging immediately. Don’t press or squeeze the grounds—just let gravity do the work.
Step 2: Second Pass with a Paper Filter
Now line your strainer with a paper coffee filter and pour the pre-filtered brew through. This is where the magic happens. The paper catches those microscopic fines and absorbs excess oils. Yes, it’s slow. A full batch might take 15–30 minutes to drip through. Resist the urge to squeeze or push—you’ll just force sediment through.
Step 3: Optional Third Pass
If your cold brew is still slightly hazy after two filtrations, run it through a fresh paper filter one more time. This is rarely necessary if you’ve done the first two steps properly, but it’s an option for perfectists.
Barista Tip: Wet your paper filter with clean water before filtering. This removes any papery taste and helps the filter conform better to your strainer, creating a tighter seal.
Common Filtering Mistakes That Cause Cloudy Cold Brew
Even with the right equipment, technique matters. Here are the mistakes I see most often—and I’ve made every single one of them myself.
Using Only a Metal Mesh Filter
Many cold brew makers come with built-in metal mesh filters. While convenient, these filters have relatively large holes that let fines pass through easily. Metal mesh is fine for the first filtration pass, but it shouldn’t be your only filter if you want clear results.
Rushing the Process
I get it—you want your coffee now. But pushing down on the grounds or tilting the filter to speed things up forces sediment through. The slower the drip, the clearer the result. Set it up and walk away.
Using the Wrong Grind Size
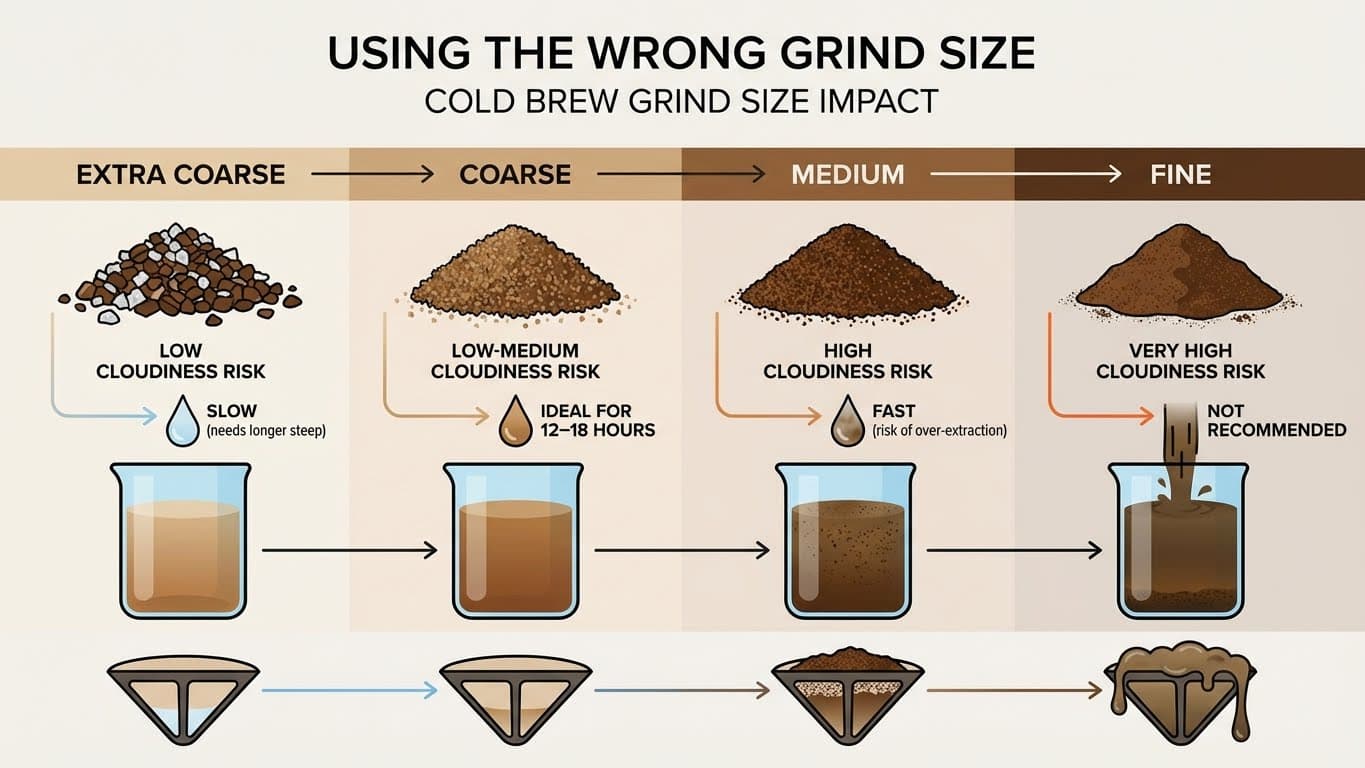
If you’re grinding too fine, you’re creating more fines and making filtration harder. Cold brew works best with a coarse grind—think sea salt or raw sugar texture. Finer grinds extract faster but create cloudiness nightmares.
Here’s a quick reference:
| Grind Size | Cloudiness Risk | Extraction Speed |
|---|---|---|
| Extra Coarse | Low | Slow (needs longer steep) |
| Coarse | Low-Medium | Ideal for 12–18 hours |
| Medium | High | Fast (risk of over-extraction) |
| Fine | Very High | Not recommended |
Filtering While Still Warm
If you brew at room temperature, let the batch cool in the fridge for an hour before filtering. Filtering at a consistent cold temperature helps prevent that haze from temperature fluctuations we discussed earlier.
Alternative Filtration Methods That Actually Work
Paper filters aren’t your only option. Depending on what you have at home, these alternatives can produce equally clear cold brew.
Cheesecloth (Multiple Layers)
A single layer of cheesecloth won’t do much, but four to six layers folded together create a surprisingly effective filter. The weave catches most particles while allowing faster flow than paper. It’s reusable too, which is a nice bonus for the environmentally conscious.
Nut Milk Bags
These fine-mesh nylon bags designed for making almond milk work wonderfully for cold brew. They’re finer than standard cheesecloth and reusable for years. I actually prefer these for my first filtration pass—they’re faster than paper and catch more than metal mesh.
Pour-Over Setup
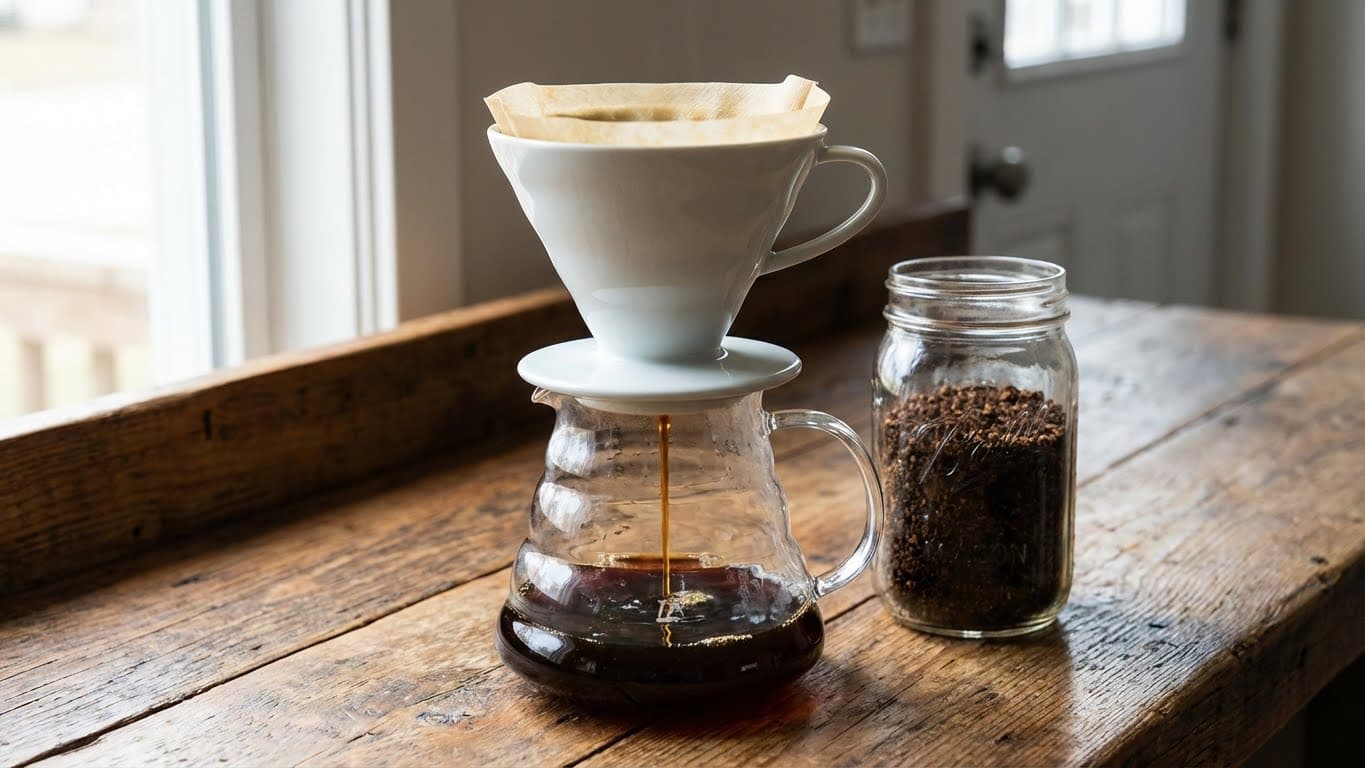
If you have a Chemex, V60, or any pour-over dripper, use it. The thick Chemex filters especially produce incredibly clean cold brew. Just place your dripper over a carafe and let the pre-filtered cold brew drip through at its own pace.
French Press Double Duty
Some people brew cold brew directly in a French press, but the metal mesh produces cloudy results. Instead, use your French press as a first-pass filter, then run the liquid through paper. The plunger compresses the grounds nicely without forcing too much sediment through.
Preventing Cloudy Cold Brew Before It Happens
The best solution is prevention. Making a few adjustments to your brewing process can dramatically reduce cloudiness before you even get to filtration.
Invest in a Burr Grinder
Blade grinders chop beans unevenly, creating dust and fines. A burr grinder crushes beans between two surfaces, producing consistent particle sizes. Even an entry-level burr grinder makes a noticeable difference in cold brew clarity. It’s one upgrade that pays off in multiple ways.
Sift Your Grounds
Here’s a trick from serious coffee enthusiasts: after grinding, sift your grounds through a fine-mesh strainer. The fines fall through and get discarded. Yes, you lose a small amount of coffee, but what remains produces significantly clearer cold brew.
Don’t Stir During Steeping
After you combine your grounds and water, give it one gentle stir to ensure everything is saturated, then leave it alone. Repeated agitation breaks down grounds further and creates more suspended particles.
Keep Temperature Consistent
Brew in the fridge from start to finish. Room temperature brewing extracts slightly faster and produces more oils, both of which can contribute to cloudiness. Fridge brewing takes a bit longer (aim for 18–24 hours instead of 12–18) but typically results in cleaner, smoother concentrate.
Frequently Asked Questions
Is cloudy cold brew safe to drink?

Absolutely. Cloudiness is an aesthetic and taste issue, not a safety concern. Those particles are just coffee—totally harmless. However, cloudy cold brew often tastes slightly more bitter or muddy than properly filtered batches, so it’s worth taking the time to filter well.
Why does my cold brew get cloudy after refrigeration?
This is usually caused by temperature shock. If you brew at room temperature and then refrigerate, dissolved compounds can precipitate out and create haze. Similarly, adding ice directly to concentrate can cause this effect. To prevent it, brew cold from the start and dilute with cold water or milk rather than ice.
Can I fix cold brew that’s already cloudy?
Yes! Simply run your cloudy cold brew through a paper filter. It might take a while to drip through, especially if there’s a lot of sediment, but it will remove most of the haze. You might need to change the filter partway through if it clogs completely.
How long does properly filtered cold brew last?
Well-filtered cold brew concentrate keeps for up to two weeks in the refrigerator. The cleaner your filtration, the longer it tends to stay fresh-tasting. Once diluted, consume within 2–3 days for best flavor.
Does the coffee roast level affect cloudiness?
It can. Very dark roasts tend to be more brittle and create more fines during grinding. They also have more oils on the surface, which can contribute to haze. Medium roasts often produce the clearest cold brew, though this varies by bean and roaster.
Summary and Your Next Steps
Cloudy cold brew comes down to a few key factors: grind size, filtration method, and temperature consistency. The fix is usually straightforward—use a coarser grind, filter twice (metal mesh first, then paper), and keep everything cold throughout the process. These simple adjustments make an enormous difference in the final product.
Start with your next batch by trying the double-filtration method I outlined above. If you’re still seeing cloudiness, work backward through the potential causes: check your grinder, examine your steep time, and consider your temperature approach. With a little experimentation, you’ll be producing cafe-quality clear cold brew right in your own kitchen. Life is too short for murky coffee—and now you have the tools to fix it.



Comments