


Table of Contents
- What Is the Bloom Phase in Coffee Brewing?
- The Science Behind Those Beautiful Bubbles
- Why the Bloom Phase Matters for Flavor Extraction
- Even Saturation Equals Balanced Flavor
- Freshness Indicator
- How to Bloom Coffee the Right Way
- What You'll Need
- The Bloom Process Step by Step
- Bloom Phase for Different Brewing Methods
- Pour-Over (V60, Chemex, Kalita Wave)
- French Press
- AeroPress
- Automatic Drip Machines
- Common Bloom Mistakes and How to Fix Them
- Using Too Much or Too Little Water
- Skipping the Bloom Entirely
- Blooming Too Long or Too Short
- Frequently Asked Questions
- Does pre-ground coffee bloom?
- Can you over-bloom coffee?
- Why isn't my coffee blooming at all?
- Does water temperature affect the bloom?
- Is blooming necessary for cold brew?
- Summary: Making the Bloom Work for You
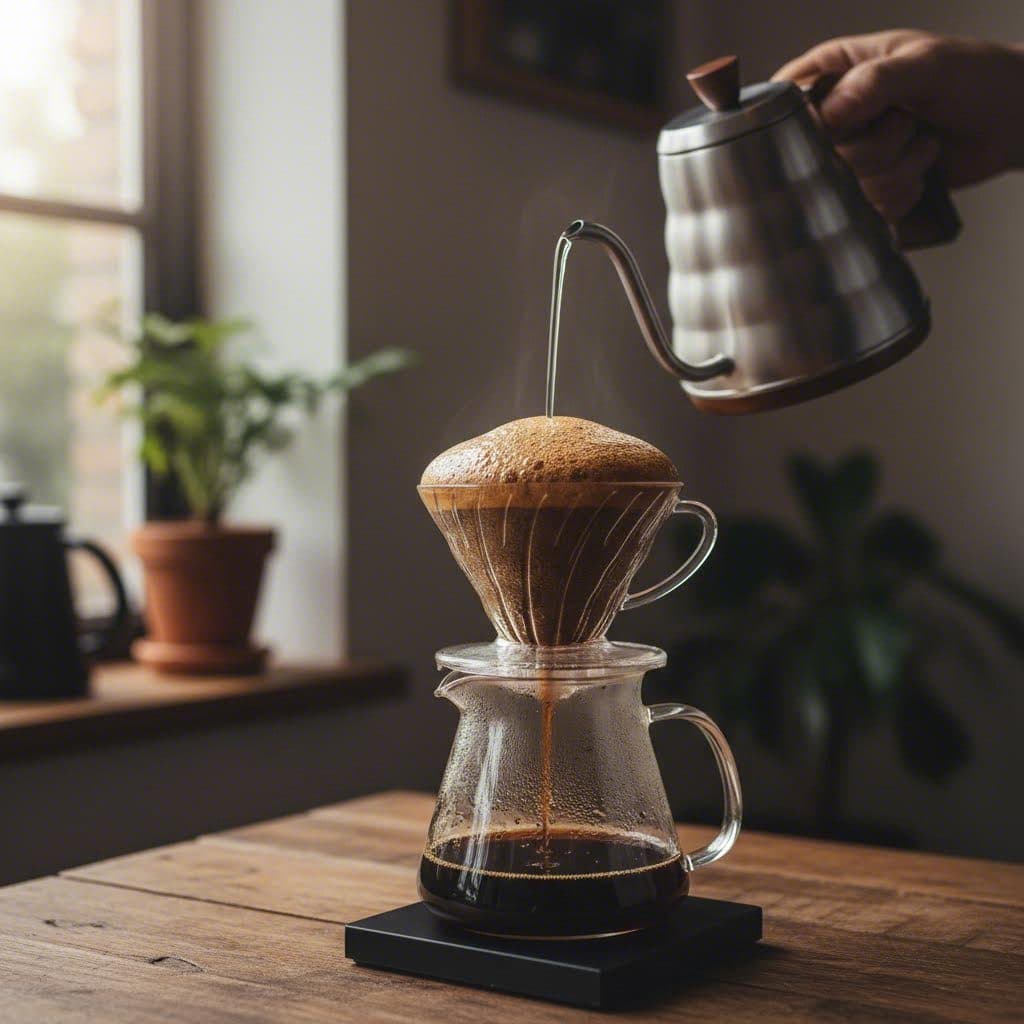
Have you ever poured hot water over your fresh coffee grounds and watched them bubble and rise like a tiny science experiment? That magical moment has a name: the bloom. If you’ve been skipping this step or wondering whether those bubbles actually mean anything, you’re about to discover why the bloom phase might be the single most overlooked secret to brewing better coffee at home.
In my years of brewing pour-overs, French press, and various manual methods, I’ve learned that understanding the bloom transforms you from someone who makes coffee into someone who truly *brews* it. Let’s break down exactly what’s happening in your cup and why those bubbles matter more than you might think.
What Is the Bloom Phase in Coffee Brewing?
The bloom phase is that initial 30-60 second period when you first wet your coffee grounds with hot water. During this time, the grounds swell, bubble, and release trapped carbon dioxide gas. It’s not just visual drama—it’s chemistry in action.
When coffee is roasted, carbon dioxide gets trapped inside the beans. Fresher coffee contains more CO2, which means more vigorous blooming. Think of it like opening a fresh bottle of sparkling water—all that gas needs somewhere to go.
The Science Behind Those Beautiful Bubbles
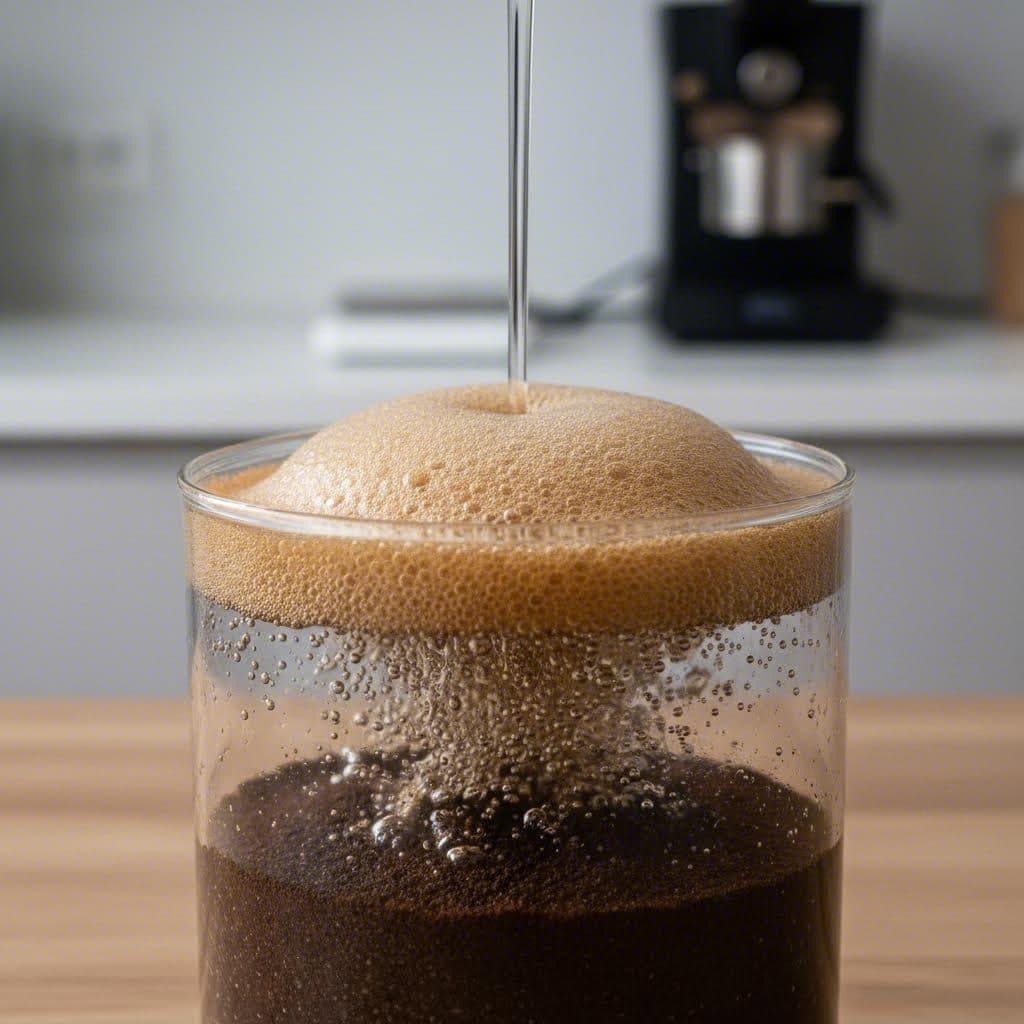
Here’s what’s actually happening at a molecular level. As hot water hits the grounds, it triggers the rapid release of carbon dioxide that’s been locked inside since roasting. The gas pushes outward, creating those satisfying bubbles and that dome-like rise in your coffee bed.
This matters because carbon dioxide is slightly acidic and can create a barrier between water and coffee. If you skip the bloom and pour all your water at once, that CO2 can cause uneven extraction. Some grounds get properly saturated while others remain protected by gas pockets. The result? A cup that tastes inconsistent, sometimes sour, sometimes bitter, rarely balanced.
Key Takeaway: The bloom isn’t just for show. It’s the crucial degassing step that prepares your coffee grounds for even, complete extraction.
Why the Bloom Phase Matters for Flavor Extraction
I’ve done side-by-side comparisons dozens of times, and the difference between bloomed and non-bloomed coffee is noticeable even to casual drinkers. Here’s why this step has such an impact on your final cup.
Even Saturation Equals Balanced Flavor
When you bloom your coffee, you’re essentially “waking up” the grounds and clearing the way for water to do its job. Once the CO2 escapes, water can penetrate the coffee particles more uniformly. This means every ground contributes equally to your brew, giving you a balanced extraction.
Without blooming, you’ll often get a mix of over-extracted and under-extracted coffee in the same cup. Some grounds release too much (bitter compounds), while others release too little (sour, underdeveloped flavors). The bloom helps prevent this chaos.
Freshness Indicator
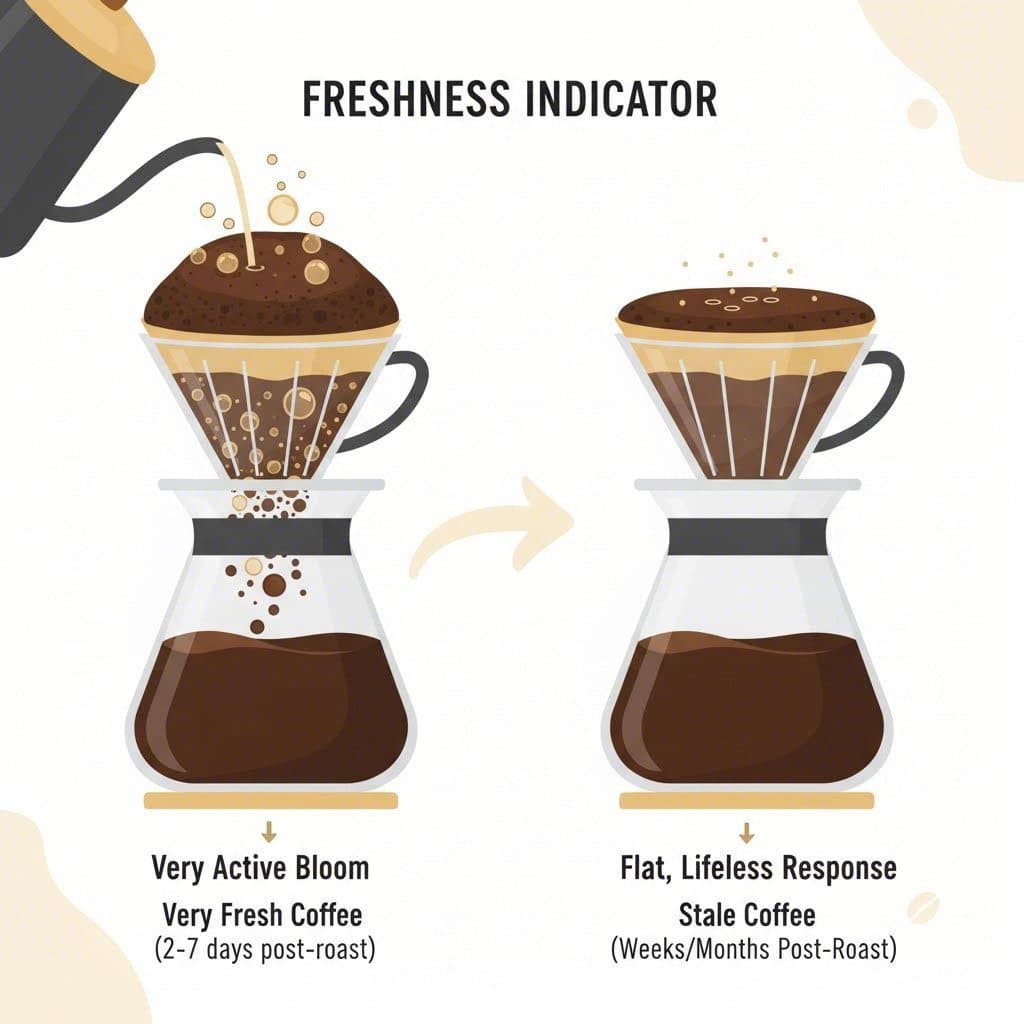
The bloom also tells you something important about your beans. A vigorous, bubbly bloom signals fresh coffee—usually roasted within the past few weeks. A flat, lifeless response suggests stale beans that have already off-gassed most of their CO2.
In short: if your coffee isn’t blooming much, it might be time to buy fresher beans.
| Bloom Activity | What It Tells You | Expected Freshness |
|---|---|---|
| Very active (large dome, lots of bubbles) | Very fresh, possibly needs longer bloom | 2-7 days post-roast |
| Moderate activity (gentle rise, some bubbles) | Peak freshness for most brewing | 7-21 days post-roast |
| Minimal activity (slight swelling) | Still usable but past prime | 3-6 weeks post-roast |
| No activity (flat, no movement) | Stale coffee | 6+ weeks or pre-ground |
How to Bloom Coffee the Right Way
Now that you understand why blooming matters, let’s talk technique. The good news is that it’s simple once you know the basics.
What You’ll Need
- Fresh coffee beans (ideally roasted within the past 2-3 weeks)
- Burr grinder for consistent particle size
- Hot water at 195-205°F (90-96°C)
- Scale for measuring water
- Timer
- Your preferred brewing device (pour-over, French press, AeroPress, etc.)
The Bloom Process Step by Step
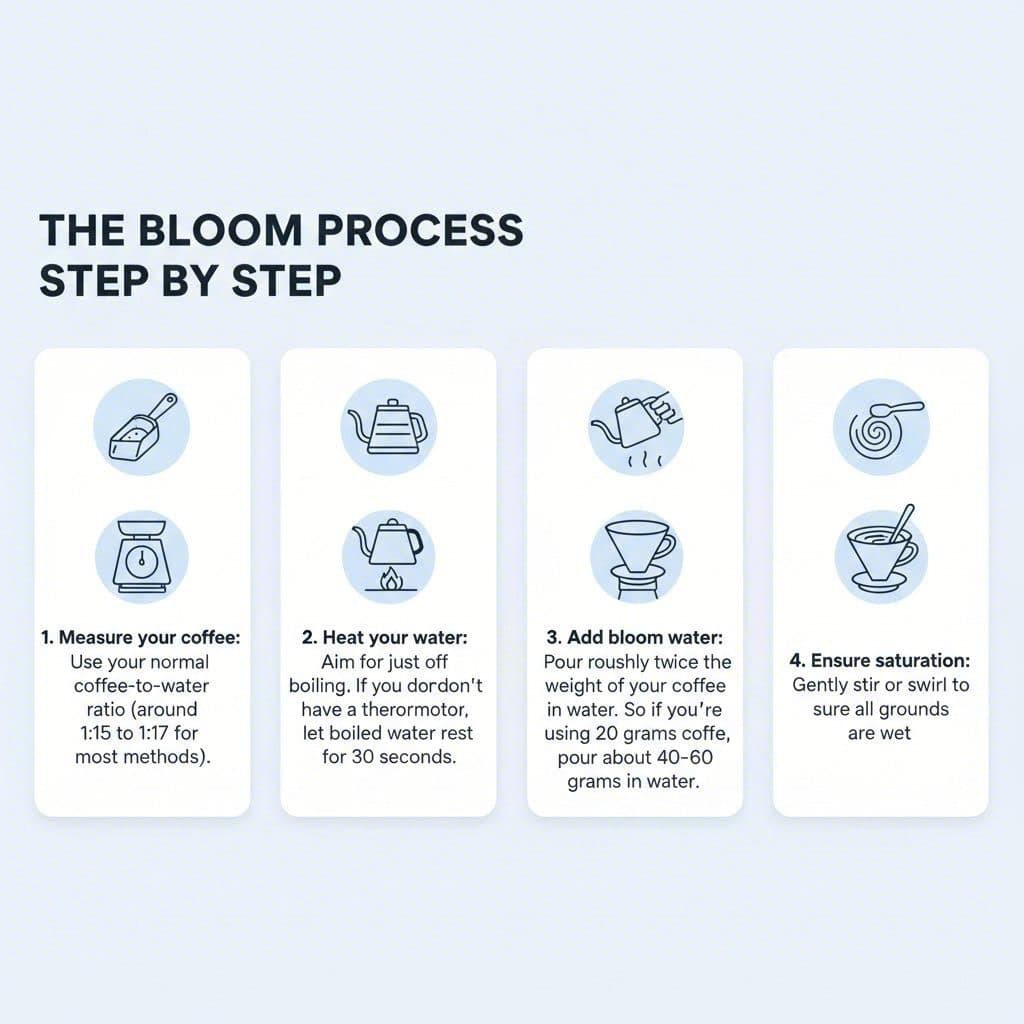
The standard approach works across most manual brewing methods:
- Measure your coffee: Use your normal coffee-to-water ratio (around 1:15 to 1:17 for most methods).
- Heat your water: Aim for just off boiling. If you don’t have a thermometer, let boiled water rest for 30 seconds.
- Add bloom water: Pour roughly twice the weight of your coffee grounds in water. So if you’re using 20 grams of coffee, pour about 40-60 grams of water.
- Ensure saturation: Gently stir or swirl to make sure all grounds are wet. Dry spots won’t release CO2 properly.
- Wait: Let it bloom for 30-45 seconds. Watch those bubbles do their thing.
- Continue brewing: After the bloom, proceed with your normal pour pattern or plunge.
Barista Tip: If your coffee blooms aggressively (very fresh beans), extend the bloom time to 45-60 seconds. Super fresh coffee needs extra time to degas before you continue brewing.
Bloom Phase for Different Brewing Methods
The bloom matters for virtually every manual brewing method, but the approach varies slightly depending on your equipment. Here’s how to adapt.
Pour-Over (V60, Chemex, Kalita Wave)
Pour-over is where the bloom shines most visually. The open design lets you watch the coffee bed rise and fall. Start with a spiral pour from the center outward, saturating all grounds evenly. After 30-45 seconds, continue with your regular pour pattern.
In my experience, the Chemex particularly benefits from a proper bloom because its thick filter can slow down extraction. Giving the CO2 time to escape before your main pour prevents channeling and bitter spots.
French Press
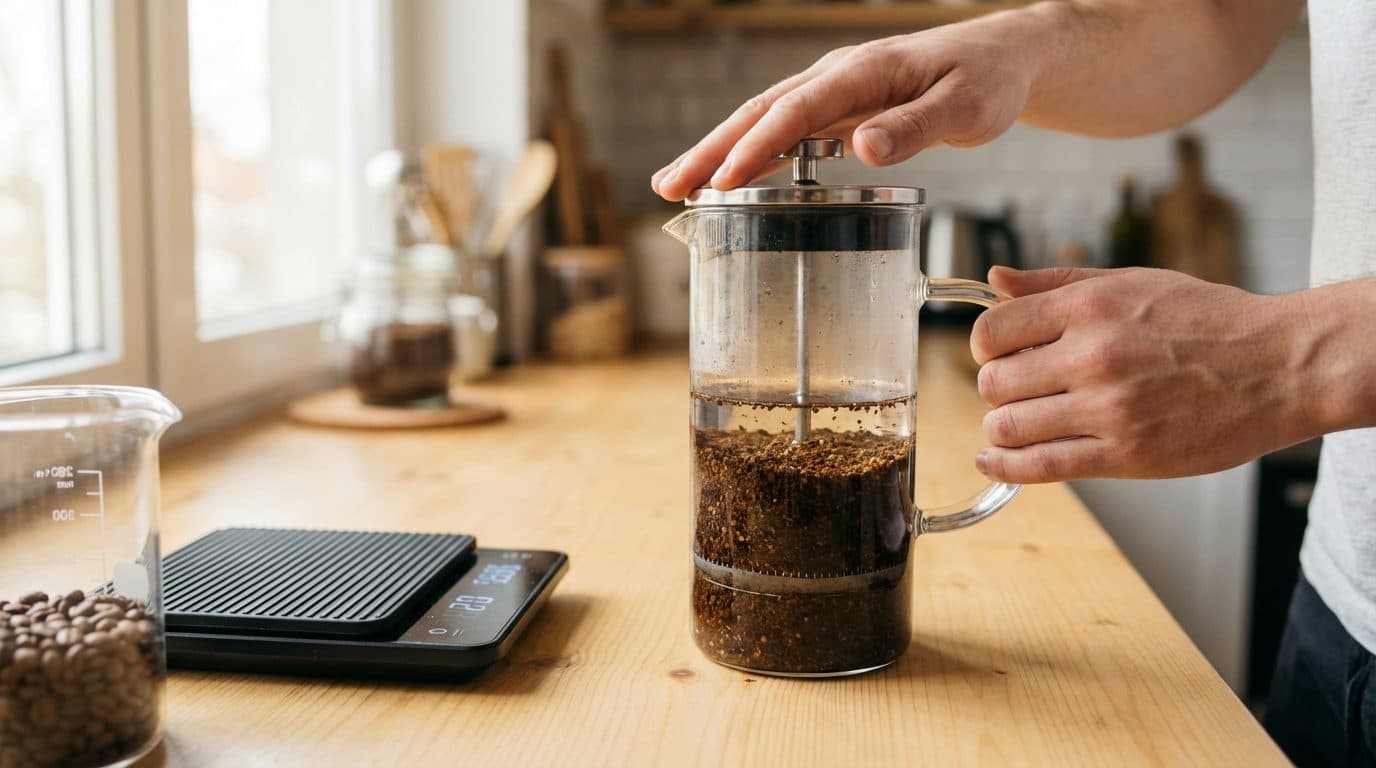
Yes, French press coffee benefits from blooming too—many people skip this step, but they shouldn’t. Add your bloom water, give it a gentle stir, and wait before adding the rest. The immersion method means extraction happens differently, but even saturation still matters.
I’ve found that blooming my French press produces a noticeably cleaner cup with less muddiness. The difference is subtle but worthwhile.
AeroPress
The AeroPress’s smaller chamber makes blooming quick and easy. Add your bloom water, stir once or twice, and wait about 30 seconds. This is especially helpful with the inverted method, where you have more control over timing.
Automatic Drip Machines
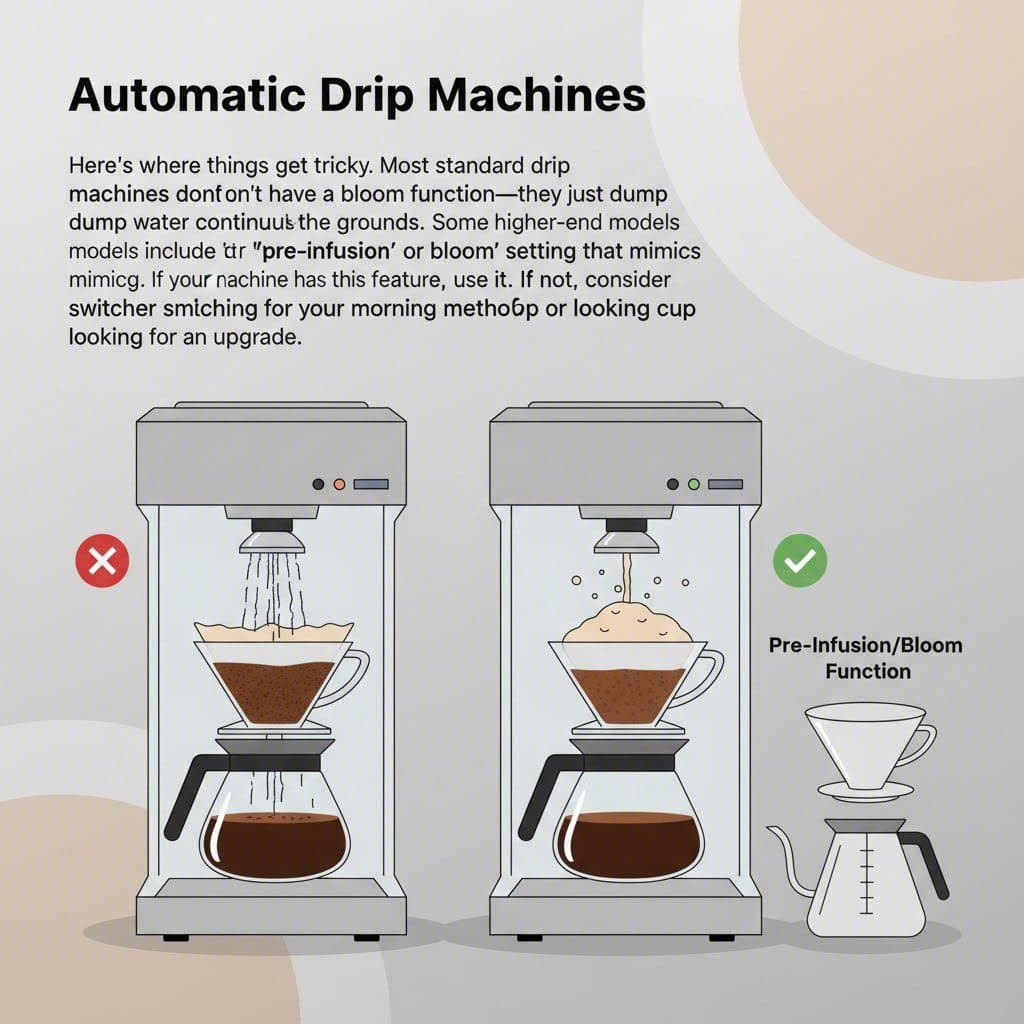
Here’s where things get tricky. Most standard drip machines don’t have a bloom function—they just dump water continuously over the grounds. Some higher-end models include a “pre-infusion” or “bloom” setting that mimics manual blooming. If your machine has this feature, use it. If not, consider switching to a manual method for your morning cup or looking for an upgrade.
Common Bloom Mistakes and How to Fix Them
Even experienced home brewers sometimes get the bloom wrong. Here are the most common issues I see.
Using Too Much or Too Little Water
The sweet spot is roughly 2:1 to 3:1 water-to-coffee ratio for the bloom. Too little water leaves dry pockets that won’t degas. Too much water essentially starts your brew early, giving you less control over total extraction time.
If you’re eyeballing it, aim to just cover all the grounds with a thin layer of water. You want them wet, not swimming.
Skipping the Bloom Entirely
Some recipes online skip the bloom to save time. In my experience, this is almost always a mistake with fresh coffee. Yes, it adds 30-45 seconds to your routine. Yes, it’s worth it.
The exception: if your coffee is quite stale and shows no bloom activity, you can skip this step since there’s little CO2 left to release.
Blooming Too Long or Too Short
Thirty seconds works for most situations. Very fresh coffee (under a week from roasting) might need 45-60 seconds. Going beyond a minute usually doesn’t help and can start extracting bitter compounds before you’ve added the rest of your water.
Watch your coffee. When the bubbling slows significantly and the grounds begin to settle, your bloom is complete.
Frequently Asked Questions
Does pre-ground coffee bloom?
Pre-ground coffee typically blooms much less than freshly ground beans. Because it’s been ground and exposed to air for longer, most of the CO2 has already escaped. You might see minimal bubbling, but the dramatic bloom of fresh coffee won’t happen. This is one reason freshly ground beans taste noticeably better.
Can you over-bloom coffee?
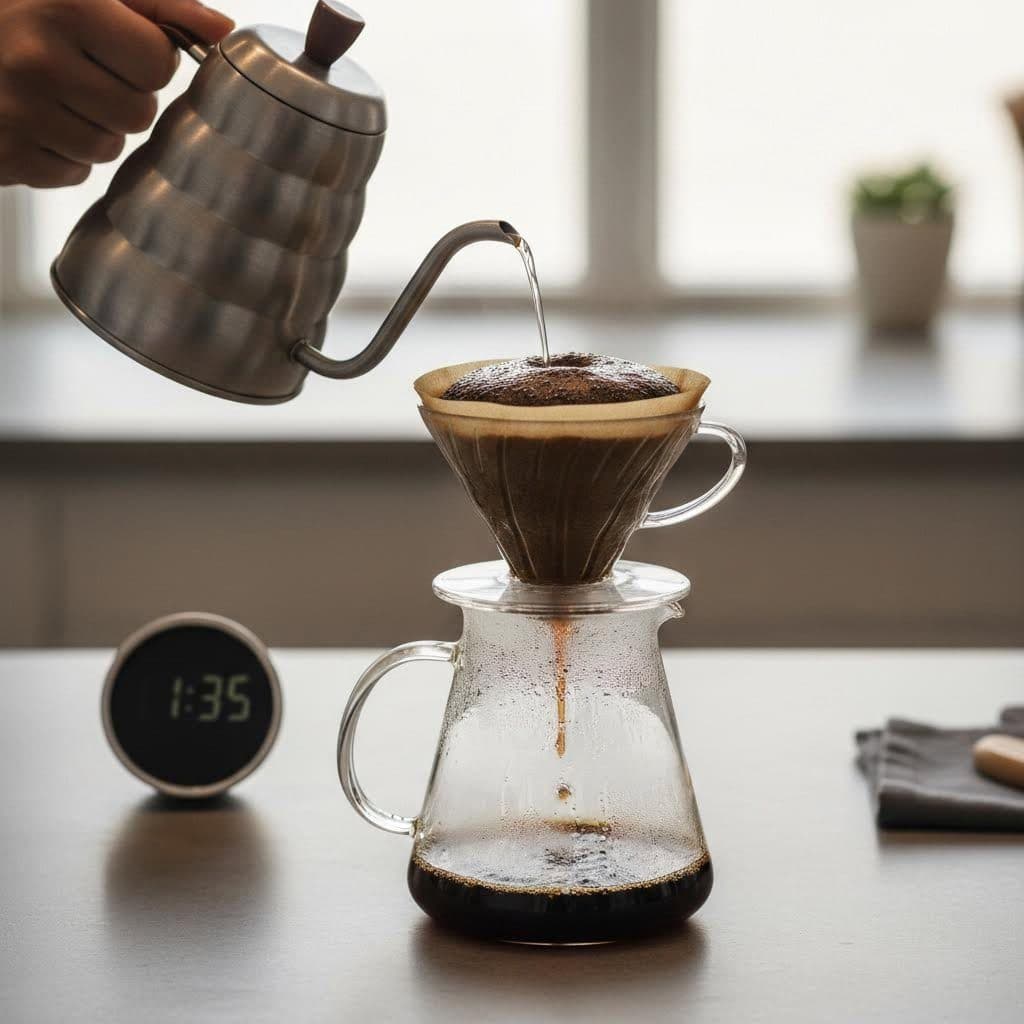
Yes, technically. If you let your bloom sit for several minutes, you’ll start extracting coffee compounds with too little water, which can lead to over-extraction of certain flavors. Stick to 30-60 seconds maximum for best results.
Why isn’t my coffee blooming at all?
If your coffee shows no bloom activity, it’s almost certainly stale. Coffee loses most of its CO2 within 2-4 weeks of roasting. Pre-ground coffee loses it even faster—sometimes within hours. Try buying whole beans from a local roaster and grinding fresh.
Does water temperature affect the bloom?
Absolutely. Hotter water releases CO2 faster, creating a more dramatic bloom. Water below 185°F (85°C) produces a sluggish bloom. This is one reason using properly heated water matters—not just for extraction but for effective degassing during the bloom phase.
Is blooming necessary for cold brew?
Cold brew doesn’t require blooming. The extended steeping time (12-24 hours) allows plenty of time for CO2 to release naturally. Plus, cold water extracts coffee compounds differently, making the bloom less relevant.
Summary: Making the Bloom Work for You
The bloom phase is one of those small steps that separates good coffee from great coffee. Those bubbles rising from your grounds aren’t just satisfying to watch—they’re proof that fresh coffee is releasing trapped gas, preparing for even extraction, and setting the stage for a balanced, flavorful cup.
Remember the basics: use about twice the coffee weight in water, wait 30-45 seconds, and make sure all grounds are saturated. Pay attention to how vigorously your coffee blooms—it’s giving you real-time feedback about freshness. And don’t skip this step, even when you’re in a hurry. Your taste buds will thank you.
Life is too short for bad coffee, and now you have one more tool to make sure every cup is better than the last. Start paying attention to your bloom tomorrow morning, and I think you’ll notice the difference immediately.


Comments