Table of Contents
- Why Does Moka Pot Coffee Taste Burnt?
- How to Fix Burnt-Tasting Moka Pot Coffee
- Use Medium-Low Heat
- Start With Pre-Heated Water
- Remove From Heat at the Right Moment
- Check Your Grind Size
- Don't Tamp the Grounds
- Common Moka Pot Myths That Lead to Burnt Coffee
- Myth: Higher Heat Means Stronger Coffee
- Myth: You Should Fill Water to the Brim
- Myth: Moka Pot Coffee Is Supposed to Taste Bitter
- The Perfect Moka Pot Brewing Method
- What You'll Need
- Step-by-Step Process
- Frequently Asked Questions
- Can I use espresso grounds in a Moka pot?
- Why does my Moka pot coffee taste metallic as well as burnt?
- Should I close or open the lid while brewing?
- How do I know when my Moka pot coffee is done?
- Can a damaged Moka pot cause burnt-tasting coffee?
- Summary and Your Next Steps
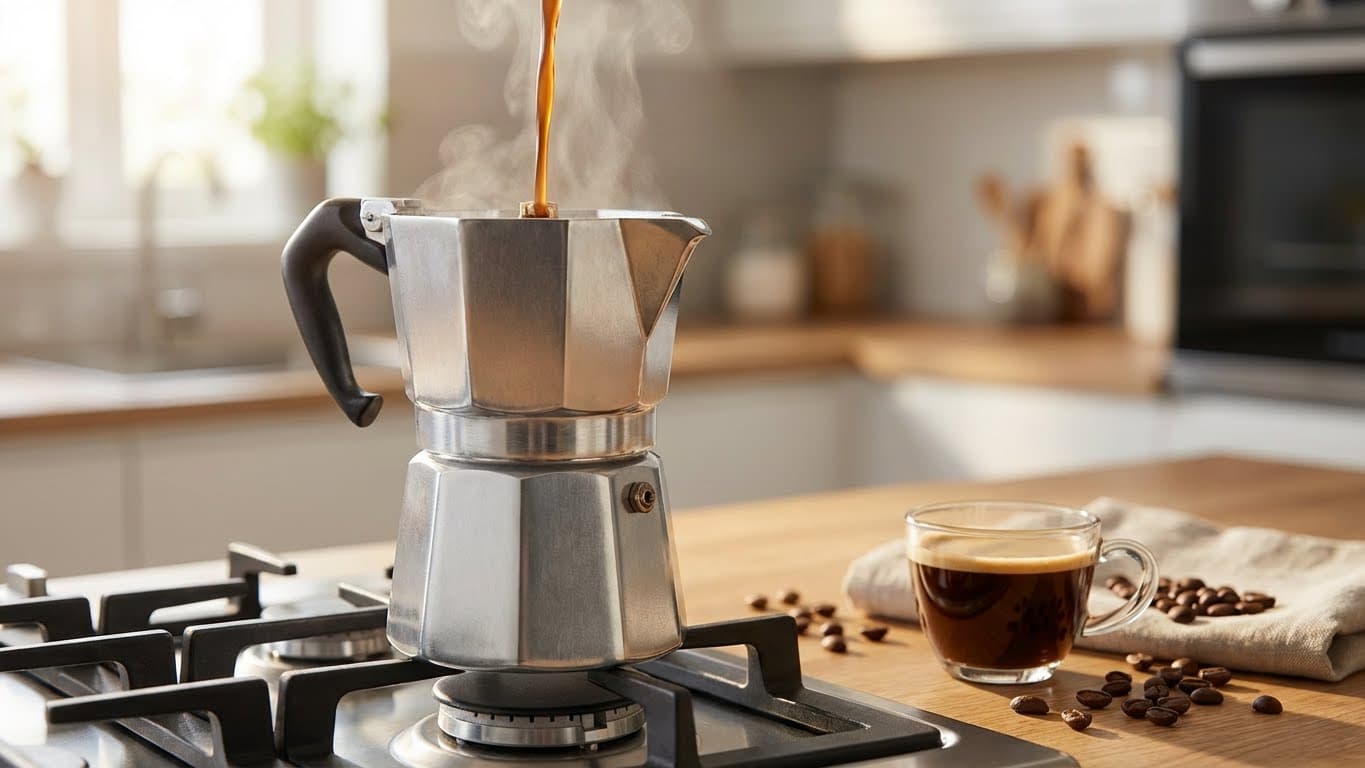
You’ve just brewed a fresh cup from your Moka pot, expecting that rich, bold Italian-style coffee you’ve been craving. Instead, you’re greeted with a harsh, bitter, almost burnt taste that makes you wince. Sound familiar? You’re not alone. Burnt-tasting Moka pot coffee is one of the most common complaints among home brewers, and the good news is that it’s almost always fixable.
In this guide, I’ll walk you through exactly why your Moka pot coffee tastes burnt and, more importantly, how to fix it. After years of experimenting with these stovetop brewers, I’ve found that a few simple adjustments can transform your brew from bitter disappointment to café-quality delight.
Why Does Moka Pot Coffee Taste Burnt?
Before we dive into solutions, let’s understand what’s actually happening inside your Moka pot. The burnt taste usually comes from one main culprit: excessive heat. When water gets too hot, it over-extracts the coffee grounds, pulling out harsh, bitter compounds that taste burnt or ashy.
Here are the most common reasons your Moka pot coffee ends up tasting burnt:
- Heat is too high: Cranking up the flame might seem like a time-saver, but it’s the number one cause of burnt coffee.
- Coffee grounds are too fine: Espresso-fine grounds create too much resistance, causing the water to overheat before it can push through.
- Leaving the pot on heat too long: Once brewing is complete, residual heat continues to “cook” your coffee.
- Starting with cold water: This extends brew time, exposing grounds to heat for longer than necessary.
- Old or stale coffee beans: Pre-ground coffee that’s been sitting around can taste burnt even with perfect technique.
Key Takeaway: Burnt Moka pot coffee is almost never about the pot itself—it’s about temperature control and timing.
How to Fix Burnt-Tasting Moka Pot Coffee
Now for the good news. With a few tweaks to your brewing routine, you can eliminate that burnt taste for good. Here’s what works:
Use Medium-Low Heat
This is the single most important change you can make. I know it feels counterintuitive, but lower heat produces better coffee. Set your burner to medium-low and let the brewing process happen slowly. You want a gentle, steady stream of coffee flowing into the upper chamber—not a violent, sputtering eruption.
Think of it this way: if your coffee is shooting out like a geyser, your heat is too high. If it’s flowing out smoothly like warm honey, you’re in the sweet spot.
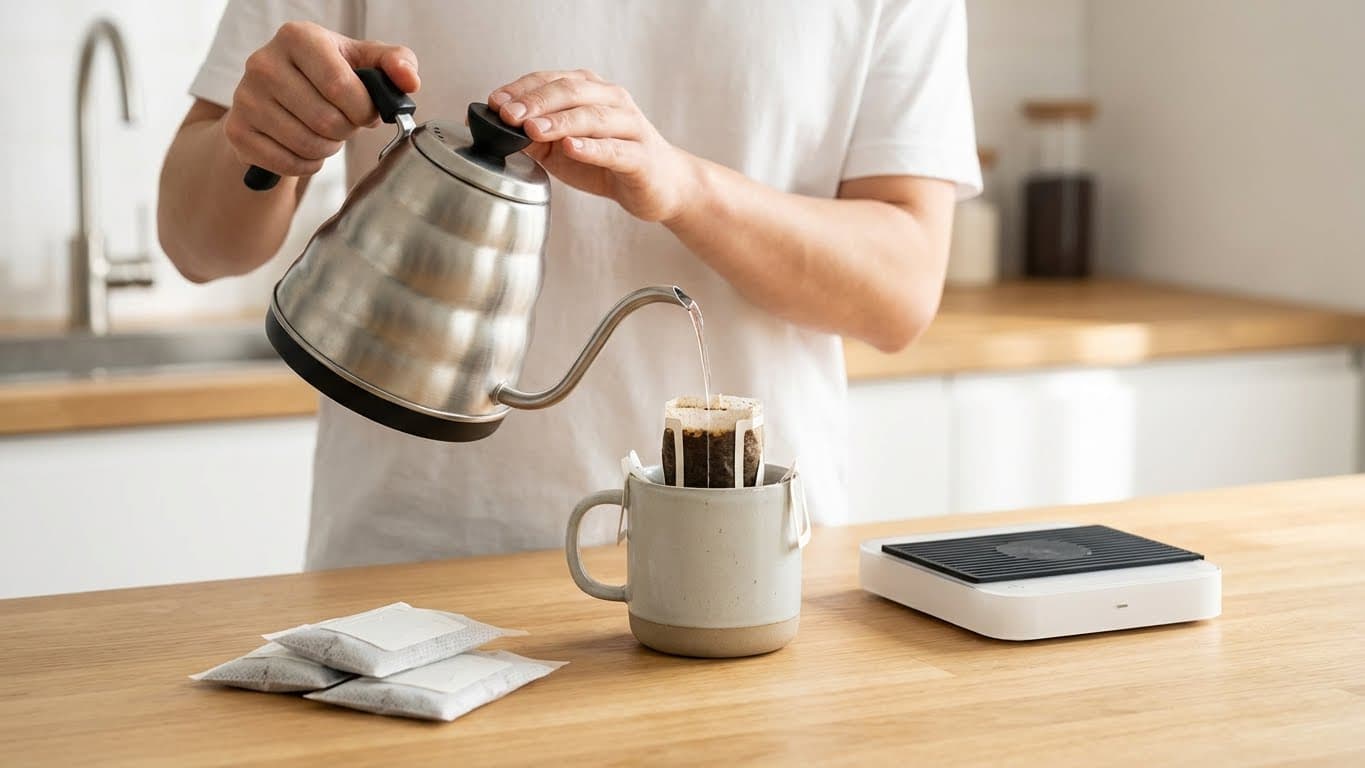
Start With Pre-Heated Water
Here’s a game-changer that many home baristas overlook. Fill your Moka pot’s bottom chamber with hot water from a kettle instead of cold tap water. Why? Because cold water needs to heat up before brewing begins, which means your coffee grounds are sitting on a hot surface, slowly roasting before extraction even starts.
Barista Tip: Use water that’s hot but not boiling—around 70°C (158°F) is ideal. This reduces total brew time and protects your grounds from excessive heat exposure.
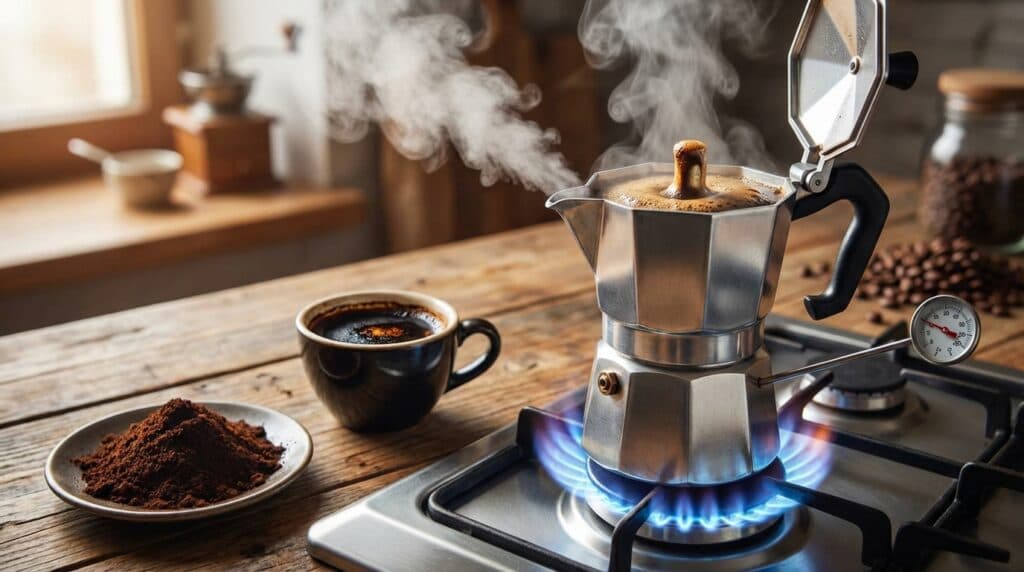
Remove From Heat at the Right Moment
Timing is everything. As soon as you hear that distinctive gurgling or hissing sound (the “Moka pot sneeze,” as I like to call it), remove the pot from the heat immediately. Don’t wait for every last drop to come through. That final sputtering phase is when the hottest, most bitter extraction happens.
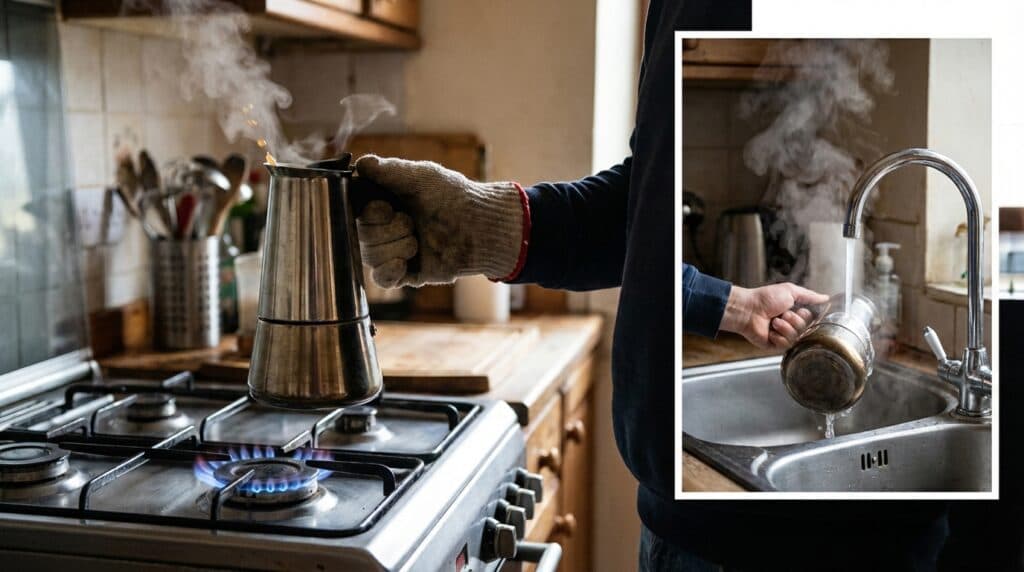
Better yet, run the bottom of the pot under cold water for a few seconds. This stops the extraction process instantly and prevents any residual heat from continuing to cook your coffee.
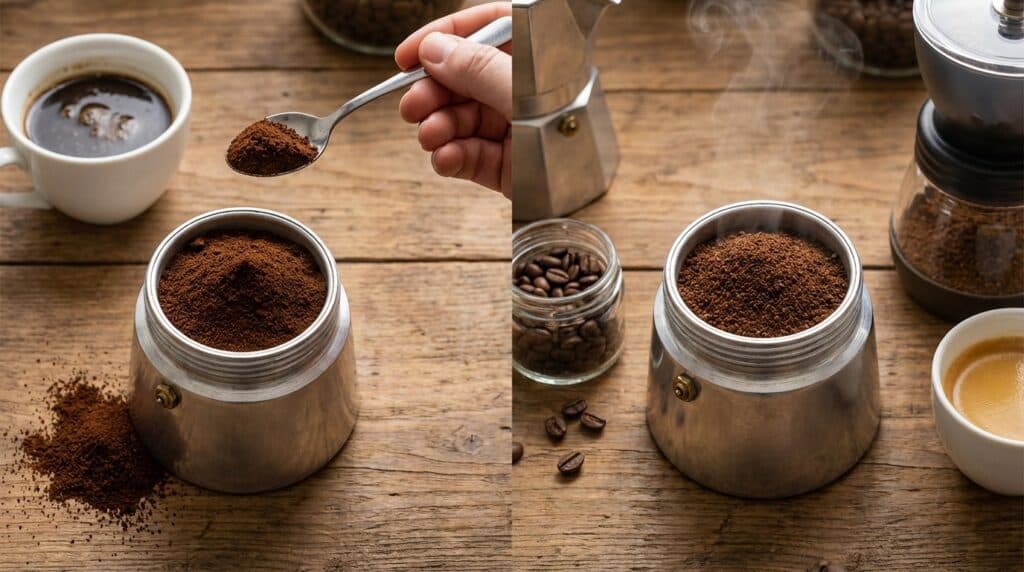
Check Your Grind Size
Moka pot coffee requires a specific grind size—coarser than espresso but finer than drip coffee. If you’re using pre-ground espresso coffee, it’s likely too fine. The water struggles to push through, builds up pressure, and overheats in the process.
Aim for a texture similar to table salt. If you don’t have a grinder, look for coffee specifically labeled for Moka pots or stovetop brewers.
Don’t Tamp the Grounds
Unlike espresso machines, Moka pots don’t need tamped coffee. Simply fill the filter basket and level it off with your finger. Tamping creates too much resistance, which—you guessed it—leads to overheating and burnt flavors.
Common Moka Pot Myths That Lead to Burnt Coffee
Let’s bust some myths that might be sabotaging your brew:
Myth: Higher Heat Means Stronger Coffee
False. Higher heat means burnt coffee. Strength comes from your coffee-to-water ratio and the quality of your beans, not from cranking up the flame. A slow, gentle extraction actually produces a more flavorful, complex cup.
Myth: You Should Fill Water to the Brim
Not quite. Fill the bottom chamber up to just below the safety valve—never above it. Overfilling can cause pressure issues and uneven extraction, contributing to off-flavors.
Myth: Moka Pot Coffee Is Supposed to Taste Bitter

Absolutely not. While Moka pot coffee is naturally stronger and more intense than drip coffee, it shouldn’t taste burnt or unpleasantly bitter. When brewed correctly, it should be rich, full-bodied, and smooth with pleasant bitterness balanced by sweetness and complexity.
Did You Know? A properly brewed Moka pot produces coffee with about half the caffeine concentration of espresso, but with a similar bold flavor profile. It’s often called “stovetop espresso” for this reason.
The Perfect Moka Pot Brewing Method
Let me share my go-to method that consistently produces smooth, never-burnt coffee:
What You’ll Need
- Moka pot (any size)
- Fresh medium-roast coffee beans
- Grinder (or pre-ground Moka pot coffee)
- Kettle for pre-heating water
- Stovetop
- Kitchen towel or oven mitt
Step-by-Step Process
- Boil water in a kettle and let it cool for about 30 seconds.
- Fill the bottom chamber with hot water up to just below the safety valve.
- Add medium-fine ground coffee to the filter basket—level but not tamped.
- Assemble the Moka pot using a towel to hold the hot bottom chamber.
- Place on medium-low heat with the lid open so you can watch the extraction.
- When coffee begins flowing steadily, reduce heat slightly if it’s sputtering.
- Remove from heat when you hear the gurgling sound begin.
- Run cold water over the bottom of the pot to stop extraction.
- Pour and enjoy immediately.
Taste Profile: When done right, expect a rich, full-bodied cup with notes of dark chocolate, nuts, and a pleasant sweetness. The bitterness should be balanced, not overwhelming.
Frequently Asked Questions
Can I use espresso grounds in a Moka pot?
You can, but it’s not ideal. Espresso grounds are typically too fine for Moka pots, which can lead to over-extraction and burnt flavors. Look for coffee ground specifically for Moka pots, or grind your own beans to a medium-fine consistency—slightly coarser than espresso.
Why does my Moka pot coffee taste metallic as well as burnt?
A metallic taste often comes from a dirty Moka pot or using the wrong type of water. Make sure you’re cleaning your pot regularly (with just water—no soap) and using filtered water. Hard tap water can leave mineral deposits that affect flavor.
Should I close or open the lid while brewing?
I recommend keeping the lid open during brewing. This lets you monitor the extraction and remove the pot from heat at exactly the right moment. Just be careful of any splattering near the end.
How do I know when my Moka pot coffee is done?
Listen for the gurgling or hissing sound—that’s your signal. The upper chamber should be about 80% full at this point. Don’t wait for the pot to completely finish sputtering; remove it from heat as soon as the gurgling starts.
Can a damaged Moka pot cause burnt-tasting coffee?
Yes, potentially. A worn gasket or clogged filter can affect pressure and extraction. Inspect your Moka pot regularly and replace the rubber gasket and filter plate every 6-12 months, depending on how often you brew.
Summary and Your Next Steps
Burnt Moka pot coffee is frustrating, but it’s one of the easiest brewing problems to fix. The key takeaways are simple: use lower heat, start with pre-heated water, and remove your pot from the burner the moment you hear that telltale gurgle. These three changes alone will dramatically improve your brew.
In my experience, most people are shocked by how much better their Moka pot coffee tastes once they slow down the process. It’s not about fancy equipment or expensive beans—it’s about respecting the brewing method and giving it the time and temperature it needs.
Try these adjustments with your next brew and taste the difference for yourself. Life is too short for burnt coffee, and your Moka pot is capable of producing something truly delicious. Now go make yourself a proper cup.

Comments