


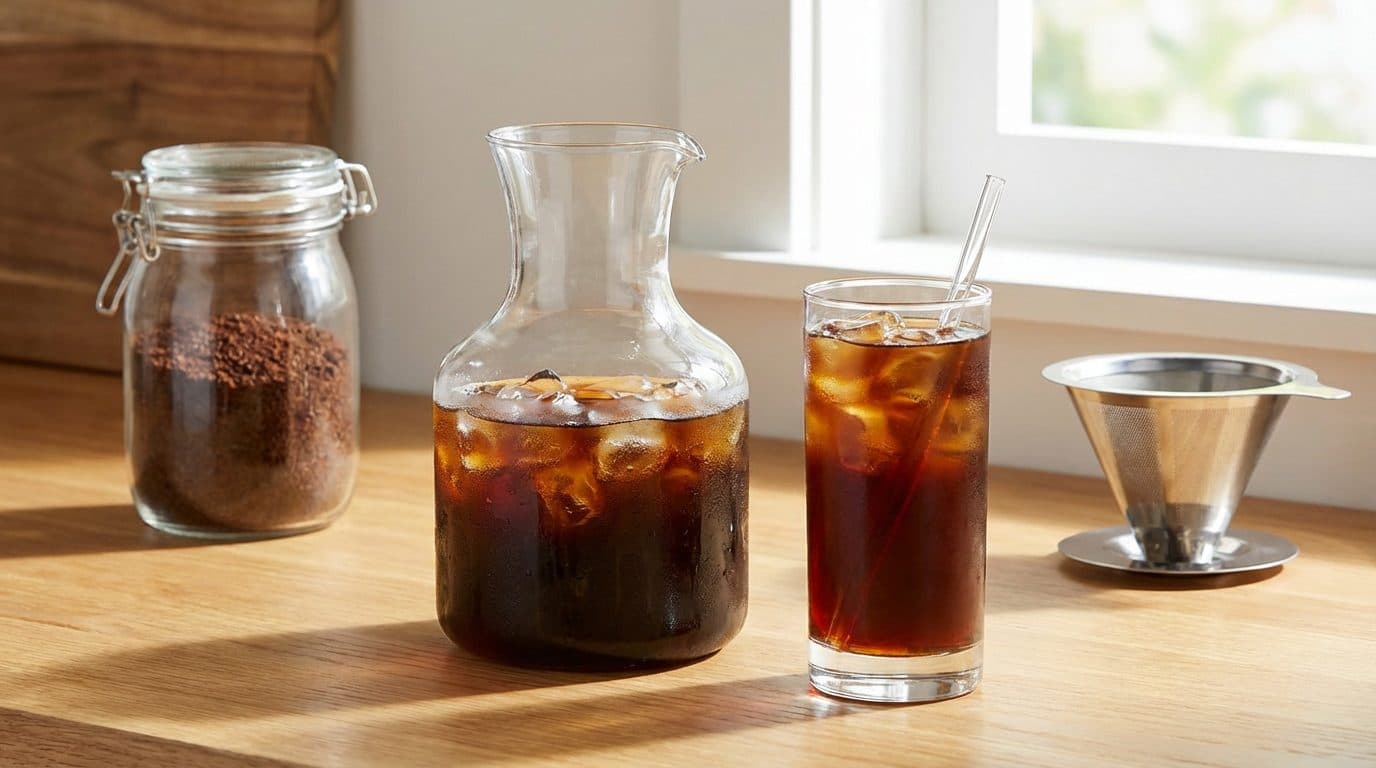
Table of Contents
- Quick Overview: Your Journey to Perfect Cold Brew Starts Here
- What You'll Need to Make Cold Brew Coffee
- Ingredients
- Gear
- Choosing the Right Coffee for Cold Brew
- Roast Level Recommendations
- Grind Size Matters
- Step-by-Step Cold Brew Coffee Instructions
- Step 1: Measure Your Coffee and Water
- Step 2: Combine Coffee and Water
- Step 3: Cover and Steep
- Step 4: Strain the Cold Brew
- Step 5: Store and Serve
- Common Cold Brew Mistakes and How to Avoid Them
- Mistake 1: Using the Wrong Grind Size
- Mistake 2: Not Steeping Long Enough
- Mistake 3: Skipping the Second Strain
- Mistake 4: Using Stale Coffee
- Frequently Asked Questions
- Is cold brew coffee stronger than regular coffee?
- Can I heat up cold brew coffee?
- How long does homemade cold brew last?
- Why does my cold brew taste watery?
- Can I use any type of coffee for cold brew?
- Conclusion: Start Your Cold Brew Journey Today
Quick Overview: Your Journey to Perfect Cold Brew Starts Here
Are you tired of spending $5 or more on cold brew coffee every time you visit your local café? Here’s a little secret I wish someone had told me years ago: making cold brew coffee at home is ridiculously simple, requires zero fancy equipment, and produces a smoother, less acidic cup than almost any other brewing method. The best part? Once you nail the basics, you’ll wonder why you ever bought it pre-made.
In this beginner guide, I’ll walk you through everything you need to know about making cold brew coffee at home. You’ll learn what equipment to grab, which coffee to use, the exact step-by-step process, and how to avoid the most common mistakes. Whether you’ve never brewed a cup in your life or you’re just new to the cold brew game, this guide has you covered.
What You’ll Need to Make Cold Brew Coffee
Before we dive into the brewing process, let’s gather our ingredients and gear. The beautiful thing about cold brew is its simplicity—you probably already have most of what you need sitting in your kitchen right now.
Ingredients
- Coarsely ground coffee: 1 cup (about 85 grams)
- Cold or room temperature filtered water: 4 cups (about 950 ml)
Gear
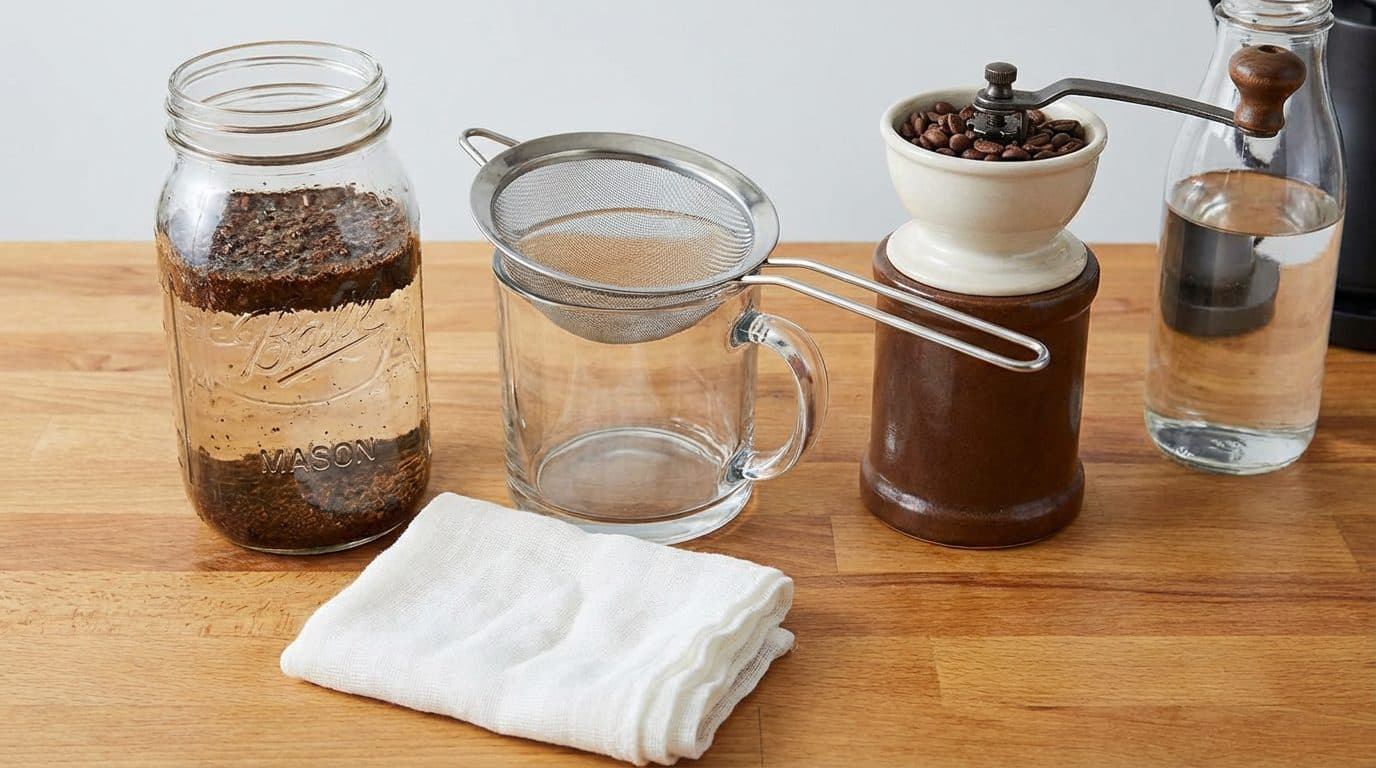
- A large jar or pitcher (Mason jars work perfectly)
- A fine-mesh strainer or cheesecloth
- A coffee grinder (if using whole beans)
- A second container for storing the finished cold brew
That’s it. No expensive cold brew makers, no special gadgets. I’ve been making cold brew for years, and honestly, my trusty Mason jar produces results just as good as any dedicated cold brew system I’ve tried.
Barista Tip: Always use filtered water. Tap water with heavy chlorine or mineral content can give your cold brew an off-taste. Since cold brew is about 98% water, the quality really matters.
Choosing the Right Coffee for Cold Brew
Not all coffee is created equal when it comes to cold brewing. The slow extraction process brings out different flavor notes compared to hot brewing methods, so your bean selection matters more than you might think.
Roast Level Recommendations
For beginners, I recommend starting with a medium to medium-dark roast. These roasts tend to produce a well-balanced cold brew with chocolatey, nutty notes and pleasant sweetness. Light roasts can work, but they often taste more acidic and tea-like in cold brew—not everyone’s cup of coffee, so to speak.
Dark roasts create bold, intense cold brew that’s great if you like your coffee strong. However, they can sometimes taste bitter if over-extracted, so you might need to experiment with steeping times.
Grind Size Matters
This is where many beginners go wrong. You want a coarse grind—think sea salt or raw sugar consistency. Here’s why this matters:
- Too fine: Over-extraction leads to bitter, muddy cold brew that’s hard to filter
- Too coarse: Under-extraction results in weak, sour-tasting coffee
- Just right: A coarse grind allows for smooth, balanced extraction over the long steeping time
If you’re buying pre-ground coffee, look for bags labeled “coarse grind” or “French press grind.” Better yet, grind your own beans fresh—the flavor difference is genuinely noticeable.
Step-by-Step Cold Brew Coffee Instructions
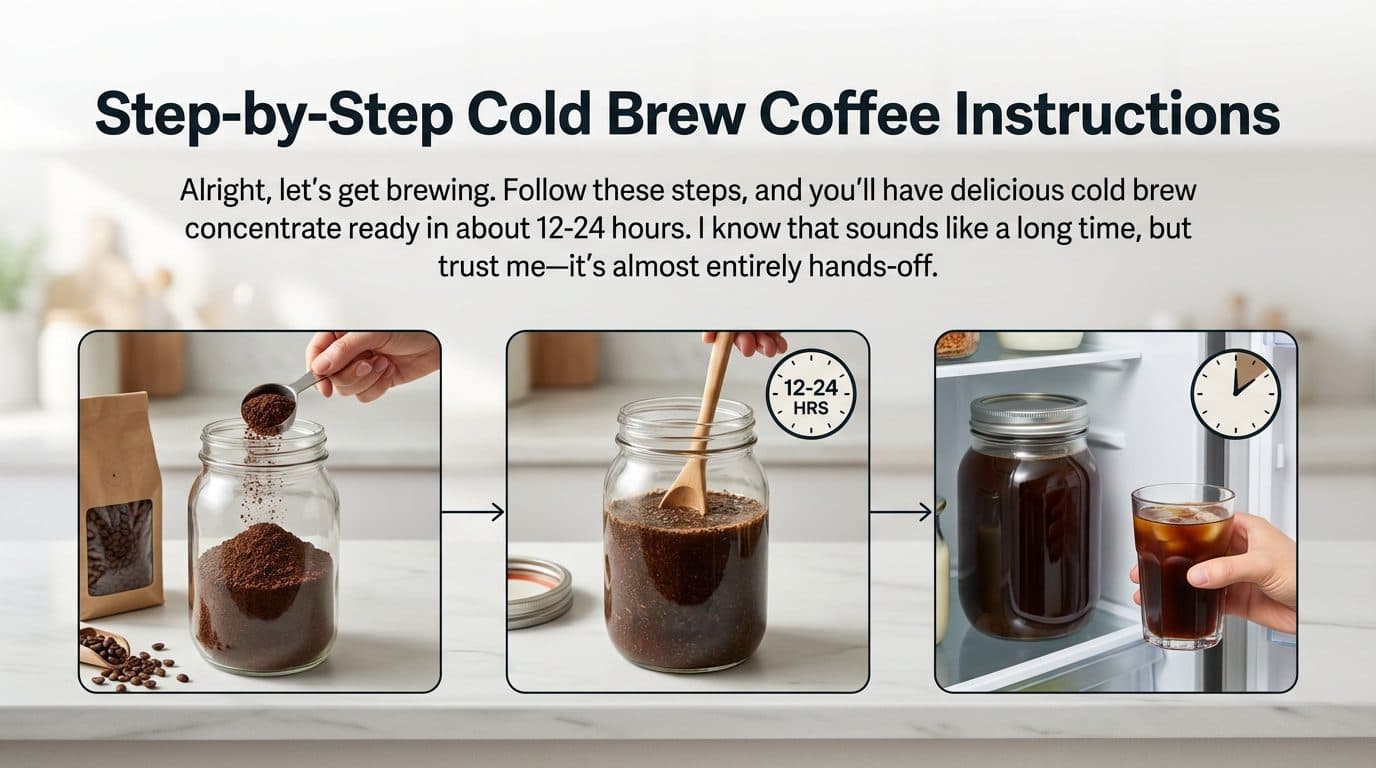
Alright, let’s get brewing. Follow these steps, and you’ll have delicious cold brew concentrate ready in about 12-24 hours. I know that sounds like a long time, but trust me—it’s almost entirely hands-off.
Step 1: Measure Your Coffee and Water
Start with a 1:4 ratio of coffee to water for concentrate. This means 1 cup of coarsely ground coffee to 4 cups of cold filtered water. This ratio produces a strong concentrate that you’ll dilute later—perfect for customizing strength to your taste.
Example: If you want a smaller batch, use ½ cup coffee to 2 cups water. The ratio stays the same regardless of batch size.
Step 2: Combine Coffee and Water
Add your coarsely ground coffee to your jar or pitcher. Pour the cold water over the grounds slowly, making sure all the coffee gets saturated. Give it a gentle stir with a spoon or chopstick to ensure there are no dry pockets hiding at the bottom.
In my experience, letting the grounds bloom for about 30 seconds before adding all the water can improve extraction slightly. Just add enough water to wet the grounds, wait, then pour the rest.
Step 3: Cover and Steep
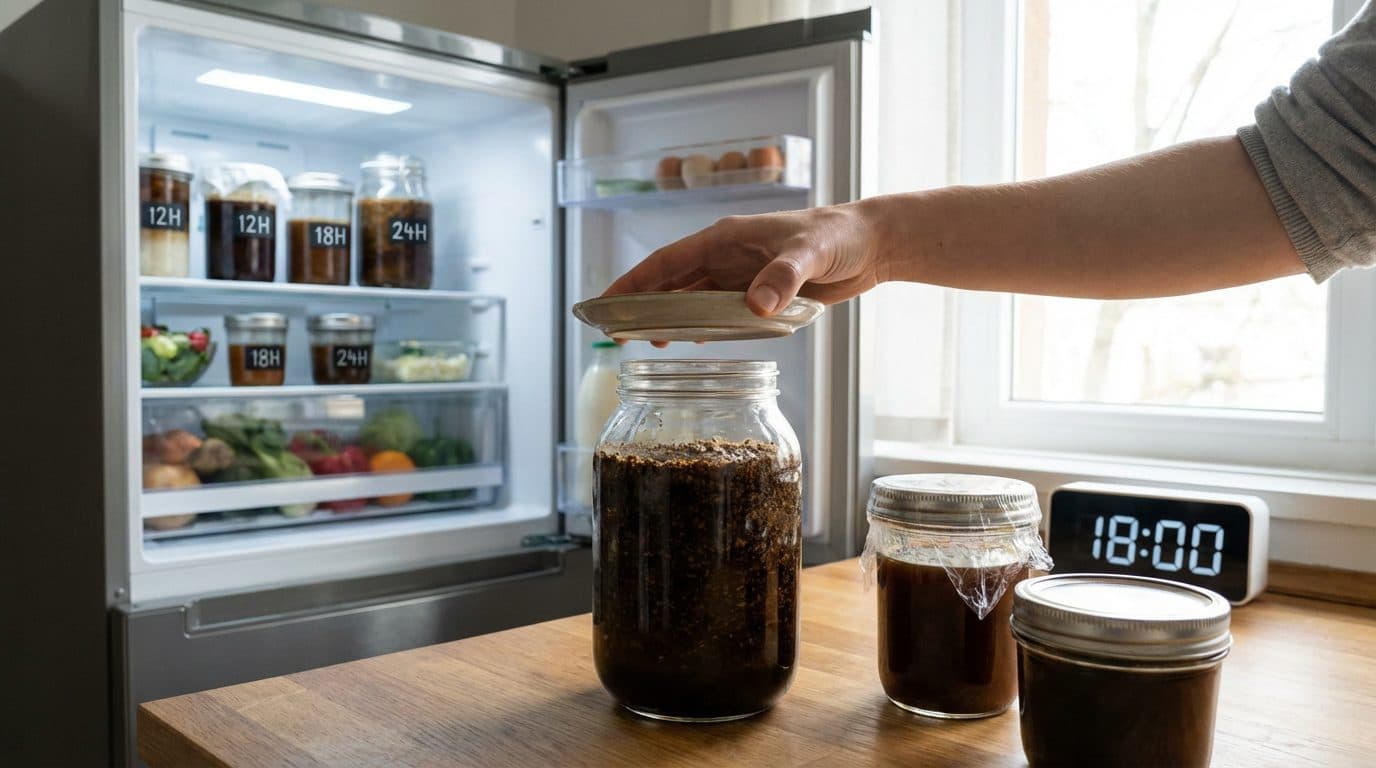
Cover your container with a lid, plastic wrap, or even a plate. Now comes the waiting game. Place your cold brew in the refrigerator and let it steep for 12 to 24 hours.
- 12 hours: Lighter, more delicate flavor
- 18-20 hours: The sweet spot for most people (this is my go-to)
- 24 hours: Maximum extraction, very bold and potentially bitter
You can also steep at room temperature if you prefer. It extracts faster (8-12 hours), but refrigerator steeping tends to produce a smoother, sweeter result.
Step 4: Strain the Cold Brew
Once your steeping time is complete, it’s time to separate the liquid gold from the grounds. Line your fine-mesh strainer with cheesecloth or a coffee filter, and place it over a clean jar or pitcher. Pour the cold brew through slowly.
Don’t rush this part. Let gravity do the work. Pressing or squeezing the grounds will push bitter compounds and fine sediment into your brew. If you want crystal-clear cold brew, strain it twice—once through the mesh strainer, then again through a paper coffee filter.
Step 5: Store and Serve
Transfer your strained cold brew concentrate to a clean, airtight container. Stored in the refrigerator, it’ll stay fresh for up to two weeks—though in my house, it rarely lasts more than a few days.
To serve, dilute the concentrate with water, milk, or your favorite milk alternative. I usually start with a 1:1 ratio (equal parts concentrate and water) and adjust from there. Pour over ice, and you’re done.
Taste Profile: Expect a smooth, naturally sweet flavor with low acidity. You’ll notice chocolate, caramel, or nutty notes depending on your beans. The cold extraction process reduces the harsh, bitter compounds found in hot-brewed coffee.
Common Cold Brew Mistakes and How to Avoid Them
I’ve made every cold brew mistake in the book so you don’t have to. Here are the most common pitfalls beginners encounter and how to sidestep them.
Mistake 1: Using the Wrong Grind Size
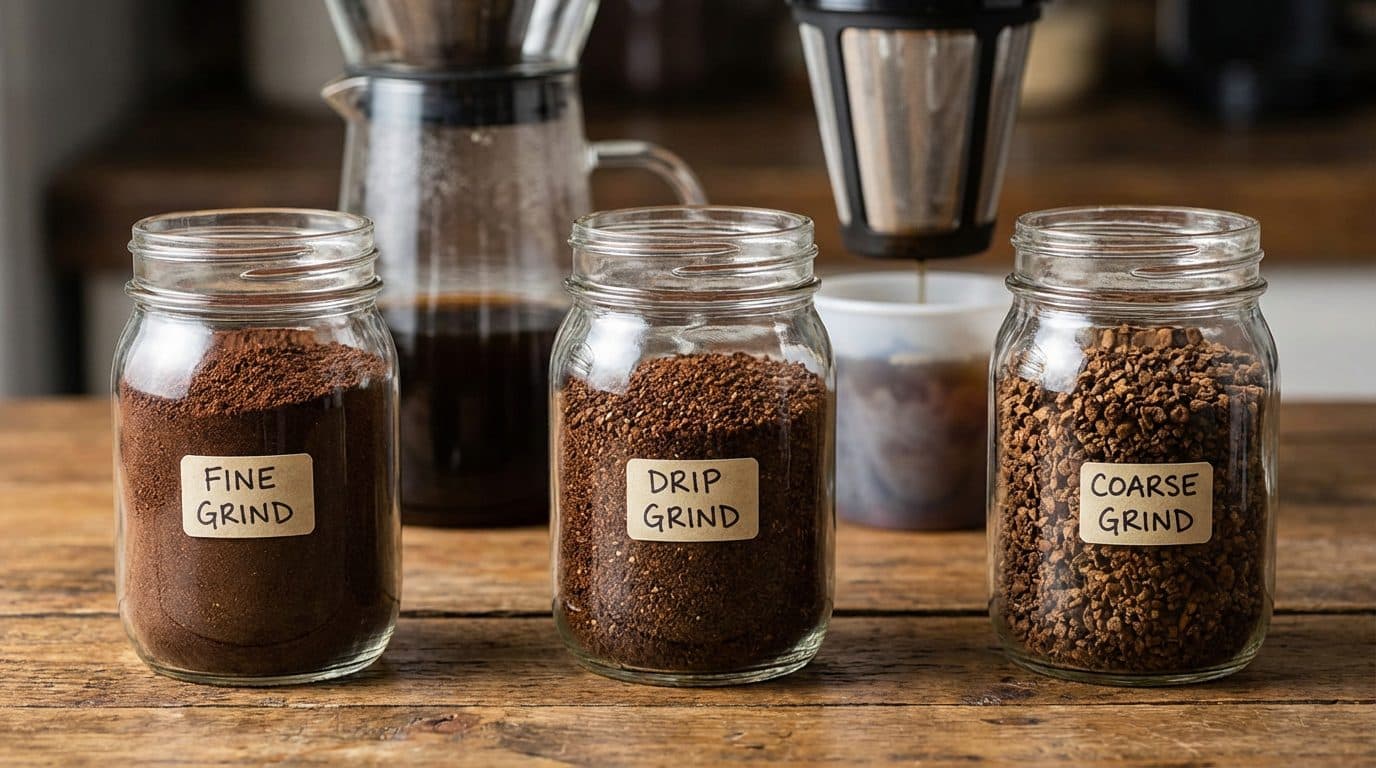
This is the number one culprit behind bad cold brew. Using fine espresso grind or even regular drip grind will result in over-extracted, bitter coffee that’s nearly impossible to filter. Stick with coarse—I can’t emphasize this enough.
Mistake 2: Not Steeping Long Enough
Impatience is the enemy of good cold brew. If you only steep for 6-8 hours, you’ll end up with weak, sour, underwhelming coffee. Set a timer and forget about it until it’s ready. Good things come to those who wait.
Mistake 3: Skipping the Second Strain
If your cold brew tastes gritty or looks cloudy, you probably need to filter it more thoroughly. That extra step of running it through a paper filter makes a huge difference in the final texture.
Mistake 4: Using Stale Coffee
Cold brew can’t perform miracles. If your beans are old and stale, your cold brew will taste flat and lifeless. Try to use coffee roasted within the last 2-4 weeks for best results.
| Problem | Likely Cause | Solution |
|---|---|---|
| Bitter taste | Over-extraction or too fine grind | Reduce steep time or use coarser grind |
| Weak/sour taste | Under-extraction | Steep longer or use slightly finer grind |
| Cloudy appearance | Poor filtration | Double strain through paper filter |
| Stale flavor | Old coffee beans | Use freshly roasted beans |
Frequently Asked Questions
Is cold brew coffee stronger than regular coffee?
Cold brew concentrate is stronger than regular drip coffee because it’s meant to be diluted. Once you add water or milk (usually 1:1), the caffeine content is comparable to or slightly higher than regular coffee. The smooth taste can be deceiving—it’s easy to drink a lot without realizing how much caffeine you’re consuming.
Can I heat up cold brew coffee?
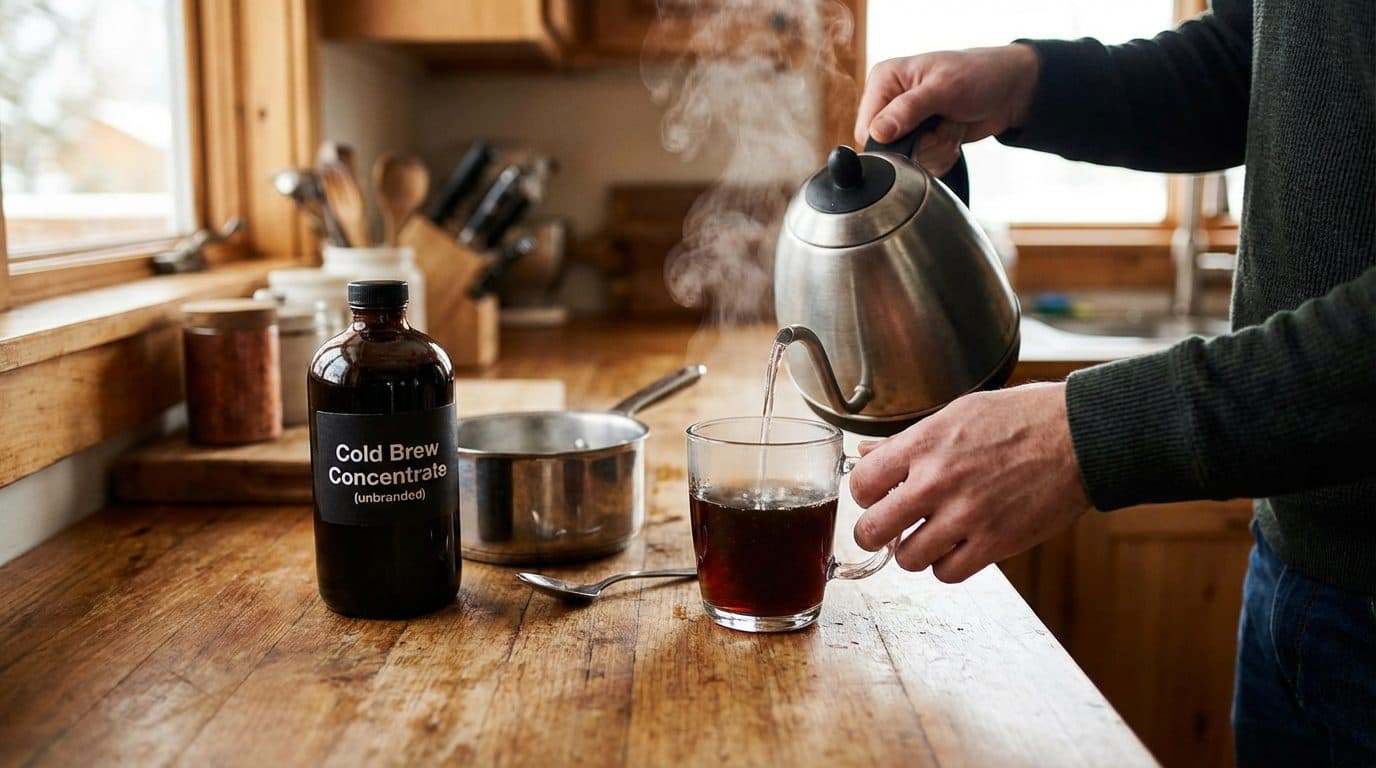
Absolutely! Cold brew concentrate can be diluted with hot water instead of cold for a smooth, low-acid hot coffee. It’s a great option for people who find regular hot-brewed coffee too harsh on their stomach.
How long does homemade cold brew last?
Properly stored cold brew concentrate lasts up to two weeks in the refrigerator. However, for the best flavor, I recommend drinking it within the first week. You’ll notice the taste starts to dull and oxidize after that.
Why does my cold brew taste watery?
Watery cold brew usually means you didn’t use enough coffee or you’ve diluted the concentrate too much. Try increasing your coffee-to-water ratio during brewing, or use less water/milk when serving.
Can I use any type of coffee for cold brew?
Technically yes, but single-origin medium roasts or blends specifically designed for cold brew will give you the best results. Avoid flavored coffees with artificial additives, as these can taste strange after long extraction.
Conclusion: Start Your Cold Brew Journey Today
Making cold brew coffee at home really is as easy as it sounds. With just coffee, water, a jar, and a bit of patience, you can create café-quality cold brew that rivals anything you’d buy at a coffee shop. The initial investment is minimal, the process is forgiving, and the payoff is absolutely worth it.
Start with the basic method I’ve outlined here, then experiment. Try different beans, adjust your steep time, play with ratios. That’s the beauty of being a home barista—every batch teaches you something new. So grab your favorite coffee, set up your first batch tonight, and wake up tomorrow to smooth, refreshing cold brew that you made yourself. Life is too short for bad coffee, and now you know exactly how to make sure yours never is.


Comments