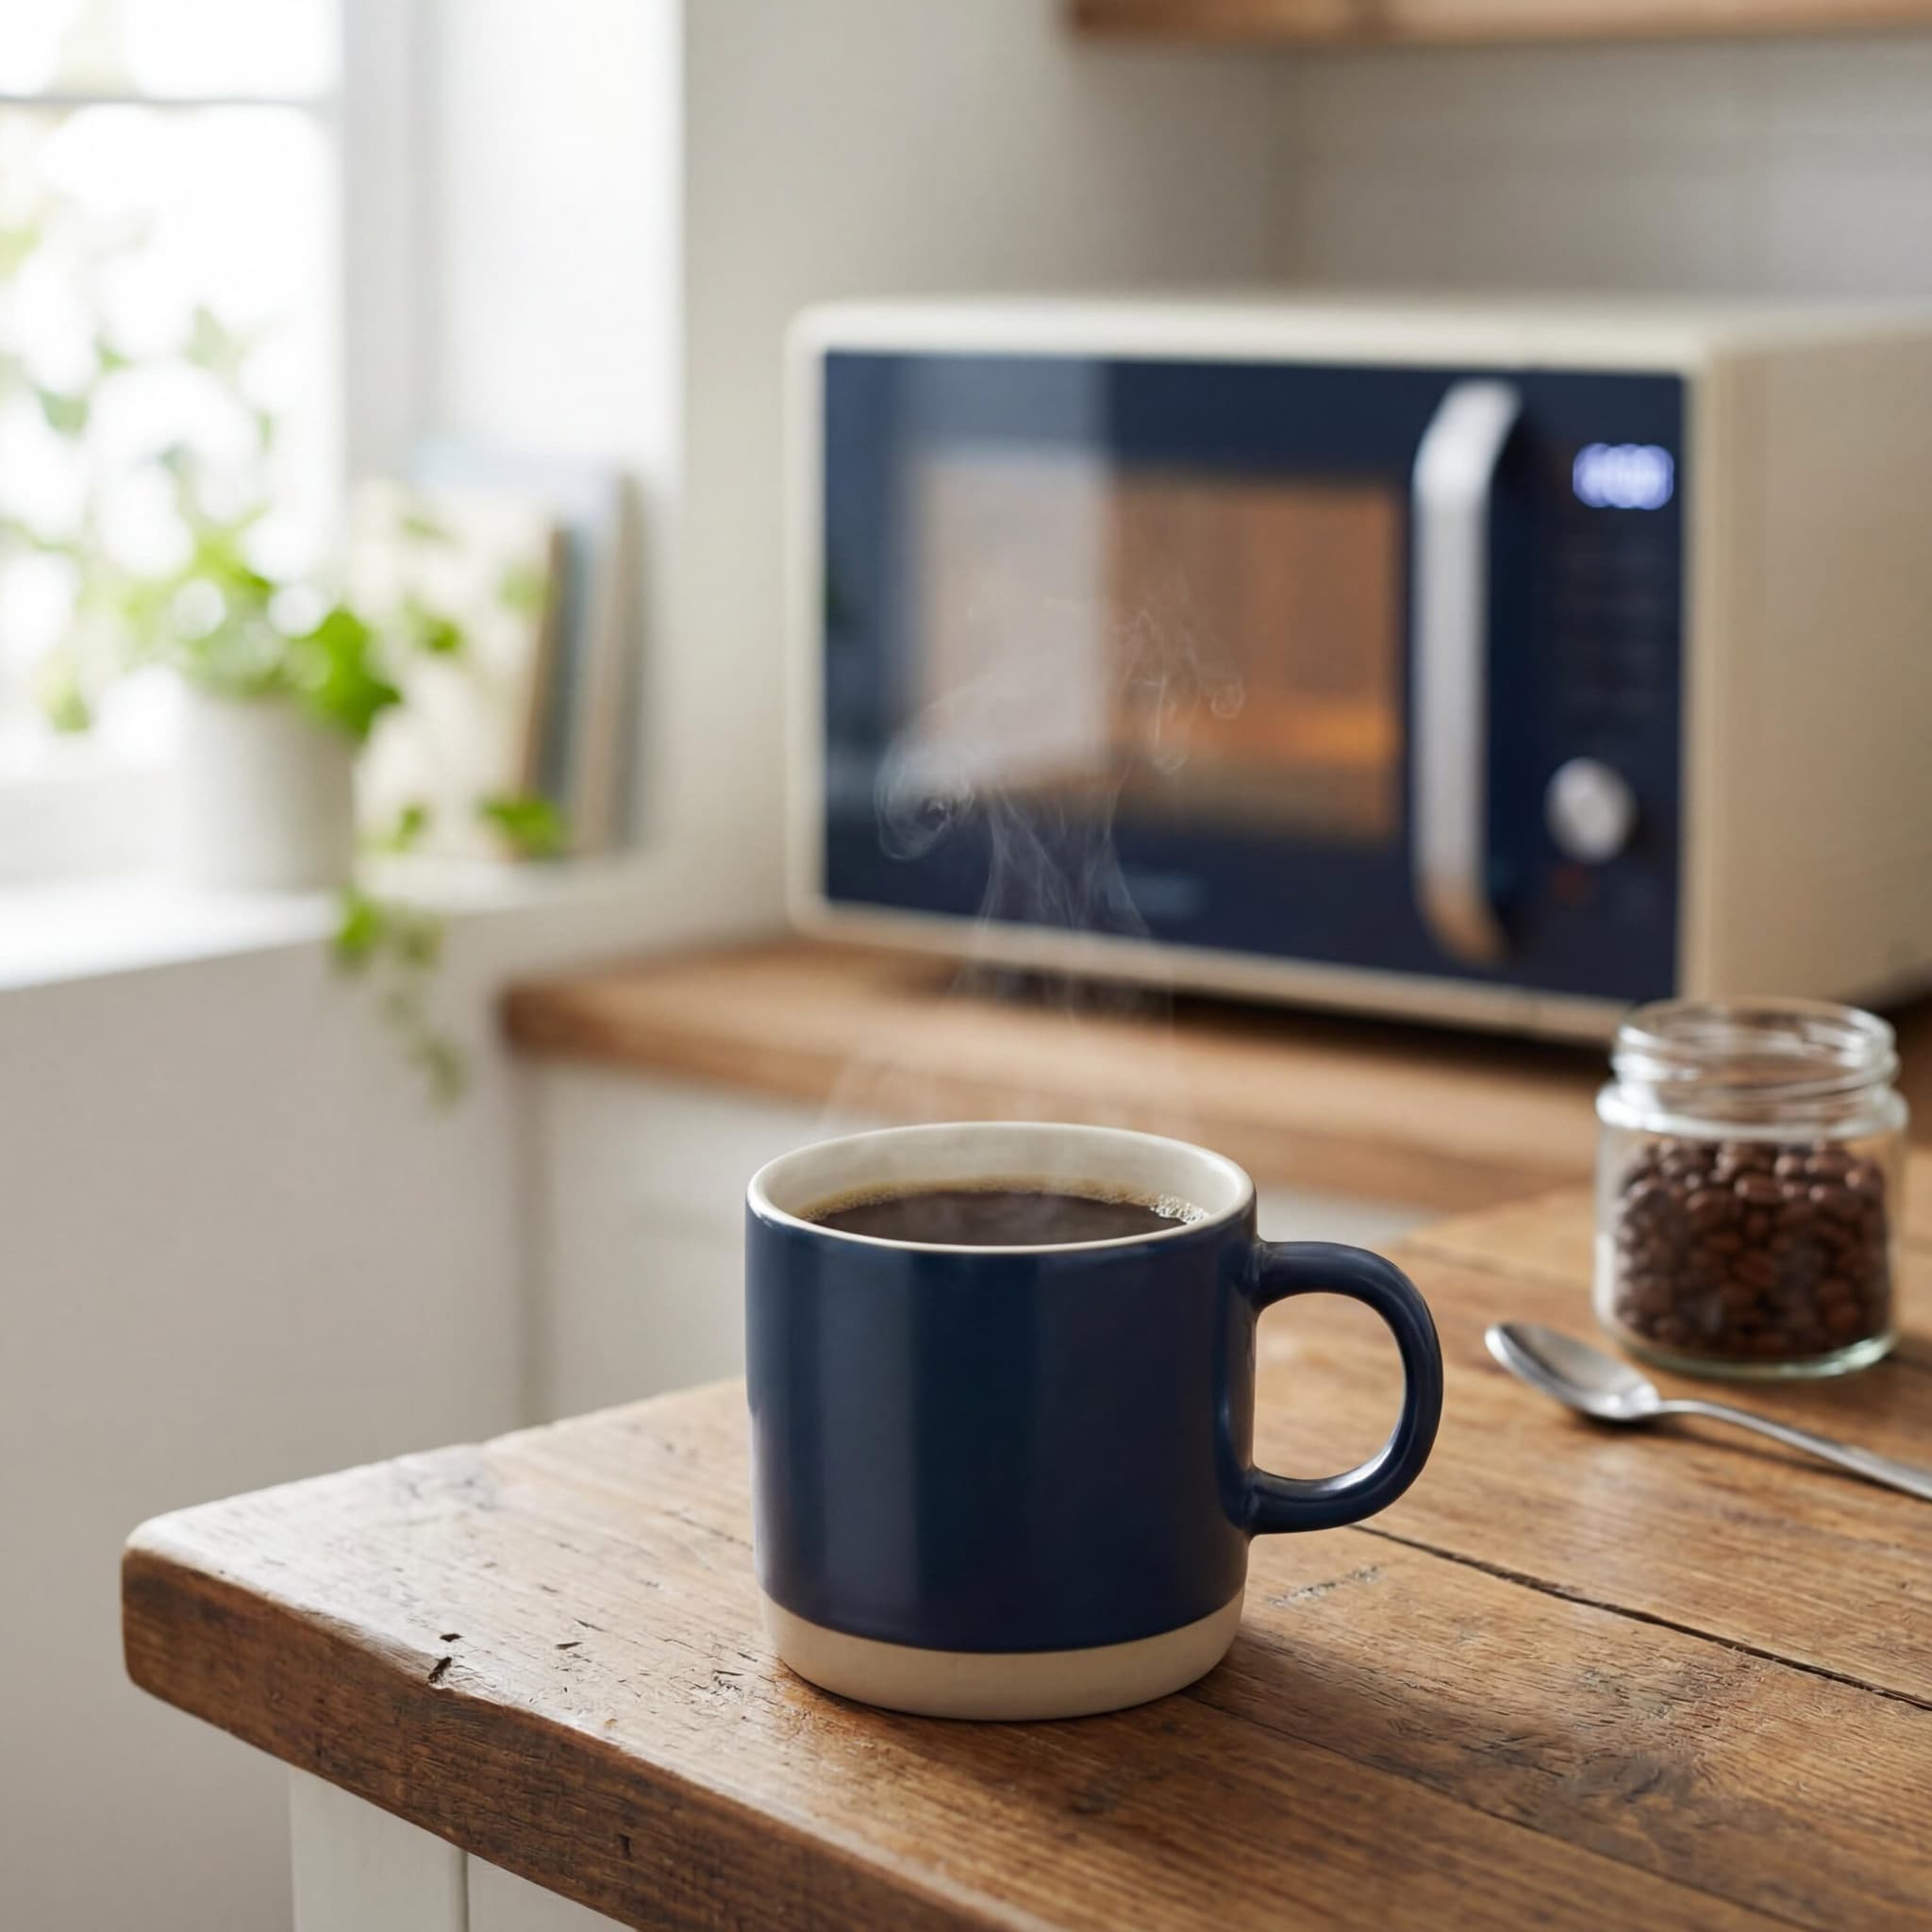
What if you’re craving a hot cup of coffee but don’t have a coffee maker, French press, or any fancy equipment? Maybe you’re in a hotel room, a dorm, or your coffee machine just broke down at the worst possible moment. Good news: you can make coffee at home using only a microwave and a mug. It’s not the most glamorous method, but it works, and the results can be surprisingly decent when you follow the right steps.
In this guide, you’ll learn exactly how to brew coffee with nothing more than a microwave, a mug, and some ground coffee. We’ll cover the basic technique, tips to improve the taste, common mistakes to avoid, and a few variations to try. By the end, you’ll have a reliable backup method for those moments when you need caffeine but lack the tools.
What You Need to Make Coffee in a Microwave
The beauty of this method is its simplicity. You don’t need to buy anything special or wait for a delivery. Here’s your basic supply list:
A microwave-safe mug – Avoid metal or cups with metallic decorations.
Ground coffee – Medium to coarse grind works best, but any grind will do in a pinch.
Water – Filtered water tastes better, but tap water is fine.
A spoon – For stirring and optionally for holding back the grounds.
Optional: a paper towel or coffee filter – Helps strain the grounds if you have one handy.
That’s it. No special gadgets, no electricity beyond what powers your microwave, and no complicated setup. If you can boil water, you can make this work.
Step-by-Step Guide to Making Microwave Coffee
Now let’s walk through the actual process. It takes about five minutes from start to finish, and once you’ve done it a couple of times, it becomes second nature.
Step 1: Heat the Water
Fill your mug about three-quarters full with water. You want to leave room for the coffee grounds and some expansion. Place the mug in the microwave and heat it on high for about 1.5 to 2 minutes. The exact time depends on your microwave’s power—you’re aiming for hot but not violently boiling water.
A quick tip: place a wooden stir stick or a microwave-safe object in the water to prevent superheating. Superheated water can suddenly erupt when disturbed, and that’s a mess you don’t want.
Step 2: Add the Coffee Grounds
Once the water is hot, carefully remove the mug using a towel or oven mitt. Add about 1 to 2 tablespoons of ground coffee, depending on how strong you like it. A good starting point is 1.5 tablespoons for a standard 8-ounce mug.
Give the mixture a gentle stir to make sure all the grounds get wet. You’ll notice the coffee starting to bloom and release its aroma almost immediately.
Step 3: Let It Steep
Here’s where patience comes in. Let the coffee sit for about 3 to 4 minutes. This allows the hot water to extract the flavors from the grounds. If you like stronger coffee, you can steep a bit longer—up to 5 minutes—but going beyond that can make your brew bitter.
During this time, the grounds will slowly settle to the bottom. Resist the urge to stir again, as you want the grounds to sink.
Step 4: Strain or Settle
You have two options here. The easiest approach is to simply let the grounds settle completely and drink carefully, avoiding the last sip where the sediment collects. This is the “cowboy coffee” style, and it works perfectly well.
If you prefer a cleaner cup, you can pour the coffee through a paper towel, coffee filter, or fine mesh strainer into another mug. This removes most of the grounds and gives you a smoother drinking experience.
Step 5: Add Your Extras and Enjoy
Now it’s time to customize. Add milk, cream, sugar, or whatever you normally put in your coffee. Give it a final stir, and you’re ready to drink.
Tips for Better-Tasting Microwave Coffee
Making coffee in a microwave is straightforward, but a few small adjustments can significantly improve the final result. Here are some tricks worth trying:
Use fresh coffee – Pre-ground coffee loses flavor quickly. If possible, use grounds that haven’t been sitting in your pantry for months.
Don’t overheat the water – Water that’s too hot (over 200°F/93°C) can scorch the coffee and create bitter flavors. Aim for hot but not boiling.
Grind coarser if you can – Coarse grounds settle faster and are easier to separate from your drink. Fine grounds tend to stay suspended and make the coffee gritty.
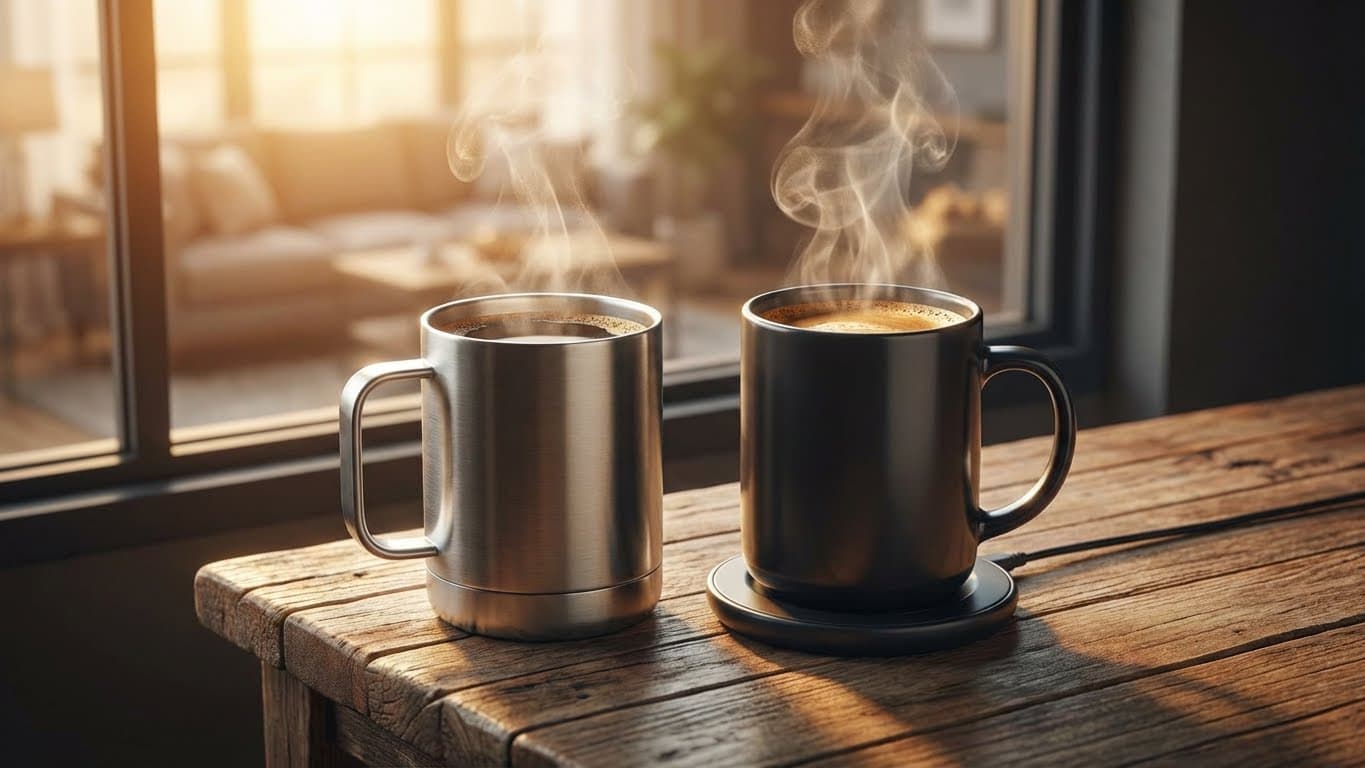
Preheat your mug – Run hot water over the mug before starting to keep your coffee warmer longer.
Experiment with ratios – Everyone’s taste is different. Start with 1.5 tablespoons per cup and adjust from there.
In short: good coffee is about using decent ingredients and not rushing the process. Even with a microwave, you can get a satisfying cup if you pay attention to these details.
Common Mistakes to Avoid When Making Microwave Coffee
While this method is simple, there are a few pitfalls that can ruin your brew. Let’s look at the most common ones so you can steer clear.
Using Boiling Water Directly on Grounds
If you add grounds to water that’s actively bubbling, you’ll extract too much bitterness too quickly. Let the water rest for 30 seconds after microwaving before adding your coffee.
Steeping Too Long
More time doesn’t mean more flavor—it means more bitterness. After about 4 to 5 minutes, you’re pulling out compounds that taste harsh and unpleasant. Set a timer if you’re prone to getting distracted.
Stirring Too Much
One initial stir is enough. Constant stirring keeps the grounds suspended and makes it harder to separate them from your drink. Let gravity do its work.
Using a Dirty Mug
This might seem obvious, but coffee picks up flavors easily. If your mug has residue from soup or something else, you’ll taste it. Start with a clean vessel.
Ignoring Water Quality
Coffee is mostly water, so bad-tasting tap water means bad-tasting coffee. If your tap water has a noticeable chlorine or mineral taste, consider using filtered or bottled water.
Variations to Try with Your Microwave Coffee
Once you’ve mastered the basic technique, you might want to experiment a bit. Here are some ideas to keep things interesting:
Instant coffee upgrade – If you only have instant coffee, the microwave method still applies. Just dissolve the instant granules in your hot water—no steeping required.
Microwave mocha – Add a teaspoon of cocoa powder and some sugar to your finished coffee for a simple homemade mocha.
Spiced coffee – Add a pinch of cinnamon or a tiny bit of vanilla extract to the grounds before steeping for a subtle flavor twist.
Iced coffee hack – Make your microwave coffee a bit stronger than usual, let it cool for a few minutes, then pour it over a glass full of ice.
These variations work best when you’ve already gotten comfortable with the basic process. Don’t try to get too fancy on your first attempt—nail the fundamentals first.
Frequently Asked Questions
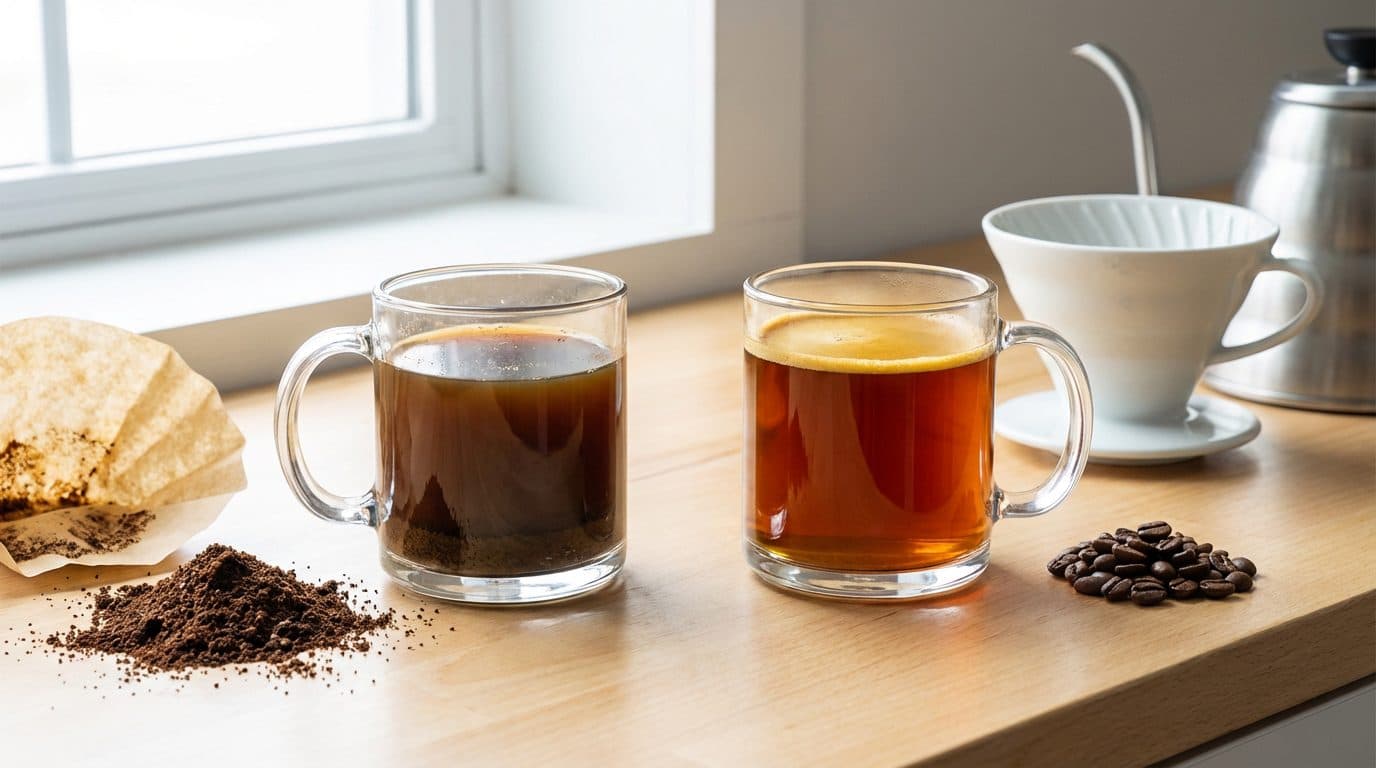
Is microwave coffee as good as regular brewed coffee?
Honestly, it’s not going to rival a carefully prepared pour-over or a high-end espresso machine. But it’s perfectly acceptable for everyday drinking, especially when you have no other options. Many people find it comparable to basic drip coffee.
Can I use instant coffee in the microwave instead of ground coffee?
Yes, instant coffee works great with this method. Just heat your water, add the instant coffee granules, stir, and you’re done. No steeping or straining necessary.
How do I avoid getting coffee grounds in my drink?
Let the coffee steep undisturbed so the grounds settle to the bottom. Drink slowly and stop before you reach the last few sips. Alternatively, strain the coffee through a paper towel or filter into a second mug.
What’s the best coffee-to-water ratio for microwave coffee?
Start with about 1.5 tablespoons of ground coffee per 8 ounces of water. Adjust based on your taste—use more for stronger coffee or less for a milder cup.
Is it safe to heat water in a microwave?
Yes, but be careful of superheating. Always place something non-metallic in the water (like a wooden stick) or don’t heat it for too long. Let the water sit for a moment before adding coffee or removing it from the microwave.
Conclusion and Final Thoughts
Making coffee at home using only a microwave and a mug isn’t just possible—it’s practical. Whether you’re in a pinch without equipment, traveling light, or just curious about alternative brewing methods, this technique delivers a drinkable cup with minimal effort. The keys are simple: use hot (not boiling) water, don’t over-steep, and let the grounds settle before drinking.
Next time you find yourself without a coffee maker, don’t panic. Grab your mug, heat some water, and follow the steps above. With a little practice, you might even start to appreciate the simplicity of this no-fuss approach. Give it a try tomorrow morning and see how it compares to your usual routine—you might be pleasantly surprised.


Comments