


Table of Contents
- What You'll Need to Get Started
- Essential Gear
- Ingredients for One Cup
- Understanding the Golden Ratio
- Step-by-Step: Brewing Your First Pour-Over
- Common Beginner Mistakes (and Quick Fixes)
- Sour, Acidic, or Weak Coffee
- Bitter, Harsh, or Astringent Coffee
- Inconsistent Results Day to Day
- Flat, Stale Taste
- What Good Coffee Should Taste Like
- Myth vs. Reality
- Frequently Asked Questions
- How long do coffee beans stay fresh?
- Do I really need a scale?
- What's the best brewing method for beginners?
- Why does my coffee taste different from the café?
- Your Next Step
- Beginner Decision Map
- Sources and Method Notes
For one pour-over trial, start with 15 grams of medium-ground coffee and 250 grams of water near 93°C (200°F). Treat the dose, temperature, and four-minute target as a starting recipe for the specific dripper and coffee, not proof that it will outperform a café or another brewer.
If a grinder is the next purchase, use the specification-based grinder guide to compare adjustment range, intended brew methods, capacity, maintenance, parts support, and current local price.
Equipment, coffee, water, dose, grind, temperature, contact time, and technique can all change the cup. A beginner can make useful progress by measuring the recipe and changing one variable at a time instead of assuming either price or technique alone determines quality.
This guide walks through everything you need to brew your first great cup at home, with specific numbers you can actually follow—not vague advice like “use good beans.”
What You’ll Need to Get Started
Forget the gadget rabbit hole for now. Here’s the minimal setup that actually matters:
Essential Gear
- A brewing device: A simple pour-over dripper, French press, or automatic drip machine all work. Pick one.
- A kitchen scale: Measuring coffee and water by weight makes the starting recipe repeatable. Check current local prices and verify that the scale resolution suits the dose.
- A kettle: Any kettle works, though a gooseneck gives more control for pour-overs.
- A timer: Your phone works perfectly.
- Coffee with traceable packaging: Prefer a visible roast or packing date, keep the bag sealed away from heat and moisture, and use aroma and brewed flavor rather than a universal week cutoff.
- A grinder (optional at first): Grinding exposes more surface area and aroma changes begin after grinding, but no universal minute cutoff predicts cup quality. Compare freshly ground and packaged ground coffee with the same recipe before buying.
Ingredients for One Cup

- 15g coffee (about 3 tablespoons, but weigh it)
- 250g water (about 250ml or 8.45 US fluid ounces)
That’s a 1:16.7 ratio—a reliable starting point. Prefer stronger coffee? Try 1:15. Like it lighter? Go 1:17 or 1:18.
Understanding the Golden Ratio
Coffee brewing is extraction: hot water pulls soluble compounds from ground coffee. Extract too little, and you get sour, thin, underdeveloped flavors. Extract too much, and bitterness and astringency take over.
The ratio of coffee to water determines strength (how concentrated the brew is), while grind size, water temperature, and brew time control extraction (how much flavor you pull out).
| Ratio | Strength | Best For |
|---|---|---|
| 1:15 | Strong | Bold, intense cups; milk-based drinks |
| 1:16 to 1:17 | Medium | Balanced everyday brewing |
| 1:18 | Light | Delicate, tea-like brews; light roasts |
Start at 1:16 or 1:17. Adjust based on taste, not guesswork.
Step-by-Step: Brewing Your First Pour-Over

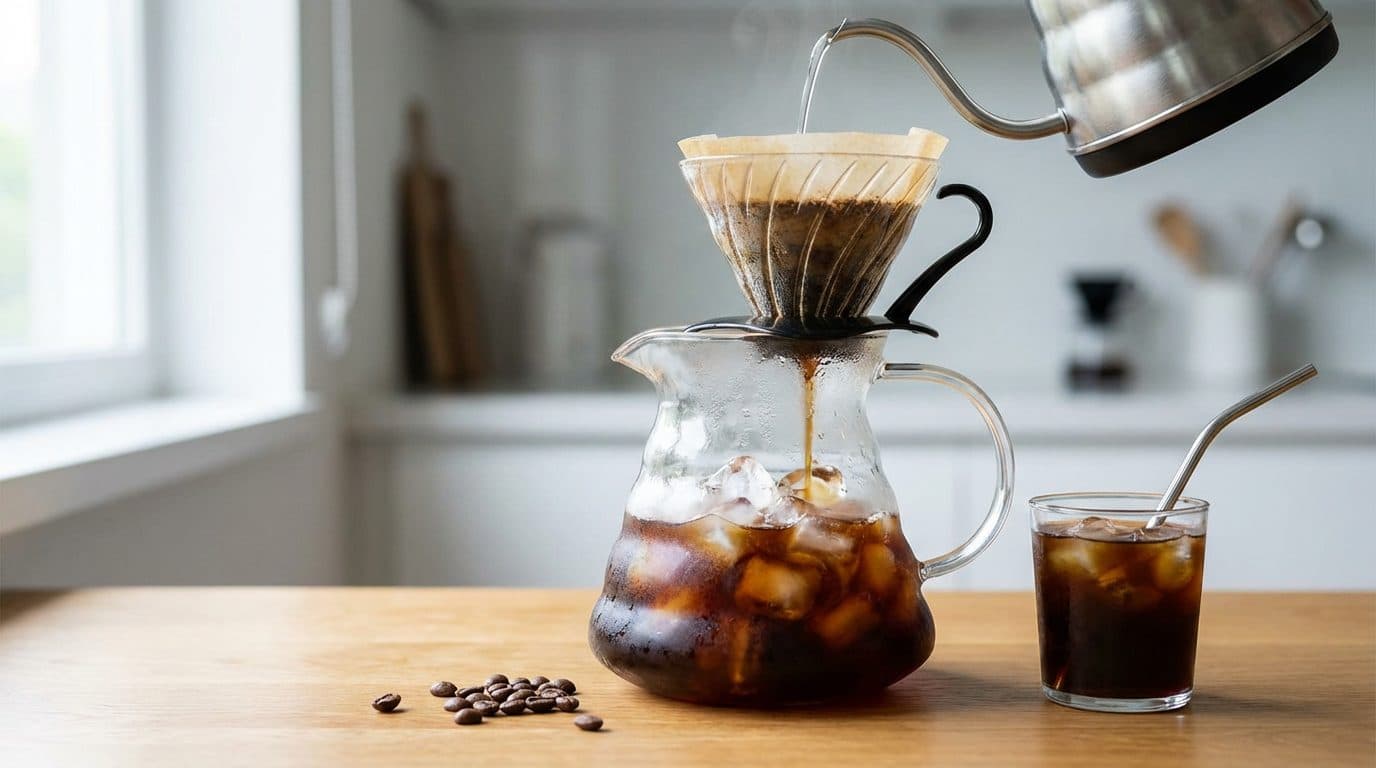
Pour-over exposes pour rate, grind, and contact time, which makes it useful for learning controlled adjustments. A French press reduces pouring complexity, while an automatic drip machine prioritizes repeatability; choose the workflow you will actually repeat.
- Heat your water to 90°C-96°C (195°F-205°F). If you don’t have a thermometer, bring water to a boil and let it rest for 30-45 seconds.
- Weigh 15g of coffee beans. Grind them to a medium consistency—roughly the texture of coarse sand or sea salt.
- Place a paper filter in your dripper and rinse it with hot water. This removes papery taste and preheats the brewer. Discard the rinse water.
- Add ground coffee to the filter and shake gently to level the bed.
- Start your timer and pour 30-40g of water over the grounds. This is the “bloom”—CO2 escapes from fresh coffee, and you’ll see the grounds puff up and bubble.
- Wait 30-45 seconds. Let the bloom finish degassing.
- Pour the remaining water slowly in circular motions. Aim for the center, working outward, avoiding the edges of the filter. Keep the water level consistent—don’t flood it, don’t let it drain completely between pours.
- Use 3:00-4:00 as this recipe’s first drawdown window. Record the actual time and taste. Change grind in a small step only after keeping dose, water, and pouring pattern stable.
Barista Tip: During the bloom, give the dripper a gentle swirl to ensure all grounds are saturated—dry pockets create uneven extraction and muddy flavors.
Common Beginner Mistakes (and Quick Fixes)
Most brewing problems trace back to the same few errors. Here’s how to diagnose and fix them:
Sour, Acidic, or Weak Coffee
Symptom: Sharp, unpleasant sourness; thin body; tastes underdeveloped.
Possible causes: Low extraction can contribute to sharp sourness, but weak flavor can also reflect a low coffee dose, uneven wetting, water chemistry, or the coffee itself.
Controlled test: Keep dose, water, temperature, and pouring stable, then move the grind one small step finer. Rebrew and compare before changing another variable.
Bitter, Harsh, or Astringent Coffee
Symptom: Dry, puckering sensation; unpleasant bitterness that lingers.
Possible causes: High extraction can contribute to astringency or harshness, but roast development, water, agitation, uneven flow, and coffee choice can also affect bitterness.
Controlled test: Keep the recipe stable and move the grind one small step coarser. Rebrew and compare before changing contact time or temperature.
Inconsistent Results Day to Day
Symptom: Great cup Monday, terrible cup Tuesday, using the same beans.
Cause: You’re eyeballing instead of measuring.
Fix: Use a scale. Every time. Weigh coffee and water to the gram.
Flat, Stale Taste

Symptom: Coffee tastes dull, cardboard-like, or just “off.”
Cause: Old beans or pre-ground coffee that’s lost its aromatics.
Controlled test: Check the package date and storage, smell the coffee, then compare it with a newly opened bag using the same recipe. No universal four-to-six-week cutoff predicts every coffee’s sensory condition.
What Good Coffee Should Taste Like
Forget the idea that coffee should taste like “coffee.” Well-brewed coffee has distinct flavors that vary by origin, roast, and preparation.
A properly extracted cup should have:
- Balanced acidity: Bright and pleasant, like biting into a ripe fruit—not sour like vinegar.
- Sweetness: Subtle, but present. Good extraction brings out natural sugars.
- Clean finish: Flavors that fade gracefully, not a bitter aftertaste that clings to your tongue.
- Body: A sense of weight or texture in your mouth, from light and tea-like to rich and syrupy.
Flavor can vary with variety, region, processing, roast, storage, water, and recipe. Country names alone do not guarantee chocolate, citrus, berries, caramel, nuts, or stone-fruit notes; use the roaster’s lot information as a hypothesis and record what you actually taste.
Myth vs. Reality

- Myth: Boiling water burns coffee.
Reality: Water at 100°C won’t “burn” coffee, but it can over-extract quickly. The 90°C-96°C range gives more control and forgiveness. - Claim to test: Roast color alone predicts caffeine.
Context: Caffeine depends on species, coffee mass, roast loss, grind, extraction, and serving size. Do not infer a universal caffeine result from “light” or “dark” on the bag. - Claim to test: Price predicts the preferred cup.
Context: Compare current specifications, temperature stability, flow, capacity, maintenance, and repeatability. Neither price nor technique alone proves which brewer will perform better. - Claim to test: Pleasant-tasting tap water guarantees a preferred brew.
Context: Disinfectants, hardness, alkalinity, and other dissolved material can change extraction and flavor. Compare the same recipe with safe drinking water of known composition before assigning the cause.
Frequently Asked Questions
How long do coffee beans stay fresh?
There is no universal two-to-eight-week freshness clock. Roast, packaging, oxygen, temperature, moisture, grinding, and personal preference change the sensory timeline. Follow the package instructions, keep daily-use coffee sealed away from heat and moisture, and compare aroma and flavor over time. If freezing, use a moisture-resistant sealed portion and avoid repeated thawing and refreezing.
Do I really need a scale?
Technically, no. Practically, yes. Coffee beans vary in density, so “two tablespoons” can mean wildly different amounts by weight. A scale removes guesswork and makes your results repeatable.
What’s the best brewing method for beginners?
Pour-over teaches fundamentals, but a French press is more forgiving—coarse grind, four minutes, press, done. Automatic drip machines work too, especially models with thermal carafes that don’t burn coffee on a hot plate.
Why does my coffee taste different from the café?
Some cafés use commercial grinders and documented dial-in routines, but equipment and practice vary. At home, record coffee, water, ratio, grind, temperature, contact time, and tasted result; the comparison should be made cup by cup rather than promised in advance.
Your Next Step
For the first logged trial, weigh 15g of coffee with a visible package date, grind it medium, and brew with 250g of water using the stated starting temperature. Record time, aroma, acidity, bitterness, sweetness, body, and strength.
Then adjust one variable and rebrew. A small grind change is one useful first test, but sourness or bitterness can also reflect roast, water, flow, temperature, agitation, dose, or the coffee itself. Record the result before changing ratio or another variable.
That feedback loop is the transferable skill; it improves diagnosis without guaranteeing that every cup will improve.
Beginner Decision Map
| Decision | Practical first step | Keep stable |
|---|---|---|
| Choose a brewer | Compare French press and pour-over workflows; use automatic drip when hands-off repeatability matters. | Coffee and finished drink size |
| Set strength | Use the method-specific ratio calculator. | Grind, temperature, and contact time |
| Diagnose flavor | Change grind one small step, rebrew, and log the result. | Dose, water, pouring, and brewer |
| Maintain equipment | Follow the brewer and grinder manufacturer’s cleaning instructions. | Cleaning product and rinse procedure |
Sources and Method Notes
- Specialty Coffee Association: two-cup pour-over best-practice starting protocol
- Specialty Coffee Association: brew temperature, strength, extraction, and sensory research
- Specialty Coffee Association: literature review on roasted-coffee staling
- Specialty Coffee Association: water chemistry and coffee taste


Comments