Is your morning coffee routine feeling a bit stale, especially when the weather warms up? You’re not alone. Millions of coffee lovers swap their hot lattes for iced versions as soon as temperatures rise—but paying $6 or more at a café every day adds up fast. The good news? Learning how to make an iced latte at home with espresso is surprisingly simple, and the results can rival (or even beat) your favorite coffee shop.
In this guide, I’ll walk you through everything you need to create a perfectly balanced, refreshing iced latte in your own kitchen. You’ll discover the essential gear, the exact steps to follow, and the little tricks that separate a mediocre iced coffee from something truly special. Whether you’re a home espresso beginner or someone looking to up their game, this one’s for you.
What You’ll Need to Make an Iced Latte at Home
Before we dive into the steps, let’s gather everything you’ll need. One thing I’ve learned over years of making coffee at home: preparation makes all the difference. Having your ingredients and gear ready means you won’t be scrambling mid-brew.
Ingredients
Freshly roasted coffee beans – About 18-20 grams for a double shot of espresso. Medium to dark roasts work beautifully for iced lattes.
Cold milk – Around 8-10 ounces. Whole milk gives the creamiest texture, but oat milk is my personal favorite for iced drinks.
Ice cubes – A generous handful, roughly 1 cup. Larger cubes melt slower and dilute your drink less.
Sweetener (optional) – Simple syrup, vanilla syrup, or your preferred sweetener. Granulated sugar doesn’t dissolve well in cold drinks, so liquid sweeteners are the way to go.
Gear
Espresso machine – Any home espresso machine capable of pulling a proper shot will work. Moka pots or AeroPress can substitute in a pinch.
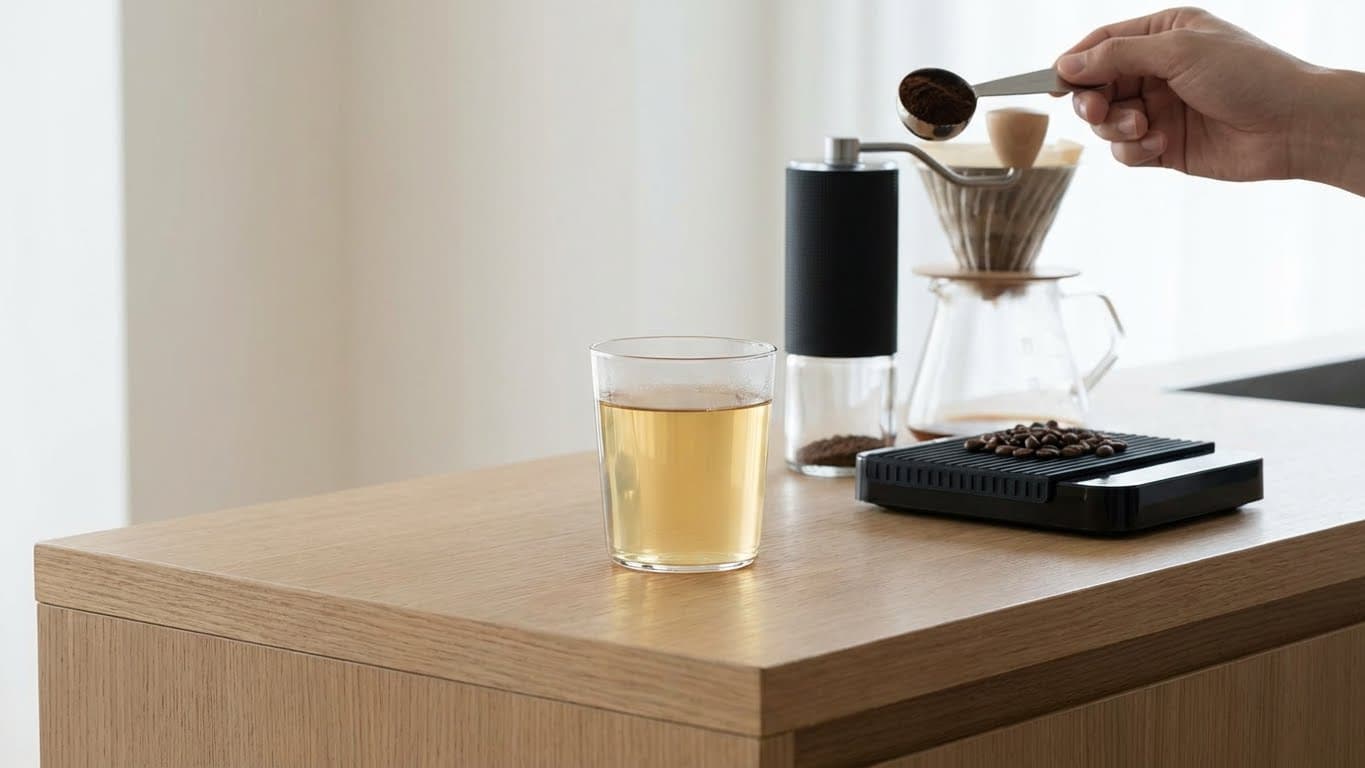
Coffee grinder – A burr grinder is ideal for consistent espresso grounds.
Tall glass – 12-16 ounces is the sweet spot.
Spoon or stirrer – For mixing everything together.
Measuring tools – A scale for coffee and a measuring cup for milk help with consistency.
Step-by-Step: How to Make an Iced Latte With Espresso
Now for the fun part. Follow these steps, and you’ll have a café-quality iced latte in about five minutes. I’ve refined this process over countless batches, and it delivers consistent results every time.
Step 1: Pull Your Espresso Shot
Grind your coffee beans to a fine espresso grind—think table salt consistency. Dose 18-20 grams into your portafilter and tamp evenly. Pull a double shot, aiming for about 36-40 grams of liquid espresso in 25-30 seconds.
Barista Tip: If your shot runs too fast and tastes sour, your grind is too coarse. If it drips slowly and tastes bitter, it’s too fine. Adjust accordingly.
Step 2: Let the Espresso Cool Slightly
Here’s where patience pays off. Pouring boiling espresso directly over ice creates two problems: it melts too much ice (watering down your drink) and can create a slightly bitter taste. Let your espresso sit for about 30 seconds to one minute. It should still be warm but not screaming hot.
Step 3: Fill Your Glass With Ice
Grab your tall glass and fill it generously with ice cubes. Don’t be shy—more ice keeps your drink colder longer without over-diluting. In my experience, about 6-8 large cubes or one packed cup of regular ice works perfectly.
Step 4: Add Your Sweetener (If Using)
If you want a sweetened latte, now is the time. Pour your simple syrup or flavored syrup directly over the ice before adding anything else. This allows the syrup to mix with the espresso as you pour, distributing the sweetness evenly. About 1-2 tablespoons is a good starting point, but adjust to your taste.
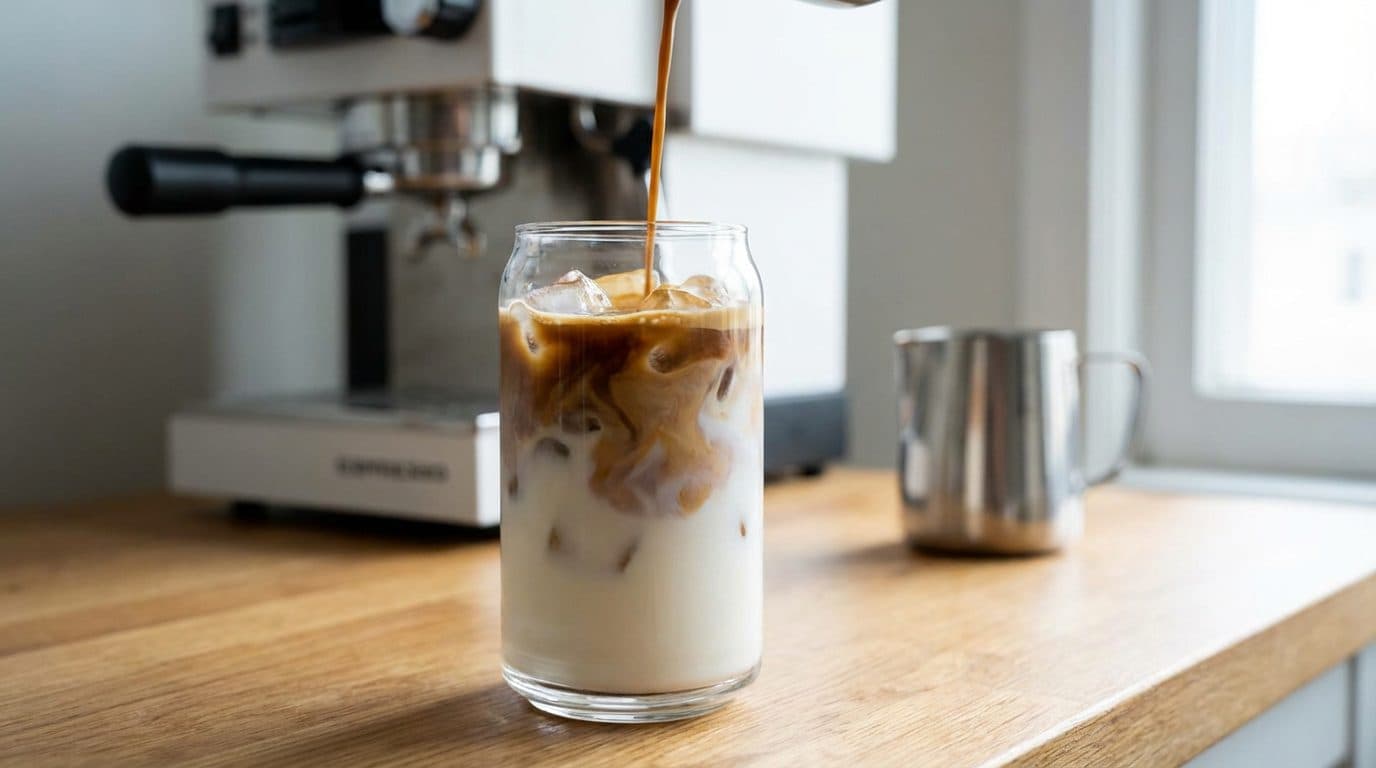
Step 5: Pour the Espresso Over Ice
Pour your slightly cooled espresso directly over the ice. You’ll hear that satisfying crackle as the hot coffee hits the cold cubes. This rapid cooling locks in the espresso’s flavors while bringing down the temperature instantly.
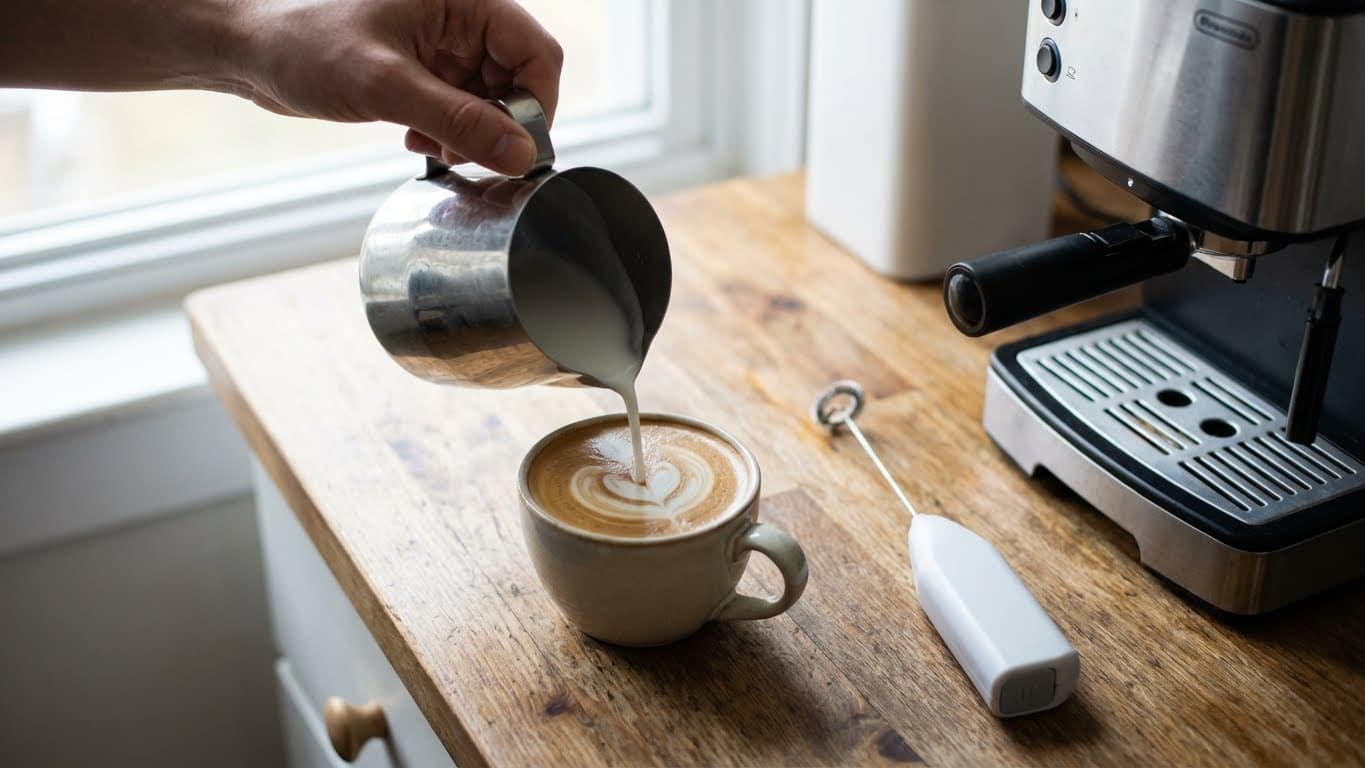
Step 6: Add Cold Milk
Slowly pour your cold milk into the glass. Aim for a ratio of about 1 part espresso to 4-5 parts milk, but feel free to adjust based on how strong you like your iced latte. For a double shot, 8-10 ounces of milk creates a nicely balanced drink.
Watch the beautiful swirls as the espresso and milk combine—this is one of the most satisfying parts of making iced lattes at home.
Step 7: Stir and Enjoy
Give everything a good stir to combine the espresso, milk, and any sweetener. Take a sip, adjust if needed (more milk, more sweetener, etc.), and enjoy your homemade iced latte.
What Does a Great Iced Latte Taste Like?
When made properly, an iced latte with espresso should taste smooth, creamy, and refreshing with a noticeable but not overpowering coffee flavor. The espresso provides a rich, slightly bittersweet backbone, while the cold milk adds sweetness and body. You shouldn’t taste any harsh bitterness or excessive sourness.
Taste Profile: Creamy, balanced, subtly sweet (even without added sugar), with notes that depend on your beans—expect anything from chocolate and caramel to fruity undertones with lighter roasts.
If your iced latte tastes watery, you probably used too much ice or under-extracted your espresso. If it’s too strong or bitter, try adding a bit more milk or checking your espresso extraction.
Common Mistakes to Avoid When Making Iced Lattes
Even simple drinks can go wrong if you’re not aware of a few pitfalls. Here are the mistakes I see most often—and how to dodge them.
Using Pre-Ground Coffee
Pre-ground coffee loses its freshness within minutes of grinding. For espresso-based drinks, stale grounds mean flat, lifeless shots. Invest in a grinder and grind right before brewing. The difference is night and day.
Pouring Espresso Directly Into Milk
Some people pour espresso into a glass of milk and ice. This works, but pouring espresso over ice first cools it rapidly, which actually preserves more of the delicate flavors. Try it both ways and see which you prefer, but I’ve found the ice-first method produces a smoother result.
Skipping the Ice
I know it sounds obvious, but don’t skimp on ice hoping for a less diluted drink. Without enough ice, your latte warms up too quickly and loses that refreshing quality that makes iced coffee so appealing. Use plenty of ice and drink it while it’s cold.
Using Warm or Room-Temperature Milk
Cold milk is essential. Warm milk melts your ice faster and throws off the temperature balance. Always use milk straight from the refrigerator.
Variations and Customizations
Once you’ve mastered the basic iced latte, the world is your oyster. Here are some fun ways to mix things up.
Vanilla Iced Latte
Add 1-2 tablespoons of vanilla syrup in step 4. This is probably the most popular flavored latte variation, and for good reason—it’s simple and delicious.
Caramel Iced Latte
Drizzle caramel sauce inside the glass before adding ice, then top the finished drink with another drizzle. Caramel and espresso are a match made in heaven.
Mocha Iced Latte
Mix 1 tablespoon of chocolate syrup or cocoa powder with your espresso before pouring over ice. Top with milk as usual. For extra indulgence, add a dollop of whipped cream.
Oat Milk or Alternative Milk Iced Latte
Oat milk has become incredibly popular for iced lattes because of its natural sweetness and creamy texture. Almond milk works too but creates a thinner drink. Coconut milk adds a subtle tropical note. Experiment to find your favorite.
Barista Tip: If you’re using alternative milk, look for “barista edition” versions. They’re formulated to blend better with coffee and won’t separate as easily.
Frequently Asked Questions
Can I make an iced latte without an espresso machine?
Yes, you can. A Moka pot produces strong coffee that works as a decent espresso substitute. An AeroPress with a fine grind and short brew time can also create concentrated coffee suitable for iced lattes. The flavor won’t be identical to true espresso, but it’s close enough for a satisfying homemade version.
Why does my iced latte taste watery?
The most common culprit is using too much ice relative to espresso and milk, or letting the drink sit too long before drinking. Another possibility is under-extracted espresso—if your shot runs too fast, it won’t have enough flavor concentration to stand up to the ice and milk.
What’s the difference between an iced latte and iced coffee?
An iced latte uses espresso as its base, combined with cold milk and ice. Iced coffee uses regular brewed coffee (often cold brew or flash-chilled drip coffee) and typically less milk. Iced lattes are creamier and more milk-forward, while iced coffee is more coffee-dominant.
How can I make my iced latte sweeter without adding too much sugar?
Try using vanilla or caramel syrup, which adds sweetness plus flavor complexity. Alternatively, using oat milk naturally adds sweetness without extra sugar. You can also make a simple syrup using honey or maple syrup for a different flavor profile.
Can I make iced lattes ahead of time?
It’s best to make them fresh because the ice will melt and dilute the drink over time. However, you can pre-batch espresso shots, let them cool, and store them in the refrigerator for up to 24 hours. When you’re ready, just pour the cold espresso over ice and add milk.
Conclusion and Next Steps
Making an iced latte at home with espresso is one of those skills that pays dividends every single day—especially during warmer months. With the right ingredients, a few minutes of your time, and the steps outlined above, you can create iced lattes that taste just as good (if not better) than what you’d get at a café. Plus, you’ll save a significant amount of money over time.
Start with the basic recipe, nail down your espresso extraction, and then experiment with flavors and milk alternatives to find your perfect combination. Life is too short for bad coffee, and now you have everything you need to make sure your iced lattes are anything but. Grab your espresso machine, some fresh beans, and get brewing—your new favorite summer drink is waiting.


Comments