


Table of Contents
- What You'll Need
- The Mason Jar Method: Simplest Way to Froth Milk at Home
- Step-by-Step Instructions
- What to Expect
- The French Press Technique: Café-Quality Froth Without the Café
- How to Froth Milk in a French Press
- Why This Method Works So Well
- The Whisk Method: Old School But Effective
- Manual Whisk Instructions
- Electric Immersion Blender Alternative
- Which Milk Froths Best Without Special Equipment?
- Common Mistakes and How to Fix Them
- Your Foam Deflates Immediately
- Your Foam Has Huge Bubbles
- Your Plant-Based Milk Separates or Curdles
- The Foam Won't Form at All
- Frequently Asked Questions
- Can I froth cold milk without heating it afterward?
- Does the type of jar matter for the shaking method?
- How long does homemade frothed milk last?
- Can I froth cream or half-and-half?
- Why does my frothed milk taste different from coffee shop milk?
- Conclusion and Your Next Steps
What You’ll Need
Before we dive into frothing techniques, let’s take a quick inventory. The good news? You probably already own everything you need. No fancy equipment required.
Ingredients:
- Fresh, cold milk (whole milk froths best, but any milk works)
- Optional: plant-based milk alternatives
Gear You Already Have:
- A mason jar with lid (or any jar with a tight seal)
- A French press (if you own one)
- A whisk (regular or immersion blender)
- A microwave or stovetop
- A clean kitchen towel
That’s it. No steam wand, no electric frother, no hundred-dollar gadget collecting dust on your counter. Just everyday kitchen items and a little technique.
The Mason Jar Method: Simplest Way to Froth Milk at Home
This is my personal favorite for anyone just starting out. It’s foolproof, requires zero skill, and honestly? It works surprisingly well. I’ve been using this method for years when I’m too lazy to clean my espresso machine’s steam wand.
Step-by-Step Instructions

1. Pour cold milk into a clean mason jar, filling it no more than halfway. The milk needs room to expand and create foam.
2. Secure the lid tightly. Really tightly. You don’t want a milk explosion in your kitchen.
3. Shake vigorously for 30 to 60 seconds. Think of it as your morning arm workout. You want to see the milk double in volume with nice, frothy bubbles.
4. Remove the lid and microwave for 30 to 45 seconds. This step is crucial because it stabilizes the foam. The heat causes the proteins in the milk to set, keeping your froth from deflating immediately.
5. Pour over your coffee, holding back the foam with a spoon, then scoop the foam on top.
Barista Tip: The colder your milk starts, the better your froth will be. I keep my jar in the fridge so it’s always ready to go. Cold milk holds air better and creates more stable foam.
What to Expect
You’ll get light, airy foam with larger bubbles than you’d see from a steam wand. It’s perfect for lattes and cappuccinos at home. The texture is more “bubble bath” than “microfoam,” but honestly? It tastes just as good in your morning cup.
In my experience, this method works best with whole milk or 2% milk. The higher fat content creates creamier, longer-lasting foam. Skim milk froths up fast but deflates within minutes.
The French Press Technique: Café-Quality Froth Without the Café
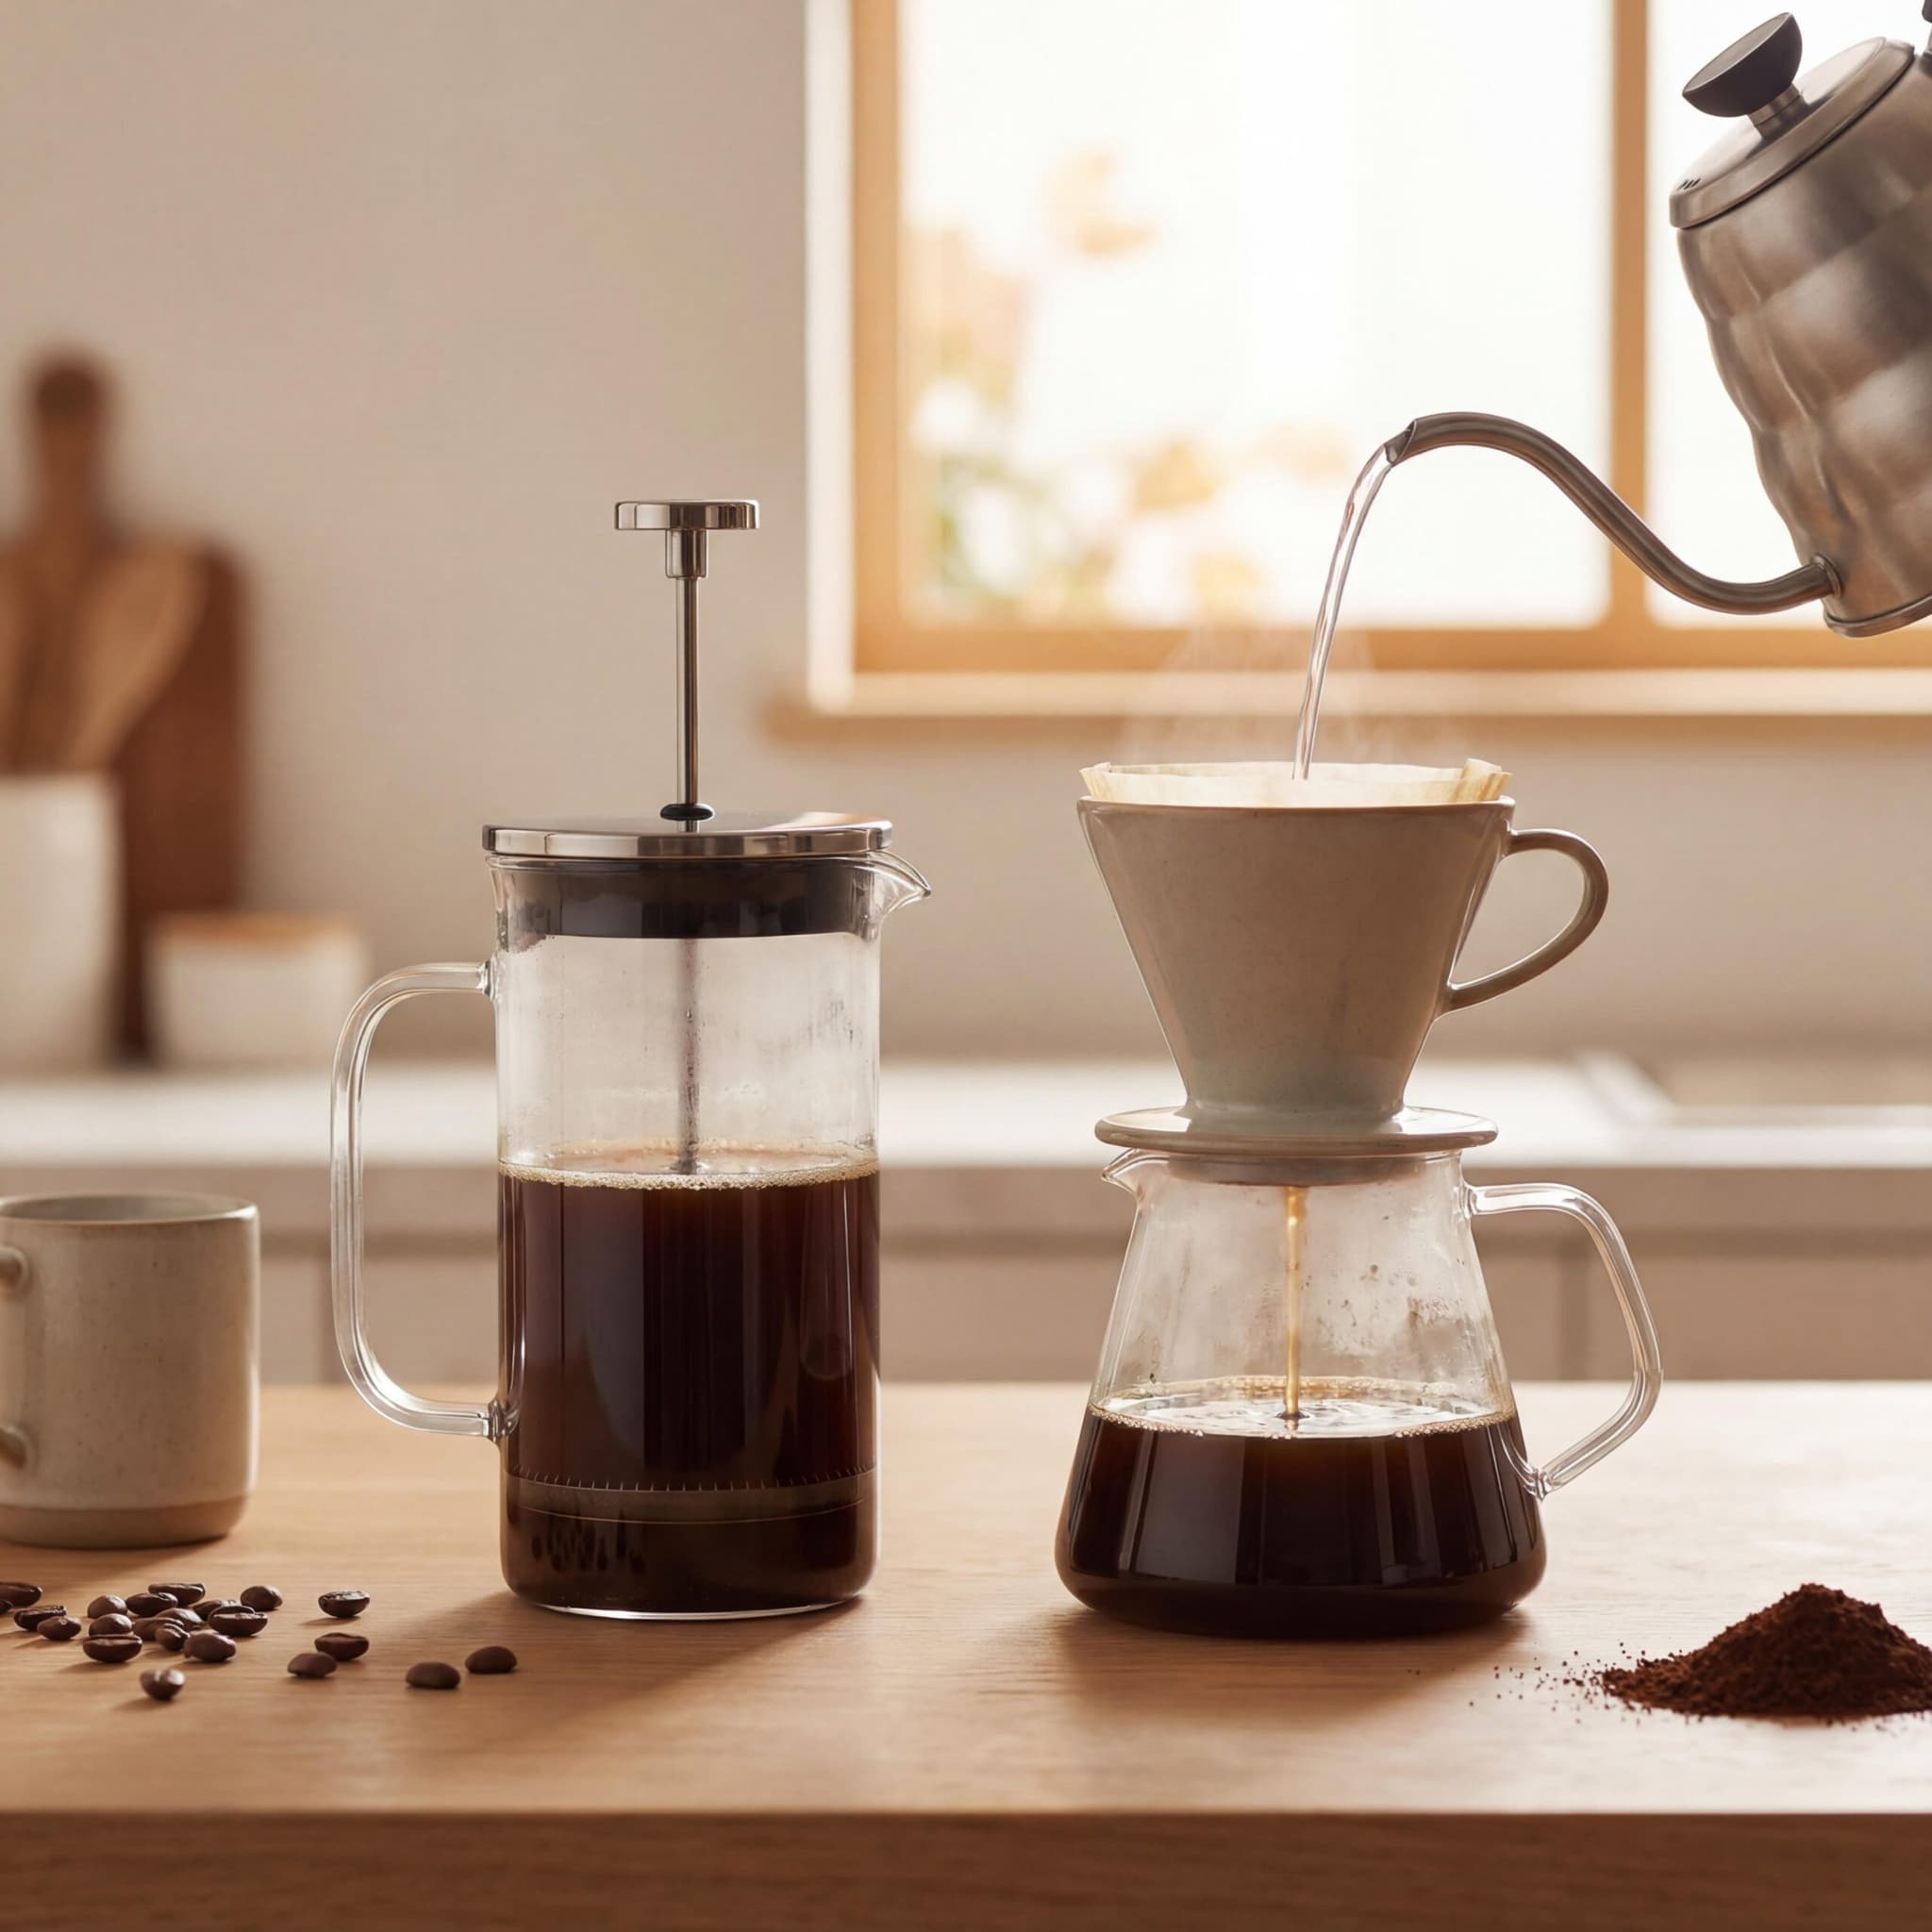
If you already own a French press for coffee, congratulations. You also own one of the best manual milk frothers money can buy. The plunger mechanism creates beautiful, velvety microfoam that rivals what you’d get at your local coffee shop.
How to Froth Milk in a French Press

1. Heat your milk first. You can use the microwave (about 45 seconds) or a small saucepan on the stove. Aim for around 150°F or 65°C. If you don’t have a thermometer, heat until the milk is steaming but not boiling.
2. Pour the warm milk into your French press. Again, don’t fill it more than one-third full. The milk will expand significantly.
3. Insert the plunger and pump rapidly up and down for 30 to 60 seconds. Keep the lid on but hold it steady with your other hand.
4. Continue until the milk has doubled in volume and you see thick, creamy foam throughout.
5. Let it sit for 30 seconds. This allows the larger bubbles to rise and pop, leaving you with smoother foam.
6. Pour and enjoy your homemade latte.
Barista Tip: Swirl the French press gently after frothing to incorporate any remaining large bubbles. Then tap the bottom firmly on the counter a few times. This breaks up the big bubbles and creates that silky texture professional baristas aim for.
Why This Method Works So Well
The mesh filter on a French press creates thousands of tiny air bubbles as you pump. Unlike shaking, which introduces large, unstable bubbles, the plunging action breaks air into micro-sized pockets. The result is foam that’s dense, creamy, and holds its shape much longer.
I’ve found this method produces the closest thing to steam wand froth you can achieve without actual steam. If you’re serious about latte art (even just simple heart shapes), this is the technique to practice.
The Whisk Method: Old School But Effective
No jar? No French press? No problem. A simple hand whisk can create perfectly acceptable froth with a bit of elbow grease. This is how people made frothy milk for generations before fancy equipment existed.
Manual Whisk Instructions

1. Heat your milk in a saucepan over medium heat. Stir occasionally to prevent a skin from forming on top.
2. Once the milk is hot and steaming (not boiling), reduce heat to low.
3. Tilt the pan slightly and whisk vigorously in a back-and-forth motion. You can also use a circular motion, but back-and-forth incorporates air faster.
4. Continue whisking for 2 to 3 minutes until foam forms on the surface.
5. Remove from heat and pour immediately.
This method requires more effort and time than the others, but it works in a pinch. The foam won’t be as thick or stable, but it adds a nice layer of texture to your coffee.
Electric Immersion Blender Alternative
If you have an immersion blender (also called a stick blender), you can froth milk in about 15 seconds. Heat your milk in a tall container, insert the blender, and pulse on low until foamy. Keep the blender submerged to avoid splattering.
Just be careful with temperature. Hot milk plus high-speed blender can equal a messy kitchen if you’re not paying attention. I learned this the hard way during an early morning caffeine emergency.
Which Milk Froths Best Without Special Equipment?

Not all milks froth equally. The protein and fat content dramatically affect your results. Here’s what I’ve learned through trial and (lots of) error.
| Milk Type | Froth Quality | Texture | Best For |
|---|---|---|---|
| Whole Milk | Excellent | Creamy, dense | Lattes, cappuccinos |
| 2% Milk | Very Good | Light, stable | Everyday drinks |
| Skim Milk | Good (fast but unstable) | Airy, deflates quickly | Dry cappuccinos |
| Oat Milk | Very Good | Creamy, stable | Plant-based lattes |
| Almond Milk | Fair | Thin, separates easily | Light foam only |
| Soy Milk | Good | Dense but can curdle | Lower temp drinks |
Key Takeaway: Whole milk is the easiest to froth at home because its fat content creates stable, forgiving foam. If you’re using plant-based alternatives, look for “barista edition” versions. They contain added stabilizers that help them froth better, even with basic methods.
Oat milk has become my go-to dairy alternative for home frothing. It’s naturally creamy, froths beautifully with the French press method, and doesn’t have that slightly bitter aftertaste some almond milks develop when heated.
Common Mistakes and How to Fix Them
Even simple frothing techniques can go wrong. Here are the issues I see most often and how to troubleshoot them.
Your Foam Deflates Immediately
This usually means your milk was too warm when you started frothing (for the jar method) or not warm enough when you finished (for the French press). Cold milk froths better initially, but needs heat to stabilize. Warm milk needs more time to froth but holds its shape longer.
The fix: For jar frothing, always start with cold milk and heat after. For French press, ensure your milk is properly heated before plunging.
Your Foam Has Huge Bubbles
Large bubbles mean you’re introducing too much air too quickly. This often happens when shaking too aggressively or plunging too fast.
The fix: Slow down your technique slightly. With the French press, use shorter, more controlled strokes. With the jar, shake steadily rather than violently. Also, let your frothed milk rest for 30 seconds before pouring. The big bubbles rise to the top and pop naturally.
Your Plant-Based Milk Separates or Curdles

Some plant milks react poorly to high heat. Soy milk is especially prone to curdling when combined with acidic coffee.
The fix: Don’t overheat plant-based milks. Keep them under 150°F. Also, add the coffee to your milk rather than milk to coffee. This tempers the milk gradually and reduces curdling.
The Foam Won’t Form at All
If you’re shaking and shaking with no results, check your milk’s freshness. Older milk has degraded proteins that won’t hold air properly. Also, ultra-pasteurized milk (often labeled UHT) doesn’t froth as well as regular pasteurized milk.
The fix: Use the freshest milk possible. Check the expiration date and consider switching brands if you consistently have trouble.
Frequently Asked Questions
Can I froth cold milk without heating it afterward?
Technically yes, but the foam won’t last long. Unheated foam deflates within a minute or two. If you want cold froth for an iced latte, froth your milk using the jar method and pour immediately over ice. Work fast because you’re racing against time.
Does the type of jar matter for the shaking method?
Any jar with a tight-fitting lid works. Mason jars are popular because they’re sturdy and have reliable seals. Avoid jars with metal lids that might react with the milk or rust over time. Plastic containers work too, but glass holds temperature better.
How long does homemade frothed milk last?
Use it immediately. Frothed milk begins deflating the moment you stop agitating it. Even the best foam will flatten within 5 minutes. This is why baristas froth milk to order rather than in batches.
Can I froth cream or half-and-half?
You can, but it won’t produce the same airy foam as milk. High-fat dairy creates rich, dense foam that’s more like whipped cream texture. It’s delicious but different. For classic latte or cappuccino foam, stick with milk.
Why does my frothed milk taste different from coffee shop milk?
Coffee shops use steam wands that heat milk very quickly while incorporating air simultaneously. This creates a slightly sweeter taste because the rapid heating breaks down lactose. Home methods can’t perfectly replicate this, but properly heated milk (around 150°F) comes close.
Conclusion and Your Next Steps
Learning how to froth milk at home without buying any new gear is one of the easiest upgrades you can make to your morning coffee routine. Whether you choose the mason jar shake, the French press plunge, or the classic whisk, you now have the techniques to create café-style drinks in your own kitchen.
My recommendation? Start with the mason jar method tomorrow morning. It’s forgiving, fast, and you probably have everything you need within arm’s reach. Once you’re comfortable with the basics, try the French press technique for silkier, more professional results.
Life is too short for bad coffee, but it’s also too short to spend money on gadgets you don’t need. With a little practice and the gear already in your kitchen, you’ll be pouring lattes that rival your local café. Now go make yourself something delicious.



Comments