Tired of running out of paper filters at the worst possible moment? Or maybe you’re looking to reduce waste while still enjoying an exceptional cup of coffee each morning. Areusable paperless dripper might be exactly what your home brewing setup needs. These clever devices let you brew coffee at home with zero paper waste, and once you nail the technique, the flavor profile can be wonderfully rich and full-bodied.
In this guide, I’ll walk you through everything you need to know about brewing with a reusable paperless dripper—from the essential gear to step-by-step instructions and troubleshooting tips I’ve picked up over years of morning experiments. Whether you’re new to pour-over or switching from paper filters, you’ll find practical advice to make your next cup your best one yet.
What You’ll Need to Brew With a Reusable Paperless Dripper
Before we dive into the brewing process, let’s gather everything you’ll need. Having your gear ready makes the whole experience smoother and more enjoyable.
Gear
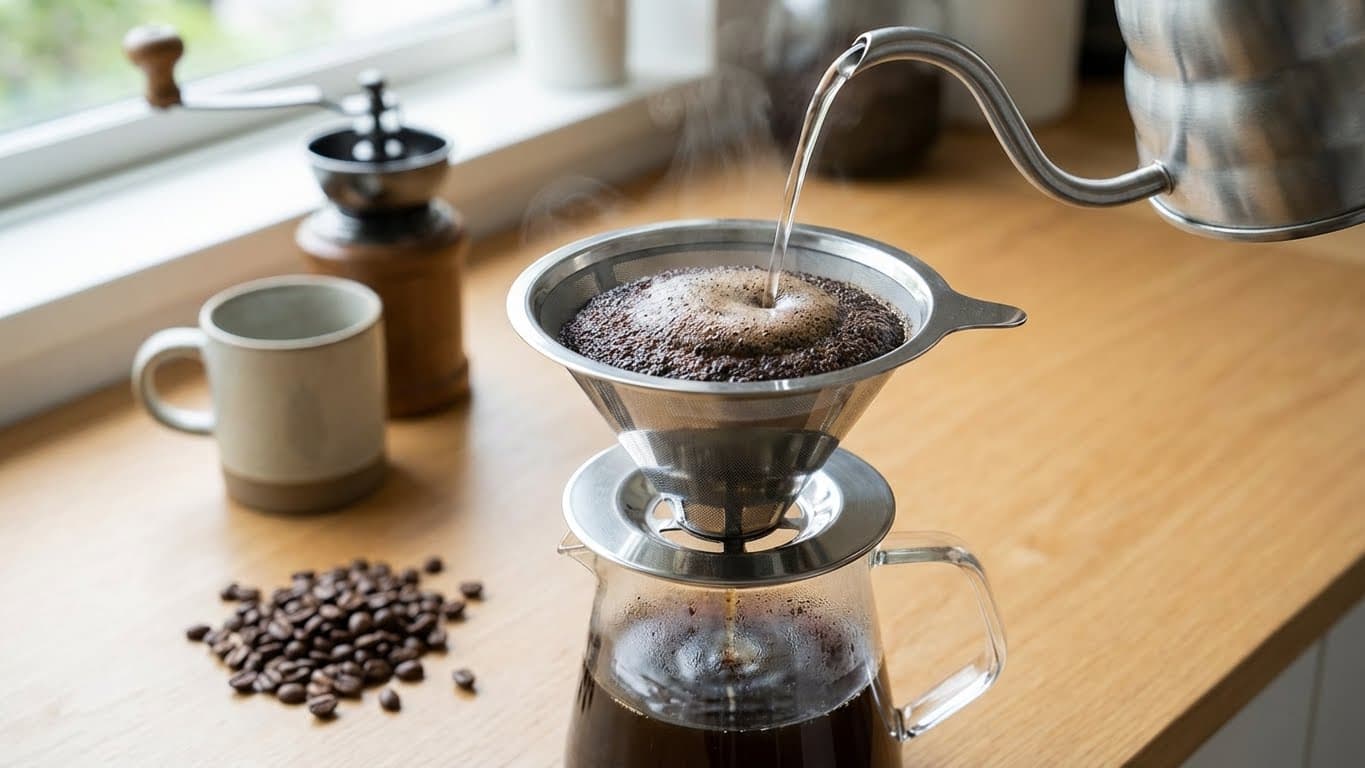
Reusable paperless dripper (stainless steel mesh or gold-tone filter)
Gooseneck kettle (highly recommended for control)
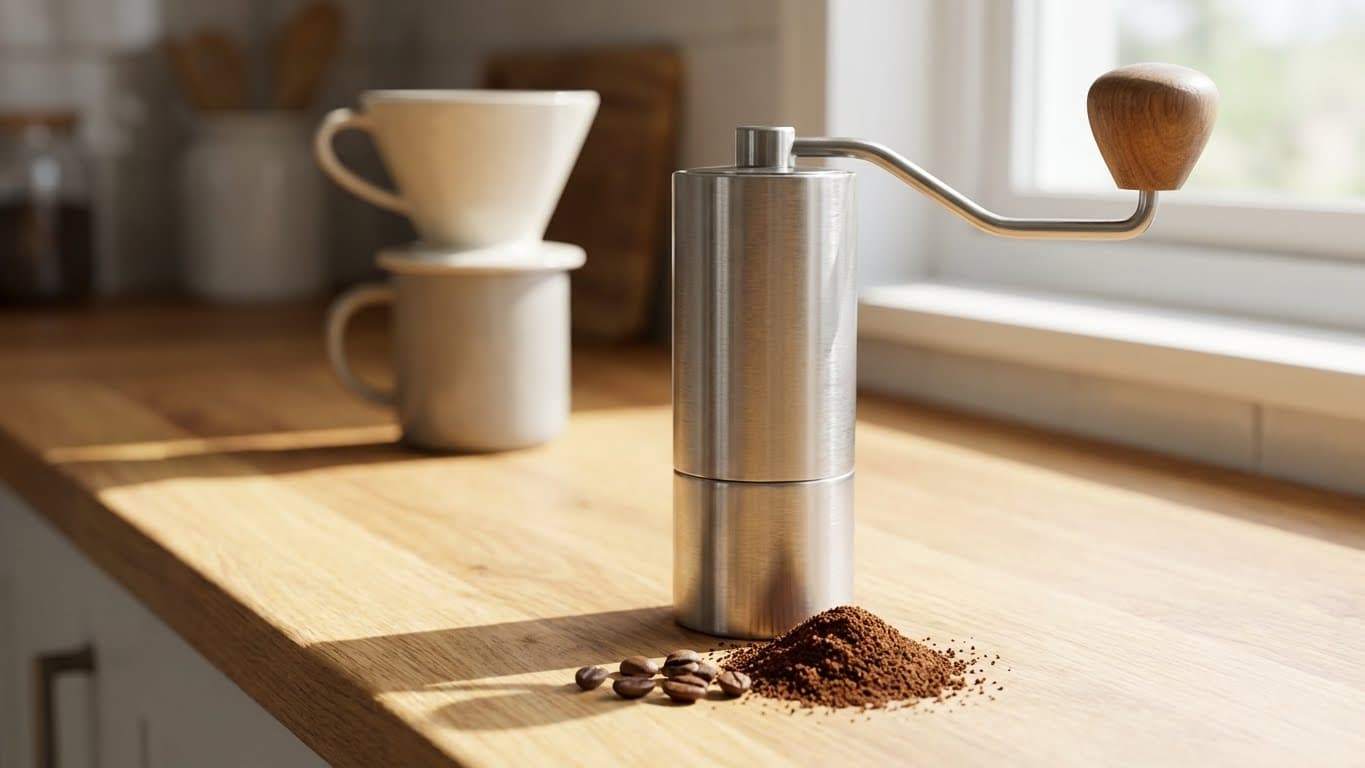
Coffee grinder (burr grinder preferred)
Digital scale with timer
Your favorite mug or carafe
Ingredients
Freshly roasted coffee beans (20-25 grams for a single cup)
Filtered water (about 350ml at 195-205°F / 90-96°C)
Barista Tip: In my experience, medium to medium-coarse grind works best for paperless drippers. Go slightly coarser than you would for paper filters—this helps prevent over-extraction and reduces sediment in your cup.
Understanding Your Reusable Paperless Dripper
Before brewing, it helps to understand what makes paperless drippers different from their paper-filter counterparts. Most reusable drippers use fine stainless steel mesh or gold-tone filters. Unlike paper, these allow more of the coffee’s natural oils to pass through into your cup.
This means two things. First, you’ll get a fuller, more robust body in your coffee—similar to what you’d experience with a French press. Second, you might notice a bit more sediment at the bottom of your cup. That’s completely normal and not a sign you’re doing anything wrong.
Types of Paperless Drippers
Stainless steel mesh: Most common and affordable option. Durable and easy to clean.
Gold-tone filters: Often considered slightly more refined. Some users feel they produce a cleaner cup.
Ceramic or glass drippers with metal filters: Combine thermal stability with reusable filtration.
I’ve found that the differences between mesh types are subtle. Choose based on your budget and what’s available. The technique matters far more than the specific dripper model.
Step-by-Step Guide: How to Brew Coffee With a Paperless Dripper
Now for the fun part. Here’s how to brew a delicious cup of coffee using your reusable paperless dripper.
Step 1: Heat Your Water
Bring fresh, filtered water to a boil and let it cool for about 30-45 seconds. You’re aiming for 195-205°F (90-96°C). Water that’s too hot will over-extract your coffee, making it bitter. Too cool, and you’ll end up with a flat, underwhelming brew.
Step 2: Grind Your Coffee
Measure out20-25 grams of whole beans (about3 tablespoons) and grind them to a medium-coarse consistency. Think sea salt or raw sugar. Grinding fresh right before brewing makes a noticeable difference—pre-ground coffee loses its aromatic compounds quickly.
Step 3: Preheat and Rinse
Place your paperless dripper on your mug or carafe. Pour some hot water through the empty filter to preheat everything. This removes any residual flavors and keeps your coffee hot longer. Discard this rinse water before adding coffee grounds.
Step 4: Add Coffee and Bloom
Add your ground coffee to the dripper and give it a gentle shake to level the bed. Start your timer and pour about 40-50ml of hot water evenly over the grounds—just enough to saturate them. You’ll see the coffee “bloom” and release gases, especially if your beans are fresh. Let this sit for 30-45 seconds.
Barista Tip: A lively bloom with lots of bubbles indicates fresh coffee. If your grounds barely react, it might be time to source fresher beans.
Step 5: Pour in Stages
After the bloom, begin pouring water in slow, circular motions starting from the center and moving outward. Avoid pouring directly on the edges of the filter. Add water in stages:
First pour: Add water until you reach about 150ml total
Wait for it to draw down slightly
Second pour: Add water to reach about 250ml
Final pour: Top up to your target of 350ml
The total brew time should be around 3-4 minutes. If it’s finishing much faster, your grind might be too coarse. Taking longer than4 minutes? Go coarser.
Step 6: Remove and Enjoy
Once the water has fullydrained through, remove the dripper and give your coffee a quick stir. This distributes any sediment and ensures consistent flavor throughout. Let it cool for a minute—life is too short for burned tongues—and enjoy.
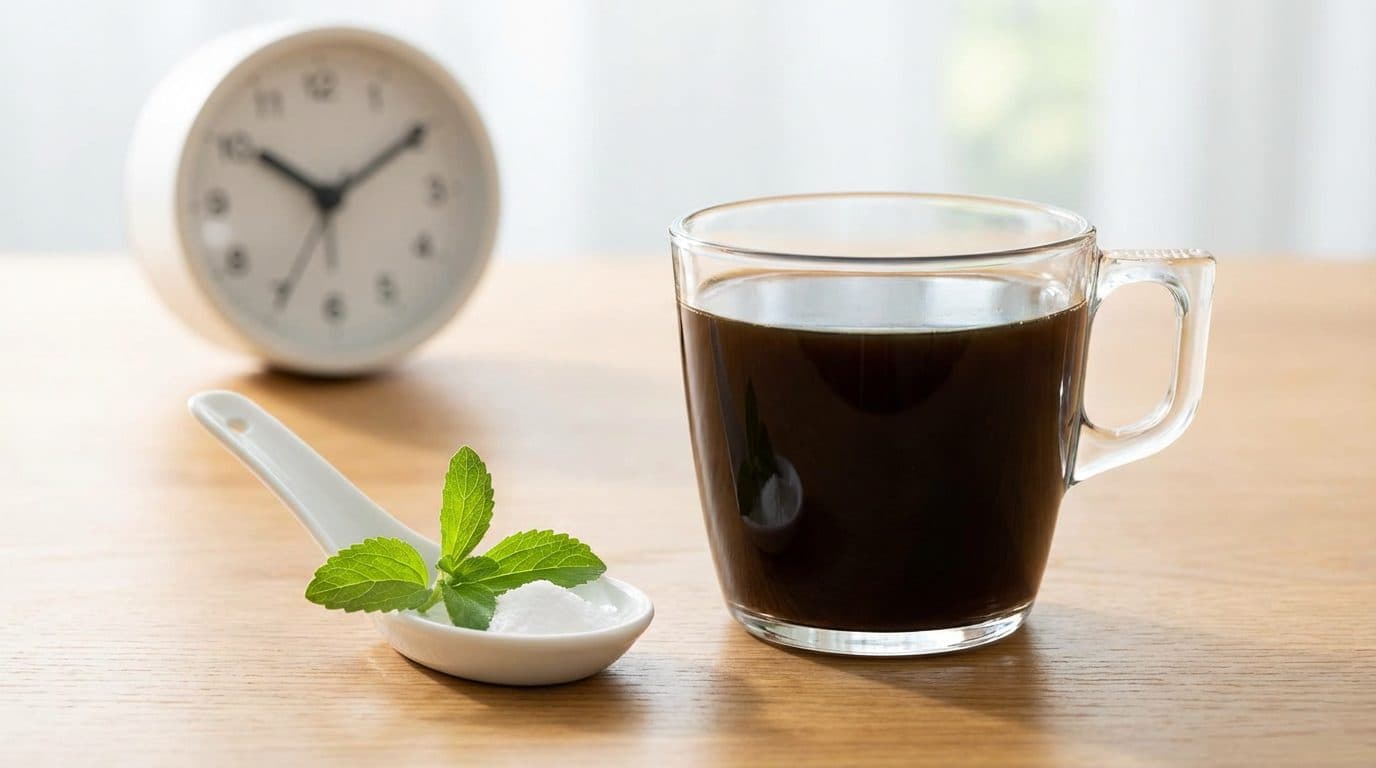
Taste Profile: Expect a rich, full-bodied cup with more texture than paper-filtered coffee. You’ll notice prominent chocolate and nutty notes with medium-dark roasts, and brighter fruit notes with lighter roasts. The natural oils give the coffee a slightly silky mouthfeel.
Common Mistakes and How to Fix Them
Even experienced home baristas run into issues sometimes. Here are problems I’ve encountered and how to solve them.
Too Much Sediment in Your Cup
A little sediment is normal with paperless drippers, but if your cup feels gritty, your grind is probably too fine. Adjust to a coarser setting. Some drippers also have finer mesh than others—if sediment bothers you, consider upgrading to a higher-quality filter.
Weak or Watery Coffee
This usually means under-extraction. Check that your water is hot enough and that you’re using the right coffee-to-water ratio. Try using more coffee or grinding finer. Also make sure you’re not pouring too quickly, which doesn’t give the water enough contact time with the grounds.
Bitter or Harsh Taste
Over-extraction is the likely culprit. Your grind might be too fine, your water too hot, or your brew time too long. Try a coarser grind and let your water cool a bit more before pouring.
Slow Drawdown
If water pools on top and takes forever to drain, your grind is too fine. It could also mean you’re pouring too aggressively and compacting the coffee bed. Slow, gentle pours in circular motions help maintain good flow.
Caring for Your Reusable Dripper
One of the best things about paperless drippers is their longevity—with proper care, they’ll last for years. After each use, rinse the filter thoroughly under running water. A soft brush helps remove any grounds stuck in the mesh.
Once a week, give it a deeper clean. Soak the filter in a mixture of warm water and a small amount of dish soap. Some baristas use a paste of baking soda and water to remove coffee oil buildup. Rinse thoroughly afterward to prevent any soapy taste in your next brew.
Avoid using abrasive scrubbers, which can damage the fine mesh. And never put a metal dripper in the dishwasher unless the manufacturer specifically says it’s safe.
Frequently Asked Questions
Do paperless drippers make coffee taste different than paper filters?
Yes, there’s a noticeable difference. Paperless drippers allow more oils and fine particles through, resulting in a fuller body and richer mouthfeel. Paper filters absorb oils and produce a cleaner, brighter cup. Neither is better—it comes down to personal preference.
Can I use any grind size with a reusable dripper?
Not quite. Medium to medium-coarse works best for most paperless drippers. Going too fine leads to slow drainage, over-extraction, and excessive sediment. Experiment within this range to find what suits your taste.
How longdo reusable coffee filters last?
With proper care, a quality stainless steel or gold-tone filter can last 5-10 years or more. Look for signs of wear like holes or loose mesh, which affect filtration quality.
Are paperless drippers better for the environment?
They’re a more sustainable choice since you’re not throwing away paper filters after each use. Over time, this adds up to significant waste reduction. Just factor in the energy and resources used to manufacture the metal filter—the environmental benefit becomes clearer the longer you use it.
Why does my coffee have grounds floating in it?
This happens when grounds are too fine or when you pour water too aggressively, disturbing the coffee bed. Try a coarser grind and pour more gently in slow circles.
Final Thoughts and Your Next Steps
Brewing coffee at home with a reusable paperless dripper is simple once you understand the basics. The key points to remember: use a medium-coarse grind, keep your water temperature in the sweet spot, and pour slowly and deliberately. With a little practice, you’ll develop a rhythm that produces consistently delicious results.
I encourage you to experiment. Adjust your grind, try different roasts, and play with your coffee-to-water ratio until you find your perfect cup. That’s the beauty of home brewing—you’re in complete control. Start with the guidelines here, and don’t be afraid to make them your own. Your morning coffee ritual is about to get a whole lot better.


Comments