How to Brew Coffee at Home Using Only an AeroPress and a Kettle

You can brew very good coffee with only an AeroPress and a kettle. The most reliable starting recipe is 15-17g of medium-fine coffee, hot water just off the boil, a short stir, 60-90 seconds of contact time, and a slow press. It will not taste exactly like espresso or pour-over, but it can be clean, sweet, and consistent with very little equipment.
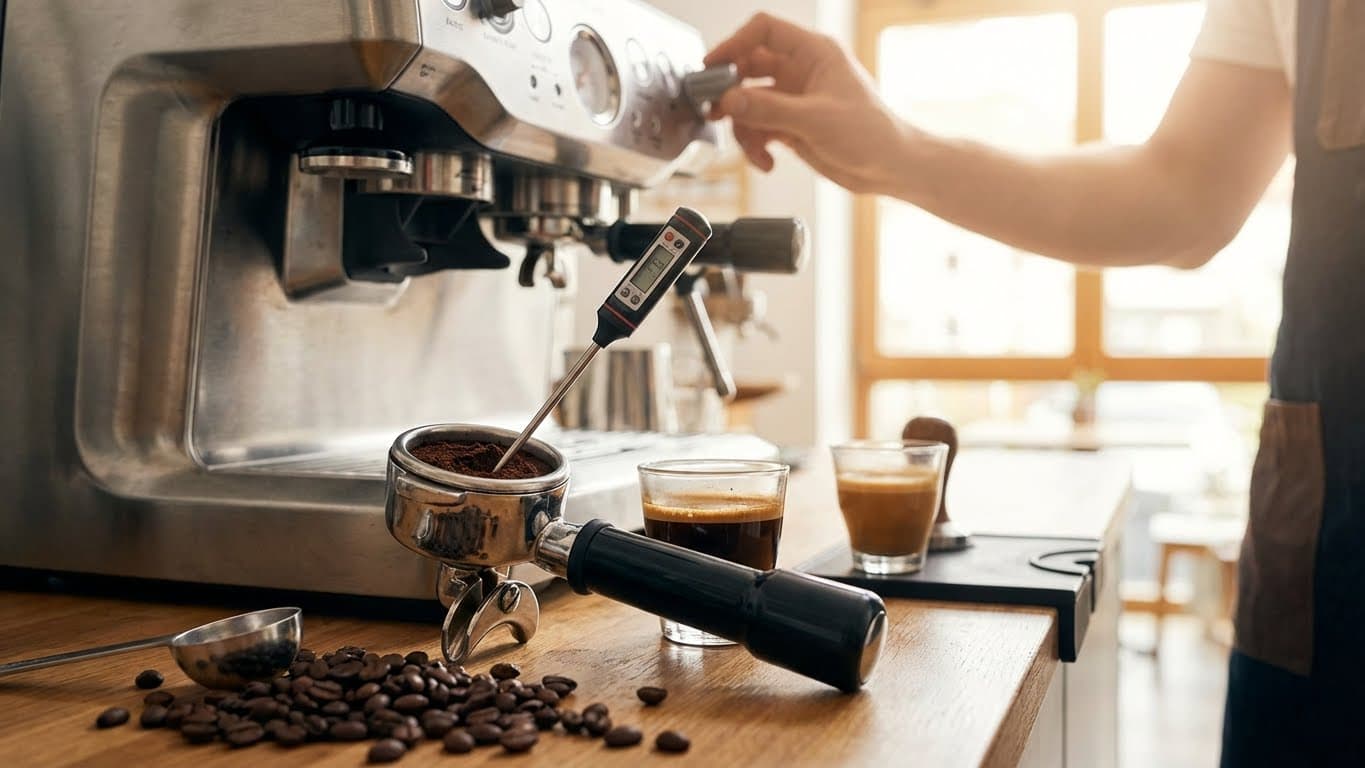
The AeroPress is forgiving because you can control steep time, agitation, grind, and dilution in a small plastic brewer. The main limitation is repeatability. If you do not measure anything, your cups may vary. That is fine at first; once you care about consistency, a scale and grinder help more than any fancy accessory.
The core setup is simple. You do not need a gooseneck kettle, electric grinder, or temperature-controlled station to start.

If you only have pre-ground coffee, use it. Medium-fine is the safest texture: finer than regular drip, coarser than espresso. Store the bag tightly sealed and use it quickly because ground coffee loses aroma fast.
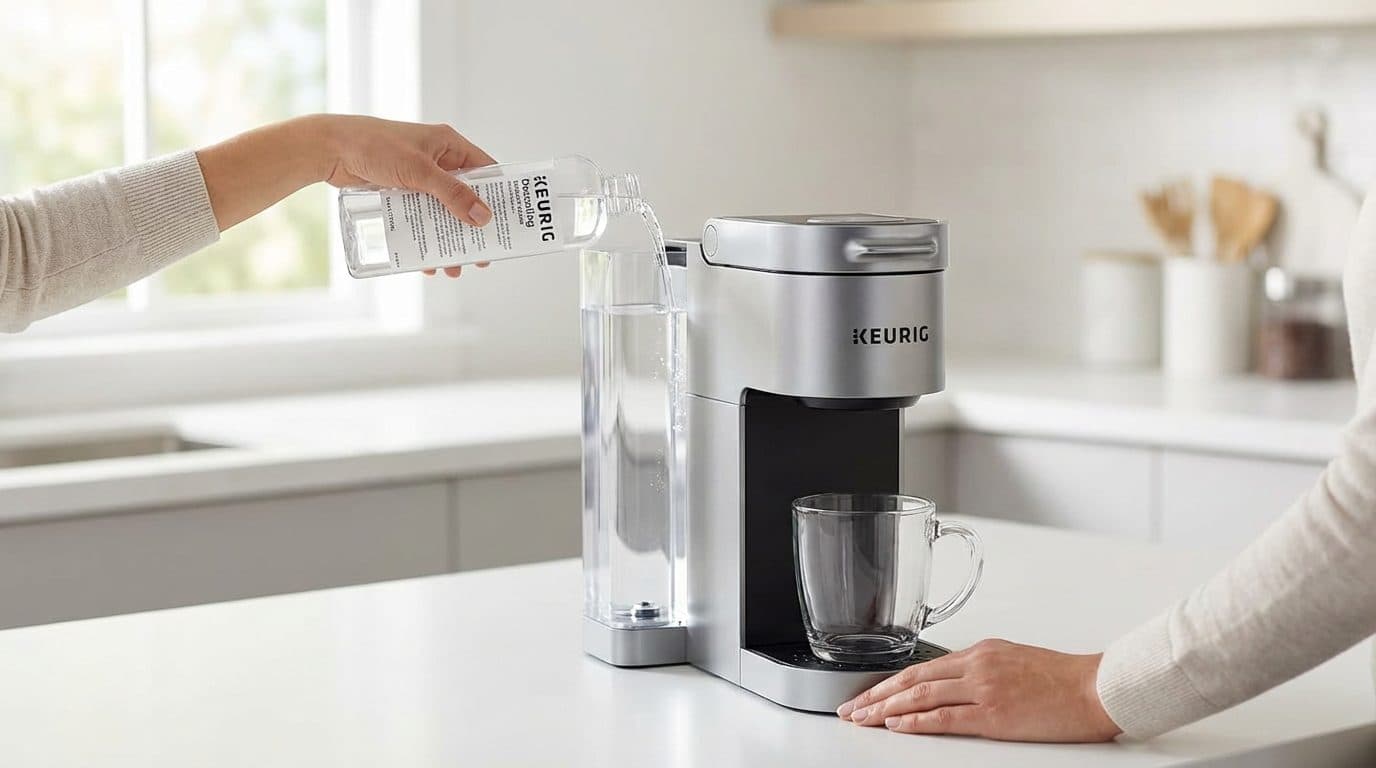
Water matters too, though you do not need to overthink it. If your tap water tastes strongly of chlorine or minerals, your coffee will carry that. Filtered water is a good upgrade. Distilled water is not ideal by itself because coffee extracts better with some mineral content.
There are two common AeroPress methods. Both can taste good. The standard method is safer and simpler; the inverted method gives more control over steeping but adds spill risk.
The standard method places the AeroPress directly on your mug with the filter cap attached. You add coffee and water, stir, insert the plunger slightly to create a seal, wait, then press. A little liquid may drip through before pressing, but the workflow is stable.
The inverted method flips the brewer upside down with the plunger at the bottom, creating a sealed steeping chamber. It prevents early dripping and can produce a fuller cup. The downside is the flip. If the cap is loose or your grip slips, you can spill hot coffee.
Practical tip: Learn the standard method first. Move to inverted only after the basic recipe tastes good and your handling feels comfortable.
This is a balanced everyday recipe for one mug. It is strong enough to taste clear, but not so concentrated that it needs dilution.

The expected cup should be clean, medium-bodied, and less gritty than French press. If it tastes intense, add a splash of hot water after pressing. Diluting after brewing is a normal AeroPress technique, not a failure.
Pay attention to the press. A slow, calm press keeps the bed more stable and reduces harshness from forcing fines through the filter. If you press hard enough to bend the mug or shake the brewer, the grind is probably too fine or you are rushing the last part of the shot.

| Coffee | Water | Total Time | Grind |
|---|---|---|---|
| 15g | 200ml | 1:30 | Medium-fine |
| 17g | 220ml | 1:45 | Medium-fine |
| 18g | 240ml | 2:00 | Medium |
Bitterness usually means the extraction ran too far for that coffee. Try one change at a time:
Darker roasts dissolve more easily, so they often need a shorter and cooler recipe than light roasts.
Weakness and sourness usually point to under-extraction or too much dilution. Try:
Your grind is probably too fine, or the filter is clogged with fines. Use a coarser grind and press slowly. The plunger should resist, but it should not feel like a strength test.
Some early dripping is normal in the standard method. If it bothers you, grind a little finer, insert the plunger seal sooner, or try the inverted method once you are comfortable handling the brewer.

Light roasts often need hotter water and longer contact. Dark roasts often taste smoother with slightly cooler water and shorter contact. If you do not have a thermometer, change the wait after boiling: shorter wait for light roast, longer wait for dark roast.
Brew a stronger concentrate with less water in the AeroPress, then add hot water to the mug after pressing. This keeps the brewer from overfilling and gives you control over strength.
A simple bypass recipe is 17g coffee, 120ml brew water, 1:30 steep, then 80-120ml hot water added after pressing. This produces a larger cup with cleaner flavor than trying to cram all the water into the chamber.
Add just enough water to wet the grounds, wait 20-30 seconds, then add the rest. Very fresh coffee may release visible gas. Blooming can improve evenness, though the AeroPress is forgiving enough that it is optional.
Yes, but it is better described as a small cold extraction than classic cold brew. Use a medium-coarse grind, cold water, and a long steep in the fridge. The inverted method helps because it prevents dripping during the steep.
Remove the cap, push the coffee puck into the trash or compost, and rinse the parts. Occasionally remove and rinse around the rubber seal. Avoid storing it compressed for long periods, which can wear the seal faster.

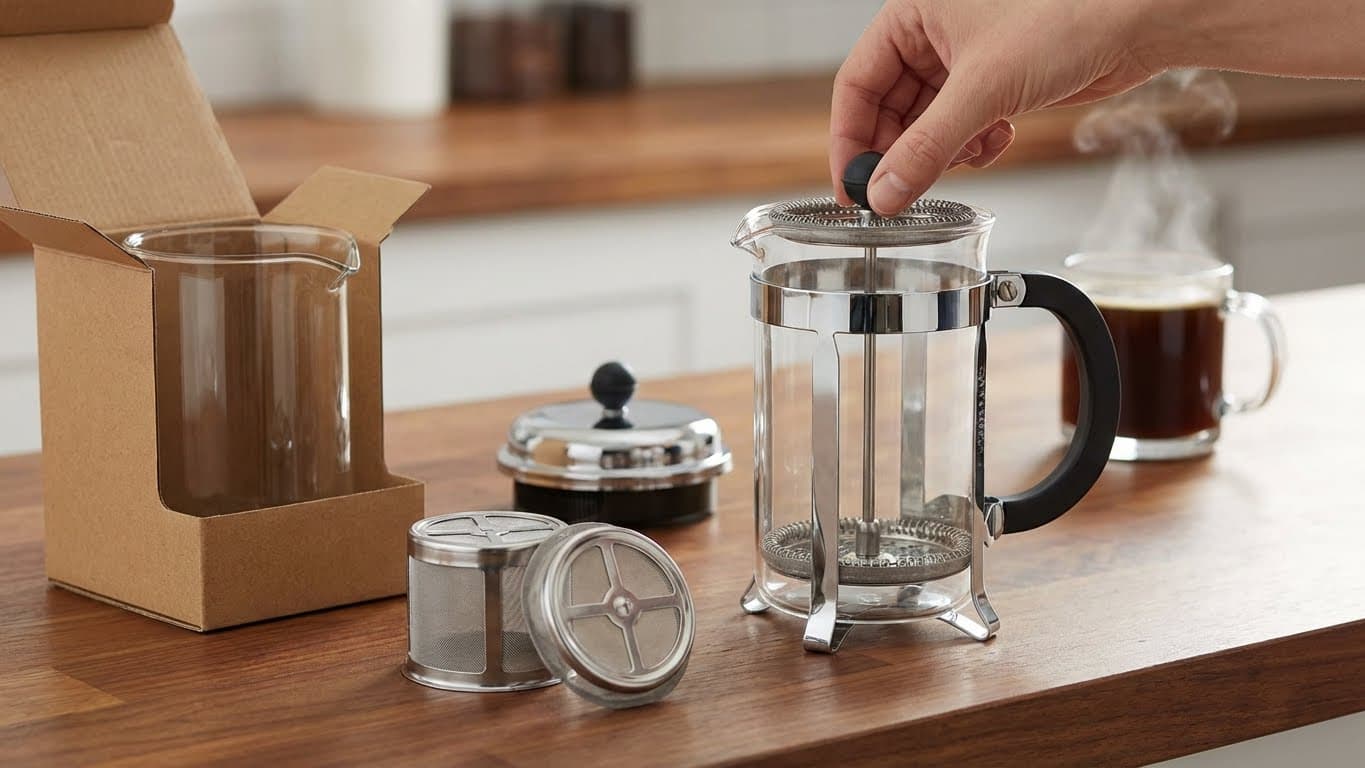
Paper filters make a cleaner cup by trapping more oils and fine particles. Metal filters give more body and a heavier texture. Neither is universally better; use paper for clarity and metal for richness.
The likely variables are grind size, coffee amount, water amount, steep time, and water temperature. Pick one recipe and keep it fixed for a few brews. Then adjust one variable at a time.
Yes. It will not be as vivid as freshly ground coffee, but the AeroPress is friendly to pre-ground coffee. Use the freshest bag you can, choose medium-fine if possible, and keep the package sealed between brews.
Not true espresso. The AeroPress cannot generate the same pressure as an espresso machine. It can make a short, strong coffee concentrate that works well with milk, but it will not have the same crema or texture as machine espresso.
If you want repeatable coffee, give yourself one fixed recipe for the week instead of changing everything each morning. Pick one coffee dose, one water amount, one steep time, and one grind setting. Write it on a note near the kettle if needed. Small consistency beats constant improvisation.
On the first day, adjust only grind. If the coffee is thin and sour, go finer. If it is bitter, dry, or hard to press, go coarser. On the second day, adjust steep time by 15-30 seconds. On the third day, adjust dilution after pressing. By the end of the week, you will know which change actually helped instead of guessing from a different recipe every cup.
This routine is especially useful if you use pre-ground coffee. You cannot change grind size after buying the bag, so dose, steep time, temperature, and bypass water become your main controls. Pre-ground coffee may not be ideal, but the AeroPress gives you enough flexibility to make it decent when you keep the rest of the variables steady.
An AeroPress and a kettle are enough for a strong daily coffee routine. Start with 15-17g coffee, 200-220ml hot water, 1:30 total time, and a slow press. Once that tastes good, adjust grind, time, and dilution in small steps. The brewer rewards attention, but it does not demand perfection.

Written by
Jeanine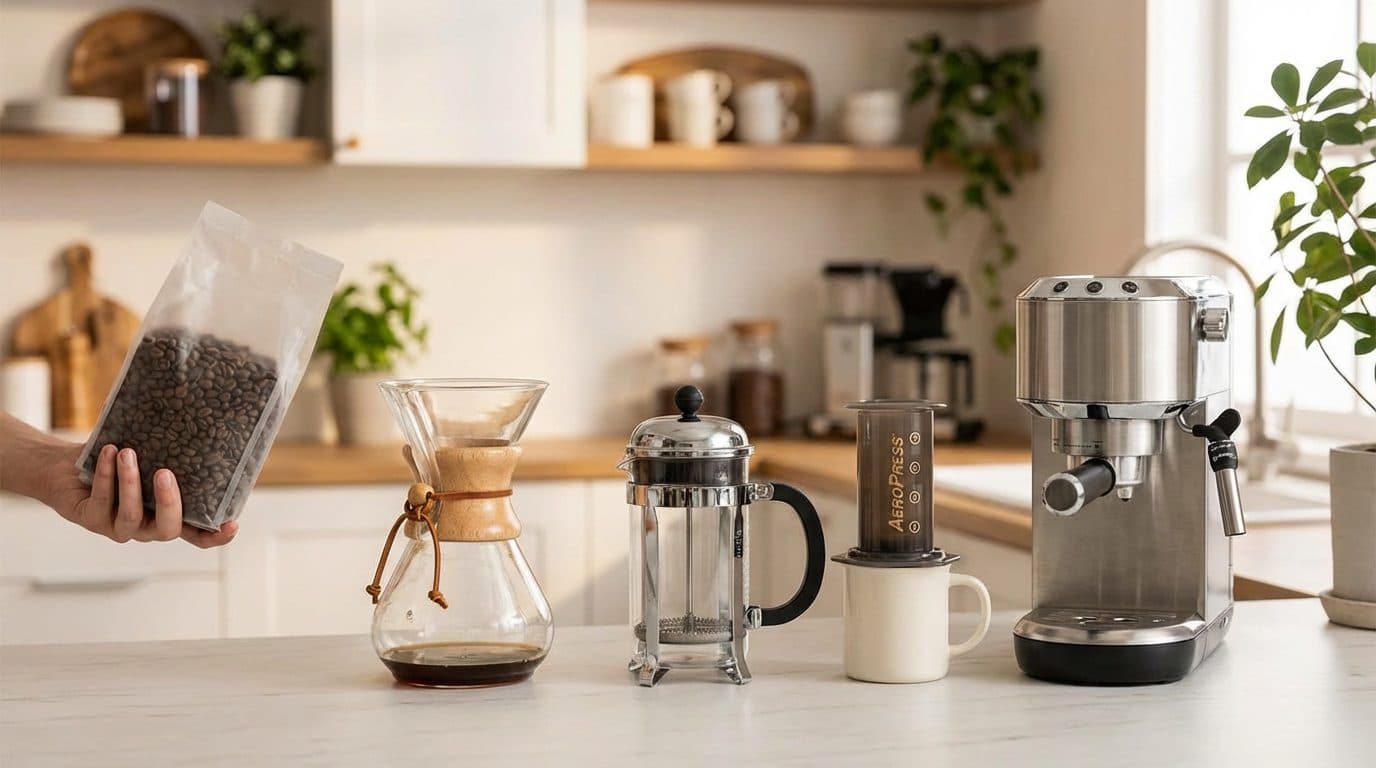 Brewing Methods: French Press, Pour-Over & More
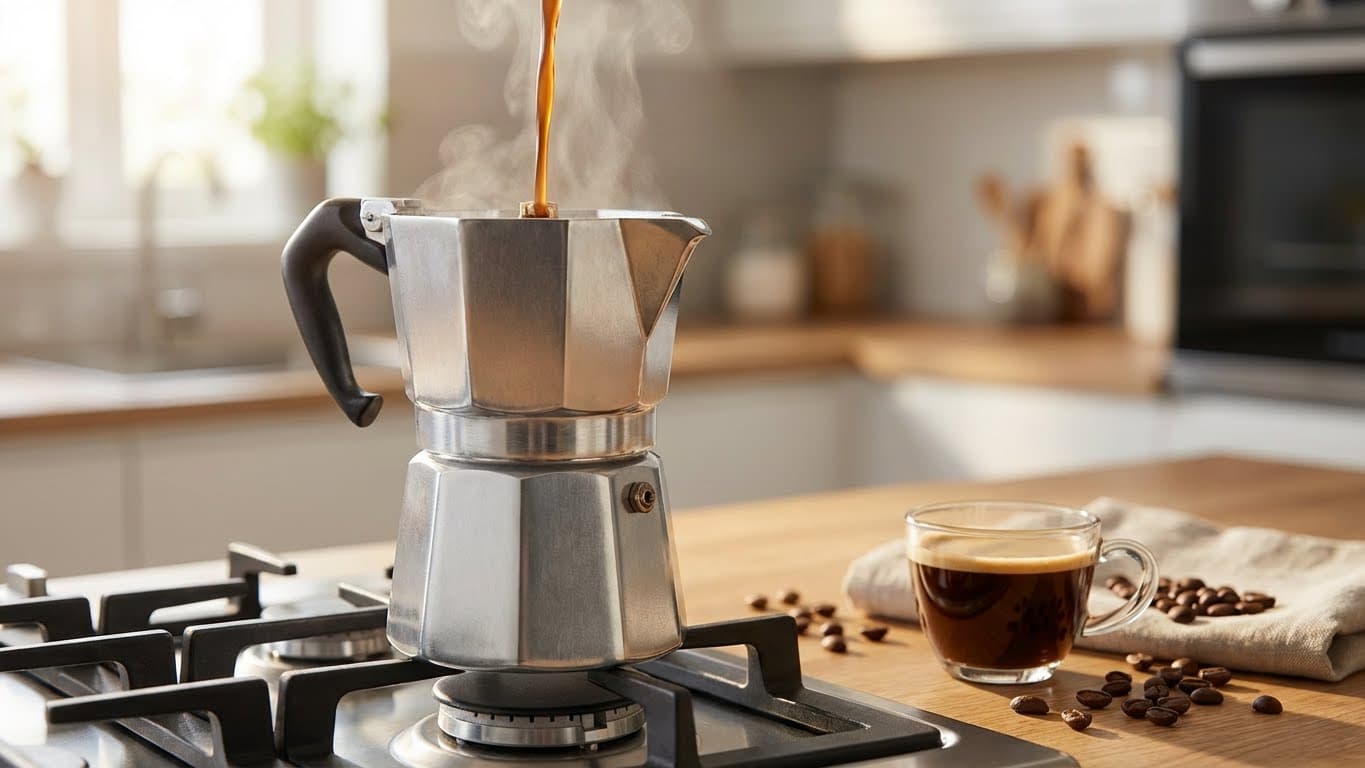 Brewing Methods: French Press, Pour-Over & More
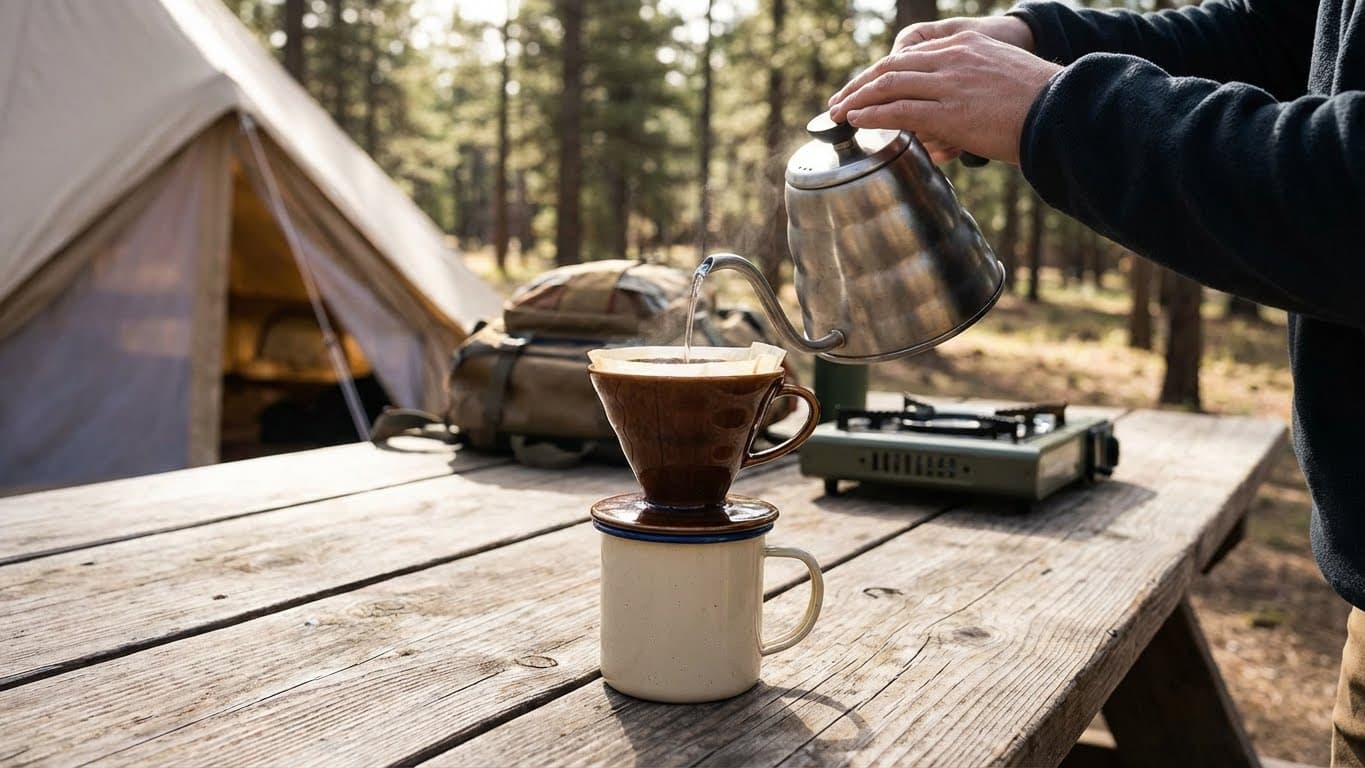 Brewing Methods: French Press, Pour-Over & More
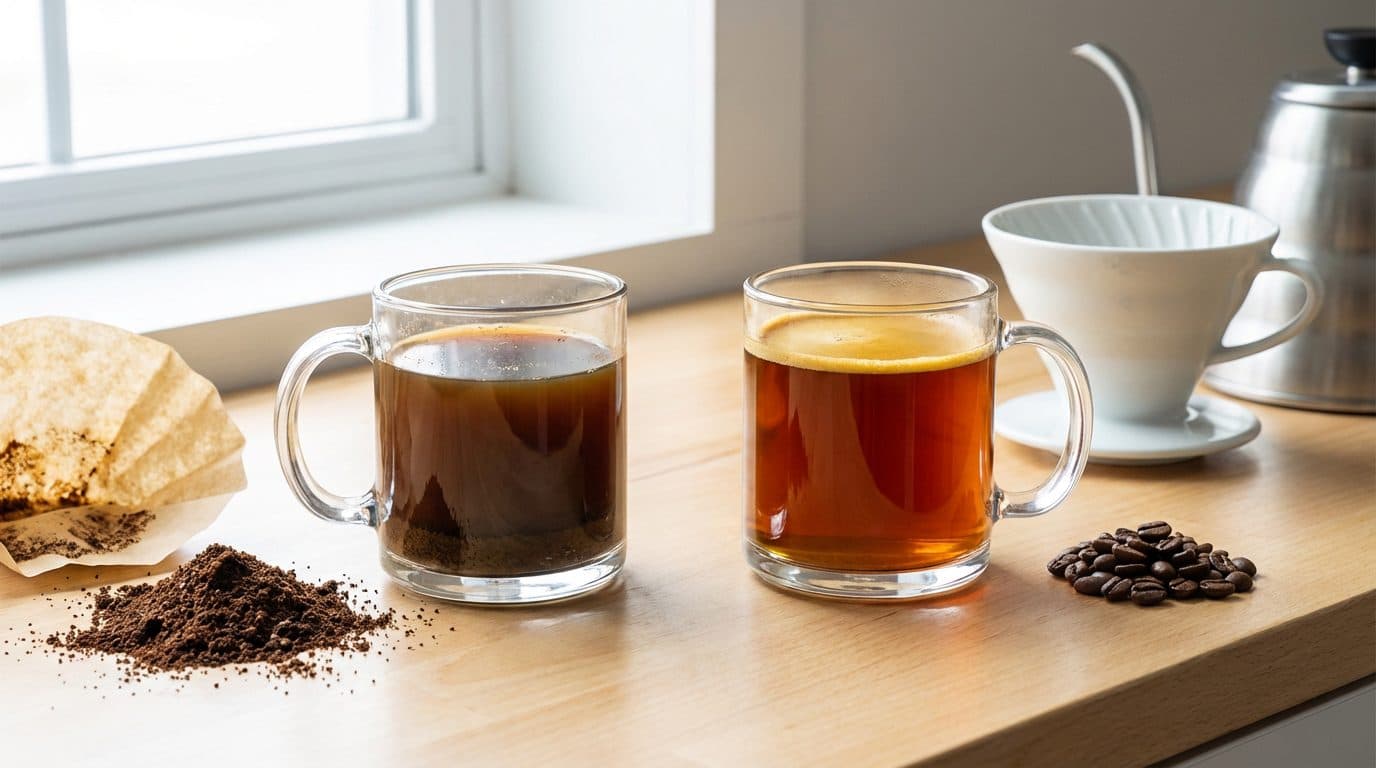
Comments