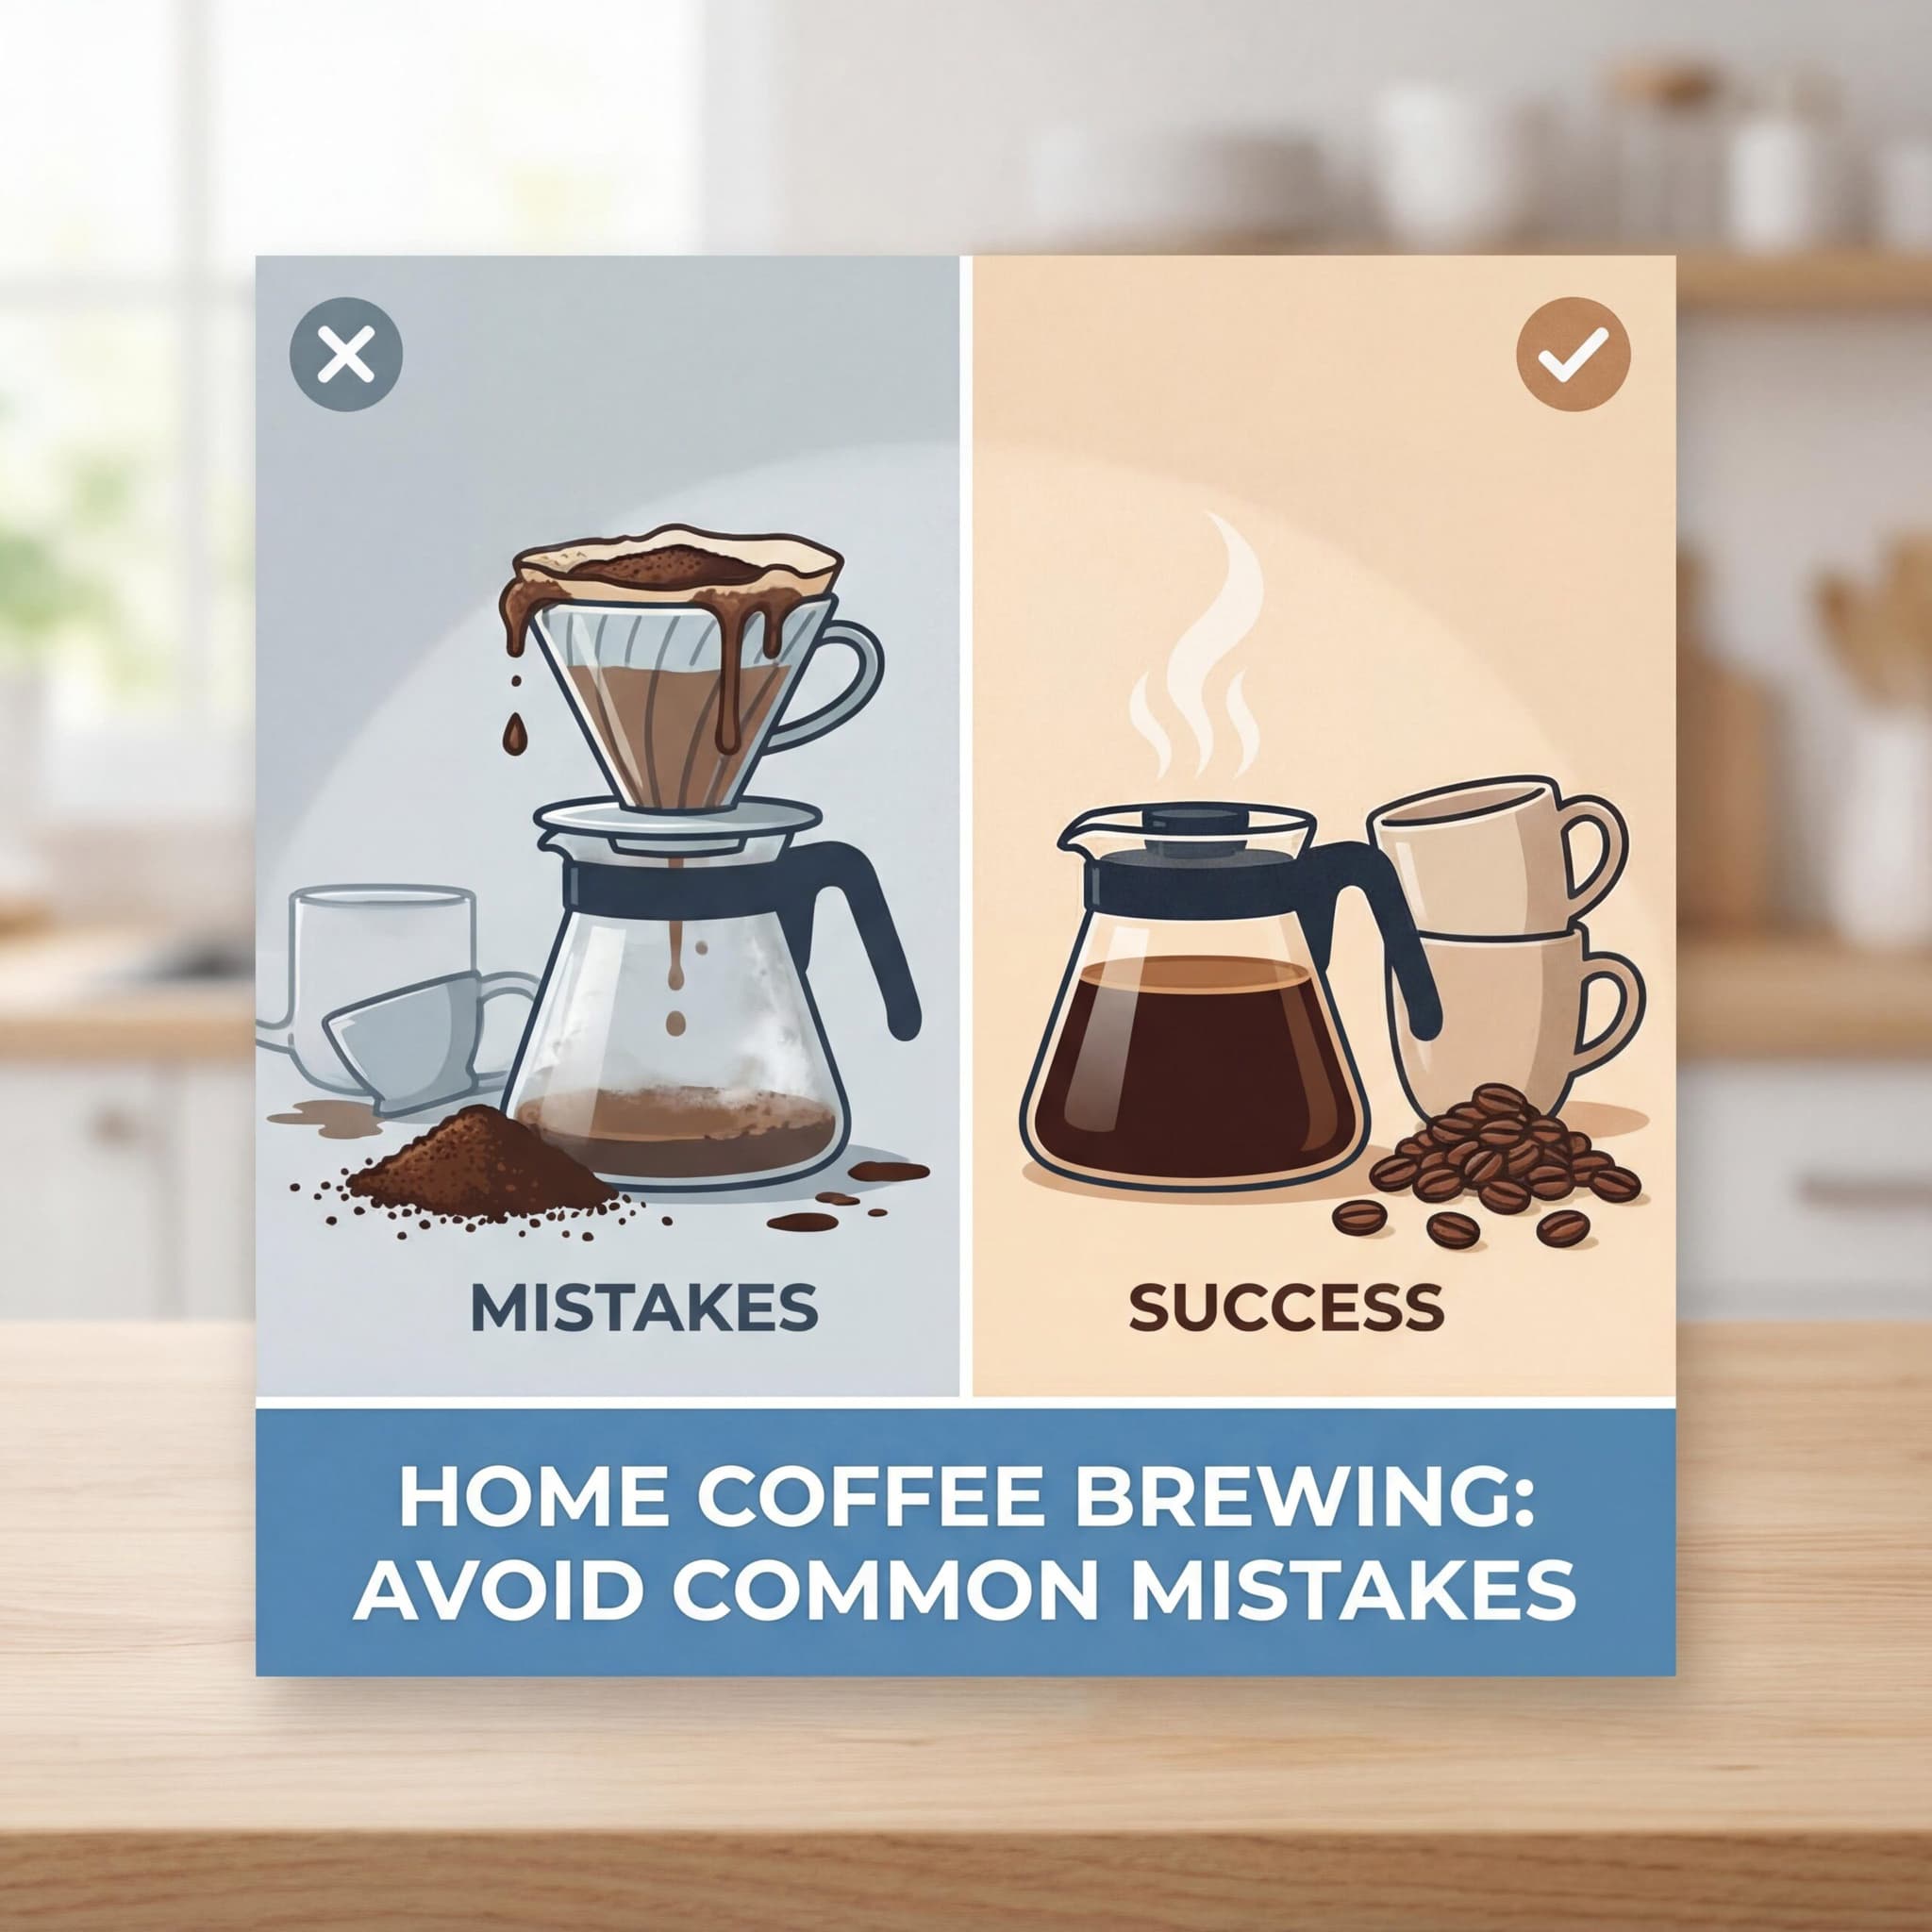
Have you ever wondered why your home-brewed coffee tastes nothing like the delicious cup you get at your favorite café? You’re not alone. Millions of coffee enthusiasts struggle with home coffee brewing, often making the same preventable mistakes that lead to bitter, sour, or just plain bland coffee. The good news is that avoiding these common beginner mistakes is easier than you might think, and with a few simple adjustments, you can dramatically improve your daily brew.
In this guide, you’ll discover the most frequent errors that beginners make when brewing coffee at home and learn practical solutions to fix them. Whether you’re using a French press, pour-over, drip machine, or any other brewing method, these tips will help you unlock the full potential of your coffee beans.
Using Stale or Low-Quality Coffee Beans
One of the biggest beginner mistakes in home coffee brewing is underestimating the importance of fresh, quality beans. Coffee is a perishable product, and it starts losing its flavor and aroma within weeks of being roasted. Many people grab pre-ground coffee from the supermarket shelf without checking the roast date, not realizing that the coffee might have been sitting there for months.
Here’s how to avoid this mistake:
Buy whole beans instead of pre-ground coffee. Whole beans stay fresh longer because less surface area is exposed to air.
Check the roast date. Look for coffee roasted within the last 2-4 weeks for optimal freshness.
Purchase from local roasters when possible, as they typically offer fresher options than mass-produced brands.
Store your beans properly in an airtight container away from light, heat, and moisture.
Imagine buying a loaf of bread that was baked three months ago—you wouldn’t expect it to taste great, right? The same logic applies to coffee. Investing in fresh, quality beans is the foundation of a good cup.
How Long Do Coffee Beans Stay Fresh?
Whole beans maintain peak flavor for about 2-4 weeks after roasting. After that, they’re still drinkable but gradually lose their complexity and brightness. Ground coffee, on the other hand, starts going stale within 15-30 minutes of grinding. This is why grinding just before brewing makes such a noticeable difference.
Getting the Grind Size Wrong
Grind size is one of the most overlooked factors in home coffee brewing, yet it has a massive impact on your final cup. Different brewing methods require different grind sizes, and using the wrong one is a recipe for disappointing coffee. Too fine, and your coffee will be over-extracted and bitter. Too coarse, and it will be under-extracted and sour.
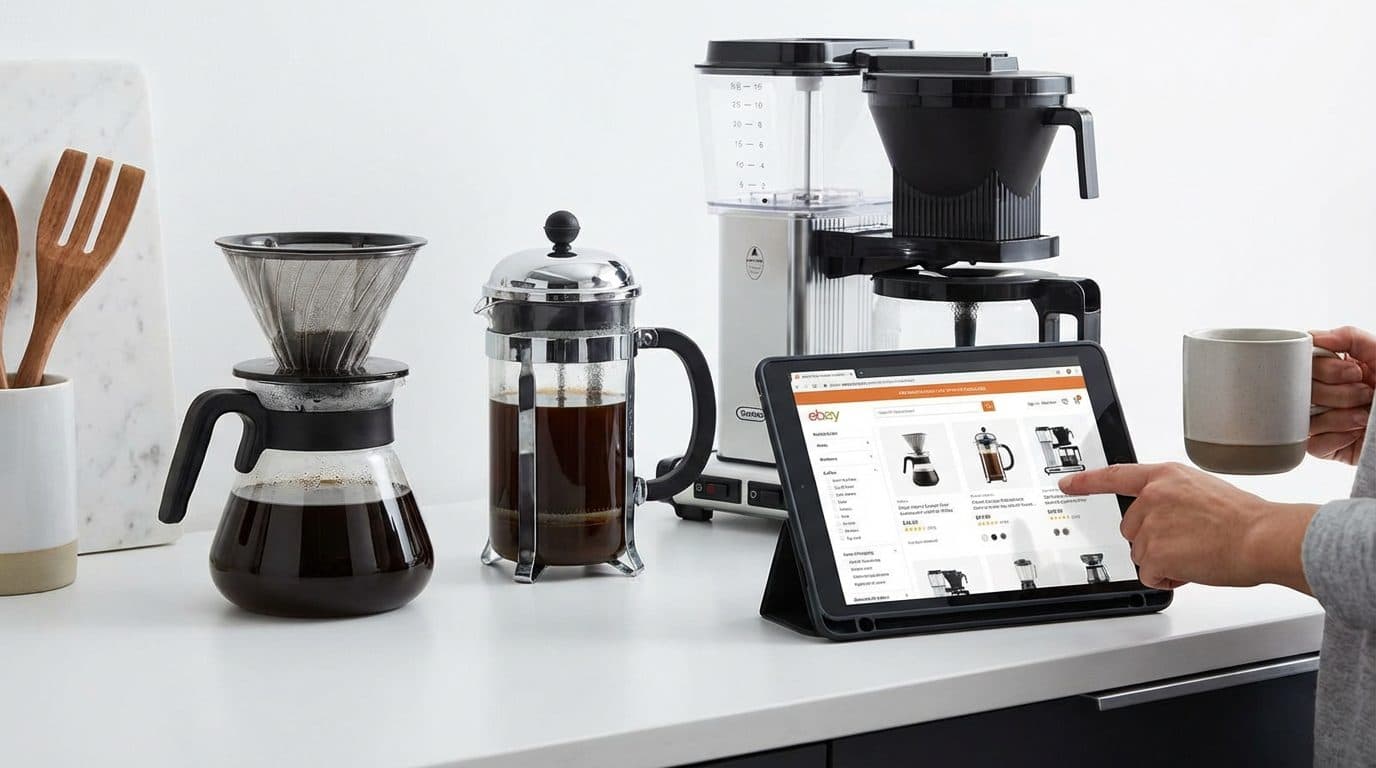
Here’s a quick guide to matching grind size with brewing method:
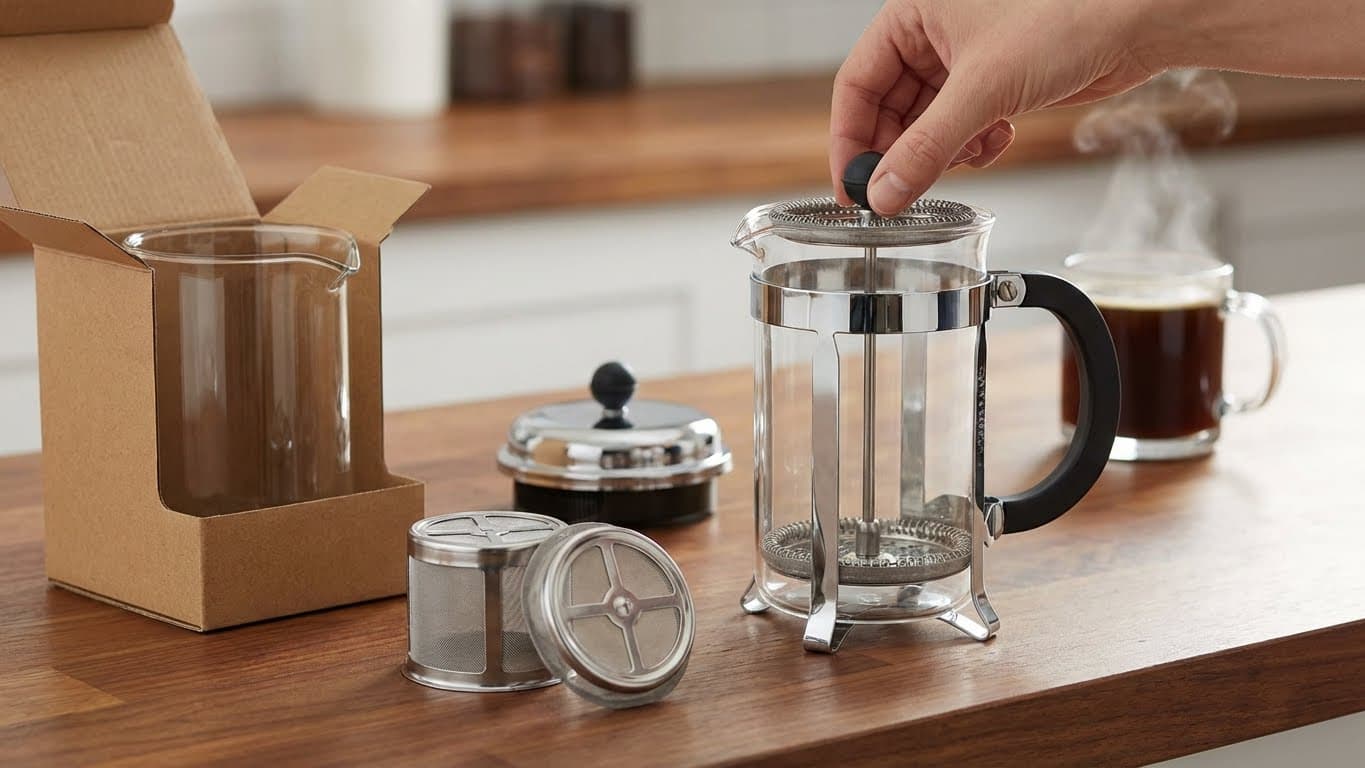
Coarse grind: French press, cold brew
Medium-coarse grind: Chemex, percolator
Medium grind: Drip coffee makers, pour-over (like V60)
Fine grind: Espresso, Moka pot, AeroPress (with short brew time)
A common scenario: you buy a French press, use finely ground coffee from the store, and end up with a muddy, bitter mess. The fine particles slip through the metal filter, and the extended contact time causes over-extraction. Switching to a coarse grind immediately solves both problems.
Investing in a Good Grinder
If you’re serious about improving your home brew, consider investing in a burr grinder rather than a blade grinder. Blade grinders chop beans unevenly, creating a mix of fine powder and large chunks. Burr grinders crush beans between two surfaces, producing a consistent grind size. You don’t need to spend a fortune—entry-level burr grinders start around $30-50 and make a noticeable difference.
Ignoring the Coffee-to-Water Ratio
Another frequent beginner mistake in home coffee brewing is eyeballing the amount of coffee and water. This leads to inconsistent results—sometimes your coffee is too weak, other times it’s overwhelmingly strong. Without a consistent ratio, you can never replicate that perfect cup you accidentally made last Tuesday.
The standard starting point is a 1:15 to 1:17 ratio of coffee to water by weight. In short, this means using about 1 gram of coffee for every 15-17 grams of water. For those without a scale, a rough guideline is 2 tablespoons of coffee per 6 ounces of water, but measuring by weight is far more accurate.
Use a kitchen scale. A basic digital scale costs less than $15 and removes the guesswork entirely.
Write down your ratios. When you make a cup you love, note exactly how much coffee and water you used.
Adjust to taste. If your coffee is too weak, use more coffee or less water. If it’s too strong, do the opposite.
Think of it like baking: you wouldn’t add flour by throwing random handfuls into a bowl. Precision matters, and once you start measuring, you’ll be amazed at how much more consistent your brews become.
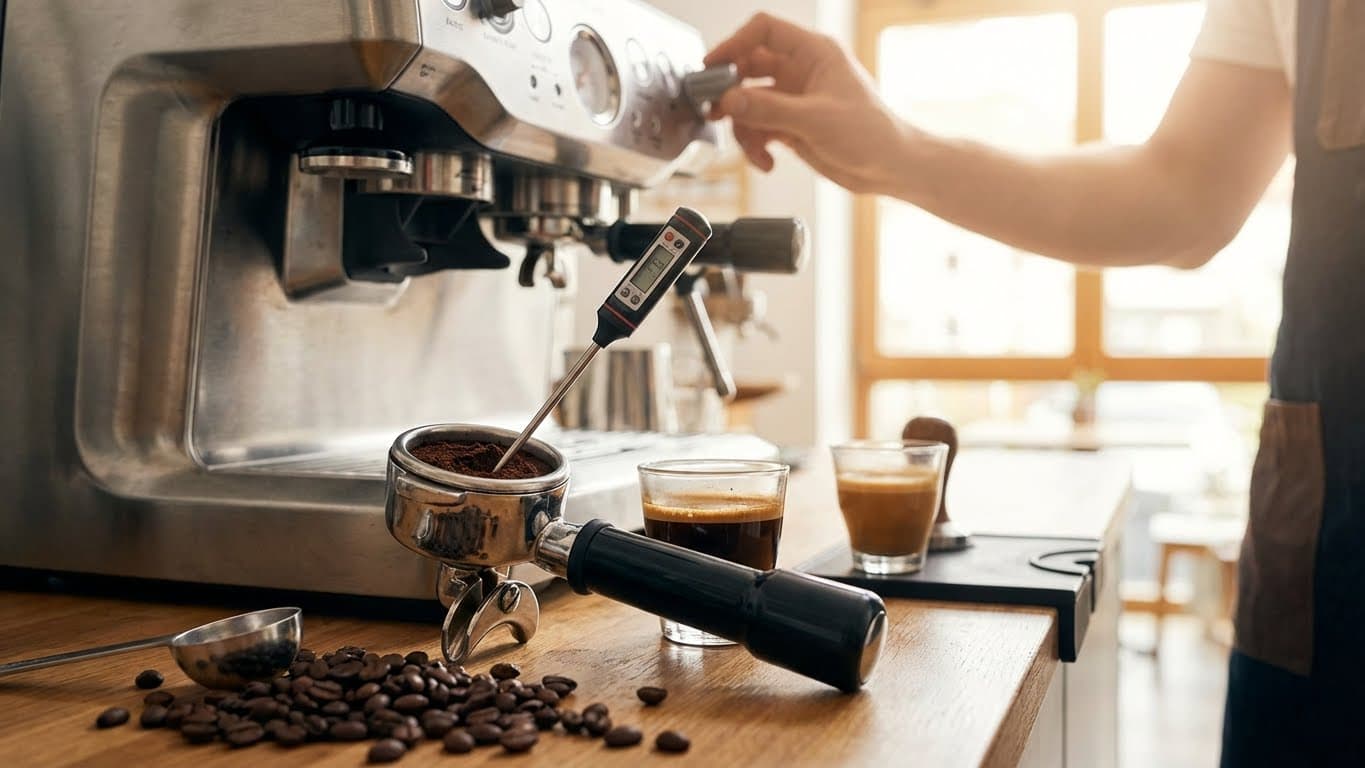
Using the Wrong Water Temperature
Water temperature plays a critical role in extraction, yet many beginners either use boiling water straight from the kettle or lukewarm water that’s cooled down too much. The ideal brewing temperature for most methods is between 195°F and 205°F (90°C to 96°C). Water that’s too hot will over-extract your coffee, pulling out harsh, bitter compounds. Water that’s too cool will under-extract, leaving you with flat, sour coffee.
Here are some practical tips:
Let boiling water rest for 30-60 seconds before pouring it over your grounds. This typically brings it into the ideal range.
Use a thermometer or temperature-controlled kettle if you want precision. Variable temperature kettles have become quite affordable.
Preheat your brewing equipment. Pouring hot water into a cold French press or pour-over cone drops the temperature significantly.
A real-world example: you wake up in a rush, pour boiling water directly onto your grounds, and gulp down a bitter, unpleasant cup. Simply waiting one minute before pouring would have made a noticeable difference in flavor.
Neglecting Your Water Quality
Coffee is about 98% water, so it makes sense that water quality affects the taste. Yet this is something many beginners never consider. Tap water with high chlorine content, heavy mineral buildup, or off-flavors will carry those characteristics into your coffee. On the flip side, completely pure distilled water isn’t ideal either—some mineral content actually helps with extraction.
What you can do:
Use filtered water from a pitcher filter or faucet attachment. This removes chlorine and unwanted tastes while retaining helpful minerals.
Avoid distilled or softened water, which can make your coffee taste flat.
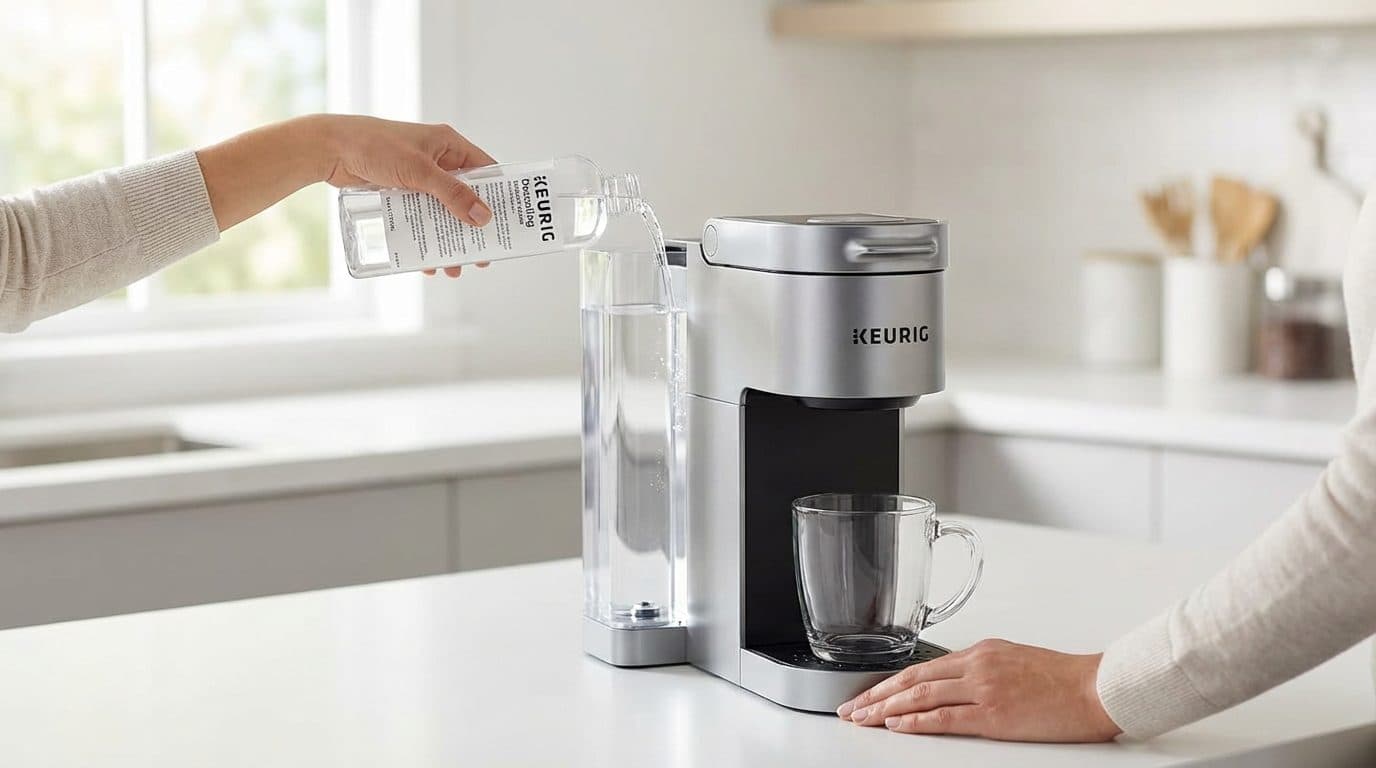
Clean your equipment regularly. Mineral deposits build up over time and affect both machine performance and taste.
If your tap water tastes good on its own, it will probably work fine for coffee. But if you notice any off-putting flavors when drinking your water plain, those will be amplified in your brew.
Rushing the Brewing Process
Patience is a virtue in home coffee brewing. Beginners often rush through the process, not allowing enough time for proper extraction or skipping steps that seem unimportant. Each brewing method has an optimal contact time, and cutting it short or extending it too long affects the final result.
French press: Steep for 4 minutes before plunging.
Pour-over: Total brew time should be around 2.5-4 minutes depending on your device.
AeroPress: Experiment between 1-2 minutes for different flavor profiles.
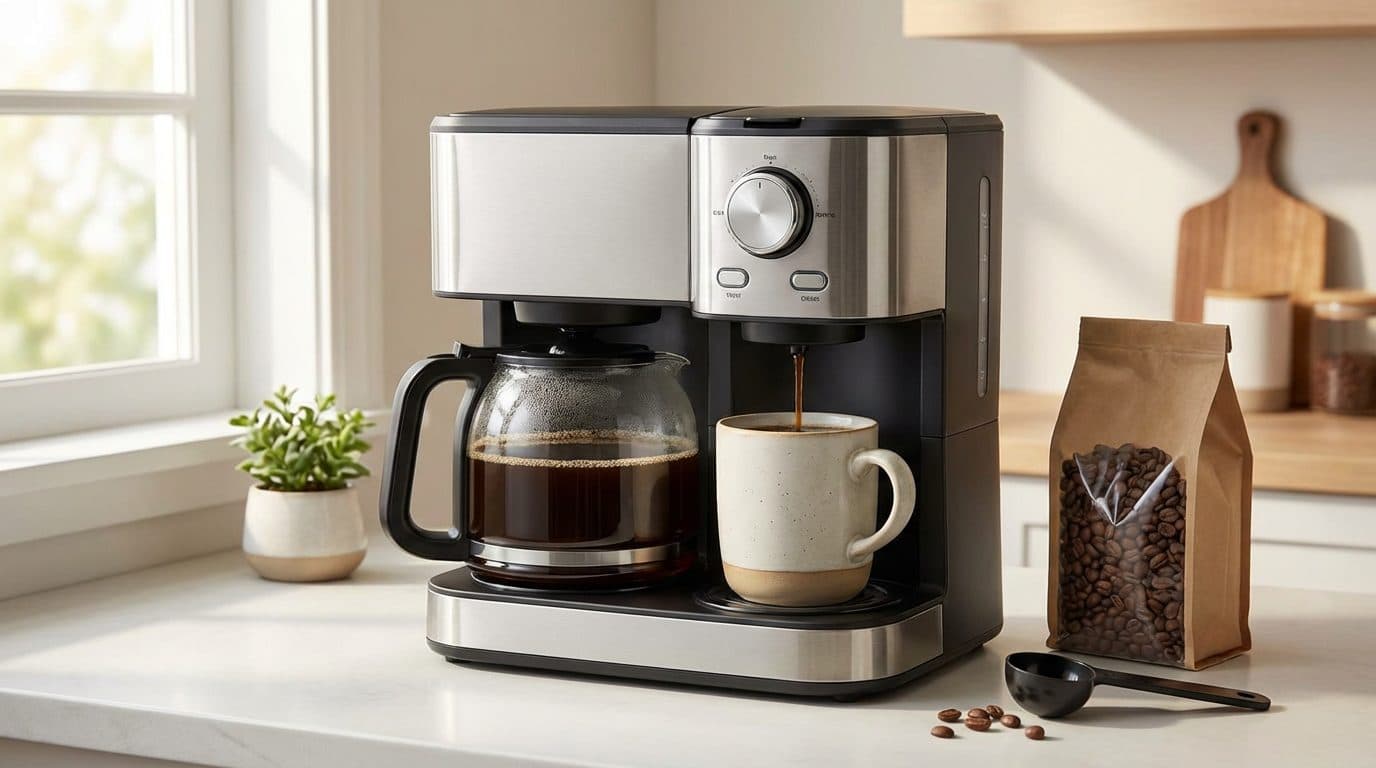
Drip machines: Ensure your machine brews for the correct duration; cheap machines often brew too quickly.
Also, take time to bloom your coffee when using pour-over or French press methods. Blooming means pouring a small amount of water over fresh grounds and letting them “degas” for 30-45 seconds before continuing. This allows carbon dioxide to escape and leads to more even extraction.
Frequently Asked Questions
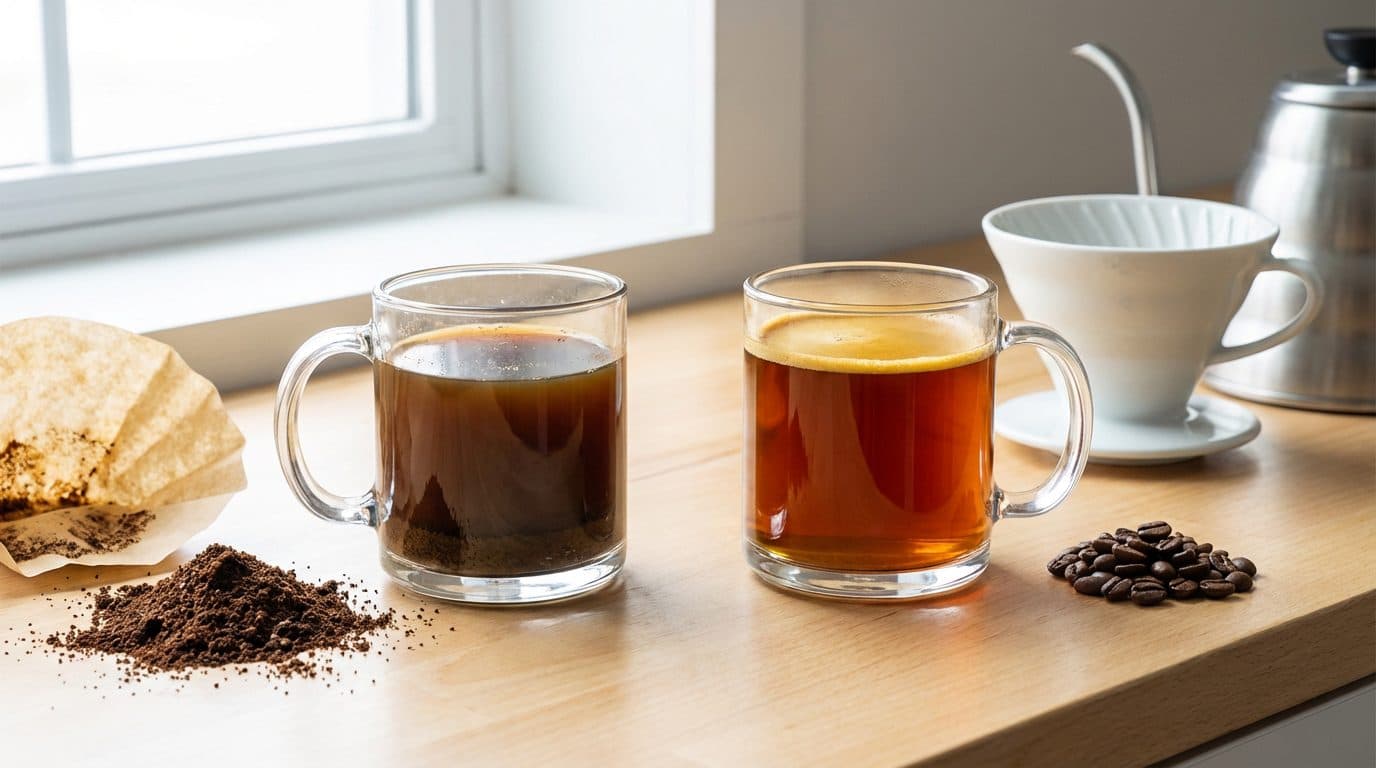
Why does my home-brewed coffee taste bitter?
Bitter coffee usually results from over-extraction. This can happen if your water is too hot, your grind is too fine, or your brew time is too long. Try lowering your water temperature, using a coarser grind, or reducing steeping time to balance the flavor.
Why does my coffee taste sour or acidic?
Sour coffee is typically under-extracted. Your grind might be too coarse, your water too cool, or your brew time too short. Adjusting these variables toward finer grinds, hotter water, or longer extraction should help.
Do I really need a scale to make good coffee?
While you can make decent coffee without a scale, using one dramatically improves consistency. Once you find a ratio you love, you can replicate it every single time. It’s a small investment that pays off quickly.
How often should I clean my coffee equipment?
Rinse your equipment after every use to remove coffee oils. Do a deeper clean weekly for French presses and pour-over cones, and descale drip machines monthly if you have hard water. Old coffee residue turns rancid and creates off-flavors.
Can I use any type of water for brewing coffee?
Filtered tap water works best for most people. Avoid distilled water, which lacks minerals needed for proper extraction, and heavily chlorinated tap water, which adds unpleasant flavors. If your water tastes good to drink, it’s usually fine for coffee.
Conclusion and Your Next Steps
Avoiding common beginner mistakes in home coffee brewing doesn’t require expensive equipment or barista-level skills. It comes down to paying attention to a few key factors: using fresh beans, grinding to the right size, measuring your coffee and water, controlling your temperature, and giving the process the time it deserves. Each small improvement builds on the others, and before long, you’ll be brewing coffee that rivals your favorite café.
Start by identifying which of these mistakes might be affecting your current brew, then tackle one at a time. Maybe this week you’ll focus on grind size, and next week you’ll experiment with water temperature. By approaching it step by step, you’ll develop a deeper understanding of what makes great coffee—and you’ll enjoy better cups every morning.


Comments