



Table of Contents
- What Does It Mean When Your Espresso Shot Chokes?
- Signs Your Shot Is Choking
- Common Causes of a Choked Espresso Shot
- 1. Grind Size Is Too Fine
- 2. Too Much Coffee in the Basket
- 3. Tamping Too Hard
- 4. Stale or Overly Fresh Coffee
- 5. Clogged or Dirty Equipment
- How to Fix a Choked Espresso Shot
- Step 1: Adjust Your Grind Size
- Step 2: Weigh Your Dose
- Step 3: Lighten Your Tamp
- Step 4: Check Your Coffee's Roast Date
- Step 5: Clean Your Equipment
- Preventing Future Choked Shots
- Dial In After Every New Bag
- Keep a Brewing Log
- Maintain Your Grinder
- Watch Your Humidity and Temperature
- Frequently Asked Questions
- Why does my espresso shot choke only sometimes?
- Can my espresso machine cause choked shots?
- Is a choked shot the same as channeling?
- How do I know if my grinder is the problem?
- What's the ideal extraction time for espresso?
- Summary and Your Next Step
You’ve prepped your portafilter, tamped with care, and locked it into your espresso machine with confidence. You hit the brew button, wait for that beautiful stream of espresso to flow… and nothing. A few sad drips, a sputtering mess, or complete silence. Your espresso shot choked, and now you’re staring at your machine wondering what went wrong. Don’t worry—this is one of the most common frustrations home baristas face, and I’ve been there more times than I’d like to admit.
In this guide, you’ll learn exactly why your espresso shot choked and how to fix it. We’ll cover the usual suspects—grind size, dose, tamping pressure, and more—so you can get back to pulling perfect shots without the headache.
What Does It Mean When Your Espresso Shot Chokes?
A choked espresso shot occurs when water can’t flow through the coffee puck properly. Instead of a steady, honey-like stream, you get little to no espresso coming out. The machine builds pressure, but the resistance is too high, blocking extraction almost entirely.
Think of it like a clogged drain. The water wants to go through, but something is creating a barrier. In espresso terms, this barrier is usually caused by the coffee being too finely ground, too tightly packed, or both. The result? An under-extracted, bitter mess—or no coffee at all.
Signs Your Shot Is Choking
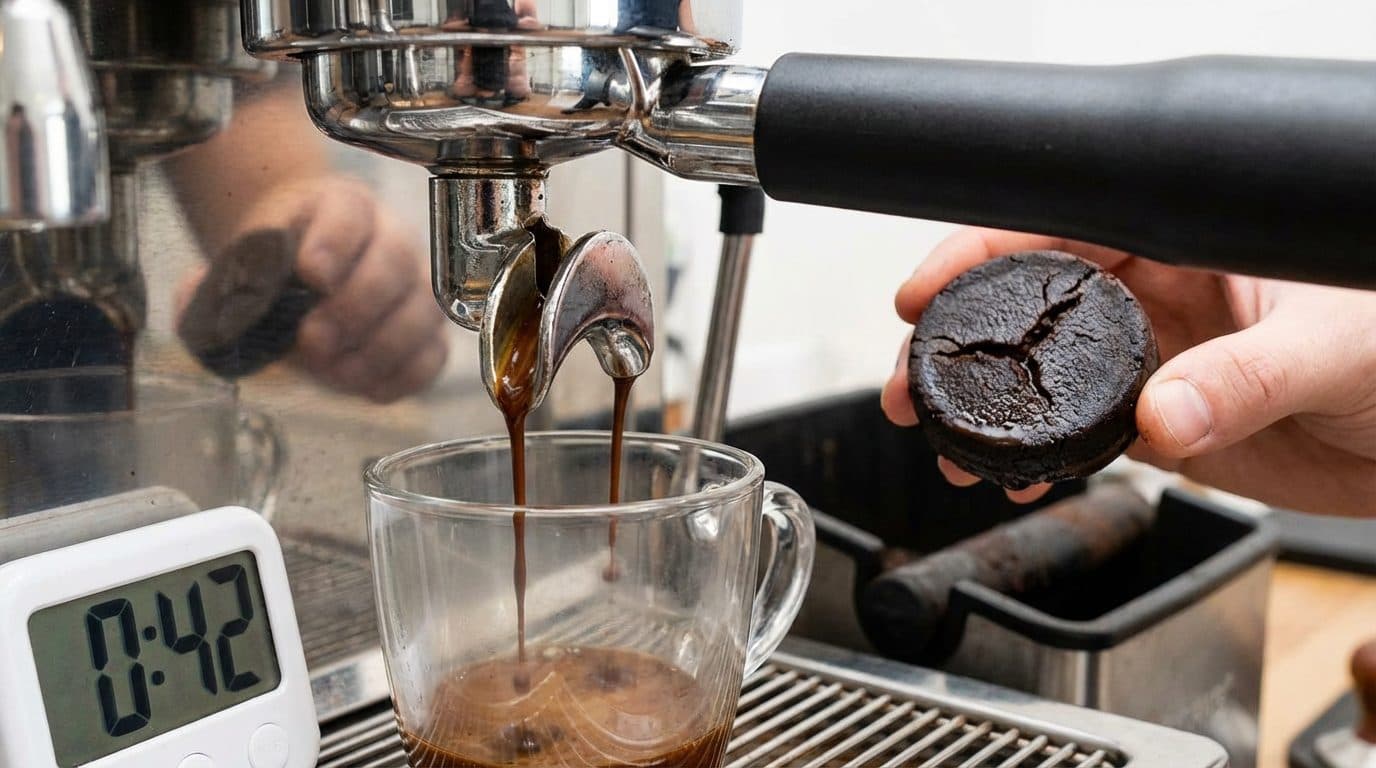
- No espresso comes out for the first 10–15 seconds after starting the brew
- Espresso drips very slowly, taking 40+ seconds for a single shot
- The stream looks thick, dark, and sludgy (not the golden honey consistency you want)
- Your machine sounds strained or makes unusual noises
- The puck is wet, soupy, or has visible channeling marks
Key Takeaway: A choked shot means water is meeting too much resistance. The fix involves reducing that resistance through adjustments to your grind, dose, or technique.
Common Causes of a Choked Espresso Shot
Before you start making changes, it helps to understand what’s actually causing the problem. In my experience, a choked shot almost always comes down to one of these culprits.
1. Grind Size Is Too Fine
This is the number one reason espresso shots choke. When your coffee is ground too finely, the particles pack together so tightly that water can’t push through. It’s like trying to pour water through sand versus gravel—the finer the particles, the slower the flow.
Barista Tip: If you recently adjusted your grinder to a finer setting and your shots started choking, coarsen the grind by 1–2 notches and try again. Small adjustments make a big difference with espresso.
2. Too Much Coffee in the Basket
Overdosing your portafilter creates excess resistance. When there’s too much coffee, the puck becomes dense and compact, leaving no room for water to flow evenly. Most standard double baskets hold 14–18 grams, so exceeding this can cause problems.
Here’s a quick scenario: You’re used to brewing with 16 grams, but today you eyeballed it and accidentally put in 20 grams. The puck is now pressing against the shower screen, creating a barrier that chokes the shot.
3. Tamping Too Hard
While consistent tamping is important, pressing down with all your might isn’t helping. Over-tamping compresses the coffee beyond what’s necessary, making it harder for water to penetrate. Aim for about 30 pounds of pressure—firm but not forceful.
4. Stale or Overly Fresh Coffee
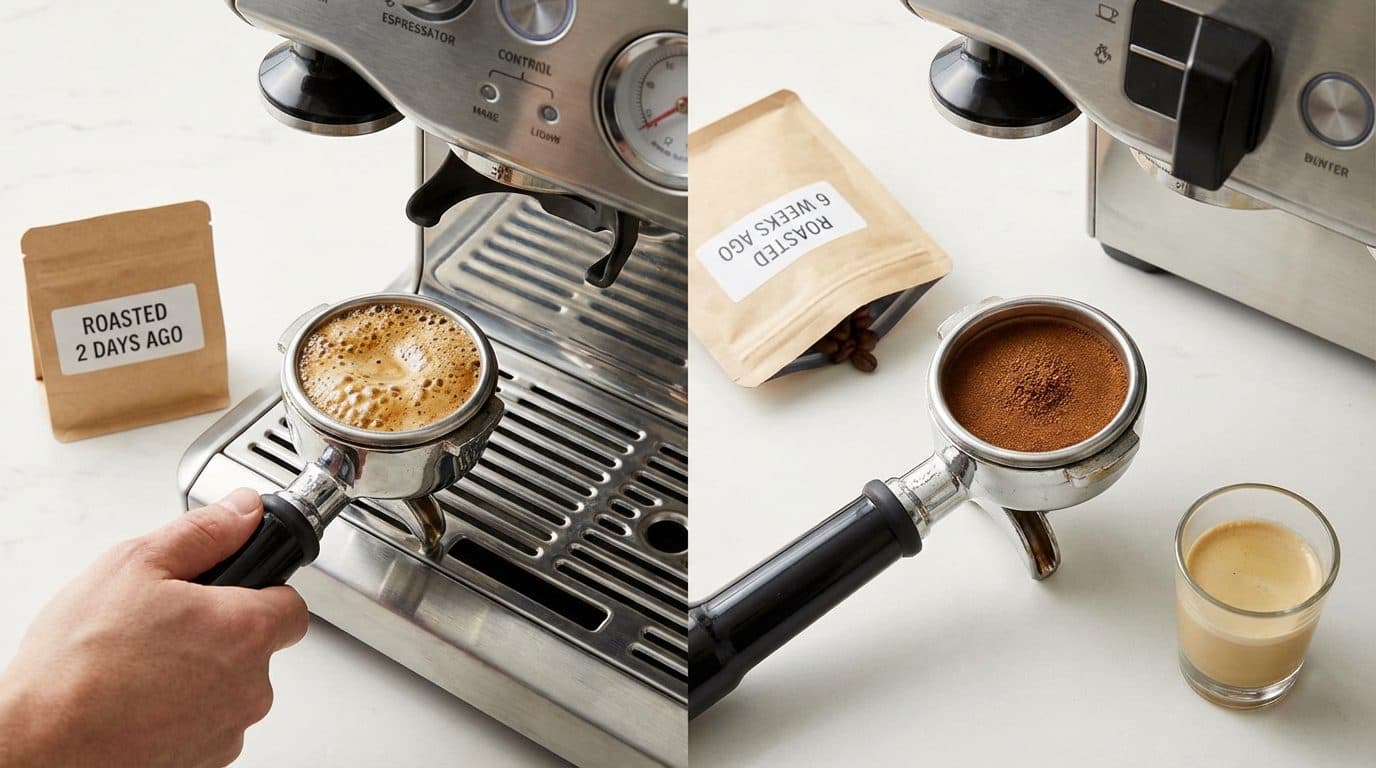
This one surprises many home baristas. Coffee that’s too fresh (roasted within the last 2–3 days) releases excessive CO2 during brewing. This gas creates bubbles and uneven extraction, which can contribute to choking. On the flip side, stale coffee (more than 4–6 weeks post-roast) often requires a finer grind to extract properly, which can tip you into choke territory.
5. Clogged or Dirty Equipment
Old coffee oils and residue can build up in your portafilter basket, group head, and shower screen. This gunk restricts water flow and contributes to uneven extraction. If you haven’t cleaned your machine recently, this could be a hidden cause.
How to Fix a Choked Espresso Shot
Now that you know what’s causing the problem, let’s fix it. I recommend tackling these solutions one at a time so you can identify exactly what’s making the difference.
Step 1: Adjust Your Grind Size
Start by coarsening your grind. Move your grinder 1–2 settings coarser and pull another shot. If it still chokes, go coarser again. Keep adjusting until you see espresso flowing within 5–8 seconds of starting the pump.
A properly extracted shot should take about 25–30 seconds total for a double shot (roughly 36 grams of liquid from 18 grams of coffee). If your shot is running significantly longer, the grind is still too fine.
Step 2: Weigh Your Dose
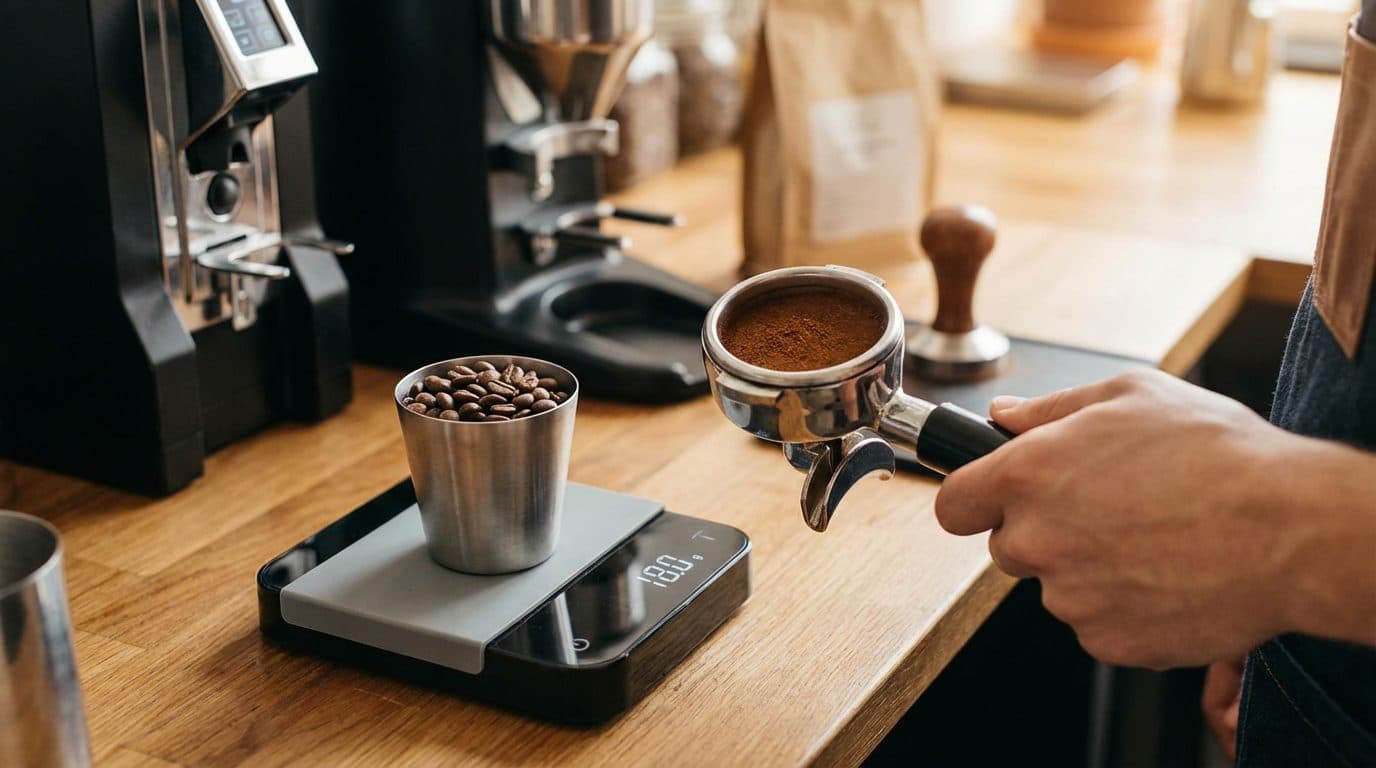
Invest in a small digital scale if you haven’t already—it’s a game-changer for consistency. Weigh your coffee before grinding and aim for a dose that matches your basket size. For most 18-gram baskets, stick to 17–18 grams. For smaller baskets, use 14–16 grams.
Barista Tip: After grinding, give your portafilter a gentle shake to distribute the grounds evenly before tamping. This helps prevent dense spots that cause channeling and choking.
Step 3: Lighten Your Tamp
Focus on tamping level and consistent, not hard. Press down until you feel resistance, then stop. There’s no need to lean your body weight into it. A level tamp is more important than a heavy one.
Step 4: Check Your Coffee’s Roast Date
Aim to use coffee that’s 7–21 days off roast for optimal results. If your beans are super fresh, let them degas for a few more days. If they’re old, consider buying a fresher bag.
Step 5: Clean Your Equipment
Run a backflush cycle with water (and espresso machine cleaner if you have it). Remove the basket and scrub it with a stiff brush. Clean the shower screen by running water through the group head without the portafilter attached. You’d be amazed how much buildup accumulates over time.
| Problem | Solution | Expected Result |
|---|---|---|
| Grind too fine | Coarsen by 1–2 notches | Faster flow, 25–30 second extraction |
| Overdosed basket | Reduce dose by 1–2 grams | Less resistance, smoother extraction |
| Over-tamping | Lighten pressure, focus on level | Even water flow through puck |
| Dirty equipment | Backflush and scrub basket | Improved flow and cleaner taste |
Preventing Future Choked Shots
Once you’ve solved the immediate problem, a few habits will help you avoid this frustration in the future. I’ve found that consistency is everything when it comes to espresso.
Dial In After Every New Bag
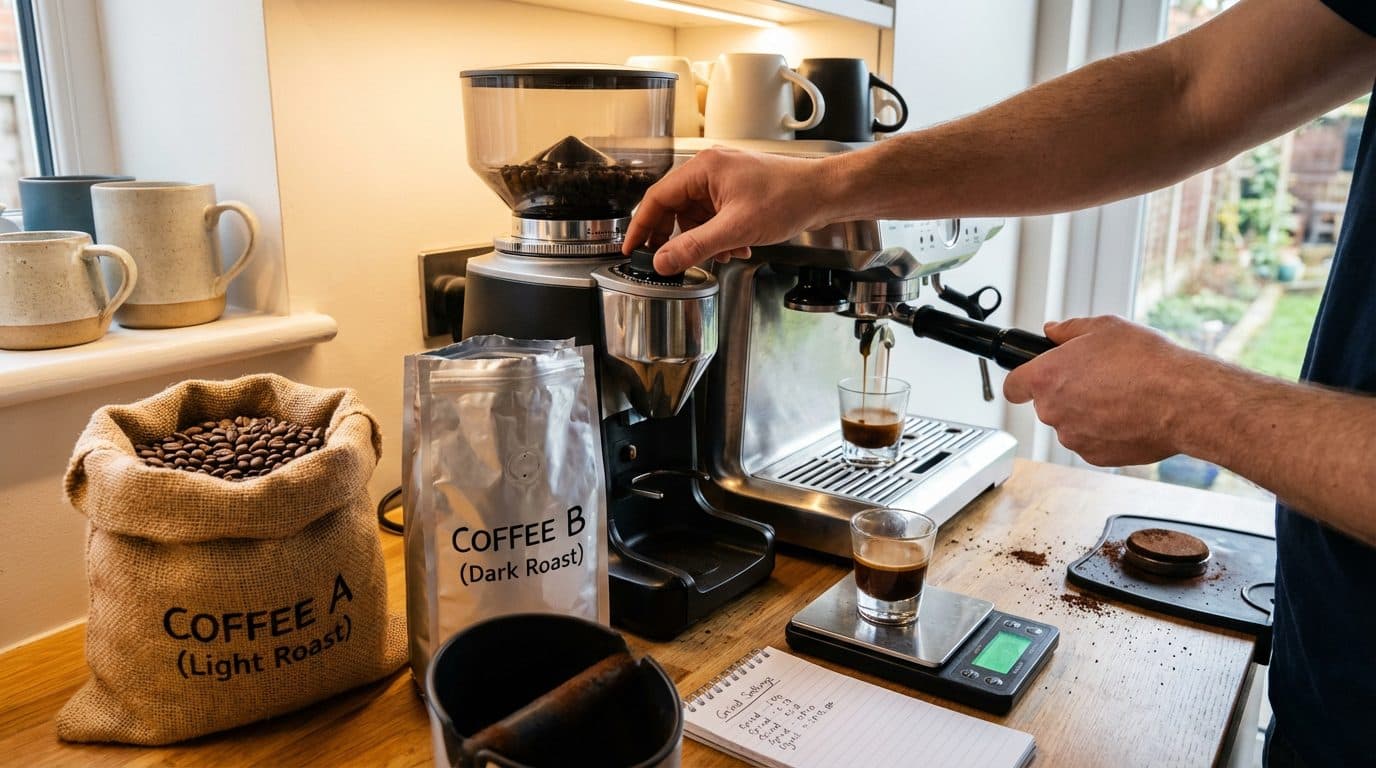
Different coffees have different densities, moisture levels, and roast profiles. What works perfectly for one bag might choke with another. Always pull a test shot and adjust your grind when switching beans.
Keep a Brewing Log
This sounds nerdy, but it works. Note your grind setting, dose, and extraction time for each bag of coffee. When you return to that coffee later, you’ll have a starting point instead of guessing.
Maintain Your Grinder
Grinders collect oils and fine particles that affect grind consistency. Clean your burrs every few weeks and run grinder cleaning tablets through monthly. A dirty grinder produces uneven particles, which contribute to channeling and choked shots.
Watch Your Humidity and Temperature
Believe it or not, environmental factors affect grind behavior. On humid days, coffee grounds can clump more, requiring a coarser setting. If your shots suddenly start choking without any changes, check the weather.
Barista Tip: Store your beans in an airtight container away from heat and light. Properly stored coffee maintains more consistent extraction properties.
Frequently Asked Questions
Why does my espresso shot choke only sometimes?
Inconsistent chokes usually point to variations in your dose or distribution. If you’re not weighing your coffee each time, small differences can push you over the edge. Uneven distribution before tamping also creates dense spots that occasionally block flow. Using a WDT tool (a simple needle tool to stir grounds) helps create consistency.
Can my espresso machine cause choked shots?
Yes, though it’s less common than technique issues. Low pump pressure, a clogged solenoid valve, or a worn group head gasket can all affect extraction. If you’ve ruled out grind, dose, and tamping, it might be time to service your machine or check the pump pressure (it should be around 9 bars during extraction).
Is a choked shot the same as channeling?
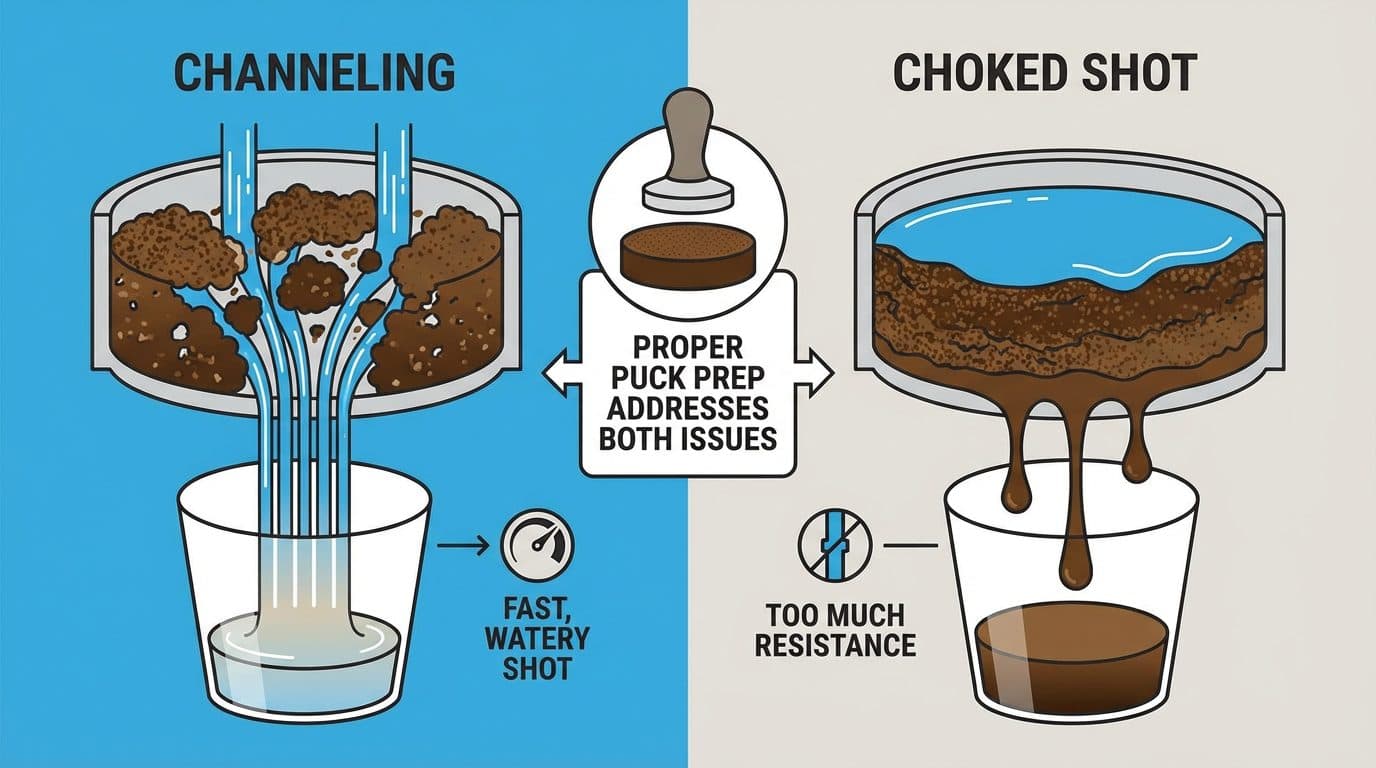
Not exactly. Channeling occurs when water finds weak spots in the puck and rushes through unevenly, often causing a fast, watery shot. A choked shot is the opposite—too much resistance everywhere. However, uneven distribution can cause both problems, so proper puck prep addresses both issues.
How do I know if my grinder is the problem?
If you’re getting inconsistent results despite careful technique, your grinder might be producing uneven particle sizes. Blade grinders are notorious for this. Burr grinders are much better, but even they need regular cleaning and eventual burr replacement. Examine your grounds—if you see a mix of fine powder and larger chunks, your grinder needs attention.
What’s the ideal extraction time for espresso?
For a standard double shot (about 36 grams of liquid from 18 grams of coffee), aim for 25–30 seconds from the moment you start the pump. If your shot takes significantly longer and barely drips out, it’s choking. If it gushes out in 15 seconds, you need a finer grind.
Summary and Your Next Step
A choked espresso shot is frustrating, but it’s also completely fixable. In most cases, the solution is simple: coarsen your grind, reduce your dose, or lighten your tamp. Start with grind size since it has the biggest impact, then work through the other variables if needed.
Remember that espresso is a balancing act. Small changes create big differences, so adjust incrementally and pull test shots as you go. Keep your equipment clean, weigh your doses, and pay attention to your coffee’s freshness. With a little practice, you’ll develop the instincts to diagnose and fix problems quickly—and you’ll be pulling beautiful, flowing shots in no time. Life’s too short for bad coffee, so get back to your machine and dial in that perfect extraction.


Comments