


Table of Contents
- Quick Verdict: The Ideal Steamed Milk Temperature
- Why Temperature Matters for Steamed Milk
- The Science of Sweet Milk
- What Happens When You Burn Milk
- How to Measure Steamed Milk Temperature Accurately
- Tools for Temperature Control
- Temperature Targets for Different Drinks
- Common Mistakes That Lead to Burnt Milk
- Mistake #1: Not Paying Attention
- Mistake #2: Re-Steaming Milk
- Mistake #3: Starting with Warm Milk
- Mistake #4: Incorrect Steam Wand Position
- Best Temperature for Steamed Milk with Alternative Milks
- Oat Milk
- Almond Milk
- Soy Milk
- Coconut Milk
- Frequently Asked Questions
- Can I fix milk that's been overheated?
- Why does my milk taste fine at home but burnt at the café?
- Is there a difference between steaming and frothing in terms of temperature?
- How can I tell if milk is burnt without a thermometer?
- Does the fat content of milk affect the ideal temperature?
- Conclusion: Master the Temperature, Master the Milk
Ever noticed how a perfectly crafted latte from your favorite café feels silky and sweet, while your home attempts sometimes taste… scorched? The difference often comes down to one crucial factor: the temperature of your steamed milk. Getting this right transforms your espresso drinks from “okay” to café-quality, and getting it wrong can literally ruin perfectly good milk. So what’s the best temperature for steamed milk, and how do you nail it every single time?
In this guide, I’ll walk you through the science behind milk temperature, share the exact numbers you should aim for, and help you understand why burning your milk is such a common mistake—and how to avoid it forever. Whether you’re using a home espresso machine or a standalone milk frother, these principles apply across the board.
Quick Verdict: The Ideal Steamed Milk Temperature
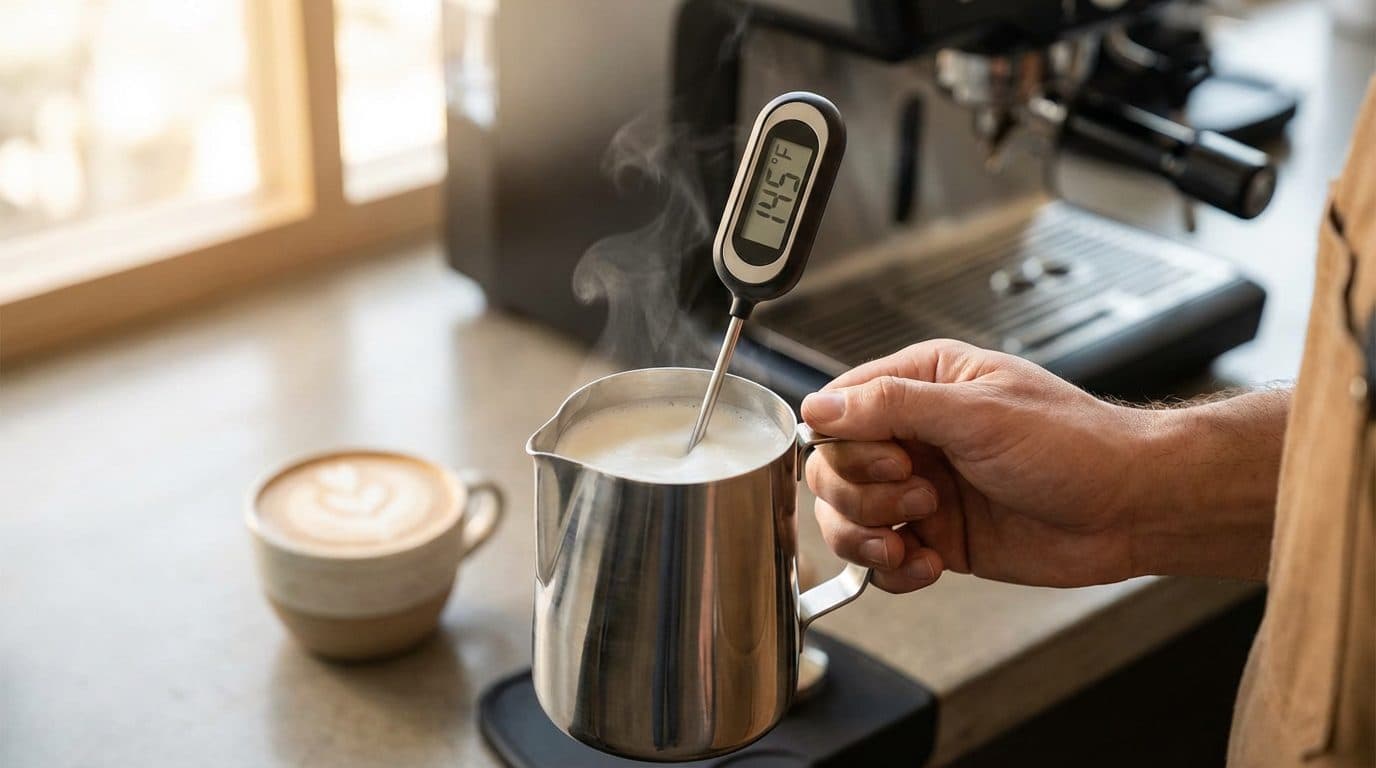
The sweet spot for steamed milk is between 55°C and 65°C (131°F to 149°F). For most drinks and most people, aim for around 60°C (140°F). This temperature creates the perfect balance of sweetness, texture, and drinkability. Go above 70°C (158°F), and you’re entering the danger zone where milk proteins break down and that unpleasant burnt taste takes over.
In my experience, 60°C hits the mark for lattes and flat whites, while cappuccinos can handle the upper range around 65°C since the foam insulates the drink. If someone asks for “extra hot,” 70°C is your absolute ceiling—anything beyond that, and you’re serving them a compromised drink.
Why Temperature Matters for Steamed Milk
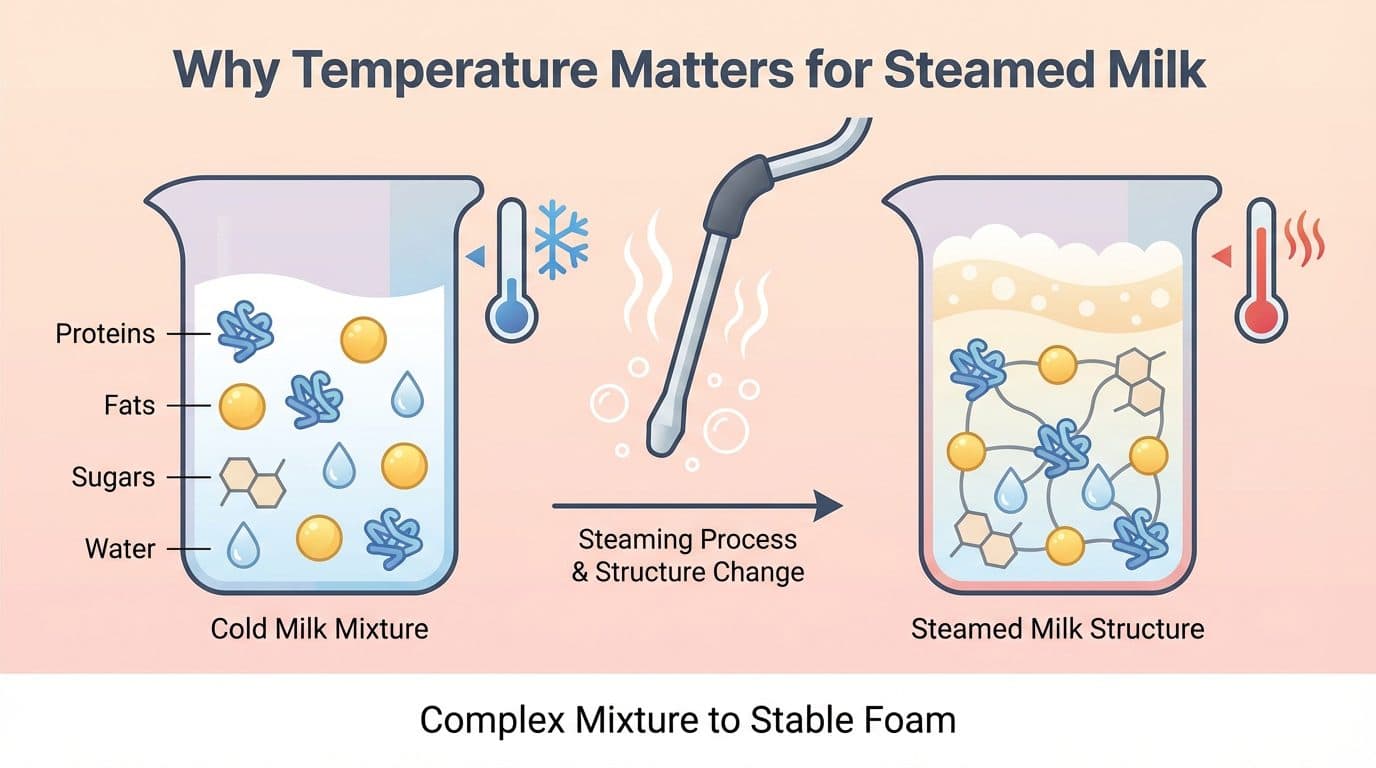
Milk isn’t just white liquid—it’s a complex mixture of proteins, fats, sugars, and water. When you steam milk, you’re not just heating it; you’re fundamentally changing its structure. Understanding this helps you appreciate why those temperature numbers aren’t arbitrary.
The Science of Sweet Milk
Milk contains lactose, a natural sugar that becomes more perceptible to our taste buds as temperature rises—but only up to a point. Between 55°C and 65°C, lactose reaches its peak sweetness. This is why properly steamed milk tastes noticeably sweeter than cold milk, even though no sugar has been added.
Here’s what happens at different temperatures:
- Below 50°C: Milk feels lukewarm, sweetness isn’t fully developed, and foam won’t hold properly
- 55°C to 65°C: Optimal sweetness, silky texture, proteins create stable microfoam
- Above 70°C: Proteins denature and coagulate, sweetness diminishes, burnt or “cooked” flavors emerge
- Above 80°C: Milk is effectively scalded—grainy texture, unpleasant taste, and the foam collapses
What Happens When You Burn Milk
When milk exceeds 70°C, the whey proteins (particularly one called beta-lactoglobulin) begin to unfold and bond together in ways they shouldn’t. This process is irreversible. You can’t “unburn” milk. The result is a sulfurous, eggy, or simply flat taste that overpowers the delicate flavors of your espresso.
I’ve found that many home baristas don’t realize they’re burning their milk until they taste the difference side by side. Try this experiment: steam one pitcher to 60°C and another to 75°C, then taste them plain. The difference is dramatic and educational.
How to Measure Steamed Milk Temperature Accurately
You can’t manage what you can’t measure. While experienced baristas develop a hand-feel for temperature, beginners should absolutely use a thermometer. It’s the fastest way to build muscle memory and consistency.
Tools for Temperature Control
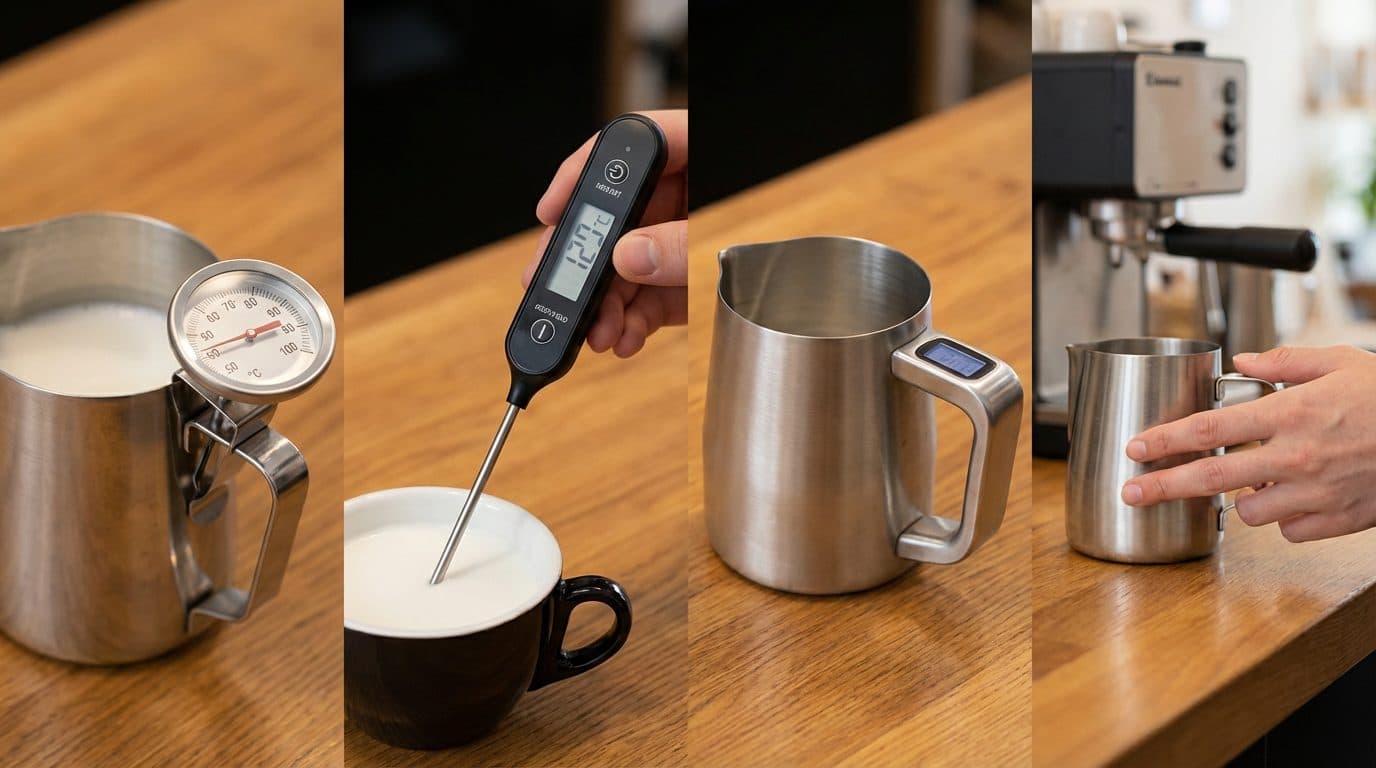
Several options exist for monitoring your milk temperature:
- Clip-on milk thermometer: The classic choice. Clips to your pitcher and gives you a constant reading. Look for one with clear markings in the 55°C to 70°C range.
- Instant-read digital thermometer: More accurate but requires you to hold it in place. Great for learning, less practical for daily use.
- Smart pitchers with built-in displays: Some modern milk pitchers have temperature displays on the handle. Convenient but pricier.
- The hand method: Once experienced, you can feel the pitcher’s exterior. When it becomes too hot to hold comfortably (around 5 seconds of contact), you’re in the right zone.
Barista Tip: The temperature continues rising for a few seconds after you stop steaming due to residual heat. Stop steaming about 3°C to 5°C before your target temperature to account for this “carryover” effect.
Temperature Targets for Different Drinks
Not all milk drinks are created equal. Here’s a simple reference table:
| Drink Type | Target Temperature | Notes |
|---|---|---|
| Latte | 60°C (140°F) | Balanced sweetness, immediately drinkable |
| Flat White | 55°C to 60°C | Slightly cooler for more milk sweetness |
| Cappuccino | 60°C to 65°C | Foam insulates, so slightly hotter works |
| Extra Hot (by request) | 65°C to 70°C max | Explain to guests this affects taste |
| Kids’ drinks | 50°C to 55°C | Safe drinking temperature for children |
Common Mistakes That Lead to Burnt Milk

Even with the right target in mind, several habits can sabotage your steamed milk. I’ve made all of these mistakes myself, so learn from my burnt-milk graveyard.
Mistake #1: Not Paying Attention
Milk heats faster than you think, especially with a powerful steam wand. What feels like a 10-second task can go wrong in the last 3 seconds. Distraction is the enemy. Stay focused on that thermometer or your hand on the pitcher until you’re done.
A typical scenario: You start steaming, glance at your phone, and by the time you look back, the thermometer reads 75°C. The milk is already compromised. Those few seconds of inattention cost you the drink.
Mistake #2: Re-Steaming Milk
Never re-steam milk that’s already been heated. Each heating cycle further degrades the proteins and pushes you closer to that burnt territory, even if you technically stay under 70°C. Fresh milk only, every time.
Mistake #3: Starting with Warm Milk
Always begin with cold milk straight from the refrigerator. Cold milk gives you more time to create proper microfoam before reaching your target temperature. Starting with room-temperature milk means less steaming time, less texture development, and a higher risk of overshooting.
Mistake #4: Incorrect Steam Wand Position
If your steam wand is positioned poorly—too deep, too shallow, or at the wrong angle—you’ll either create no foam or giant bubbles while the milk heats unevenly. Uneven heating means some parts of the milk hit scorching temperatures while the average reading looks acceptable. Position the tip just below the surface initially, then submerge slightly once you’ve introduced enough air.
Best Temperature for Steamed Milk with Alternative Milks
Plant-based milks behave differently than dairy, and temperature is one area where adjustments matter. Their protein structures vary significantly, affecting both foam stability and burning points.
Oat Milk
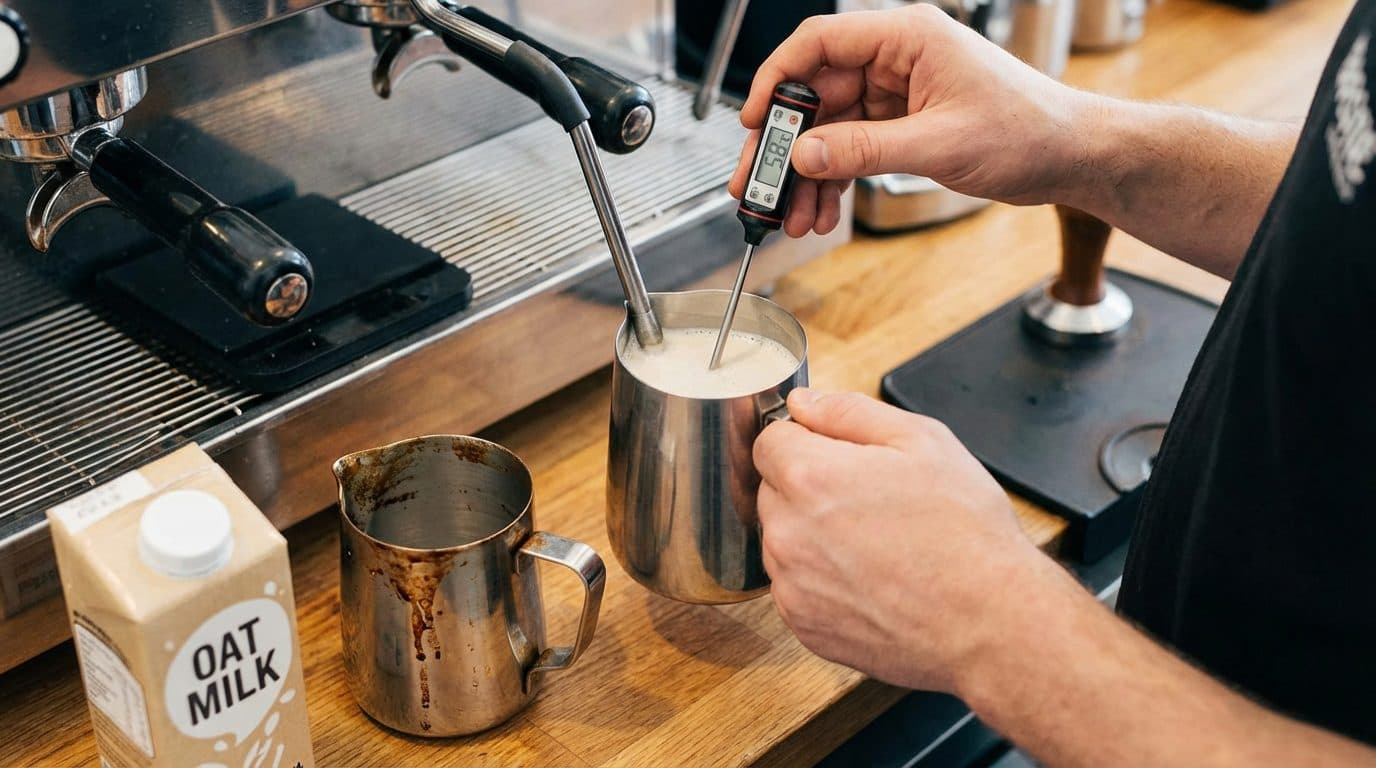
Oat milk has become the darling of coffee shops for good reason—it foams well and has natural sweetness. However, it’s more sensitive to heat. Aim for 55°C to 60°C maximum. Oat milk scorches noticeably faster than dairy, and the burnt taste is particularly unpleasant. Barista-edition oat milks handle heat slightly better but still require caution.
Almond Milk
Almond milk is tricky. It separates easily and doesn’t foam as readily. Keep temperatures on the lower end, around 55°C, and steam more gently. Higher temperatures can cause curdling and bitterness. Barista blends help, but temperature discipline is still essential.
Soy Milk
Soy milk can actually handle temperatures similar to dairy (up to 65°C) but is notorious for curdling when it contacts highly acidic coffee. The temperature itself isn’t usually the problem—it’s the combination of heat and acid. Pour more carefully and consider less acidic espresso blends if soy is your go-to.
Coconut Milk
Coconut milk won’t give you much foam regardless of technique, but it can taste lovely in coffee. Keep it around 55°C to 60°C. Higher temperatures bring out an unpleasant cooked-coconut flavor that clashes with espresso.
Frequently Asked Questions
Can I fix milk that’s been overheated?
Unfortunately, no. Once milk proteins are denatured from excessive heat, the damage is permanent. You can’t reverse the chemical changes by cooling it down or adding cold milk. Your best option is to discard the burnt milk and start fresh. Life is too short for bad coffee—and definitely too short for burnt milk.
Why does my milk taste fine at home but burnt at the café?
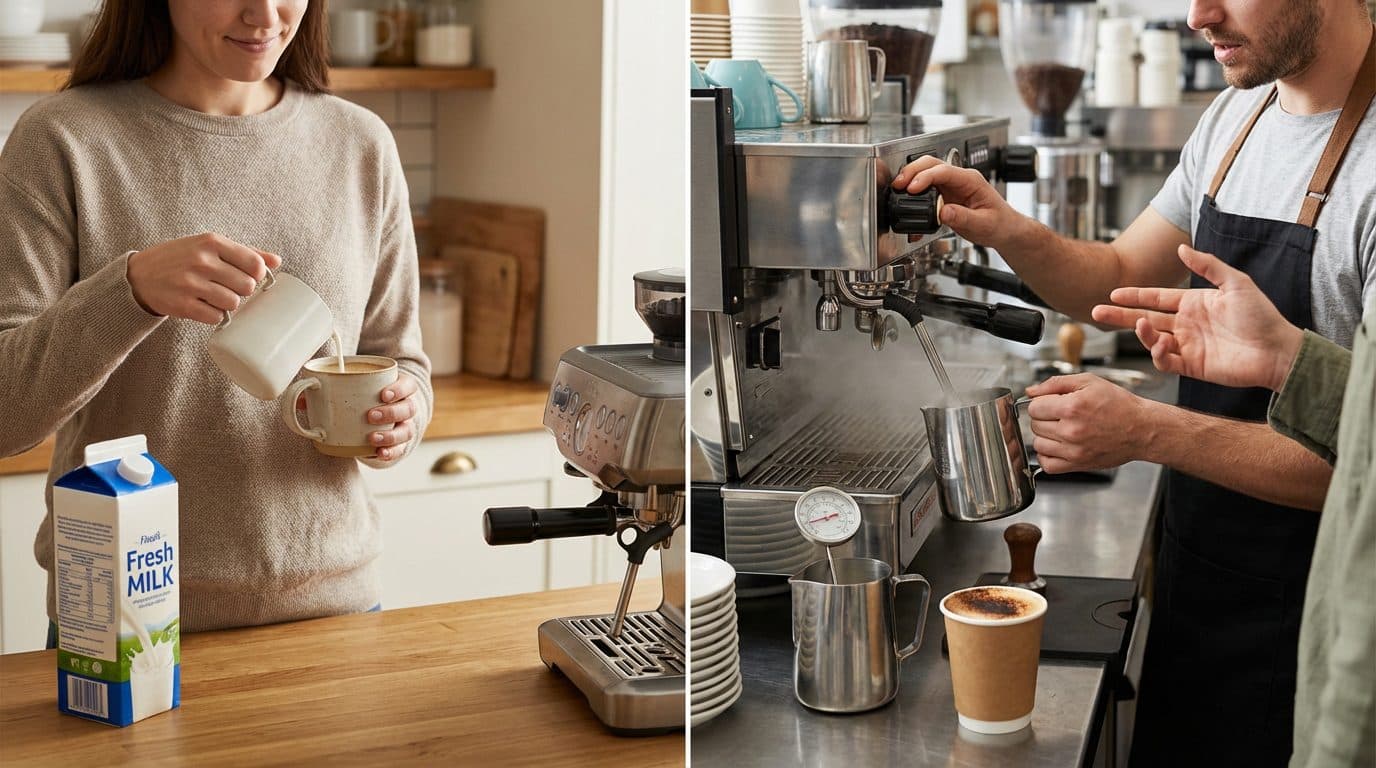
This usually comes down to customer requests. Many people ask for “extra hot” drinks without realizing the trade-off. Baristas often comply because the customer is always right, even when they’re wrong about milk temperature. If your café drink tastes burnt, try ordering it at regular temperature next time.
Is there a difference between steaming and frothing in terms of temperature?
The target temperature remains the same regardless of your method. Whether you’re using a steam wand, an electric frother, or a French press for manual frothing, the 55°C to 65°C range still applies. The difference is in texture and foam quality, not the heat threshold for burning.
How can I tell if milk is burnt without a thermometer?
Several signs indicate over-steamed milk: the pitcher becomes painful to touch (too hot to hold for even a second), the milk smells slightly sulfurous or “eggy,” the texture looks grainy or has large bubbles instead of smooth microfoam, and the taste has a flat, cooked quality. With practice, you’ll recognize these warning signs instantly.
Does the fat content of milk affect the ideal temperature?
Slightly. Whole milk is more forgiving and maintains sweetness across a wider temperature range. Skim milk, with less fat, can taste more noticeably “cooked” at higher temperatures. However, the safe ceiling of 70°C applies to all dairy milk regardless of fat content. The fat difference is more about texture and foam stability than burning point.
Conclusion: Master the Temperature, Master the Milk
Getting the best temperature for steamed milk isn’t complicated once you understand the principles. Aim for 55°C to 65°C, with 60°C being the sweet spot for most drinks. Use a thermometer until you develop an instinctive feel, and never forget that milk continues heating after you stop steaming. Avoid the common pitfalls—distraction, re-steaming, and starting with warm milk—and you’ll consistently produce café-quality results at home.
The difference between good and great milk drinks often comes down to these small details. By respecting your milk’s temperature limits, you let its natural sweetness shine through while achieving that glossy, pourable microfoam that makes latte art possible. Start practicing with intentional temperature targets, and I promise you’ll taste the improvement in your very next cup. Your espresso deserves properly steamed milk—and now you know exactly how to deliver it.


Comments