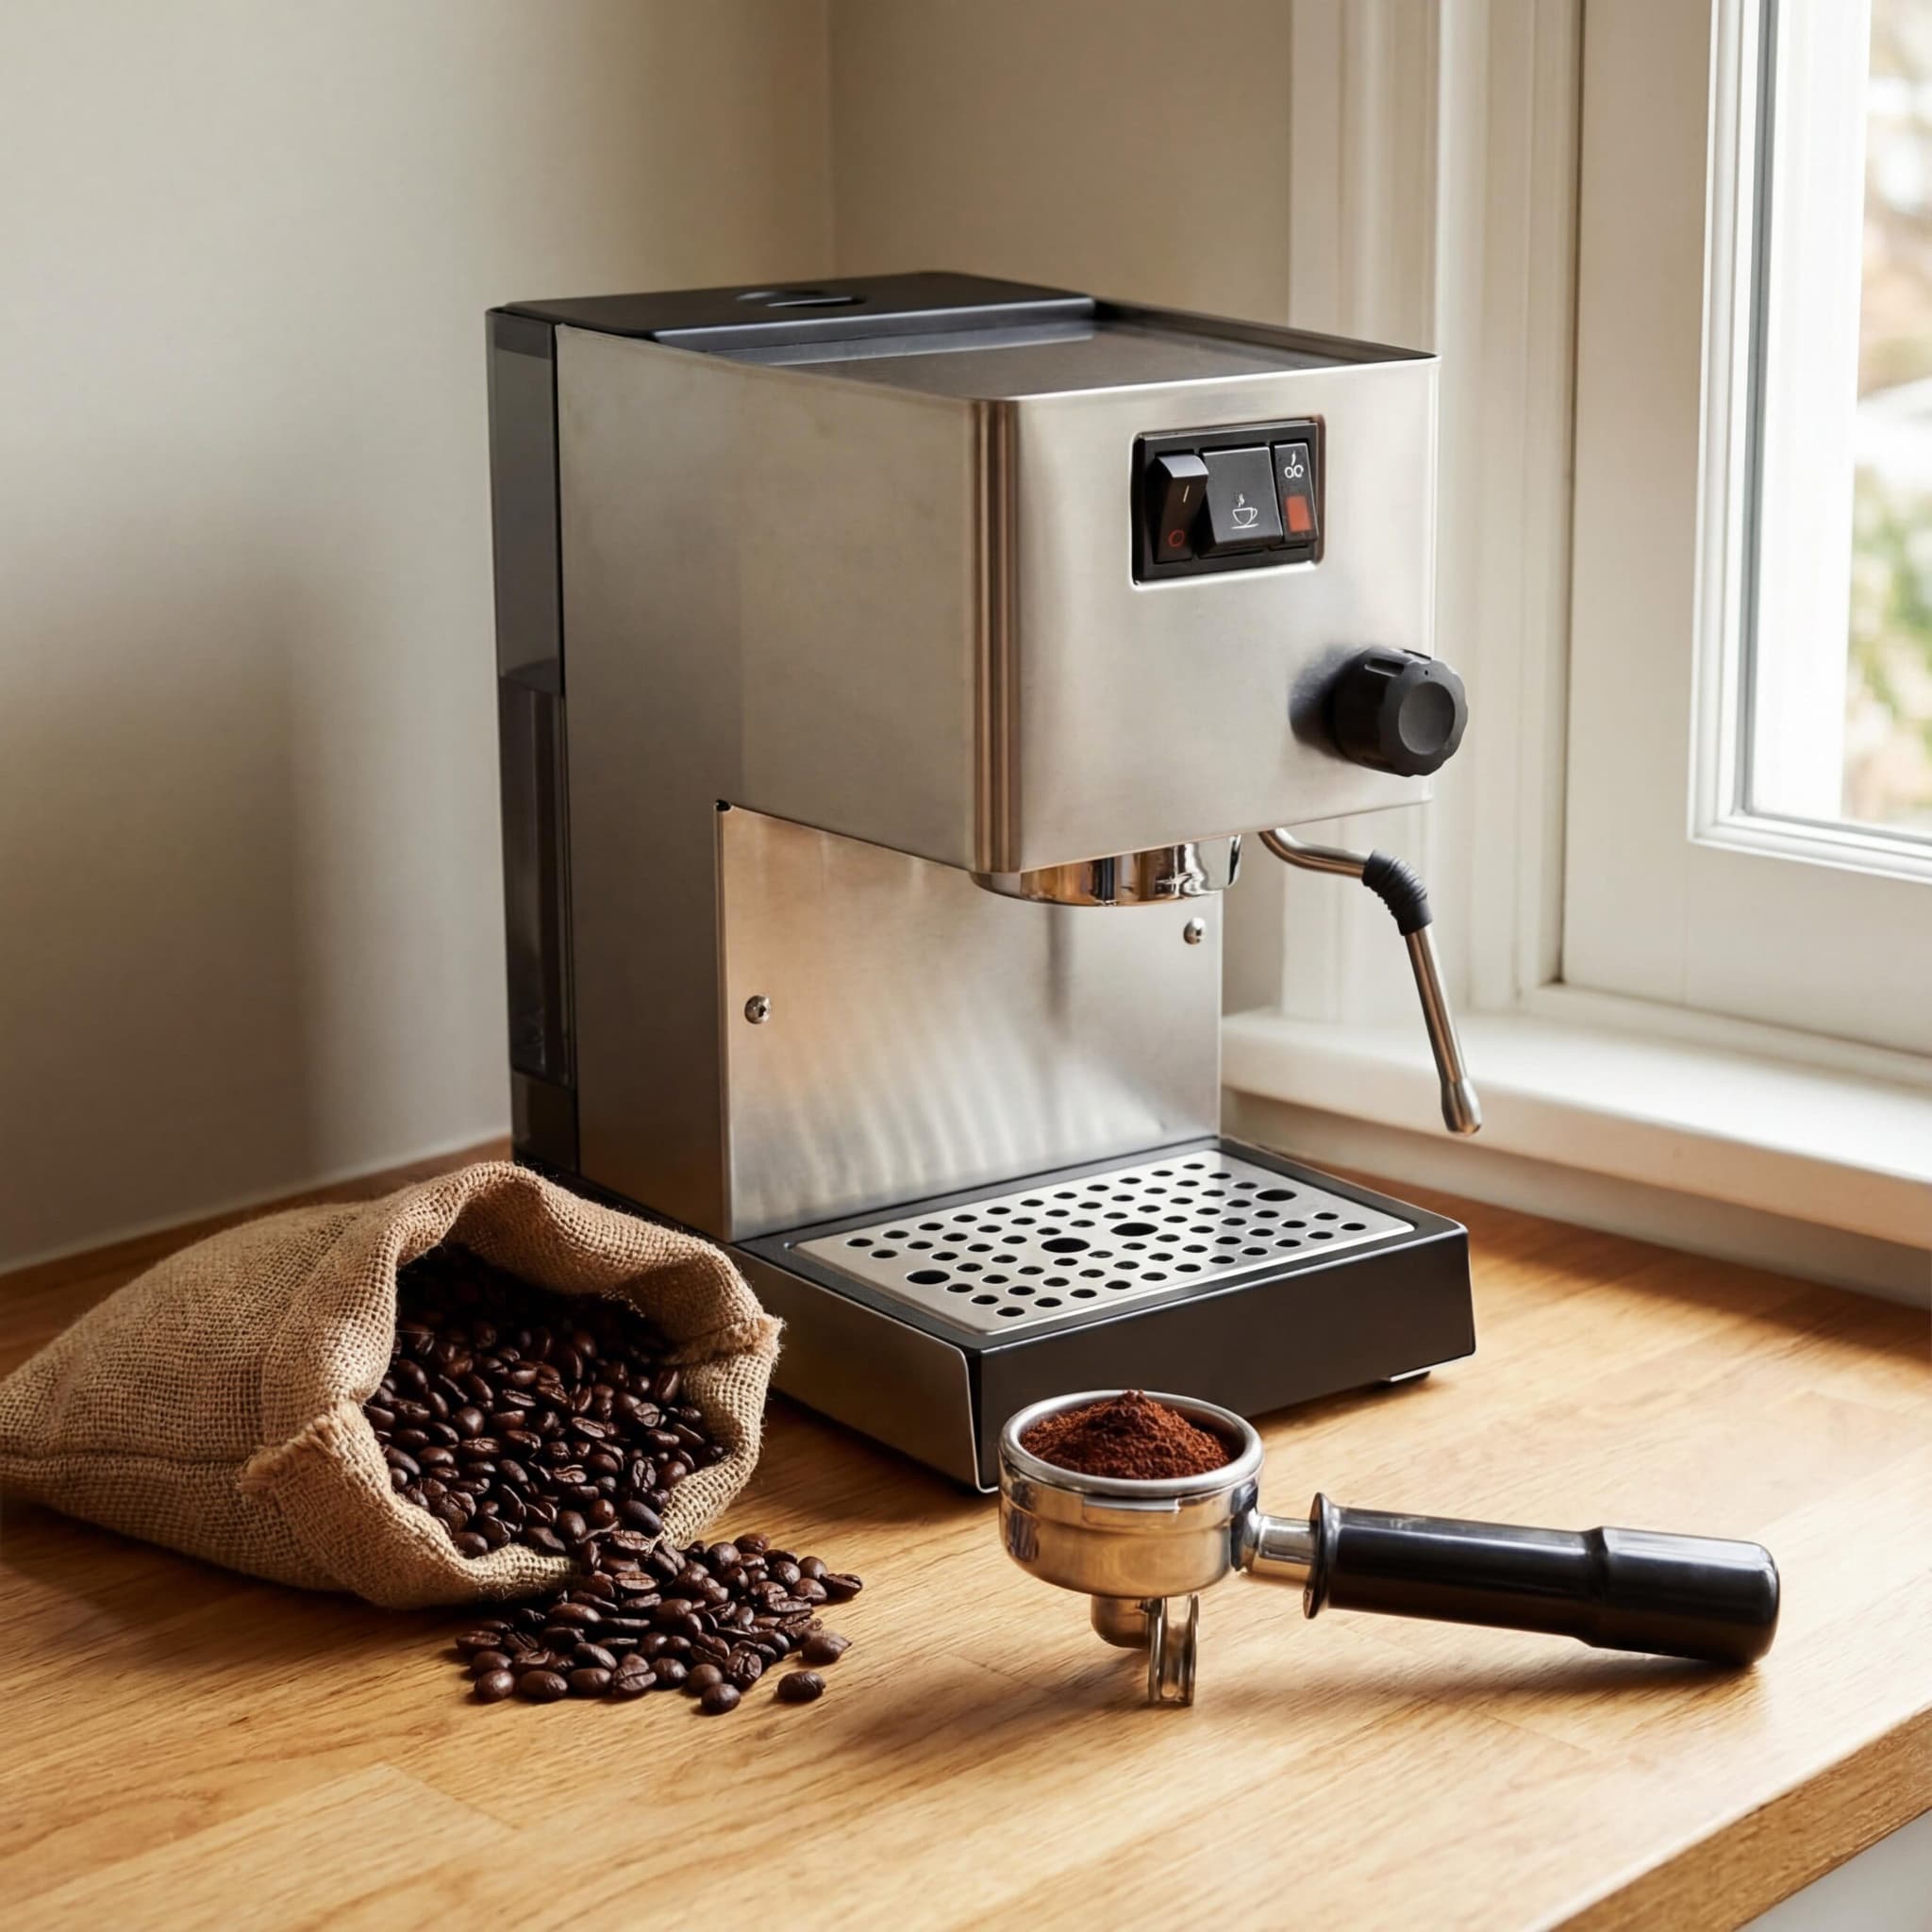
There’s this moment—right after I pull a shot on my old Gaggia—when the kitchen fills with that thick, caramel-sweet aroma, and I know I nailed it. That smell is basically my morning alarm clock now. Here’s the short answer if you’re in a hurry: the best coffee beans for espresso at home with entry-level machines are medium to medium-dark roasted blends, ideally roasted within the last 2-4 weeks. Skip the ultra-light single origins for now. They’ll fight your machine, and you’ll end up frustrated with sour, watery shots.
Best for beginners with pressurized baskets: Medium-dark espresso blends (chocolate/nutty notes)
Best for learning to dial in: Medium roast Brazilian or Colombian single origins
Best for milk drinks: Dark roast blends with caramel/cocoa profiles
Avoid for now: Light roast Ethiopian naturals, high-altitude Kenyan beans
Why Your Entry-Level Machine Needs Forgiving Beans
Honestly, I hate to admit it, but I wasted so much money when I started. I bought these gorgeous light-roast Geisha beans—$25 for 250g—and my Breville Bambino absolutely butchered them. Sour. Thin. Disappointing. The beans weren’t bad. My machine just couldn’t extract them properly.
Here’s the ugly truth about entry-level espresso machines: they have limitations. Temperature stability isn’t great. Pressure can fluctuate. And if you’re using a pressurized portafilter (which most beginners are), you have even less control over extraction.
Light roasts are dense. They need higher temperatures and longer extraction times to develop sweetness. Your Bambino, Gaggia Classic, or DeLonghi Dedica? They’re working hard, but they’re not prosumer machines. Medium and medium-dark roasts are more soluble—they give up their flavors more easily, which means more forgiveness when your variables aren’t perfect.
The Bean Profiles That Actually Work
I’ve tested dozens of beans on entry-level machines over the years. Some patterns emerged. Let me break down what consistently produces good shots without making you want to throw your portafilter across the room.
Bean Profile
Roast Level
Best For
Flavor Notes
Classic Espresso Blend
Medium-Dark
Milk drinks, beginners
Chocolate, nuts, caramel
Brazilian Single Origin
Medium
Learning to dial in
Nutty, low acidity, smooth
Colombian Single Origin
Medium
Balanced straight shots
Caramel, mild fruit, clean
Italian-Style Dark Roast
Dark
Strong lattes, cappuccinos
Smoky, bitter-sweet, bold
My personal favorite for entry-level machines? Brazilian beans, medium roast. They’re incredibly forgiving. Low acidity means even slightly under-extracted shots taste decent. And they’re usually affordable—you’re not crying when you mess up a batch while learning.
Why Blends Often Beat Single Origins (At First)
Single origins are trendy. I get it. But here’s a counter-intuitive insight: blends are engineered to be consistent and balanced. Roasters combine beans specifically to create a flavor profile that works across different brewing conditions. That’s exactly what you need when your machine isn’t giving you laboratory-level precision.
My barista friend, Marco, always says: “Learn on blends, graduate to single origins.” He’s annoyingly right about most things.
Roast Date Matters More Than You Think
Fresh beans. Everyone says it. But what does “fresh” actually mean for espresso?
Too fresh is a problem. Seriously. I learned this the hard way when I bought beans directly from a roaster and tried using them the next day. The shots were bubbly, uneven, and tasted sharp. CO2 was still degassing like crazy.
Here’s the sweet spot:
Ideal window: 7-21 days post-roast
Still good: 21-35 days post-roast
Avoid: Anything without a roast date printed on the bag
If the bag only has a “best by” date that’s 18 months away? Walk away. Those beans were roasted months ago and have been slowly going stale in a warehouse somewhere.
Espresso Beans for Home Machines: What to Actually Look For
When you’re shopping for espresso-friendly beans for your starter setup, check these boxes:
Roast level: Medium to medium-dark (avoid “blonde” or “light”)
Origin: Brazil, Colombia, Guatemala, or blends from these regions
Processing: Washed process is more forgiving than natural
Roast date: Clearly printed, within the last month
Bag type: One-way valve (lets CO2 out, keeps oxygen out)
Frankly, the processing method is underrated. Natural (dry) processed beans have wild, fruity flavors—which sounds great until you realize they’re also inconsistent and harder to extract evenly. Washed beans are cleaner and more predictable. Save the funky naturals for when you upgrade your gear.
Beans to Avoid on Entry-Level Machines
This is where I save you from my mistakes.
Light roast single origins: Ethiopian Yirgacheffe, Kenyan AA, high-altitude Guatemalan microlots. Beautiful beans. Terrible on a Bambino with a pressurized basket. They need temperatures around 96°C and precise pressure profiling. Your machine probably runs at 92°C on a good day.
Oily, super-dark roasts: Those shiny, almost black beans? They’ll clog your grinder and gum up your machine. Plus, they taste like burnt toast. There’s dark roast, and then there’s charcoal. Know the difference.
Flavored beans: Hazelnut vanilla caramel whatever. The oils and additives can damage your machine’s internals over time. Just… don’t.
Grind Size: The Variable You Control
Quick detour, because beans and grind are inseparable.
If you’re using pre-ground “espresso” coffee from the supermarket, you’re handicapping yourself. It’s probably too coarse, definitely too stale, and you have zero ability to adjust. Even a budget hand grinder like the 1Zpresso or Timemore C2 will transform your shots.
Barista Tip: For entry-level machines with pressurized baskets, grind slightly coarser than you’d expect—around table salt consistency. The pressurized basket creates artificial resistance, so you don’t need powder-fine grounds. If your shots take longer than 35 seconds, go coarser. Under 20 seconds? Go finer.
My Recommended Starting Recipe
Here’s what works on most entry-level machines:
Dose: 18g of medium-dark roast beans
Grind: Fine, but not powder (adjust based on shot time)
Yield: 36-40g of espresso
Time: 25-32 seconds
Water temp: Use your machine’s default (usually 92-94°C)
Start there. Taste. Adjust. Sour and thin? Grind finer or increase dose. Bitter and harsh? Grind coarser or pull shorter. It’s a conversation between you and the coffee.
Where to Buy Good Espresso Beans
Skip the supermarket aisle. Those bags have been sitting there for months.
Local roasters are your best bet. They roast in small batches, print roast dates, and can actually tell you about the beans. Many offer “espresso blend” options specifically designed for home machines.
Online specialty roasters work too—just factor in shipping time. Order beans that were roasted within the last week, and they’ll hit that sweet spot by the time they arrive.
Subscription services can be hit or miss. Some send whatever they have in stock. Others let you specify “espresso roast” and stick to medium-dark profiles. Read the fine print.
Final Thoughts
Choosing coffee beans for espresso on entry-level equipment isn’t about finding the “best” beans in some objective sense. It’s about finding beans that work with your machine’s limitations while you build your skills.
Start with forgiving, medium-dark blends. Learn what good extraction looks and tastes like. Then, as you get comfortable, experiment with single origins and lighter roasts. Maybe upgrade your grinder. Eventually, upgrade your machine.
But for now? Keep it simple. Fresh beans, proper roast level, decent grind. That’s 80% of the battle. The other 20% is just practice—and honestly, that’s the fun part.
Go pull some shots. Make some mistakes. Your kitchen will smell amazing either way.


Comments