


Table of Contents
- What You Actually Need (Spoiler: Very Little)
- Method 1: Stovetop "Cowboy" Coffee
- Ingredients & Ratios
- Steps
- Taste Profile
- Method 2: DIY Pour-Over (No Dripper Needed)
- Gear Hack
- Ingredients & Ratios
- Steps
- Taste Profile
- Method 3: Immersion Brewing in a Mug
- Ingredients & Ratios
- Steps
- Taste Profile
- Troubleshooting Common Problems
- Myth vs. Reality: No-Equipment Brewing
- Choosing the Right Method
- Key Takeaways
- Sources and Method Context
For one immersion trial, start near a 1:15 coffee-to-water ratio with a stable heat-safe vessel and about four minutes of contact time. Treat this as a measured starting recipe, then change one variable after tasting. A stovetop, grounds, safe drinking water, and a mug can provide a practical fallback when a brewer is unavailable.
This guide compares three low-equipment methods with explicit starting ratios, temperatures, and timing. Results still depend on coffee, water, grind, heat loss, pouring, filtration, and taste; the methods are not claimed to outperform a drip machine.
What You Actually Need (Spoiler: Very Little)
Before choosing a method, assemble the minimum items required for that specific workflow:
- Coffee: For a 250ml trial at 1:15-1:17, use about 15-17g by weight. If measuring by spoon, record the result because roast and grind change volume.
- Hot water: Use 90-96°C as a starting range when a thermometer is available. Cooling time after boiling varies with kettle, volume, room, altitude, and vessel.
- A pot, saucepan, or heat-safe container
- A stable, food-contact filter: Use a purpose-made coffee filter, food-safe reusable cloth filter, or fine-mesh kitchen strainer supported securely over a heat-rated vessel.
- A mug
- A spoon
That’s it. No gooseneck kettle. No scale (though one helps). No timer beyond a phone or wall clock.
Method 1: Stovetop “Cowboy” Coffee
This is the oldest brewing method still in regular use. It produces a full-bodied, slightly rustic cup with more oils than paper-filtered coffee.
Ingredients & Ratios
- Starting dose: 18g coffee with a medium-coarse grind
- Starting water: 300ml; record the result before changing the ratio
Steps

- Add water to a small pot and bring to a boil. Remove from heat.
- Wait 30 seconds, then add coffee grounds directly to the water.
- Stir once gently to ensure all grounds are wet.
- Use four minutes as the first steep time, without stirring, then adjust from taste.
- Tap the side of the pot with a spoon—this helps grounds settle faster.
- Pour slowly into a mug, leaving the last 20ml (with sediment) in the pot.
Optional settling test: After steeping, stop agitation and allow the grounds to settle before pouring slowly. Do not claim that a fixed splash of cold water forces particles down without measuring the exact coffee and vessel.
Taste Profile

Expect a heavier body with earthy, chocolatey notes. Acidity is muted compared to pour-over methods. Some fine sediment at the bottom of the cup is normal and not a flaw—it’s similar to Turkish coffee in that regard.
Method 2: DIY Pour-Over (No Dripper Needed)
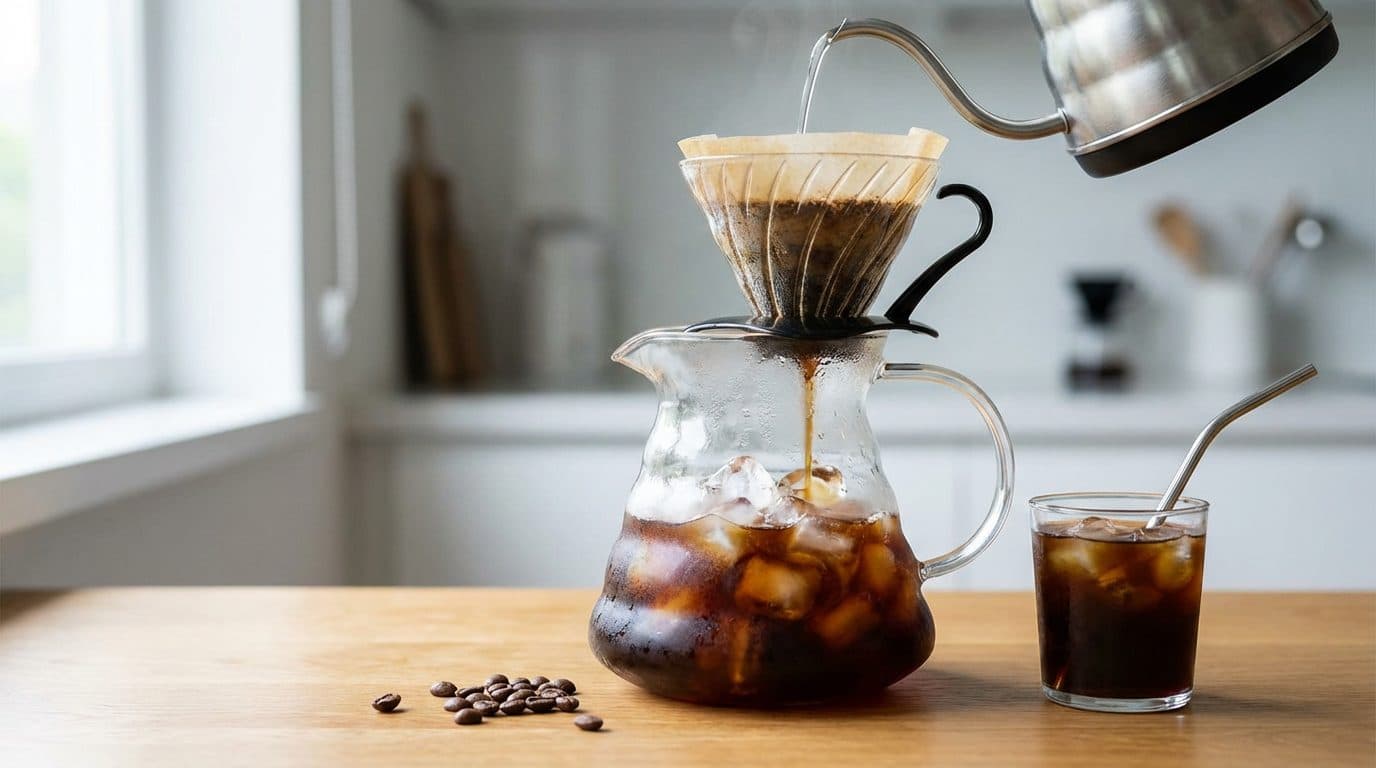
A cleaner cup is possible without buying a Hario or Chemex. All that’s needed is something to hold a filter over a mug.
Gear Hack
Place a purpose-made coffee filter, food-safe reusable cloth filter, or fine-mesh kitchen strainer in a stable holder over a heat-rated vessel. Do not suspend an improvised paper towel or rubber-banded cloth above hot liquid; if a safe stable holder is unavailable, use the mug-immersion method instead.
Ingredients & Ratios
- Starting dose: 15g coffee with a medium grind
- Starting water: 250ml at 92-94°C when measured
Steps
- Place the filter setup over the mug. Add grounds to the center.
- Pour 30-40ml of hot water over the grounds and wait 30 seconds as this recipe’s first wetting step. Fresh coffee may release visible gas, but this step does not guarantee improved extraction.
- Pour the remaining water slowly in a circular motion over 2–3 minutes.
- Let it drip through completely and record 3-4 minutes as this setup’s first drawdown window, not a universal target.
Taste Profile
A purpose-made paper coffee filter can retain more oils and fine particles than an unfiltered immersion method. Brightness, aroma, body, fruit, and floral perceptions still depend on coffee, filter, water, and extraction.
Method 3: Immersion Brewing in a Mug
Think of this as a French press without the press. The coffee steeps directly in the drinking vessel.
Ingredients & Ratios
- Starting dose: 14g coffee with a coarse grind
- Starting water: 240ml at 93°C when measured
Steps
- Add coarse grounds directly to a large mug or heat-safe bowl.
- Pour hot water over grounds. Stir briefly.
- Cover with a small plate or saucer to retain heat.
- Use 4-5 minutes as the first steep window, then adjust one variable from taste.
- Use a spoon to skim the floating grounds and foam off the top.
- Drink carefully from the top, or pour through a strainer into a second mug.
Taste Profile
Mug immersion can produce a fuller body and some sediment. A coarse grind may reduce fine particles, but it does not prevent high extraction or guarantee low bitterness, nuttiness, caramel, richness, or smoothness.
Troubleshooting Common Problems
Brewing without equipment means fewer variables to hide behind. When something goes wrong, the fix is usually simple.
| Symptom | Likely Cause | Fix |
|---|---|---|
| Sour, sharp taste | Possible low extraction, uneven wetting, low dose, water chemistry, or coffee choice | Keep dose and water stable; change grind one step or contact time by 30 seconds, then rebrew |
| Bitter, harsh taste | Possible high extraction, roast character, agitation, water chemistry, or fine particles | Keep the recipe stable; change grind one step or contact time, then compare before lowering temperature |
| Weak, watery cup | Not enough coffee or water draining too fast | Increase dose to 1:14 ratio; slow the pour |
| Too much sediment | Grind too fine for the method | Use medium-coarse or coarse; let grounds settle longer before pouring |
Myth vs. Reality: No-Equipment Brewing

- Myth: Coffee made without proper equipment tastes inferior.
Context: Cupping uses immersion as part of a defined evaluation protocol. That does not prove a mug recipe or a ranking of the “world’s best” coffees; follow a documented protocol when comparing samples. - Myth: Boiling water burns coffee.
Context: Hot water does not literally combust wet grounds, but brew temperature changes extraction and sensory results. A fixed 30-second rest does not guarantee 93-96°C; measure when temperature matters. - Myth: Pre-ground coffee can’t taste good.
Context: Grinding changes aroma over time, while packaging, oxygen, temperature, moisture, roast, and preference affect the sensory timeline. Follow the package instructions and compare aroma and taste rather than applying a universal two-to-three-week guarantee.
Choosing the Right Method
Each approach suits different situations:
- Cowboy coffee — Best for camping, power outages, or when cleanup needs to be minimal. Forgiving technique.
- DIY pour-over — Best for those who prefer a cleaner, brighter cup and don’t mind a slightly longer process.
- Mug immersion — Best for single servings with zero extra dishes. Great for offices or dorm rooms.
Key Takeaways
- Use 1:15-1:17 as a method-specific starting range, then record and adjust from taste.
- Use 90-96°C as a measured starting range; time off boil does not reliably determine water temperature.
- Steep times of 4–5 minutes suit immersion methods; pour-overs should finish in 3–4 minutes total.
- Coarser grinds reduce sediment and bitterness when filtering options are limited.
- Use only a stable, heat-rated vessel and a supported purpose-made coffee filter, food-safe reusable cloth filter, or fine-mesh kitchen strainer.
For the first trial, choose the safest stable setup you already own, measure coffee and water, record temperature and contact time, then change one variable after tasting. Choose a method by vessel stability, filtration, cleanup, and the workflow you can repeat. For a structured first-cup learning path, use the home coffee brewing beginner guide.
Sources and Method Context
- Specialty Coffee Association: current coffee standards and test methods
- Specialty Coffee Association: brew temperature, strength, extraction, and sensory research
- Specialty Coffee Association: brewing-chart research and limits of one-size-fits-all recipes
- Specialty Coffee Association: Coffee Value Assessment sensory and physical protocols

Comments