Table of Contents
- Why a Pour-Over Cone Is Perfect for Camping
- What You'll Need: Gear and Ingredients
- Essential Gear
- Ingredients
- Step-by-Step Guide to Brewing Pour-Over Coffee at Camp
- Step 1: Heat Your Water
- Step 2: Set Up Your Pour-Over Cone
- Step 3: Add Your Coffee Grounds
- Step 4: The Bloom
- Step 5: The Main Pour
- Step 6: Enjoy Your Coffee
- Barista Tips for Better Camp Coffee
- Common Mistakes and How to Fix Them
- Frequently Asked Questions
- Can I use a pour-over cone for backpacking, or is it too heavy?
- What's the best coffee grind size for camping pour-over?
- Do I really need a special camping kettle?
- Howdo I dispose of coffee grounds responsibly while camping?
- Is pour-over coffee worth the effort compared to instant coffee?
- Conclusion: Elevate Your Camping Mornings
There’s something magical about waking up in the wilderness, unzipping your tent, and breathing in crisp morning air. But let’s be honest—that moment becomes infinitely better when you’re holding a cup of freshly brewed coffee. If you think camping means settling for instant coffee or those sad pre-ground packets, I have great news. Learning how to brew coffee for camping using a simple pour-over cone is easier than you might imagine, and the results are spectacular.
In this guide, I’ll walk you through everything you need to bring along, the exact steps to brew perfect camp coffee, and the tips I’ve picked up from countless mornings in the backcountry. Whether you’re car camping or hiking to a remote site, you’ll discover that a pour-over cone is your new best friend.
Why a Pour-Over Cone Is Perfect for Camping
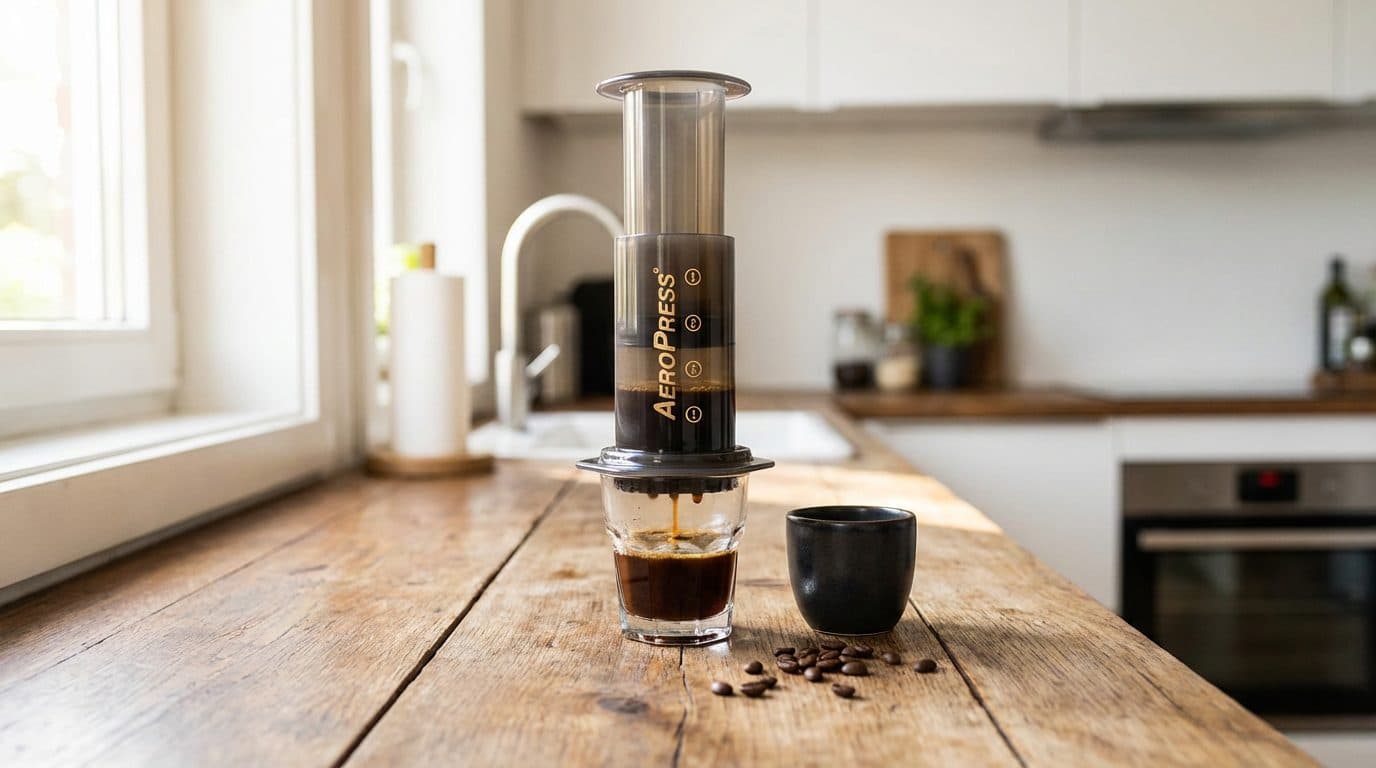
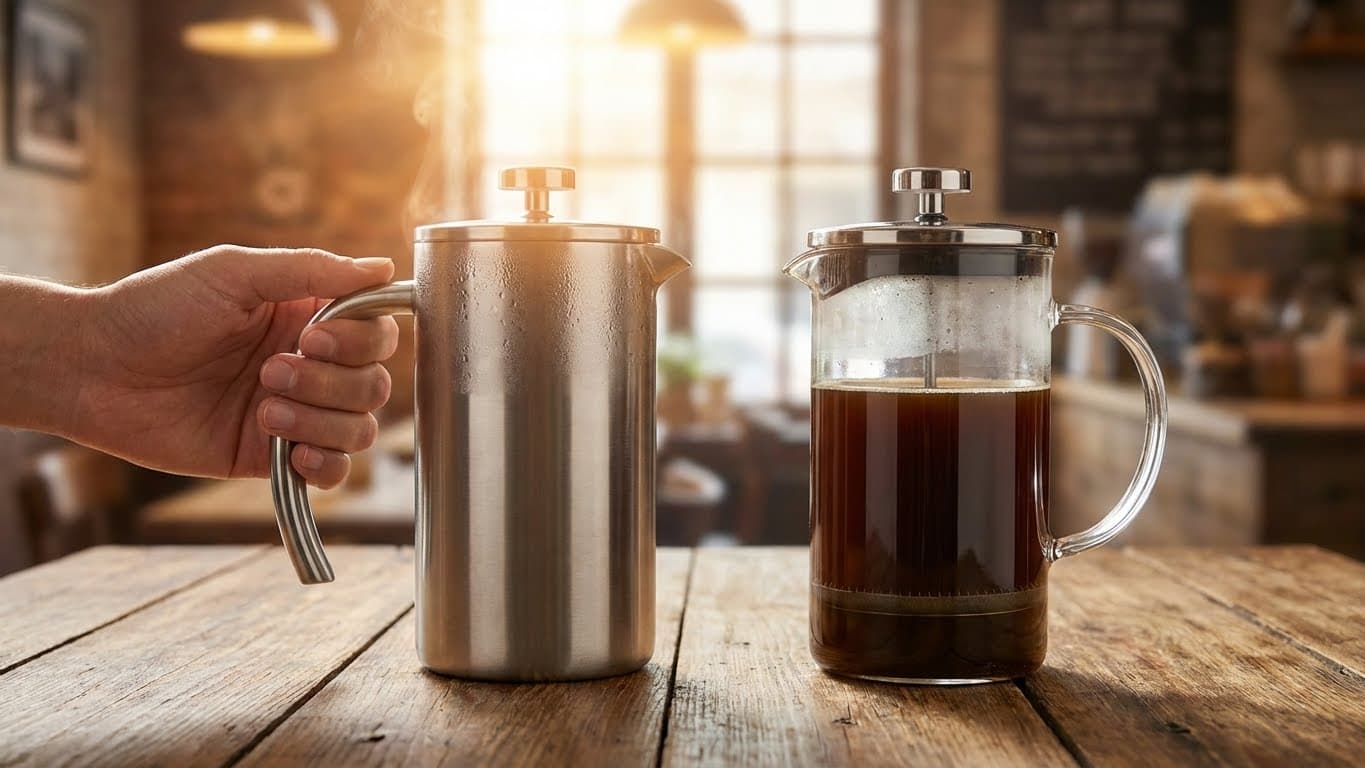
When I first started bringing specialty coffee gear outdoors, I experimented with everything from portable espresso makers to French presses. After years of trial and error, I keep coming back to the humble pour-over cone. Here’s why it works so well for camping:
- Lightweight and compact – Most pour-over cones weigh just a few ounces and pack flat
- No moving parts – Nothing to break, jam, or malfunction in the wilderness
- Easy cleanup – Simply toss the filter and grounds (pack them out, of course)
- Full control over brewing – You decide the water temperature, pour speed, and strength
- Minimal gear required – Just the cone, filters, coffee, and hot water
In my experience, simplicity wins outdoors. A pour-over cone delivers café-quality coffee without the complexity or weight of other brewing methods. Plus, there’s something meditative about the ritual of a slow pour while watching the sunrise over a mountain ridge.
What You’ll Need: Gear and Ingredients
Before you head out, gather these essentials. I recommend packing everything in a small stuff sack to keep your coffee kit organized and protected.
Essential Gear
- Collapsible or lightweight pour-over cone – Look for silicone or plastic versions designed for travel
- Paper or reusable metal filter – Paper filters are lighter; metal filters are more eco-friendly
- Camping kettle or pot – Any vessel that can heat water works
- Insulated mug or camp cup – Keeps your coffee warm longer in cool morning air
- Small hand grinder – Optional but highly recommended for fresh grounds
- Thermometer – Optional for precise temperature control
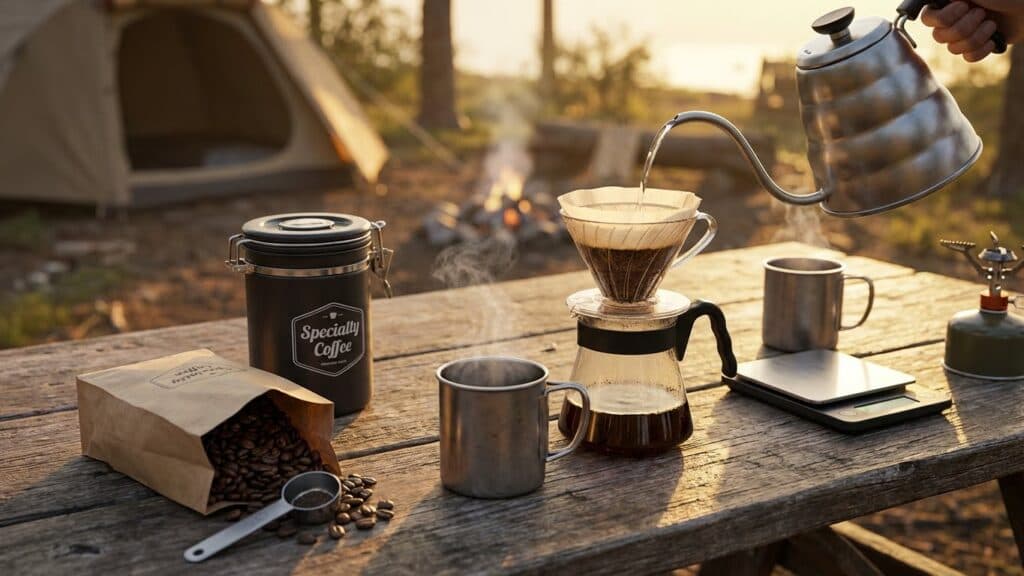
Ingredients
- Fresh whole bean coffee – About 20-25 grams per cup (roughly 3 tablespoons)
- Clean water – Filtered if possible; roughly 350ml per cup
Barista Tip: Pre-grind your coffee at home and store it in an airtight container if you want to save weight and time. However, grinding fresh at camp makes a noticeable difference in flavor—it’s worth the extra ounce or two of gear.
Step-by-Step Guide to Brewing Pour-Over Coffee at Camp
Now for the fun part. Follow these steps, and you’ll be sipping smooth, delicious coffee in about five minutes. In short, the process is: heat water, prepare your setup, bloom the grounds, pour slowly, and enjoy.
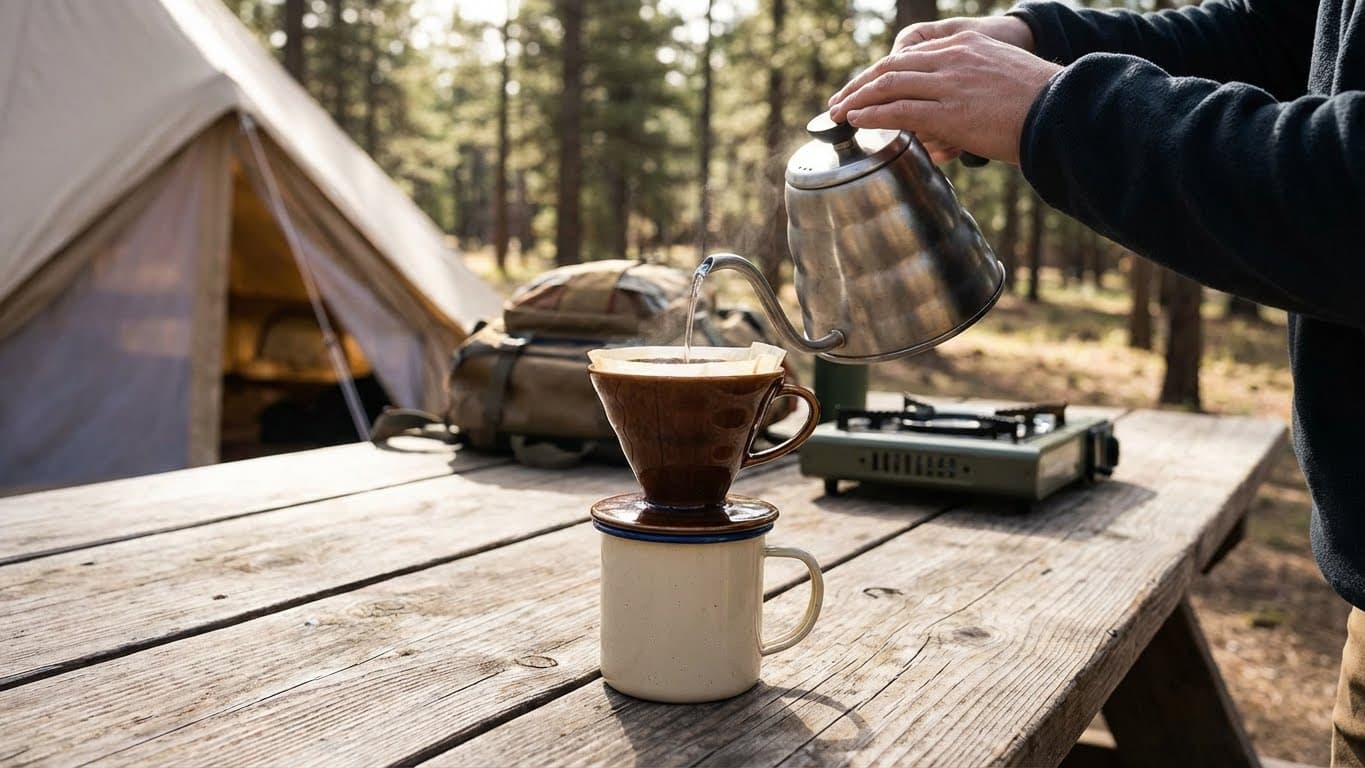
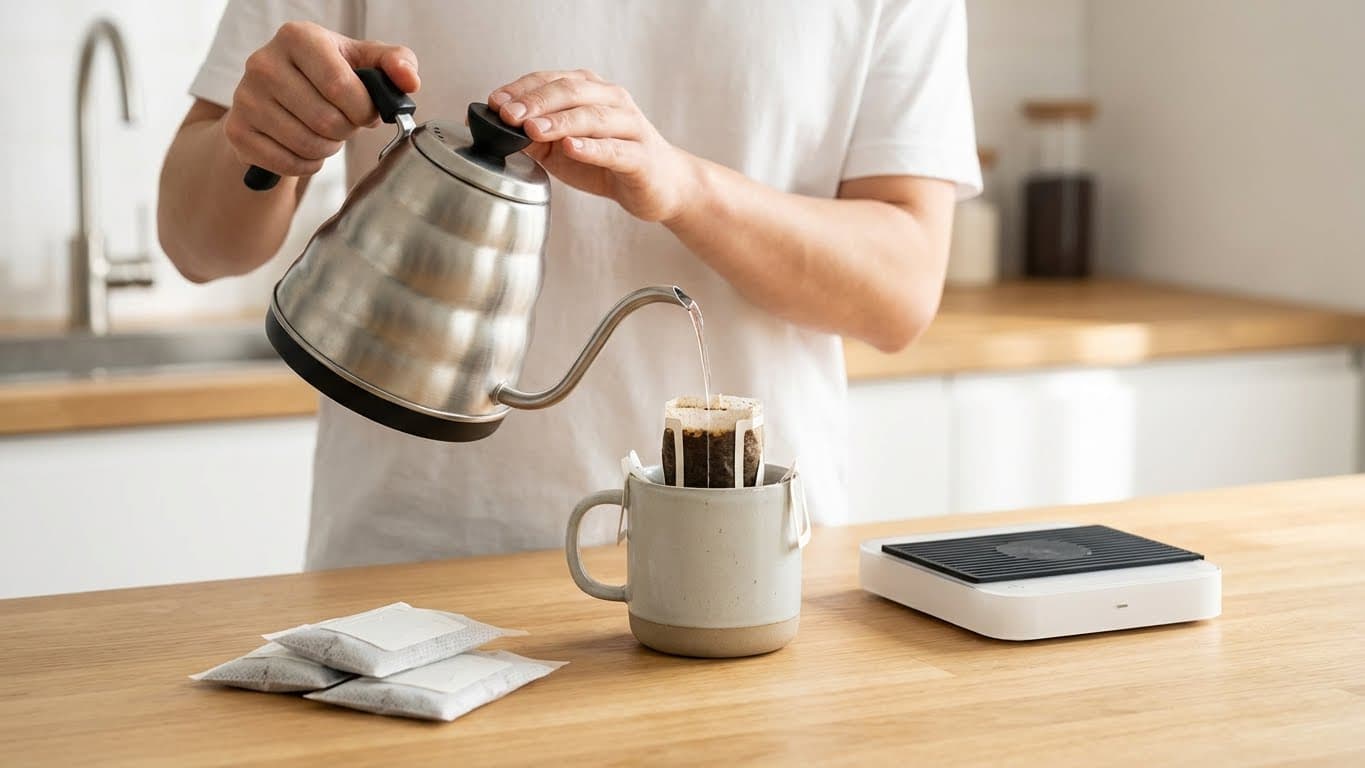
Step 1: Heat Your Water

Fill your kettle or pot with fresh water and bring it to a boil over your camp stove or fire. Once boiling, remove it from heat and let it cool for about 30-45 seconds. You’re aiming for water around 195-205°F (90-96°C). If it’s too hot, your coffee will taste bitter; too cool, and it’ll be weak and sour.
No thermometer? No problem. I’ve found that waiting about 45 seconds after a rolling boil gets you in the right range.
Step 2: Set Up Your Pour-Over Cone
Place your pour-over cone directly on top of your mug. Insert your filter—whether paper or metal—and make sure it sits snugly. If you’re using a paper filter, I highly recommend rinsing it with a splash of hot water first. This removes any papery taste and preheats your mug.
Pour out the rinse water before adding your coffee grounds.
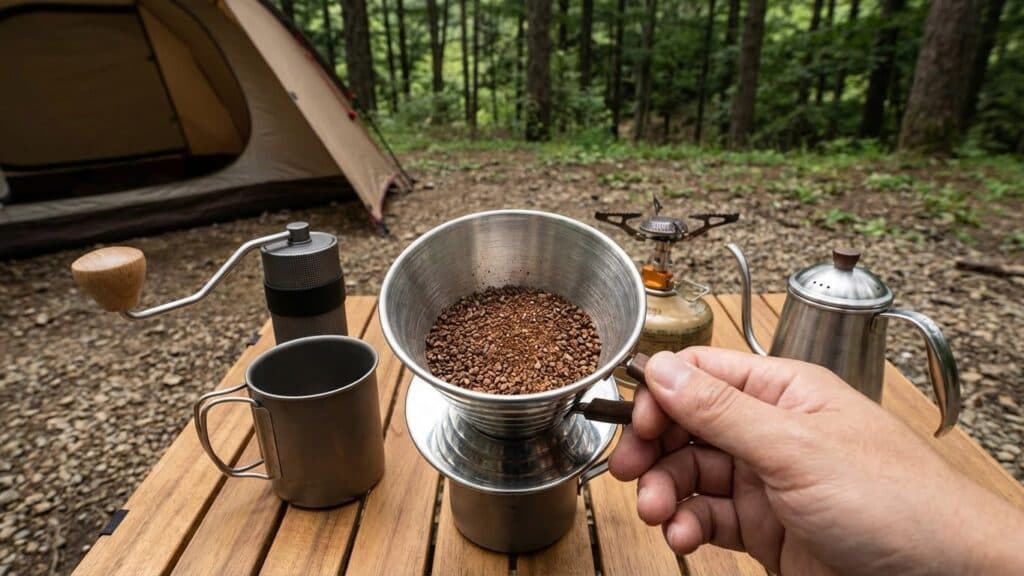
Step 3: Add Your Coffee Grounds
Add your ground coffee to the filter. For camping, I recommend a medium grind—similar to coarse sand. If your grind is too fine, the water will drip through slowly and over-extract; too coarse, and it’ll rush through and taste weak.
Give the cone a gentle shake to level the grounds. This ensures even extraction.
Step 4: The Bloom
Here’s where the magic begins. Pour just enough hot water to saturate all the grounds—usually about 40-50ml. You’ll see the coffee “bloom” as gases escape and the grounds puff up. This is especially dramatic with freshly roasted beans.
Wait30-45 seconds. This step allows CO2 to release, which leads to better flavor extraction in the main pour.
Step 5: The Main Pour

Slowly pour the remaining water in a circular motion, starting from the center and spiraling outward. Avoid pouring directly onto the filter edges. Keep your pour steady and controlled—you want a thin, consistent stream rather than a heavy flood.
The entire pour should take about 2-3 minutes. If it finishes much faster, your grind is probably too coarse. If it takes longer than 4minutes, your grind is too fine.
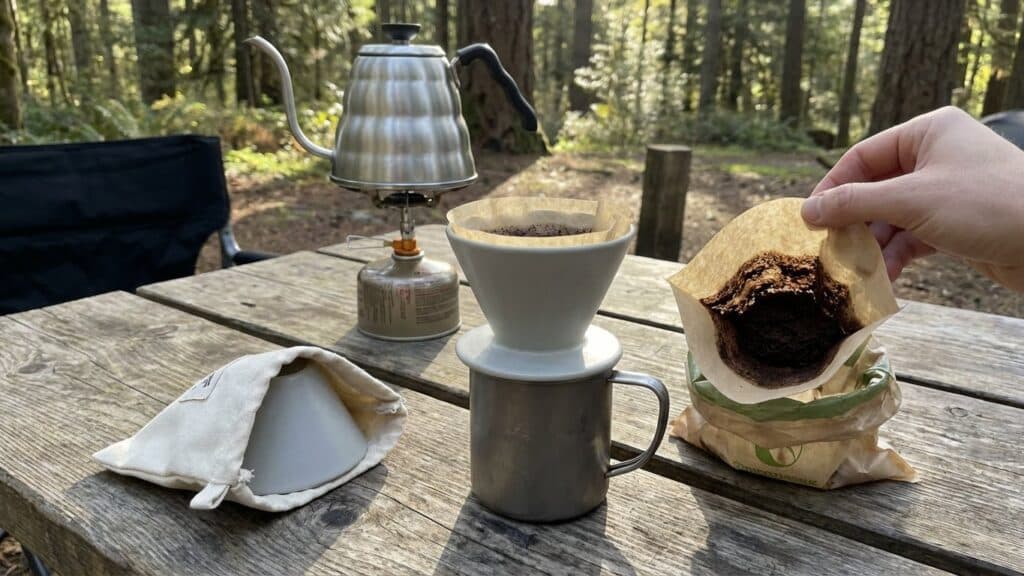
Step 6: Enjoy Your Coffee
Remove the cone, dispose of the filter and grounds properly (pack them out in a sealed bag), and take that first glorious sip. There’s nothing quite like fresh pour-over coffee with a wilderness backdrop.
Taste Profile: Expect a clean, bright cup with clarity in the flavors. Pour-over coffee highlights the origin characteristics of your beans—you might taste subtle fruit notes, chocolate undertones, or floral aromas depending on what you’re brewing.
Barista Tips for Better Camp Coffee
Over the years, I’ve learned a few tricks that take outdoor pour-over from good to exceptional. Here are my favorites:
- Use a ratio of 1:15 to 1:17 – For every gram of coffee, use 15-17 grams of water. At camp, a rough estimate of 3 tablespoons per12oz works well
- Preheat everything – Warm your mug with hot water before brewing; this keeps your coffee hotter longer
- Bring quality beans – Camping coffee is only as good as your beans. Treat yourself to something special for the trip
- Store beans properly – Use an airtight container and keep them away from moisture and heat
- Adjust for altitude – At higher elevations, water boils at lower temperatures. You may need to pour immediately off the boil for proper extraction
Key Takeaway: The biggest mistake I see campers make is using stale, pre-ground coffee and boiling water straight from the fire. Fresh beans and slightly cooled water make all the difference.
Common Mistakes and How to Fix Them
Even experienced home baristas can struggle with camp brewing. Here’s a quick troubleshooting table to help you diagnose issues:
| Problem | Likely Cause | Solution |
|---|---|---|
| Coffee tastes bitter or burnt | Water too hot | Let water cool 45-60 seconds after boiling |
| Coffee tastes weak or sour | Water too cool or grind too coarse | Use hotter water; grind finer |
| Brew takes forever to drip | Grind too fine | Adjust to medium-coarse grind |
| Brew drips through instantly | Grind too coarse | Grind finer; pour more slowly |
| Papery or off-flavors | Unrinsed paper filter | Always rinse paper filters before brewing |
Don’t stress if your first camp brew isn’t perfect. Part of the fun is dialing in your technique over multiple trips.
Frequently Asked Questions
Can I use a pour-over cone for backpacking, or is it too heavy?
A collapsible silicone pour-over cone typically weighs around 1-2 ounces—barely noticeable in a pack. For ultralight backpacking, you can even improvise with a bandana or cloth filter stretched over your mug. It’s one of the lightest brewing methods available.
What’s the best coffee grind size for camping pour-over?
Aim for a medium grind, roughly the texture of coarse sand. If you’re using a hand grinder at camp, start with a medium setting and adjust based on how fast the water drips through. Too slow means grind coarser; too fast means grind finer.
Do I really need a special camping kettle?
Not necessarily. Any pot that can heat water works. However, a kettle with a gooseneck spout gives you much better pour control, which helps with even extraction. If you’re serious about camp coffee, it’s a worthwhile upgrade.
Howdo I dispose of coffee grounds responsibly while camping?
Pack out your coffee grounds just like any other food waste. Scatter them in the wilderness can attract animals and leave traces. I carry a small sealed bag specifically for spent grounds and filters. Leave no trace applies to coffee too.
Is pour-over coffee worth the effort compared to instant coffee?
If you genuinely love coffee, the answer is a resounding yes. The flavor difference is dramatic. Instant coffee has its place for emergency caffeine, but pour-over brings the full coffee experience to the outdoors. Life’s too short for bad coffee—especially when you’re surrounded by nature’s beauty.
Conclusion: Elevate Your Camping Mornings
Learning how to brew coffee for camping using a simple pour-over cone transforms your outdoor experience. With minimal gear, a few grams of quality beans, and about five minutes of patience, you can enjoy café-quality coffee anywhere—from a mountaintop to a lakeside campsite.
The ritual itself becomes part of the adventure. There’s something deeply satisfying about the slow pour, the bloom, and that first sip as the world wakes up around you. Start with the basics, experiment with your technique, and soon you’ll wonder how you ever settled for anything less.
Ready to upgrade your next camping trip? Grab a lightweight pour-over cone, pack some fresh beans, and discover what mornings in the wild are truly meant to taste like. Your future campfire self will thank you.

Comments