Table of Contents
- What You'll Need to Make Cold Brew in a Mason Jar
- Ingredients
- Gear
- Step-by-Step: How to Make Cold Brew in a Mason Jar
- 1. Grind Your Coffee Coarsely
- 2. Combine Coffee and Water in Your Mason Jar
- 3. Cover and Steep
- 4. Strain Your Cold Brew
- 5. Store and Enjoy
- How to Serve Your Mason Jar Cold Brew
- Common Mistakes When Making Cold Brew (And How to Avoid Them)
- Using the Wrong Grind Size
- Not Steeping Long Enough
- Steeping Too Long
- Using Low-Quality or Stale Coffee
- Frequently Asked Questions
- Can I use regular ground coffee for cold brew?
- How long does cold brew last in the fridge?
- What's the difference between cold brew and iced coffee?
- Can I heat up cold brew?
- Why does my cold brew taste weak?
- Conclusion: Your Perfect Mason Jar Cold Brew Awaits
Affiliate disclosure: As an Amazon Associate I earn from qualifying purchases.
Ever look at the price of a cold brew at your local coffee shop and think, “I could probably make this myself”? You’re absolutely right—and you don’t need any fancy equipment to do it. Making cold brew in a mason jar is one of the simplest, most satisfying coffee projects you can tackle at home. All you need is coffee, water, a jar, and a little patience.
In this guide, I’ll walk you through exactly how to make cold brew in a mason jar without any specialized gear. You’ll learn the perfect ratio, the ideal steep time, and a few tricks I’ve picked up over years of making this stuff in my own kitchen. By the end, you’ll have smooth, rich cold brew that rivals anything you’d pay five dollars for at a café.
What You’ll Need to Make Cold Brew in a Mason Jar
One of the best things about cold brew is how little you actually need to get started. Forget about expensive cold brew systems or dedicated equipment. Here’s your simple list:
Ingredients
- Coarsely ground coffee: 1 cup (about 85 grams)
- Cold or room temperature water: 4 cups (about 950 ml)
Gear

- A quart-sized mason jar (or any large jar with a lid)
- A fine-mesh strainer or sieve
- Cheesecloth, a paper coffee filter, or a clean dish towel
- A second jar or pitcher for storing the finished cold brew
That’s it. No pour-over stands, no French press, no cold brew maker. Just basic kitchen items you probably already have. In my experience, this simple setup produces cold brew that’s just as good as anything made with specialized equipment.
Step-by-Step: How to Make Cold Brew in a Mason Jar
Ready to brew? Let’s walk through the process from start to finish.
1. Grind Your Coffee Coarsely
If you’re grinding your own beans, aim for a coarse grind—think sea salt or raw sugar texture. This is important because a finer grind will make your cold brew muddy and over-extracted, leading to bitterness. If you’re buying pre-ground coffee, look for one labeled “coarse” or ask your local roaster to grind it for cold brew.
Barista Tip: Grinding your beans fresh right before brewing makes a noticeable difference in flavor. Coffee starts losing its aromatic compounds within minutes of grinding, so freshness matters.
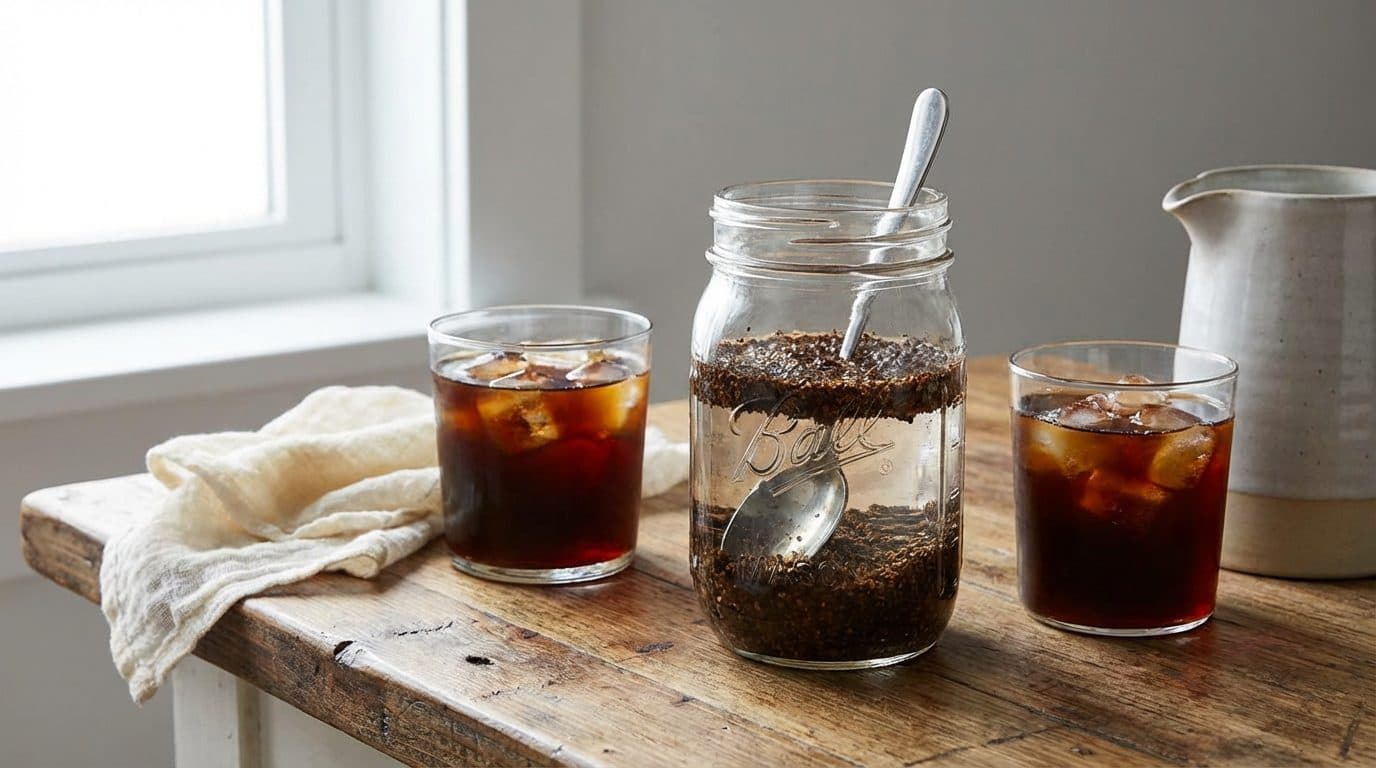
2. Combine Coffee and Water in Your Mason Jar
Add your cup of coarsely ground coffee to the mason jar, then pour in four cups of cold or room temperature water. Give it a gentle stir to make sure all the grounds are wet. Some grounds will float at first—that’s totally normal.
The ratio we’re using here is 1:4 (coffee to water), which creates a concentrate. You’ll dilute this later when serving. If you prefer a ready-to-drink strength, you can use a 1:8 ratio instead, but I find the concentrate method more versatile.
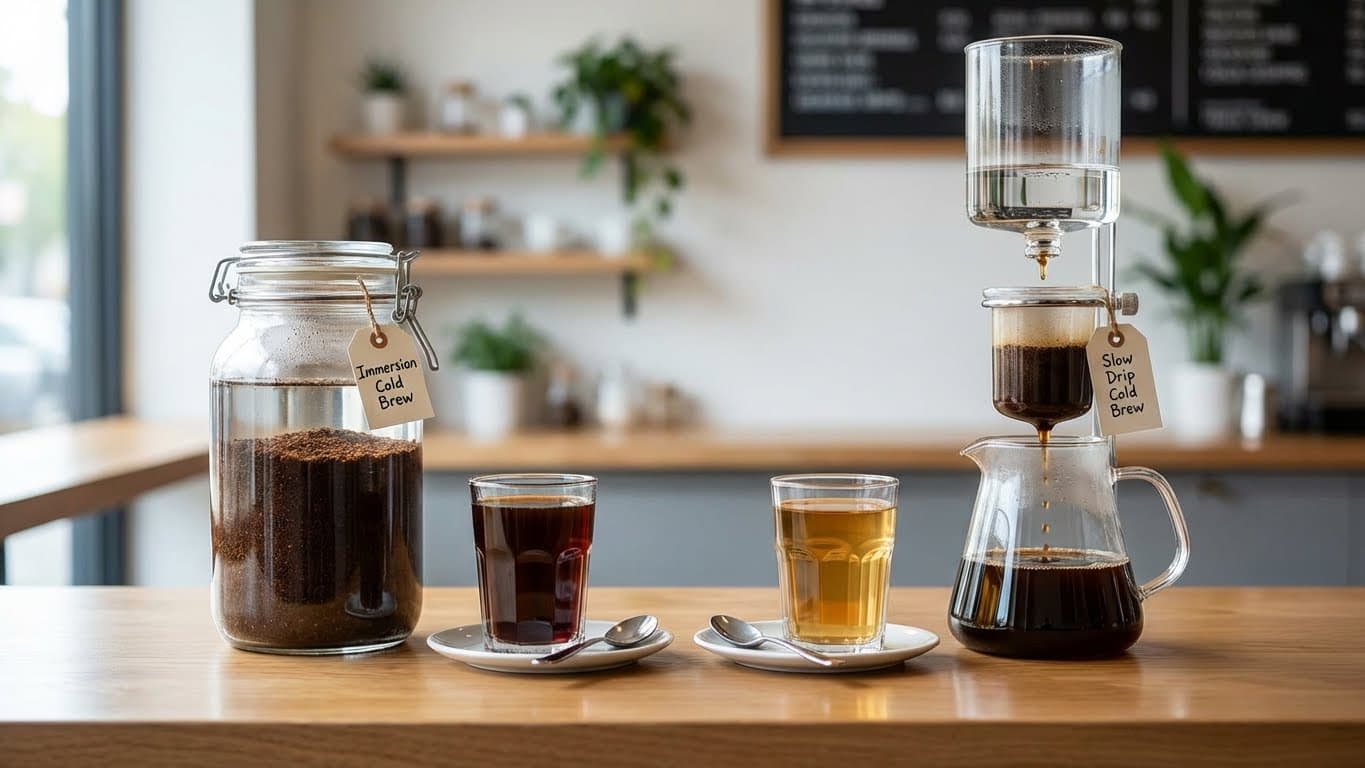
3. Cover and Steep

Put the lid on your mason jar and let it steep at room temperature or in the refrigerator. Here’s a quick comparison:
| Steeping Location | Recommended Time | Flavor Notes |
|---|---|---|
| Room temperature | 12–14 hours | Slightly bolder, faster extraction |
| Refrigerator | 16–24 hours | Smoother, more mellow |
I usually steep mine in the fridge overnight for about 18 hours. It’s forgiving—you don’t need to set a timer down to the minute. Just don’t go past 24 hours, or you might start extracting some bitter compounds.
4. Strain Your Cold Brew
This is where your fine-mesh strainer and cheesecloth come in. Set your strainer over a second jar or pitcher and line it with cheesecloth (or a paper coffee filter). Slowly pour the cold brew through, letting gravity do the work. Don’t press or squeeze the grounds—just let it drip.
For the clearest, smoothest result, you might want to strain it twice. The first pass removes the bulk of the grounds, and the second pass catches the finer sediment. Is it necessary? No. But if you’re particular about texture, it’s worth the extra minute.
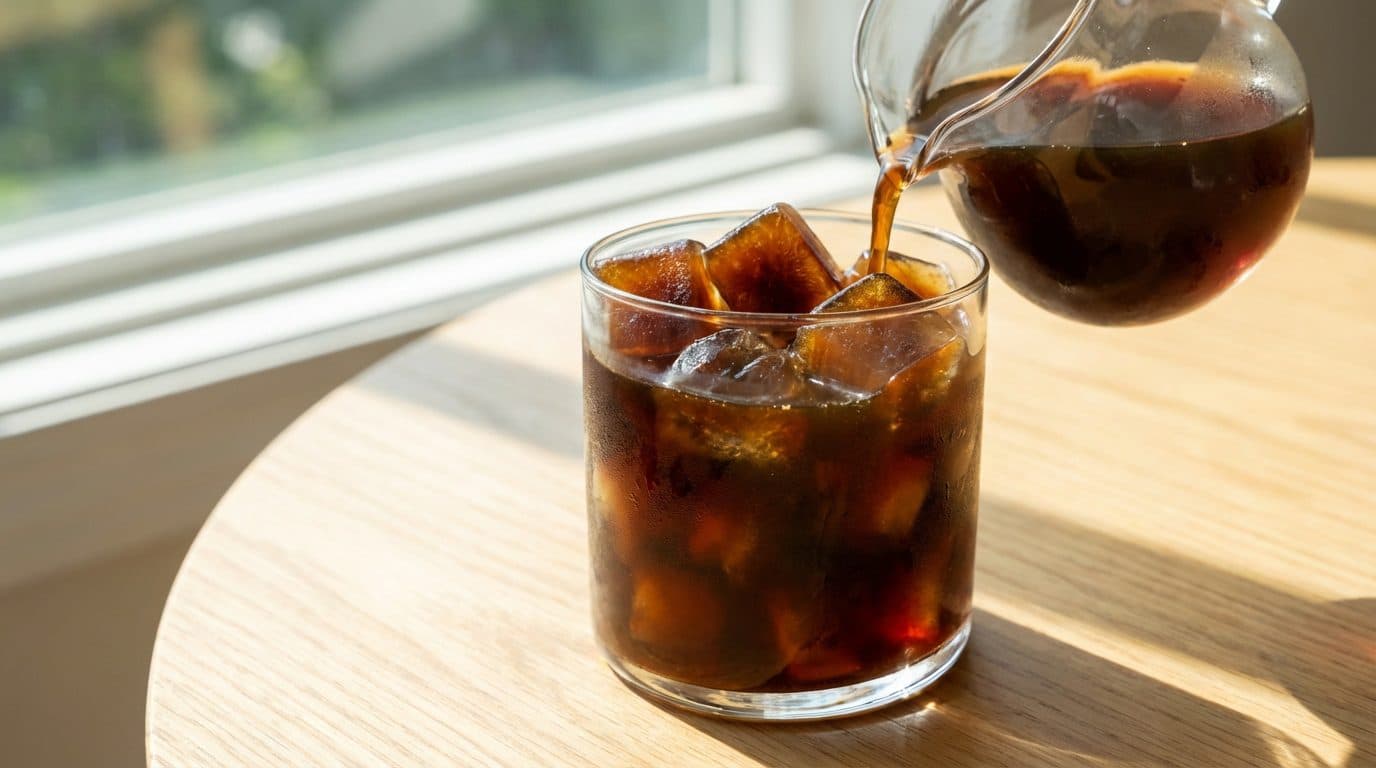
5. Store and Enjoy
Transfer your strained cold brew concentrate to a clean jar or bottle with a lid. Stored in the refrigerator, it’ll stay fresh for up to two weeks—though in my house, it rarely lasts that long.
Taste Profile: Expect a smooth, naturally sweet brew with low acidity and rich chocolate or nutty undertones, depending on your beans. Cold brew extracts coffee differently than hot water, which is why it tastes so much gentler on your stomach and palate.
How to Serve Your Mason Jar Cold Brew

Since you’ve made a concentrate, you’ll want to dilute it before drinking. The standard ratio is 1:1 (equal parts concentrate and water or milk), but this is totally personal. Start there and adjust based on your taste preferences.
Here are some serving ideas I come back to again and again:
- Classic iced cold brew: Fill a glass with ice, add cold brew concentrate, top with cold water.
- Creamy cold brew: Mix concentrate with your favorite milk or cream over ice.
- Sweet cold brew: Add simple syrup, vanilla, or flavored syrups to taste.
- Cold brew latte: Use more milk than water for a latte-style drink.
One thing I’ve found is that cold brew takes really well to sweeteners and flavors because of its smooth base. It won’t fight against additions the way a more acidic coffee might.
Common Mistakes When Making Cold Brew (And How to Avoid Them)
Even though cold brew is simple, there are a few pitfalls that can trip up beginners. Let me save you some trial and error.
Using the Wrong Grind Size
This is the most common mistake. A fine grind will over-extract during the long steep time, making your cold brew taste bitter and harsh. It also makes straining a nightmare—you’ll end up with sludgy coffee no matter how many times you filter it. Stick with coarse grounds, always.
Not Steeping Long Enough
If you only steep for six or eight hours, your cold brew will taste weak and watery. The cold water needs time to extract the good stuff from the coffee. Be patient and give it at least 12 hours minimum.
Steeping Too Long
On the flip side, going beyond 24 hours can pull out bitter, woody flavors you don’t want. The sweet spot is between 12 and 24 hours, depending on your method and preferences.
Using Low-Quality or Stale Coffee

Cold brew is smooth and forgiving, but it can’t work miracles. If your beans are stale or low quality, you’ll taste it. Use the freshest coffee you can find—ideally roasted within the last few weeks.
Key Takeaway: Great cold brew comes from coarse grounds, proper steep time, and fresh beans. Nail those three things, and you’re set.
Frequently Asked Questions
Can I use regular ground coffee for cold brew?
You can, but I wouldn’t recommend it. Pre-ground coffee is usually medium or fine, which will over-extract and make your cold brew bitter. It’ll also be harder to strain cleanly. If buying pre-ground, specifically look for a coarse grind.
How long does cold brew last in the fridge?
Properly stored cold brew concentrate lasts up to two weeks in the refrigerator. After that, it starts to oxidize and lose its fresh flavor. If you notice any off smells or tastes, it’s time to make a new batch.
What’s the difference between cold brew and iced coffee?
Iced coffee is regular hot-brewed coffee that’s been cooled and poured over ice. Cold brew is made with cold water from the start and steeped for many hours. The result? Cold brew is smoother, less acidic, and has a different flavor profile altogether. In short, same ingredients, completely different processes and outcomes.
Can I heat up cold brew?
Absolutely. Many people don’t realize that cold brew makes an excellent hot coffee too. Just dilute your concentrate with hot water instead of cold. The smooth, low-acid character carries over nicely.
Why does my cold brew taste weak?
Usually this comes down to one of three things: not enough coffee, not enough steep time, or diluting too much when serving. Try adjusting your ratio, steeping longer, or cutting back on the water or milk you add to your concentrate.
Conclusion: Your Perfect Mason Jar Cold Brew Awaits
Making cold brew in a mason jar is one of those beautiful things in life that’s both simple and rewarding. No expensive gear, no complicated techniques—just coffee, water, time, and a jar you probably already own. Once you’ve made your first batch, you’ll wonder why you ever paid coffee shop prices for something so easy to do at home.
Start with the 1:4 ratio, steep overnight in the fridge, strain carefully, and experiment with how you like to serve it. Life is too short for bad coffee, and now you have everything you need to make great cold brew whenever you want it. Give it a try this weekend—your mornings (and your wallet) will thank you.


Comments